
1971 Pinto Update
Part 2 of the ongoing saga featuring everyone’s favorite Pinto. The nation’s Pinto. The People’s Pinto.
1968 Bronco Update
This takes all the guess work out of reading. Other updates coming soon, +/- 2 years
March 2018
It’s only been almost a year…so…
Updates!
KLX400:
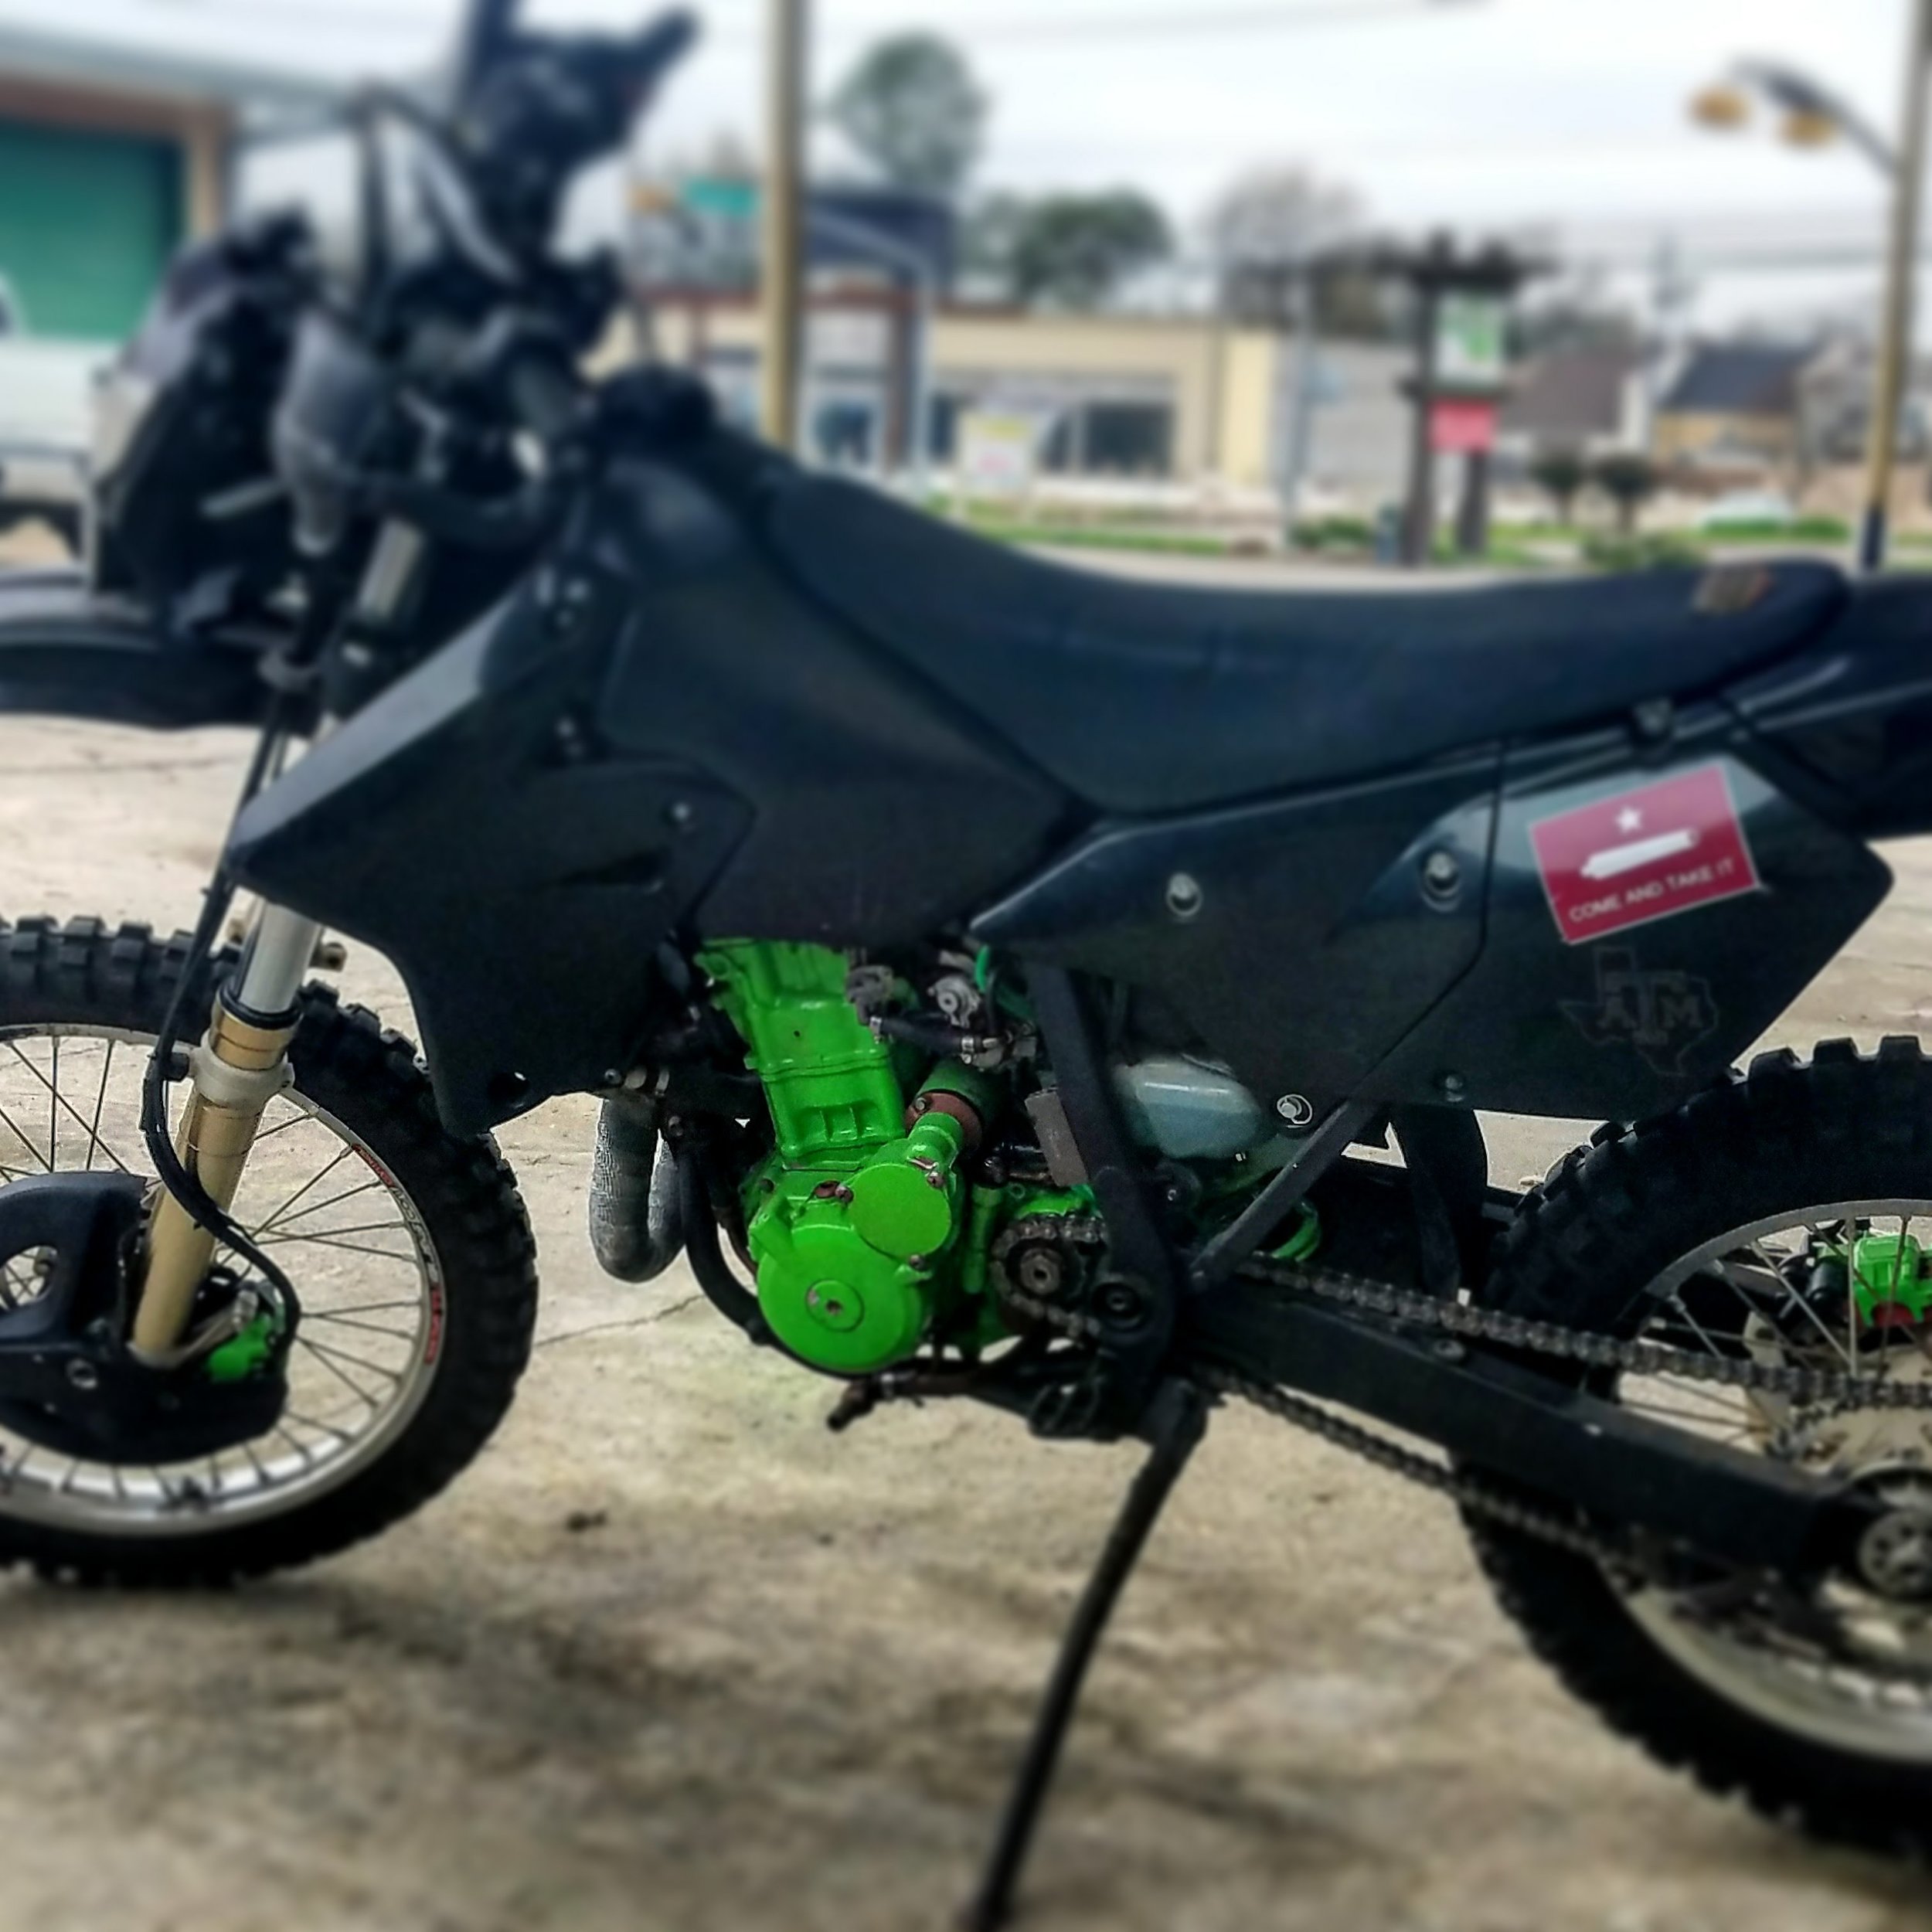
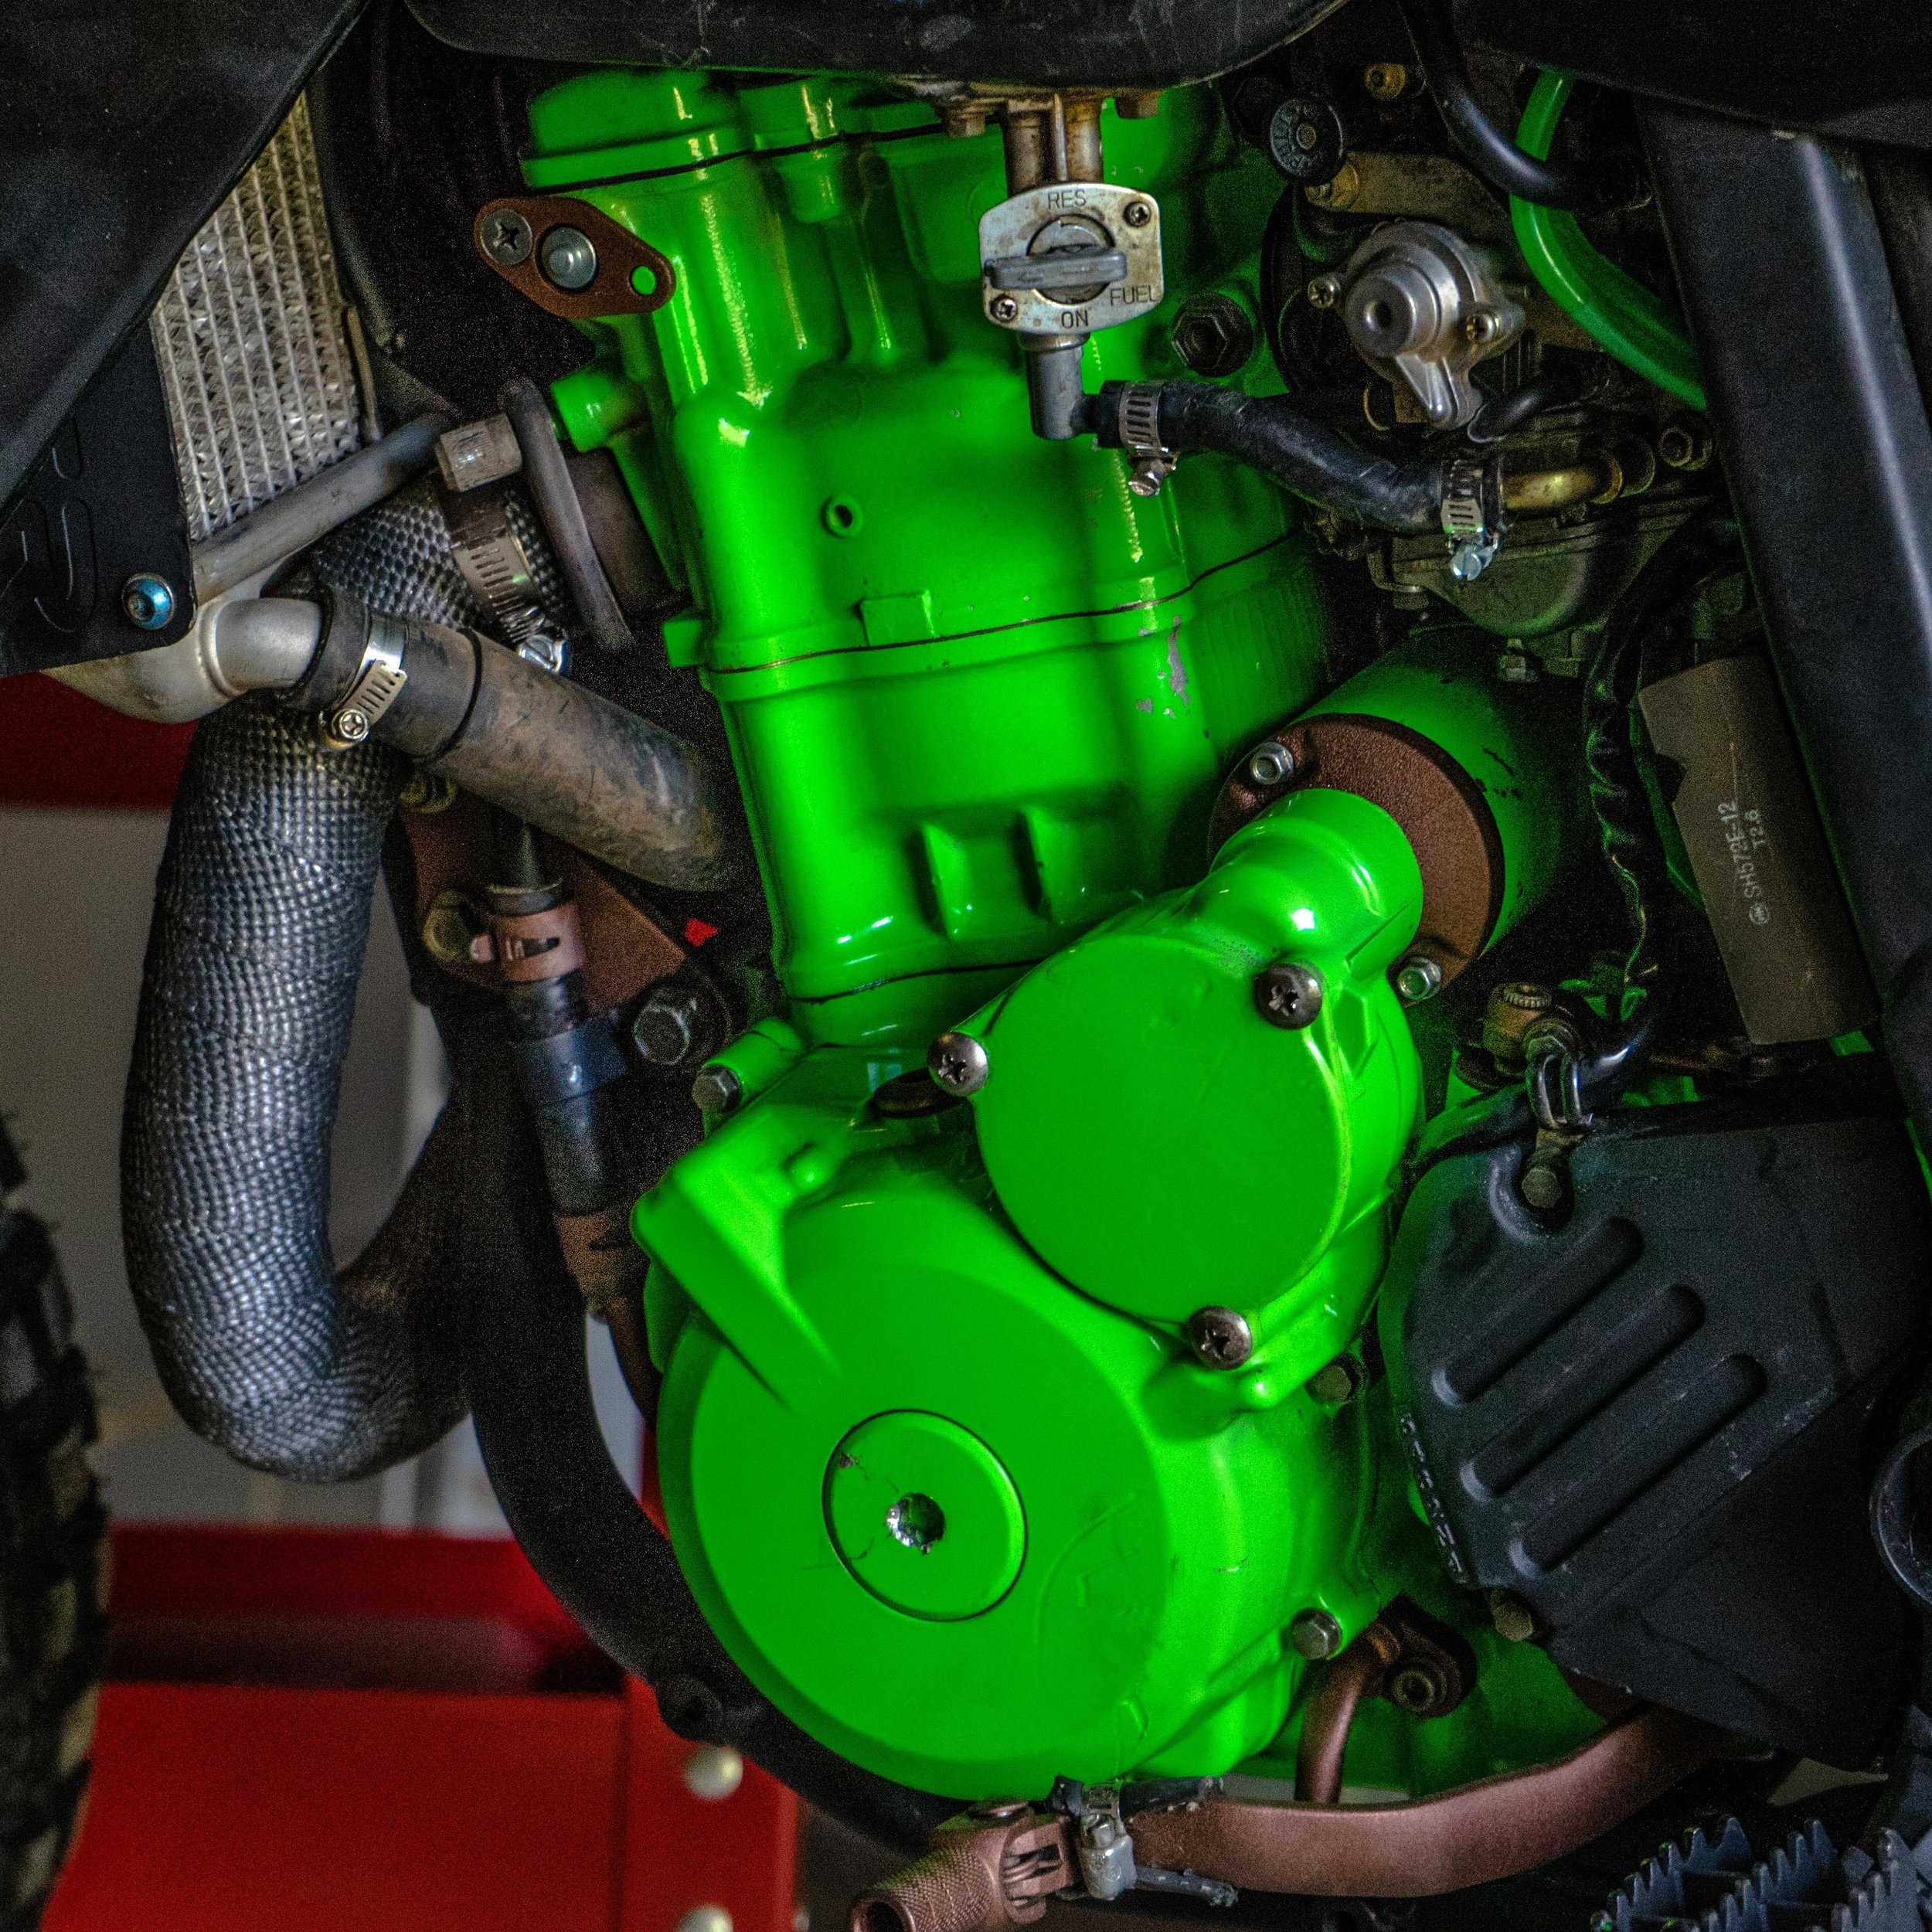
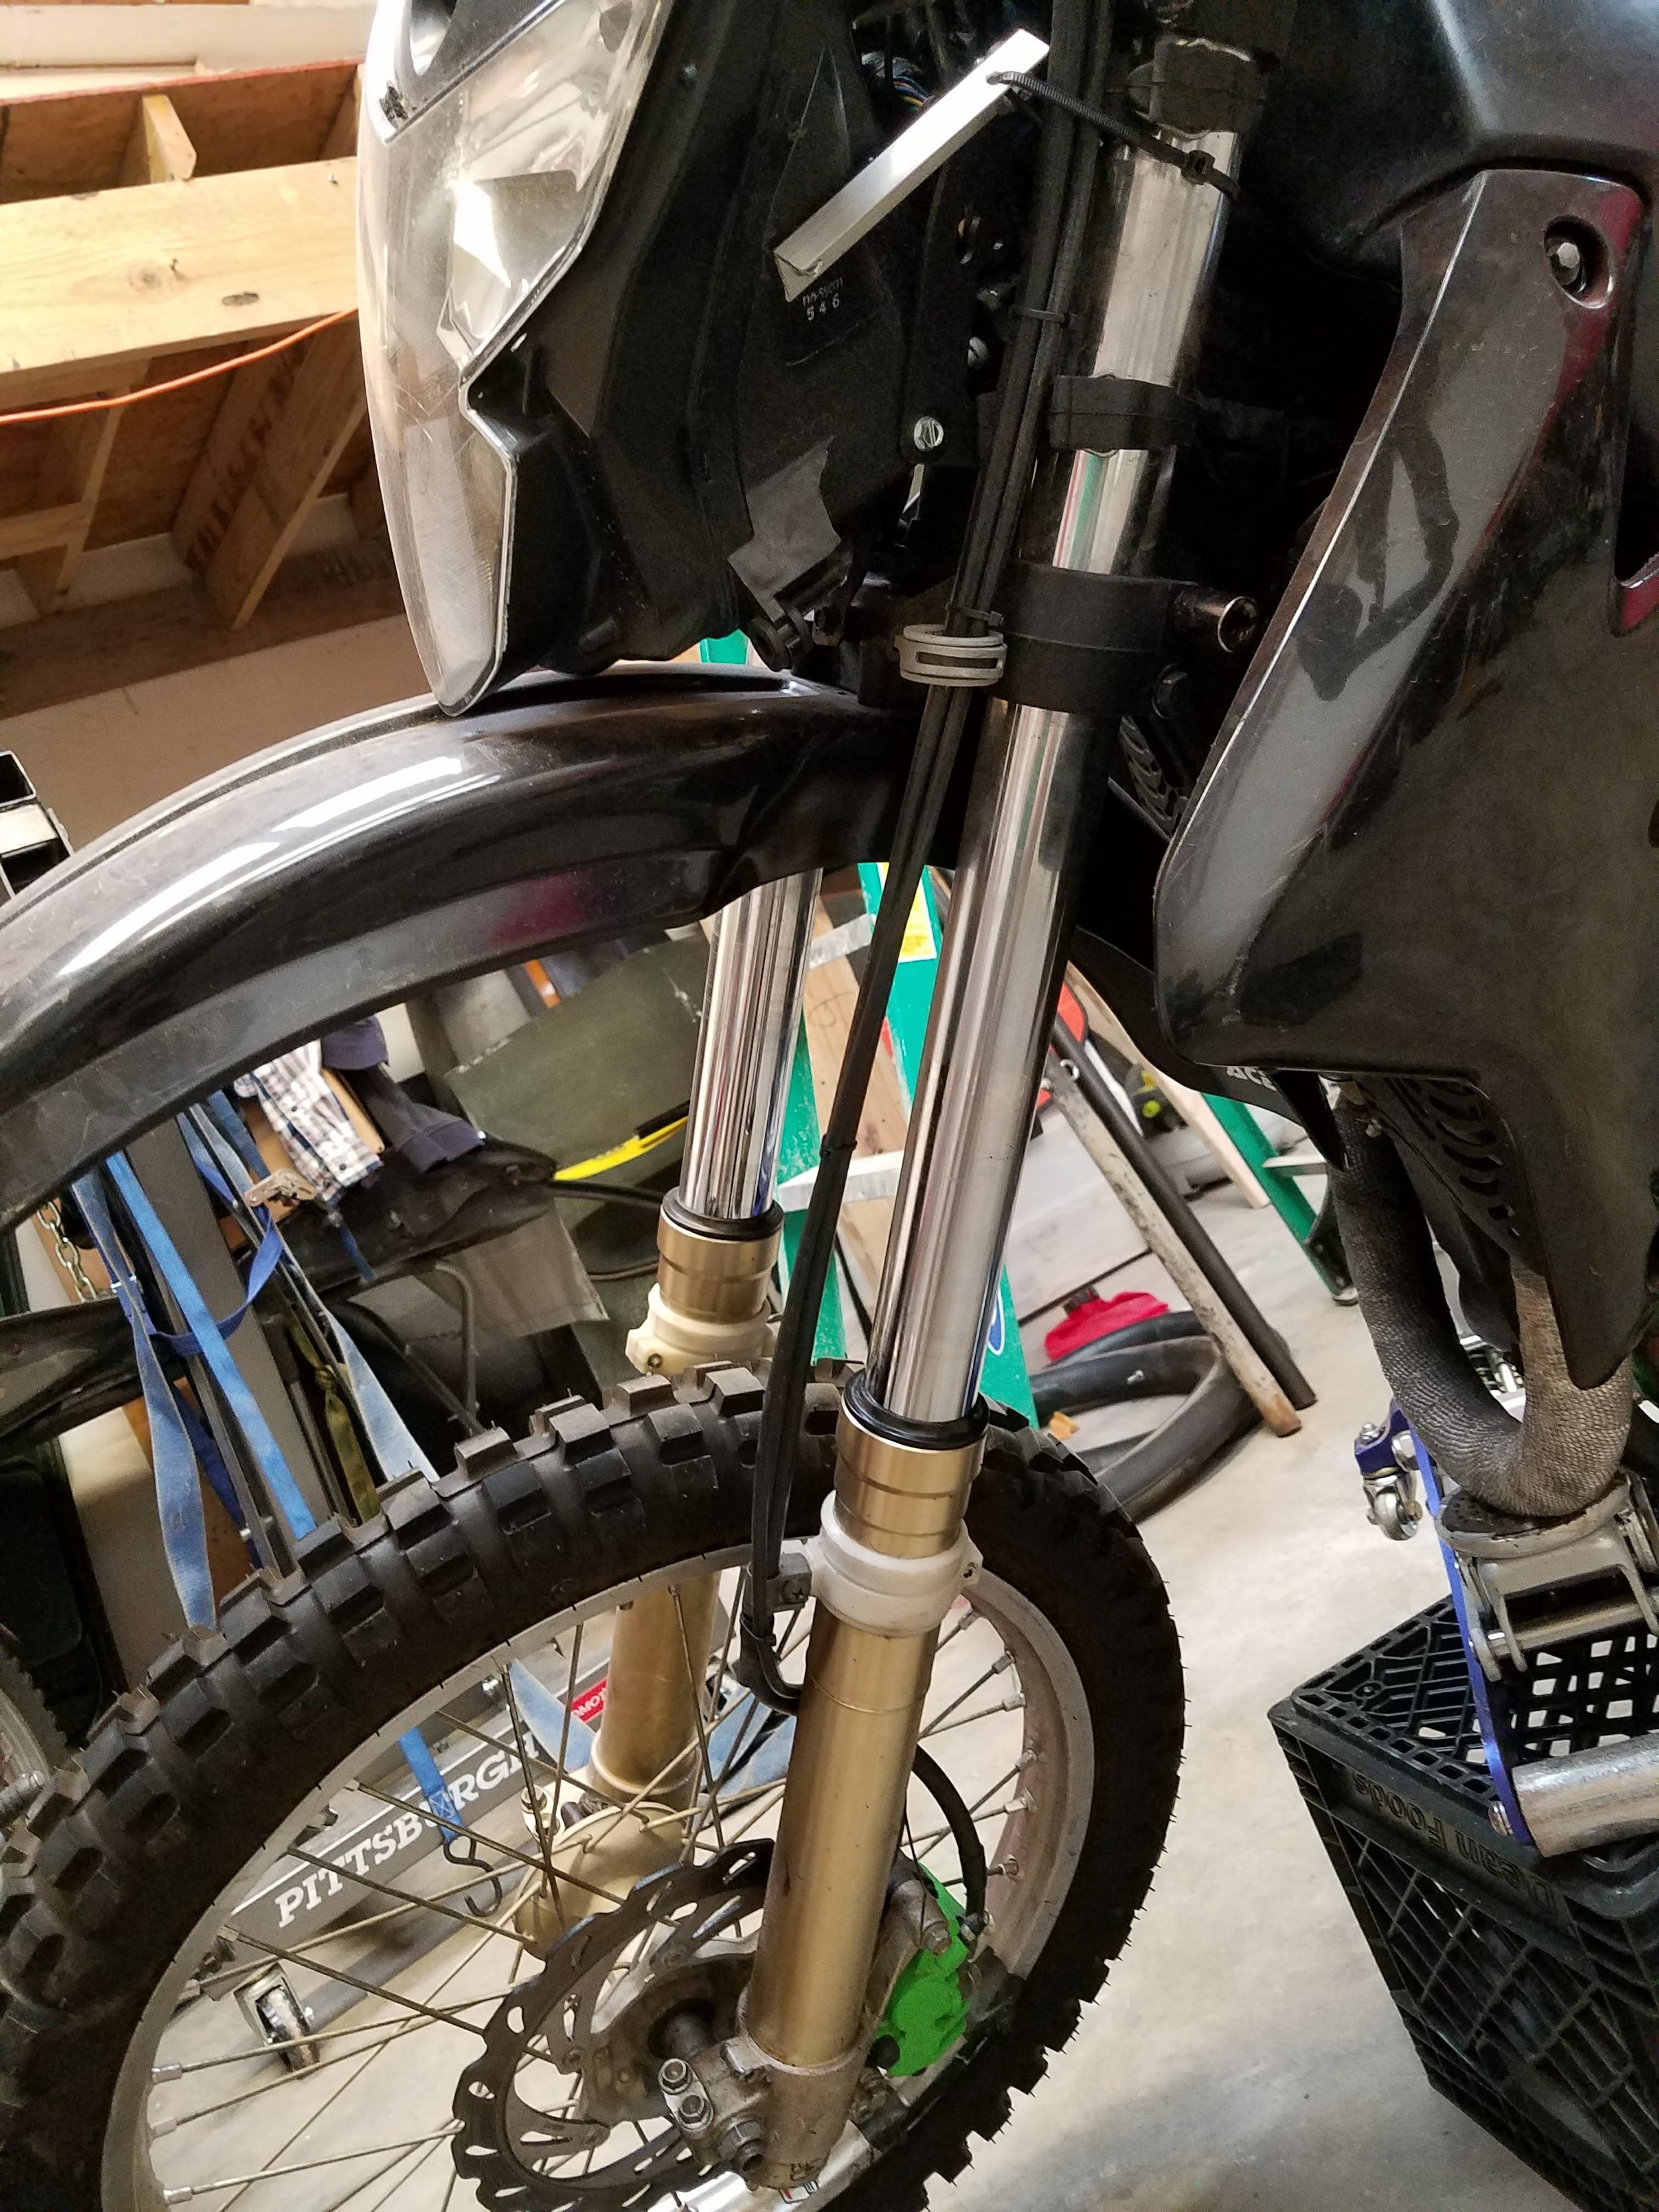
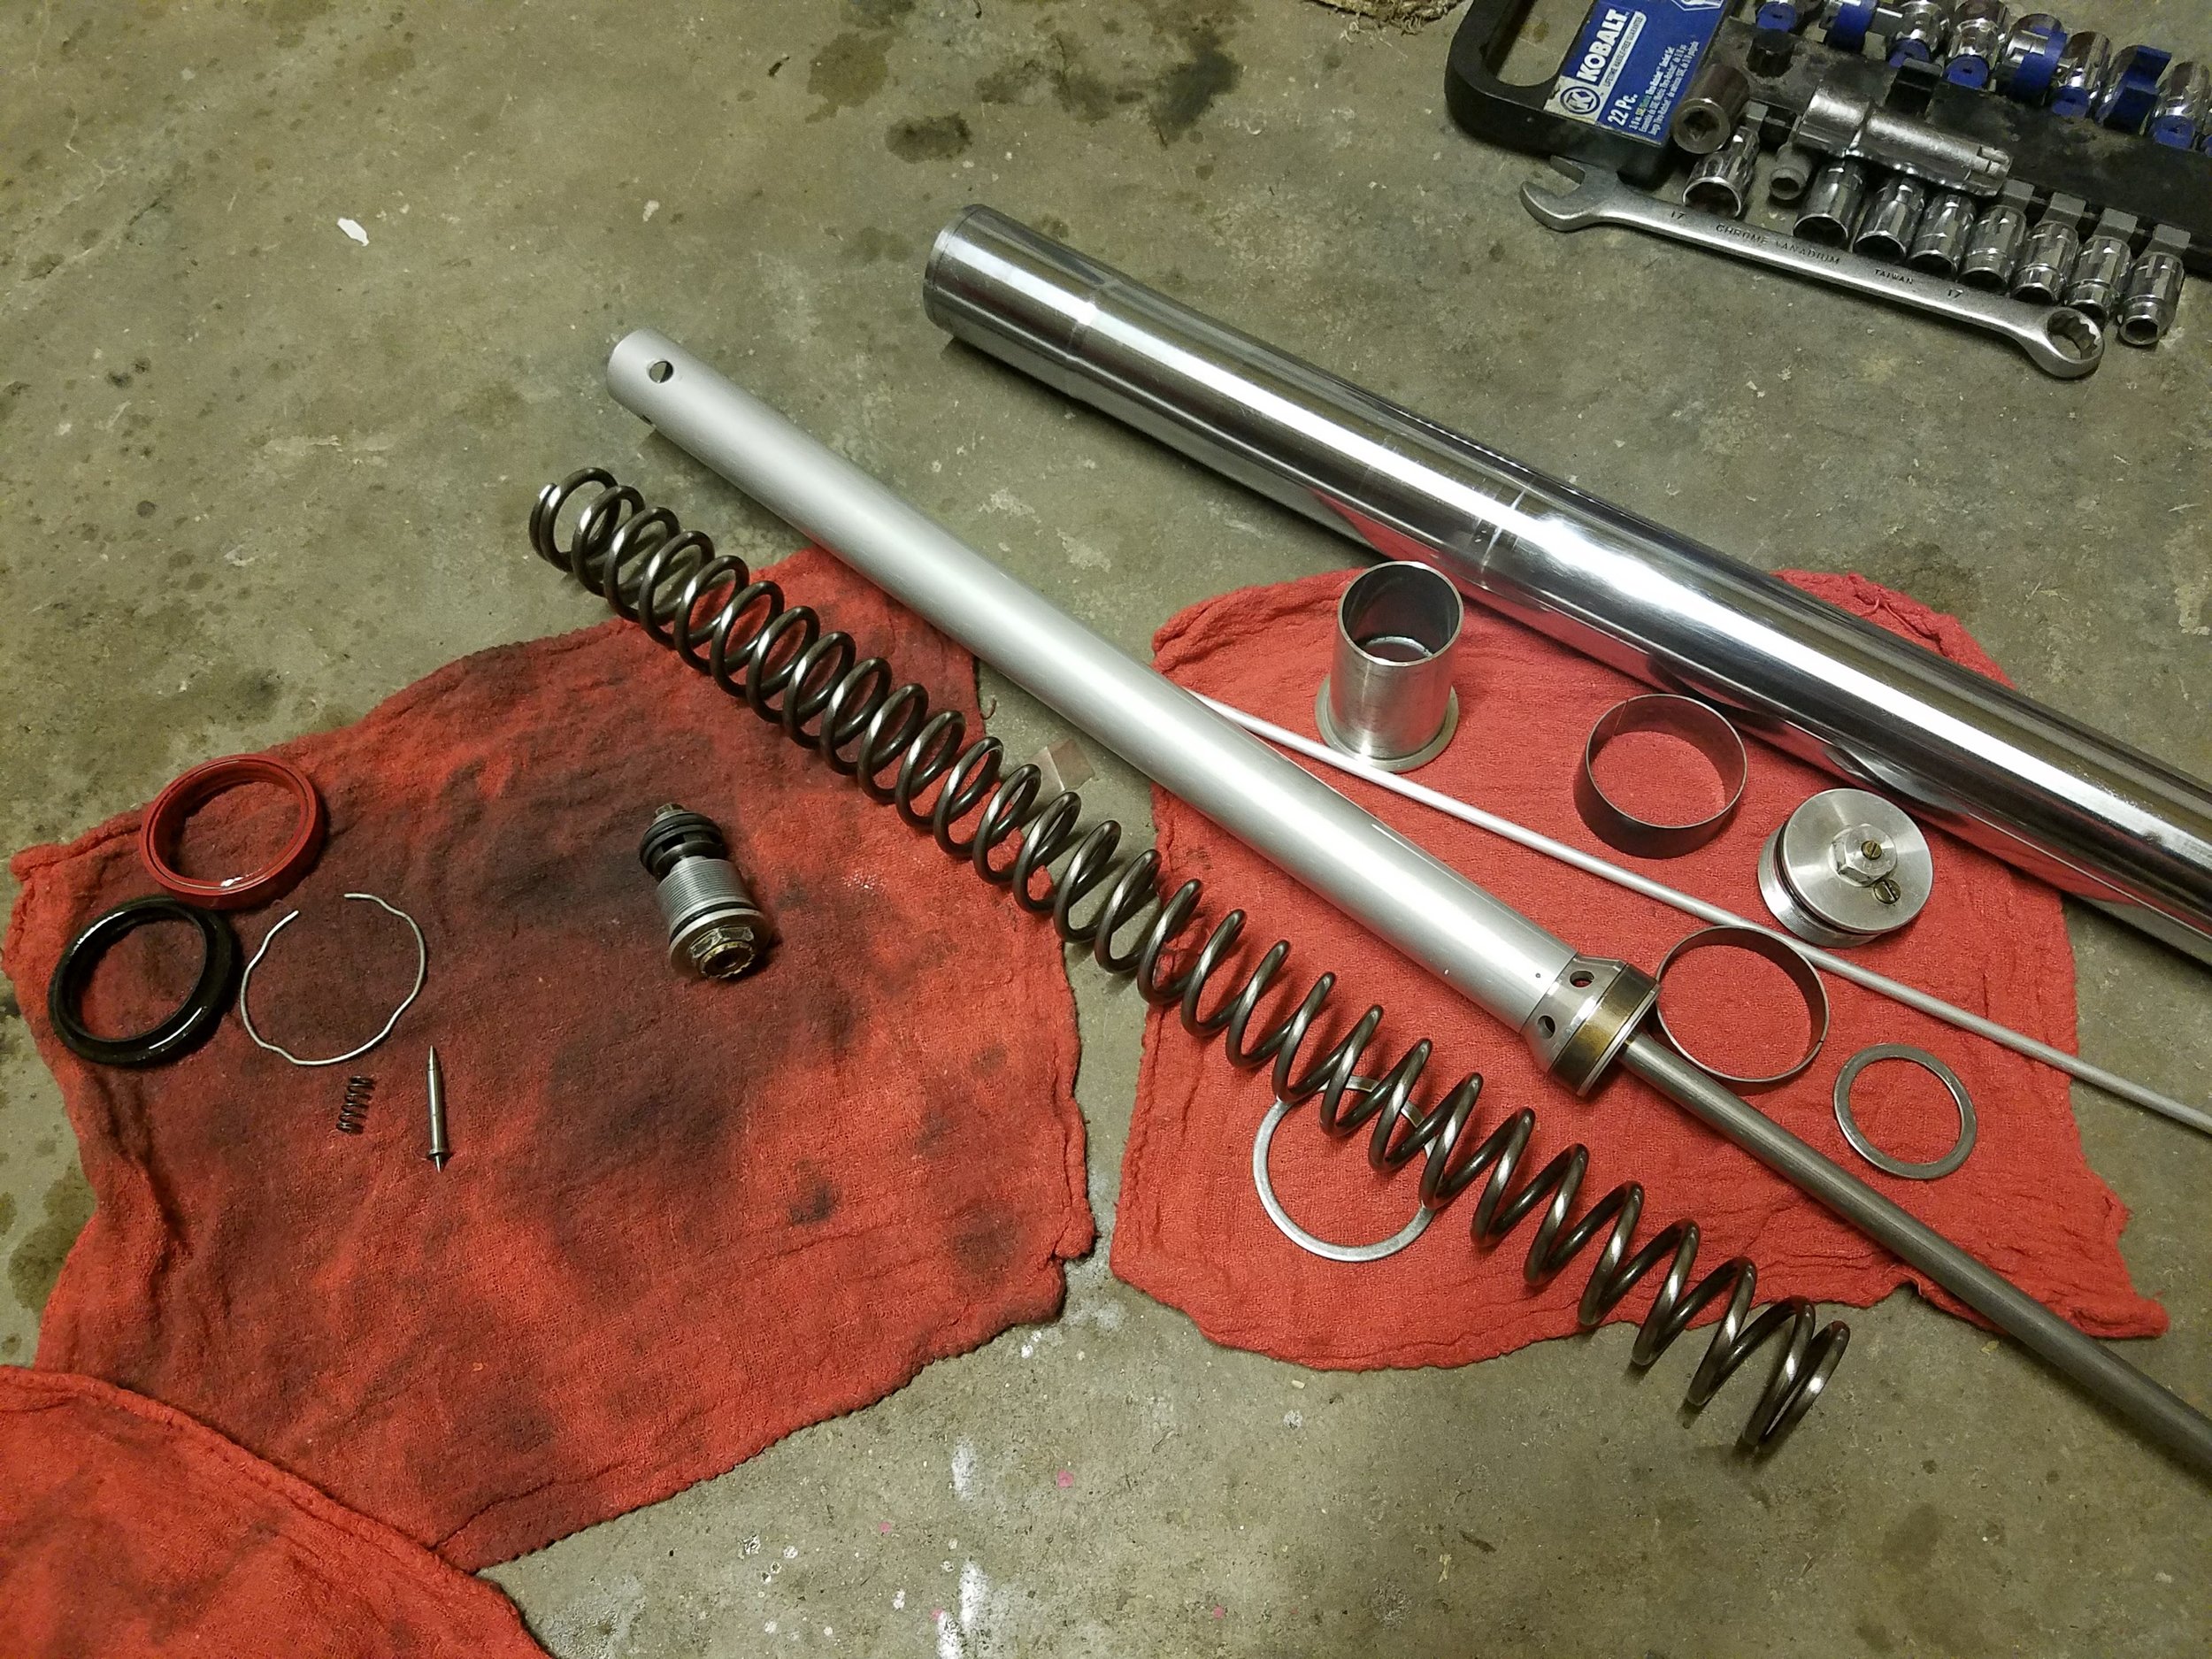
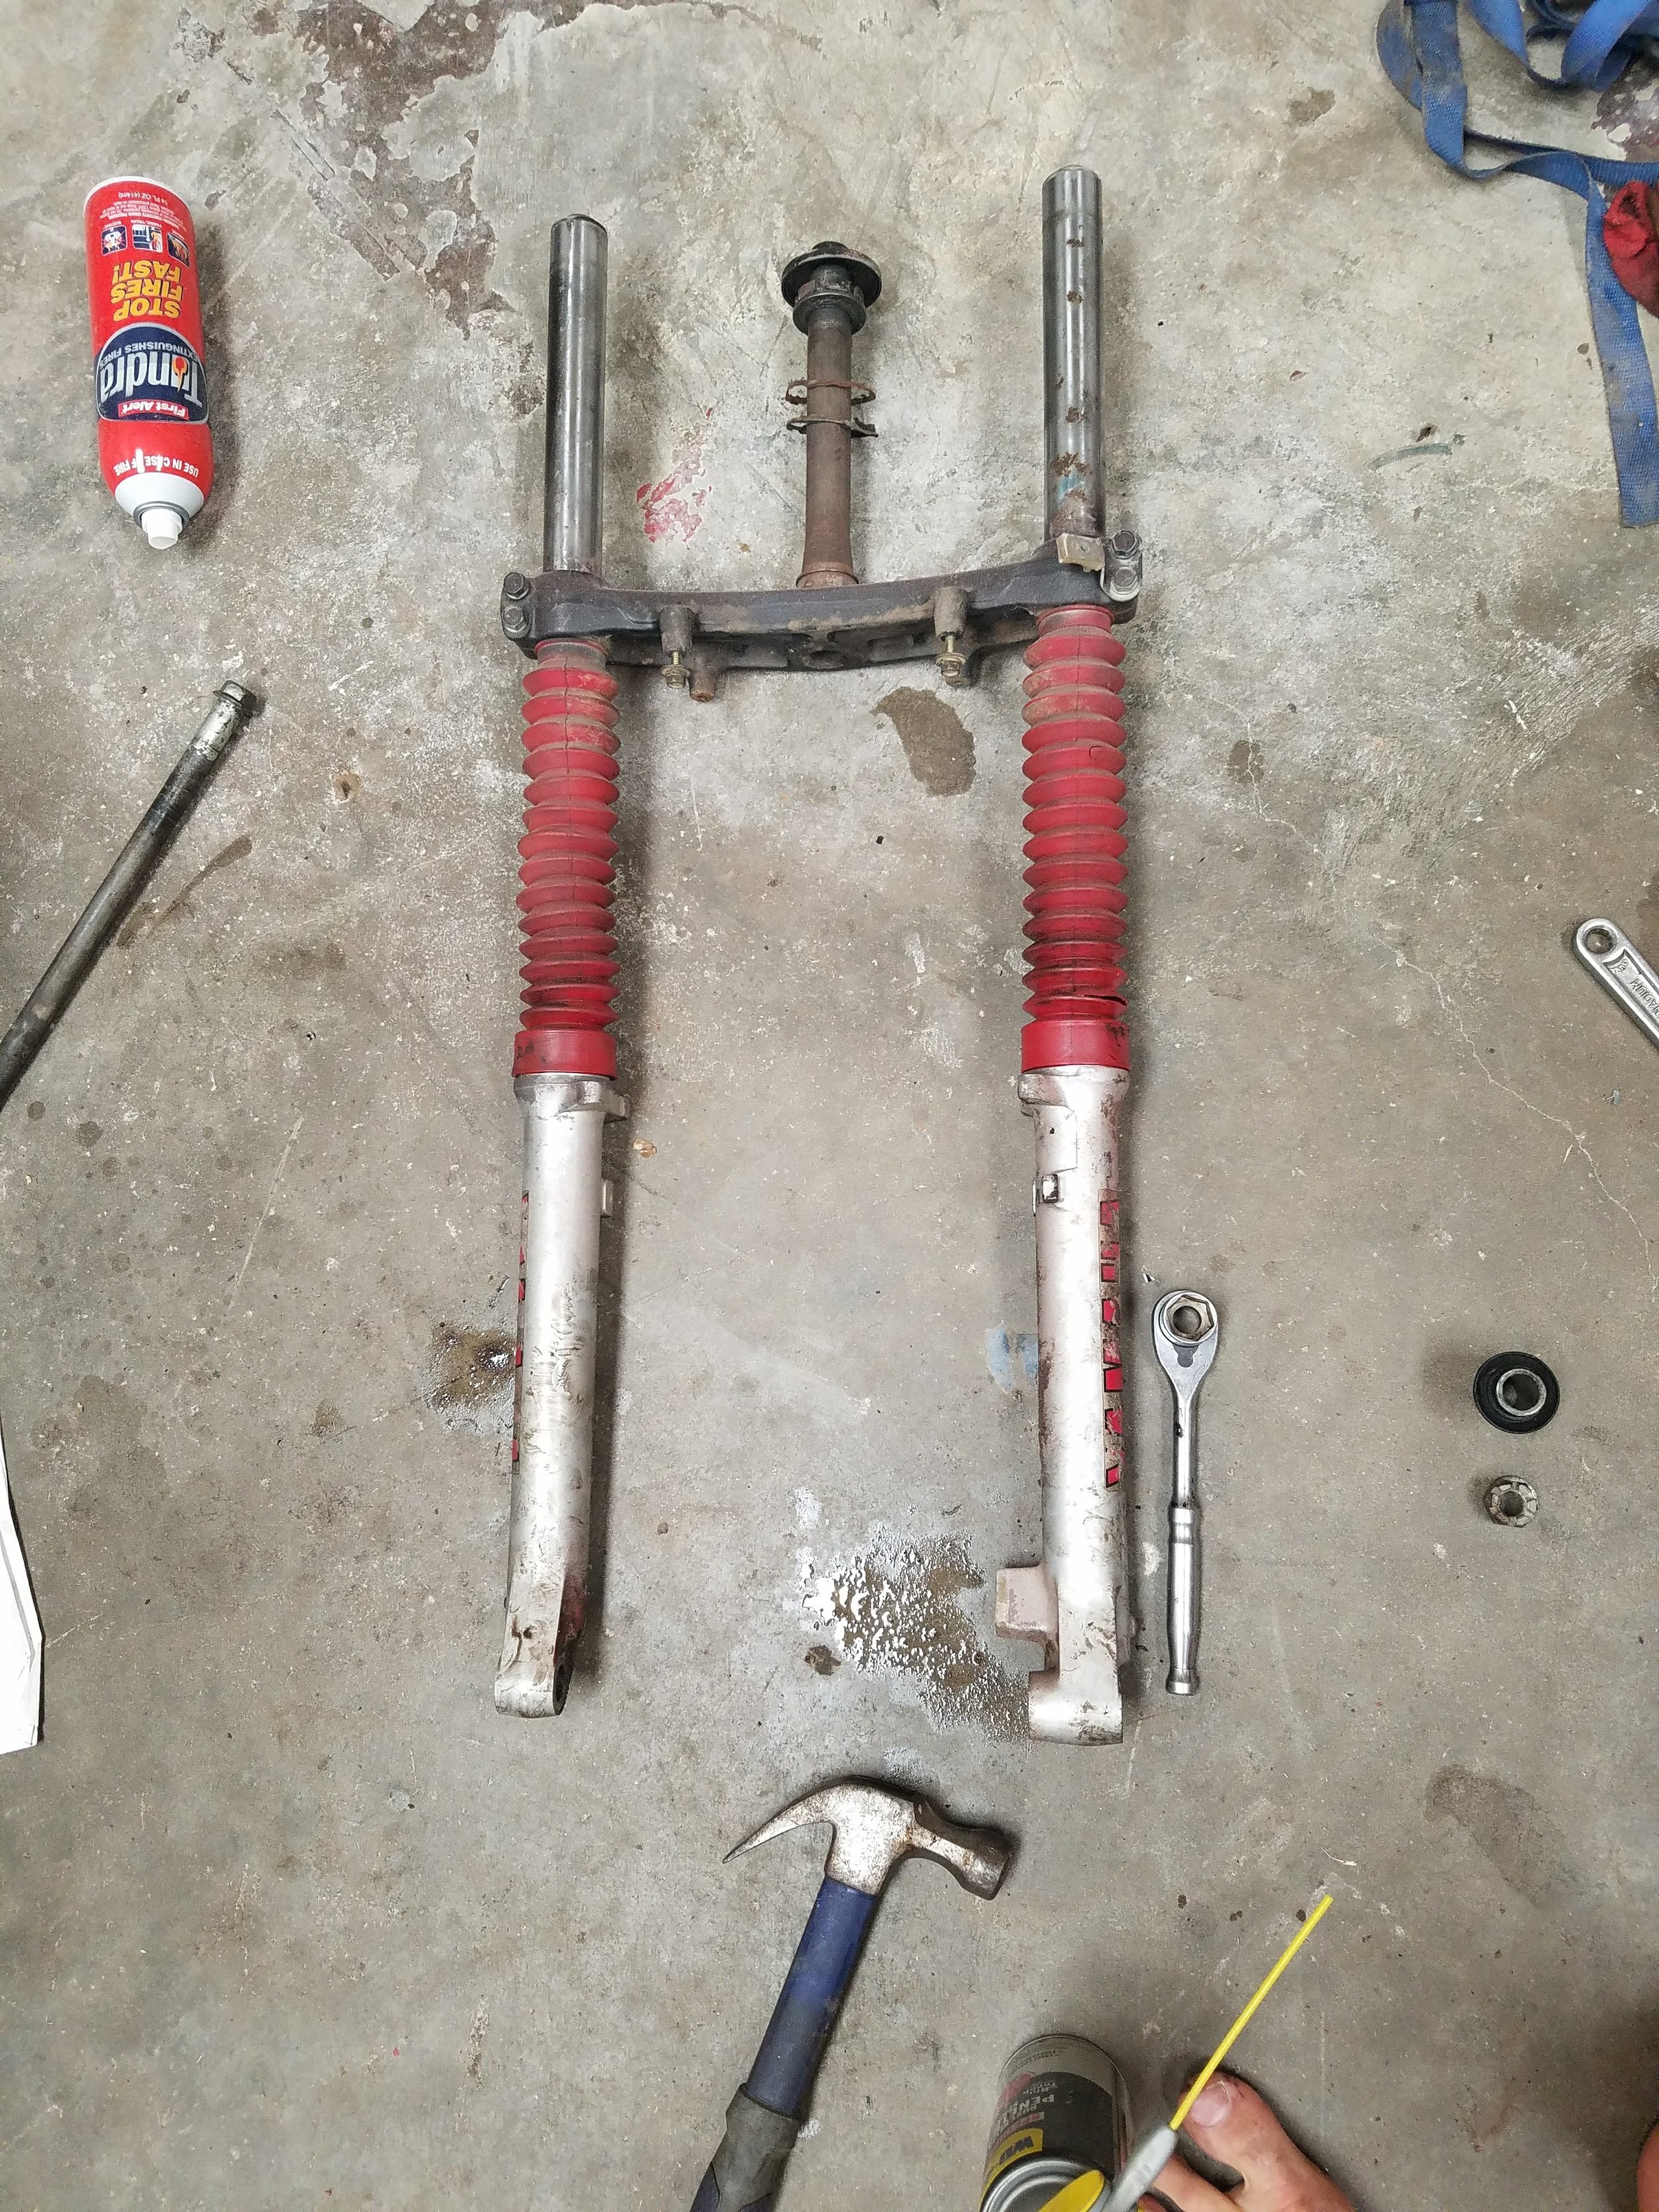
Original owner replaced the fork seals, but the left seal started leaking from the moment I purchased it. I finally got around to fixing it. The modern Showa fork off of this bike is an order of magnitude more complicated than the forks of old, but it was easy enough to take care of. Bike starts and runs great. The temperature sensor is faulty and needs to be replaced, and the bike needs an inspection but aside from that it’s the most reliable bike in the fleet at present.
1971 Pinto:


The pinto was loaded up and brought down here after the last update. Mostly it’s sat waiting patiently. I have made some progress – Floor has been removed, motor has been mounted to transmission, and I’m scheming ideas of how to build a rear sub frame. I purchased a tubing bender and have some sections of 1.5” .120 wall tube ready to be put to use. Hardware for mounting the rear suspension (huge metric studs) is on order. I started doing some body work on the car as well. Because…priorities.

JD2 Model 3 Tubing Bender

1968 Bronco:
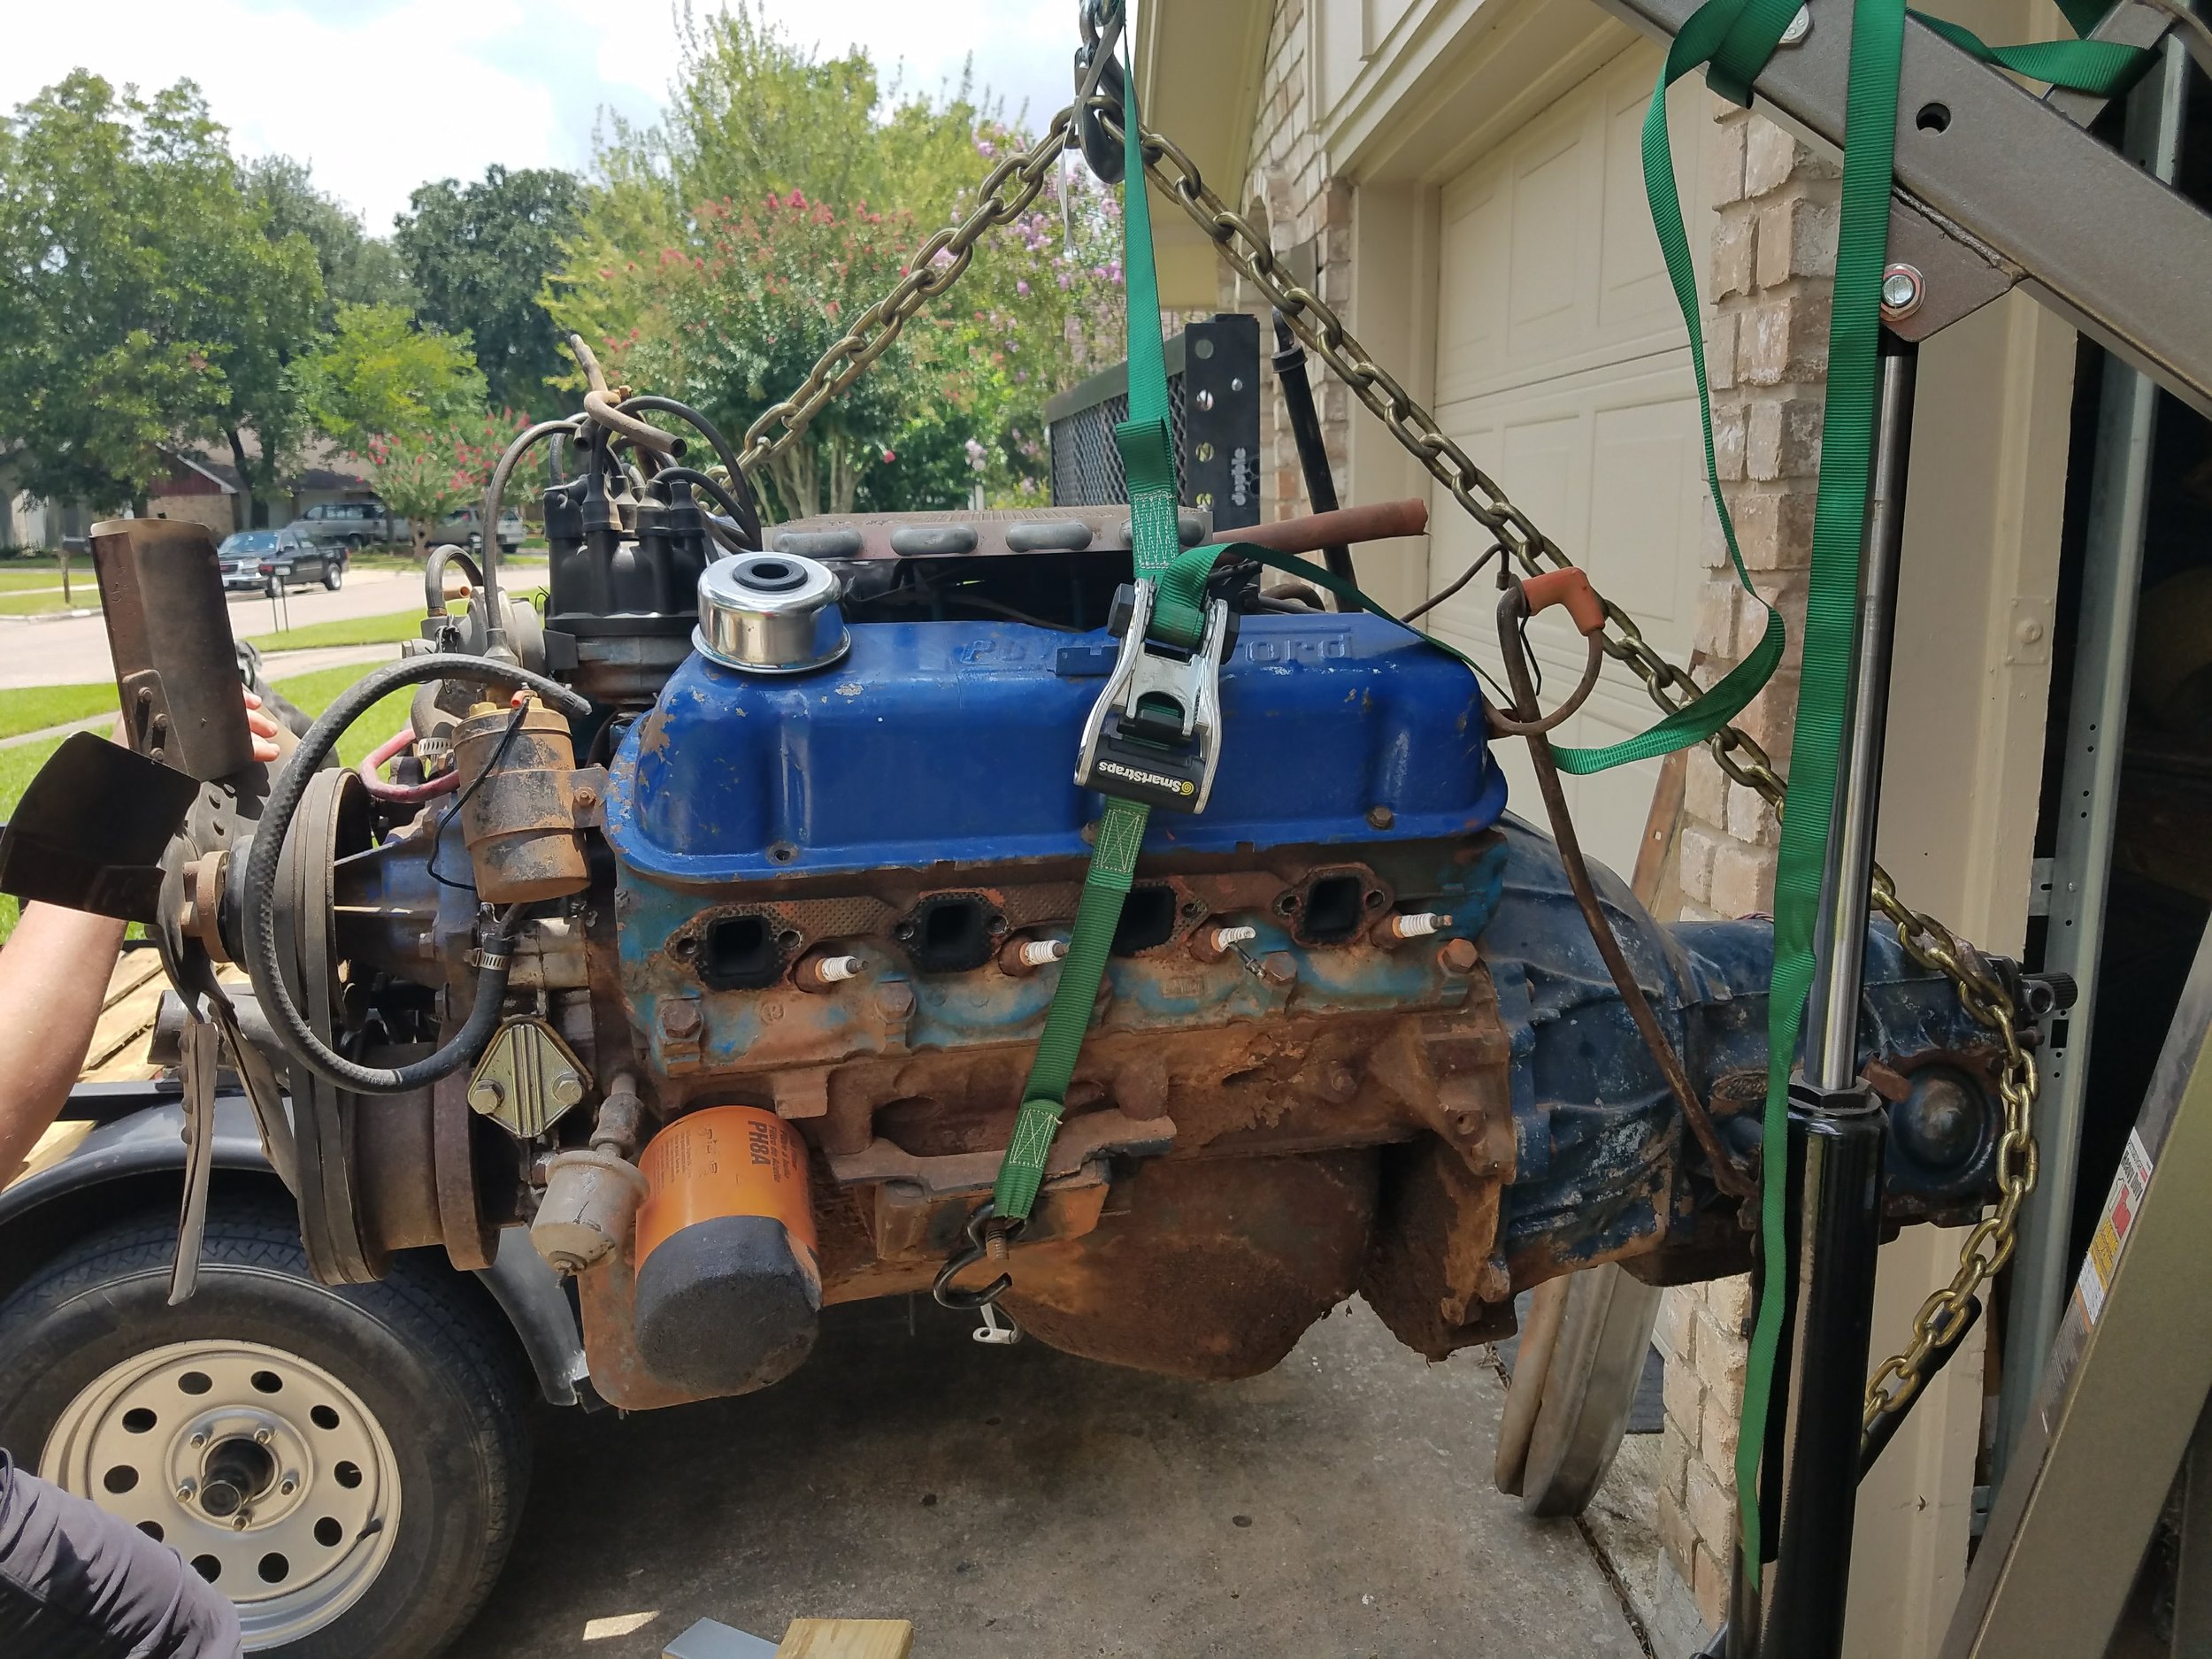
Slow progress. The brakes where completed. We made a rear brake line because buying brake lines is a scam. Most early bronco parts are a scam. They’re grossly overpriced. The big win was finding a transmission. I’m of the belief that a car should take some skill to drive. Accordingly, this Bronco was slated to receive a manual gearbox. The motor will be a 2011-2014 Mustang or F150 Coyote 5.0L with around 360hp. Most people who do that swap put in the 6r80 automatic and call it a day. I say that’s fine if you’re a teenage girl, but we want a manual. The bell housing of the 5.0 Coyote modular v-8 is the same as the other ford Modular v-8s (4.6, 5.4). In the late 90s, Ford created the best manual transmission for a truck- the ZF5. It’s a monster of a gear box built for crazy torque and geared for a truck’s work. Short story is that a very small number of these transmission will bolt up to the Coyote 5.0 we’re going to use. Has to be from a small year range, has to have been mounted to a modular v-8 (the 5.4 in this case) and it has to be the 4wd version. An infinitesimally narrow scope. So imagine my surprise when I found a new, factory rebuilt ZF transmission that met those exact requirements. Imagine the further surprise when I saw it was in Elgin, Texas. So I’m the proud owner of a beautiful new baby transmission. Next up- finding the right engine.
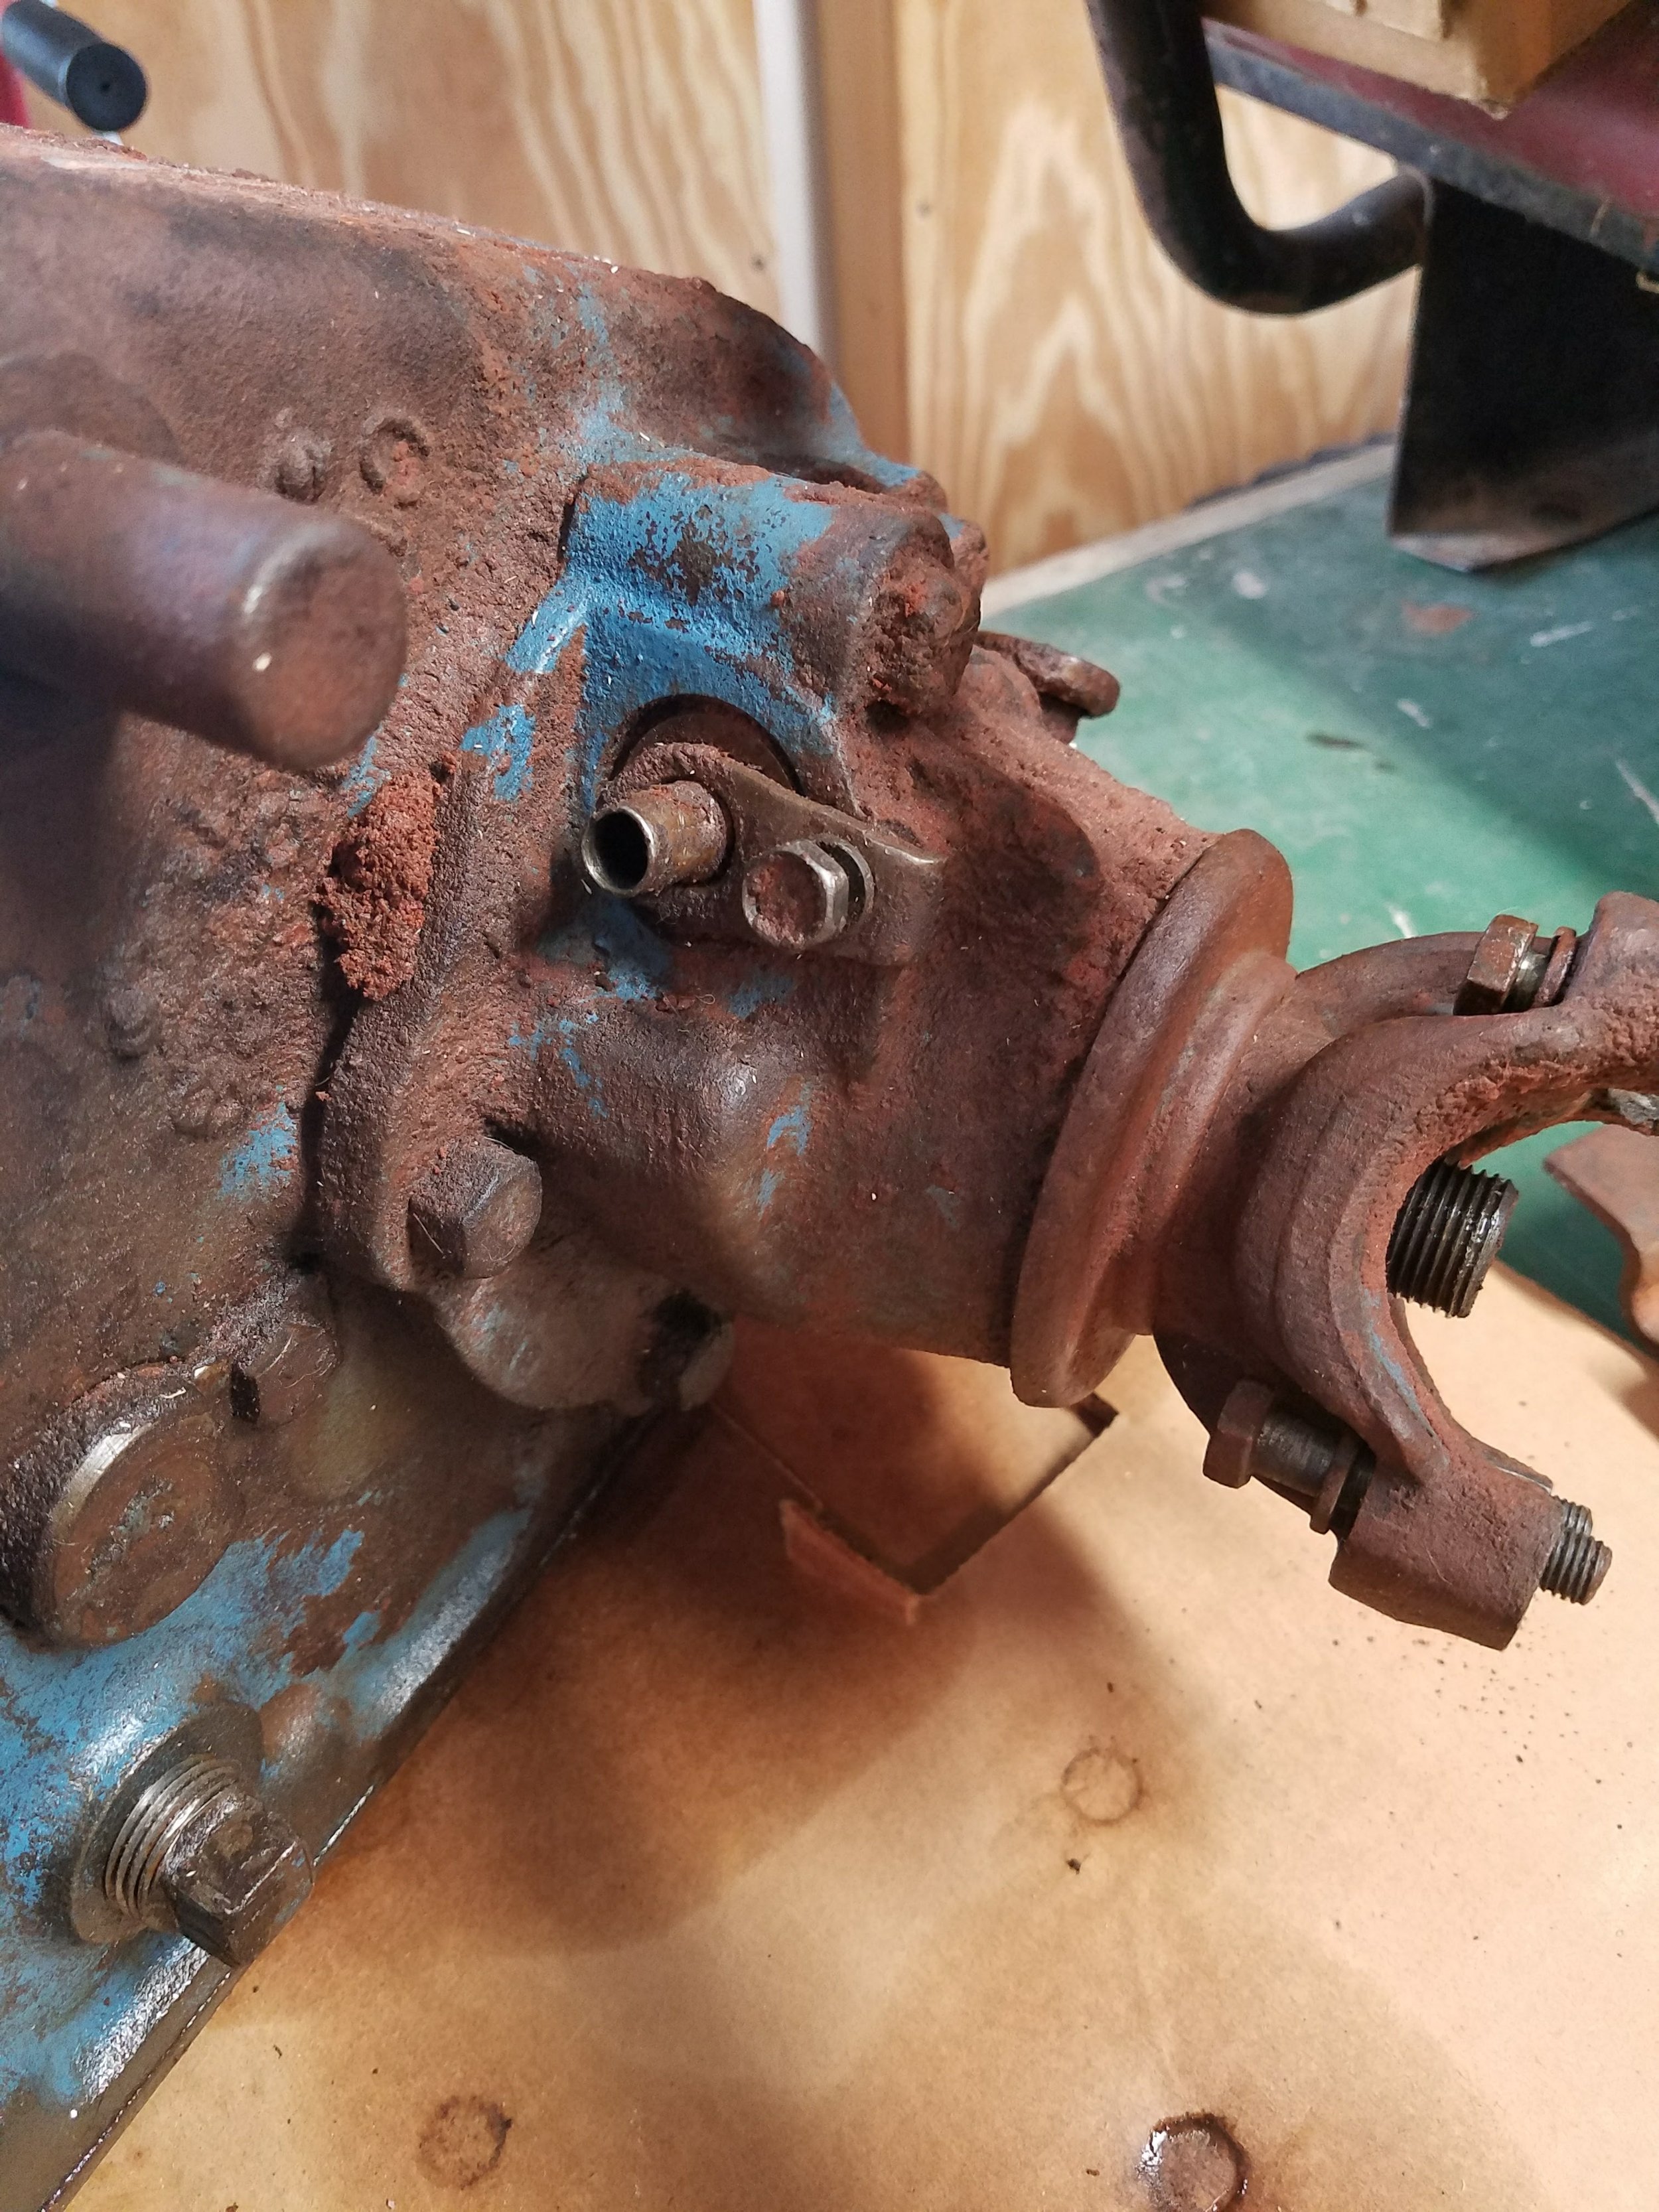
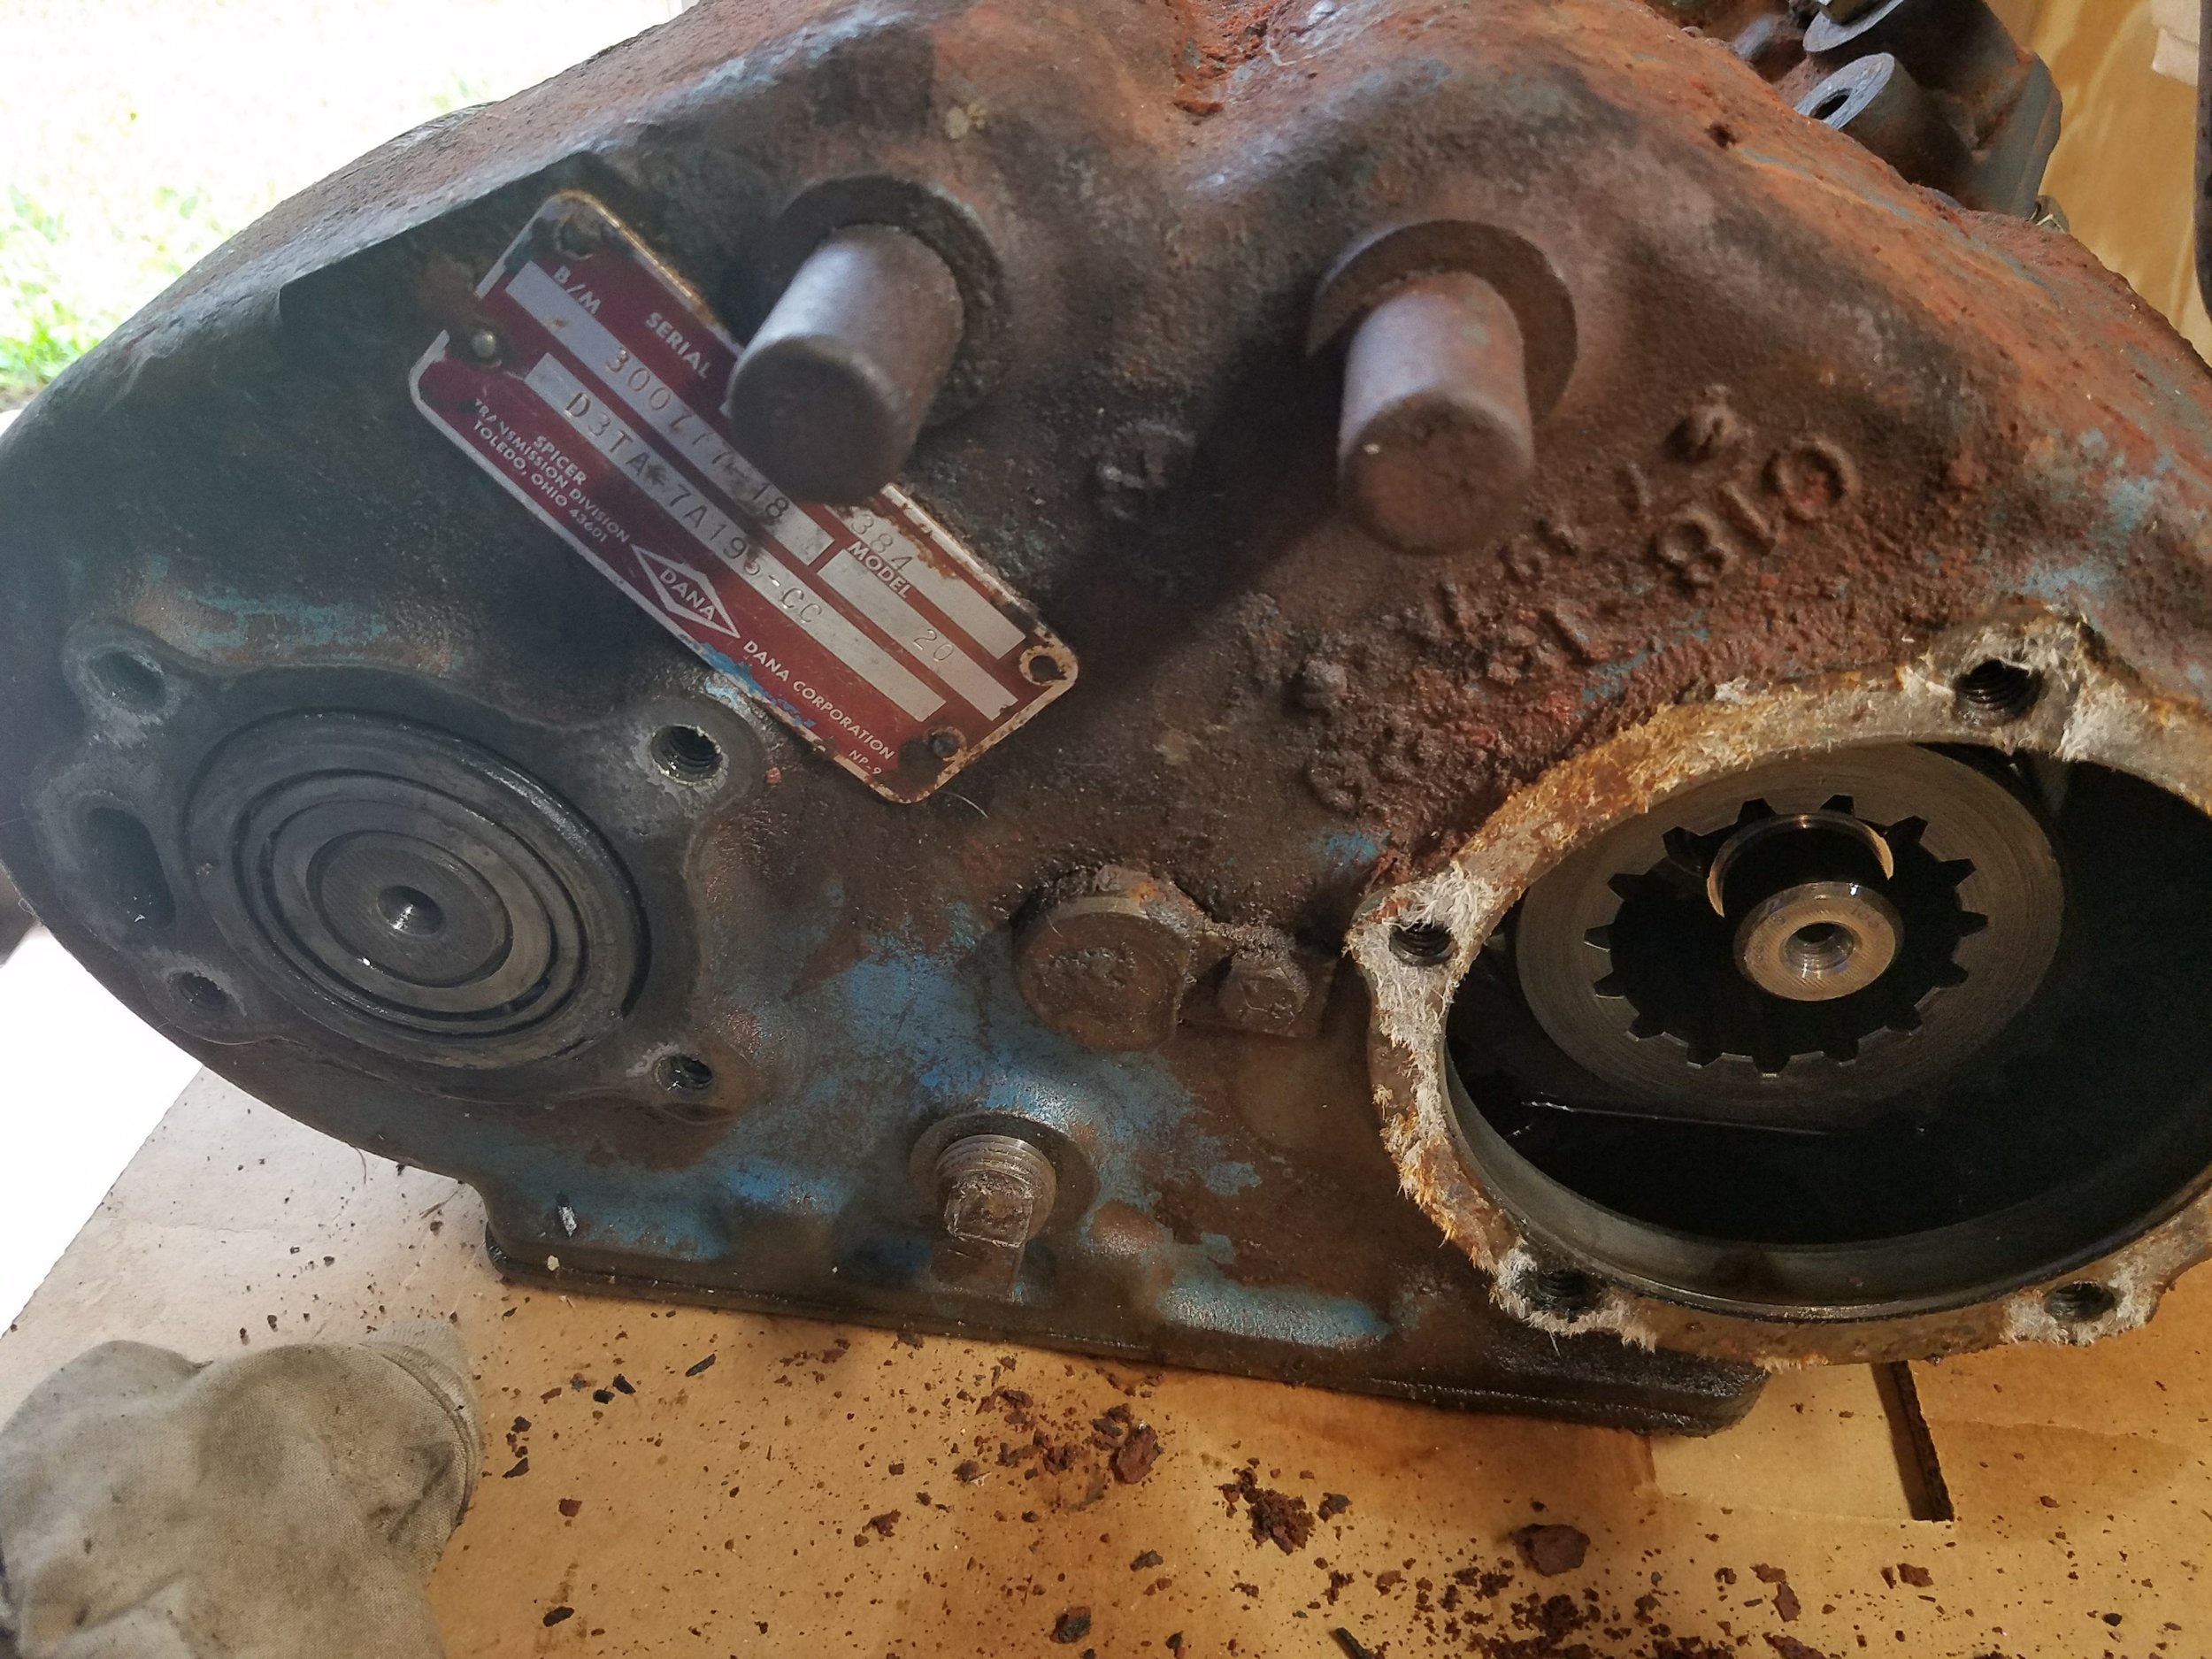
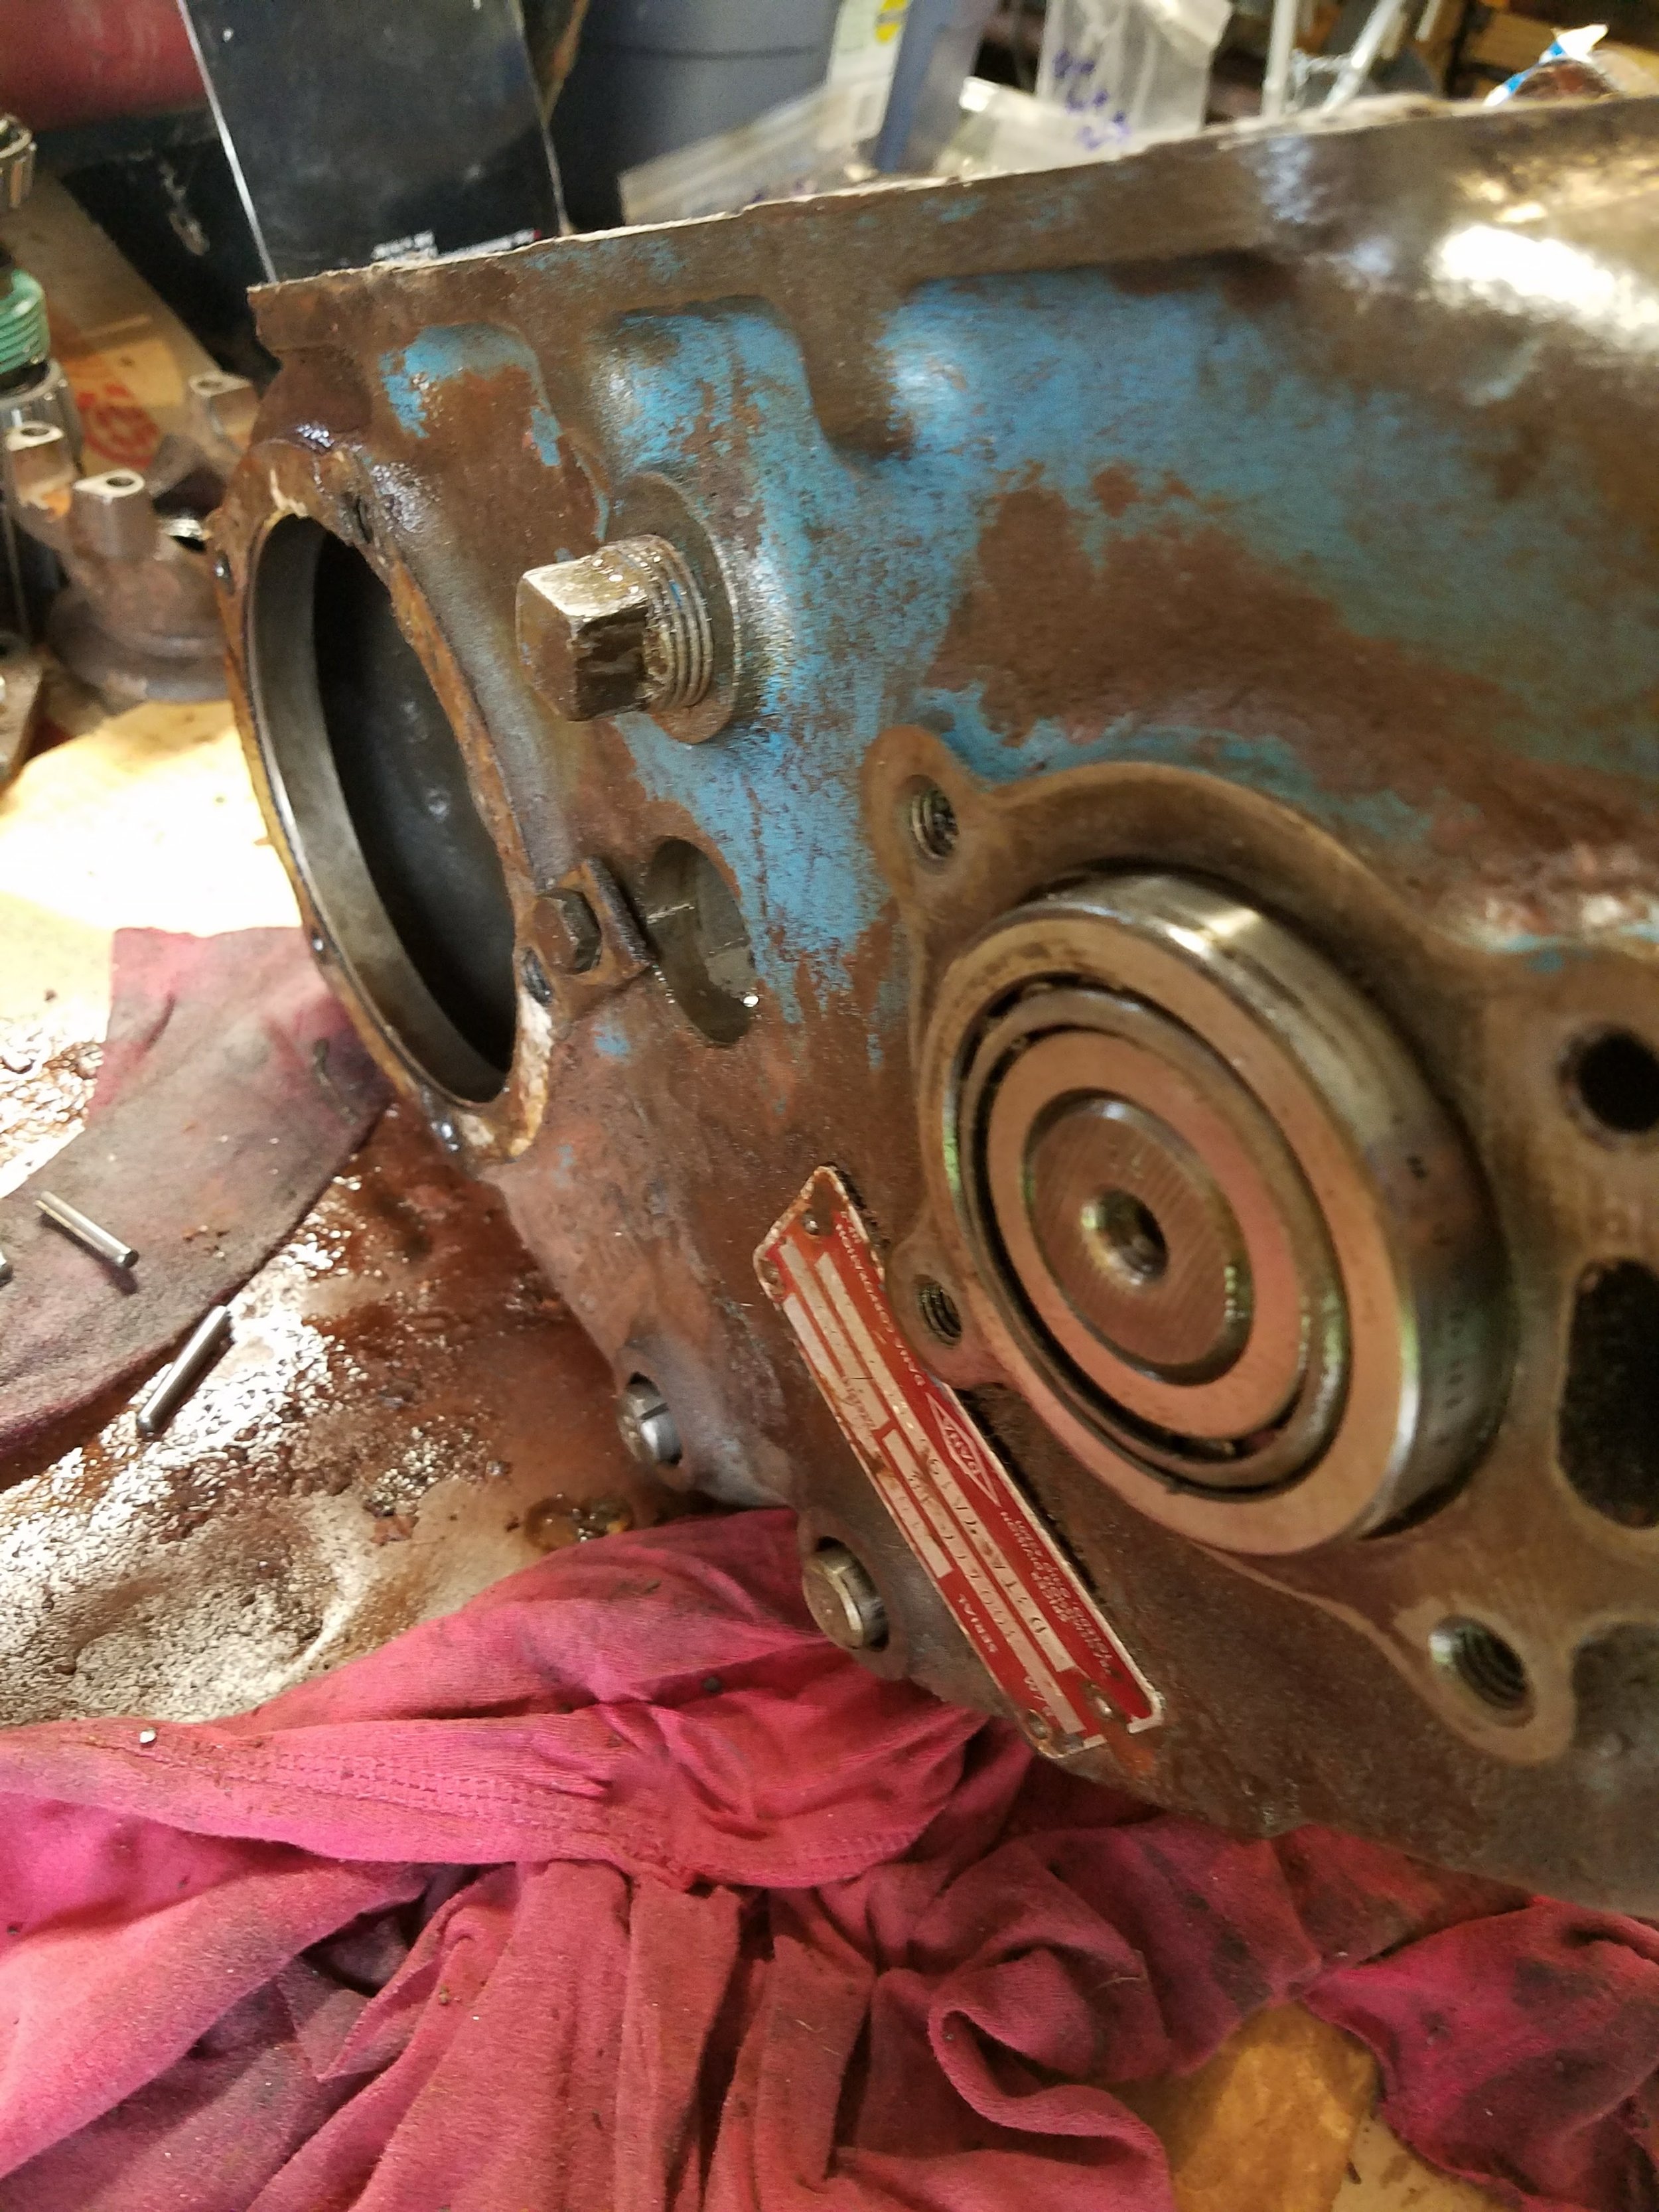
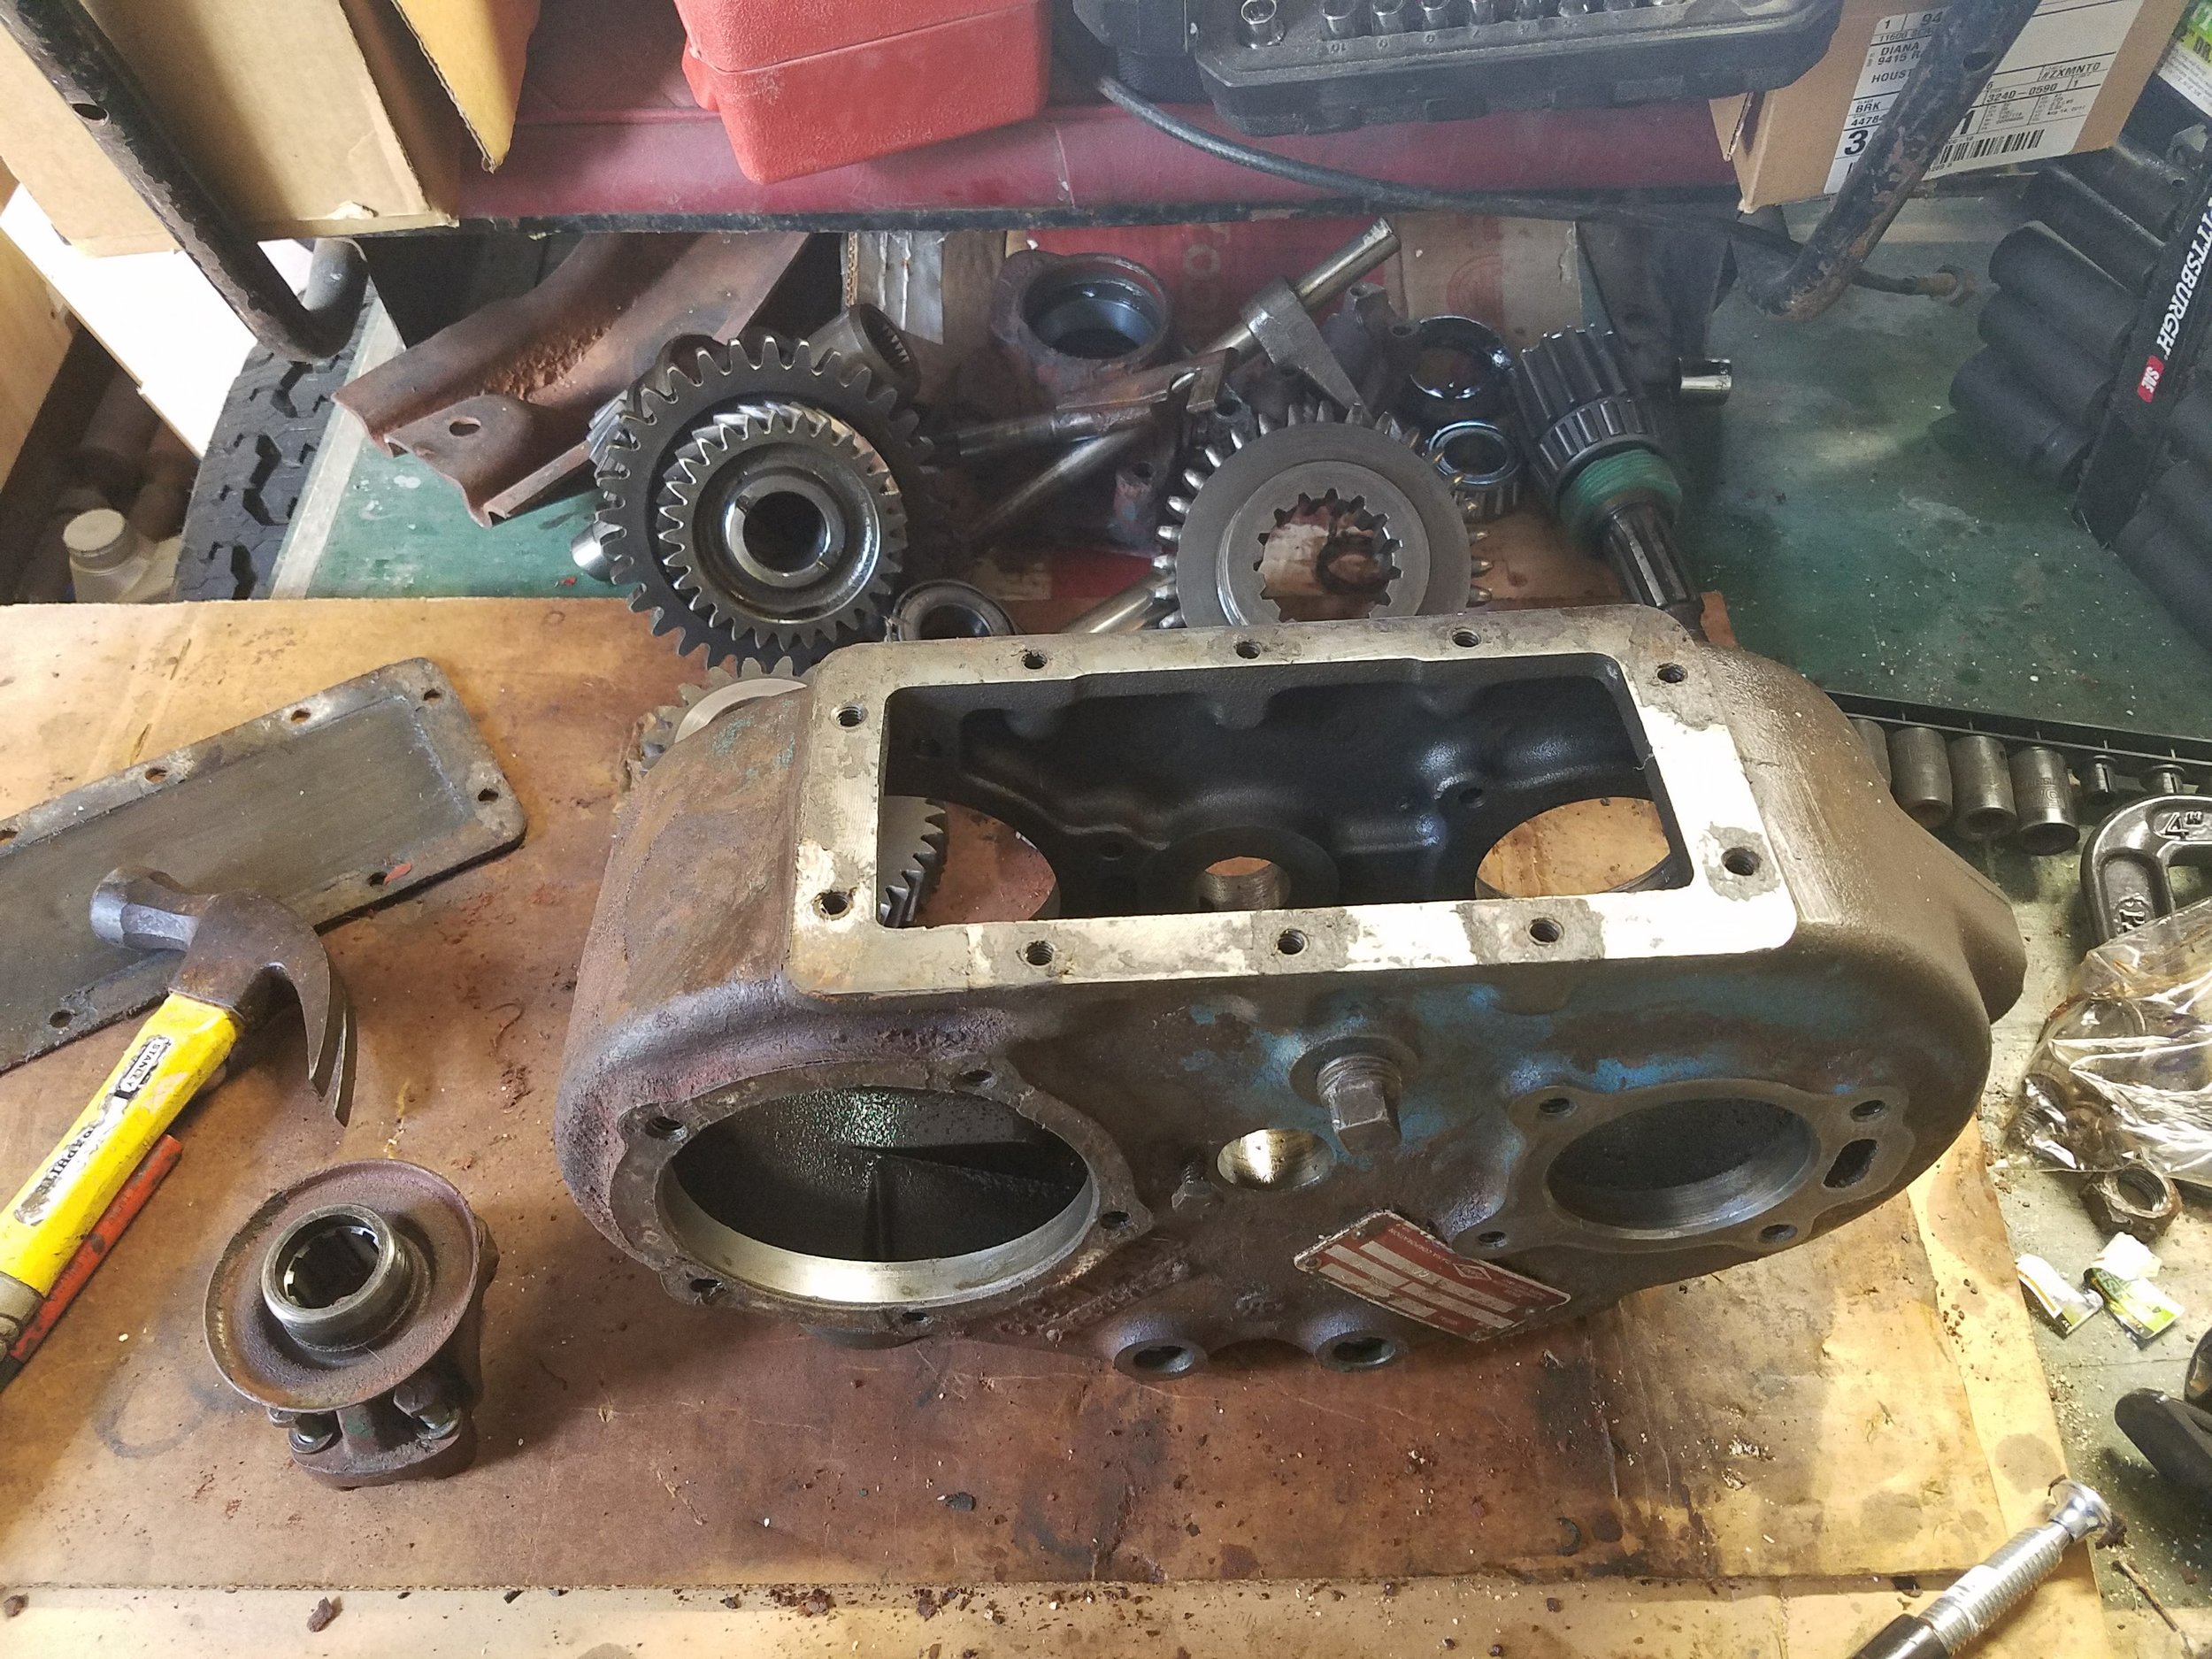
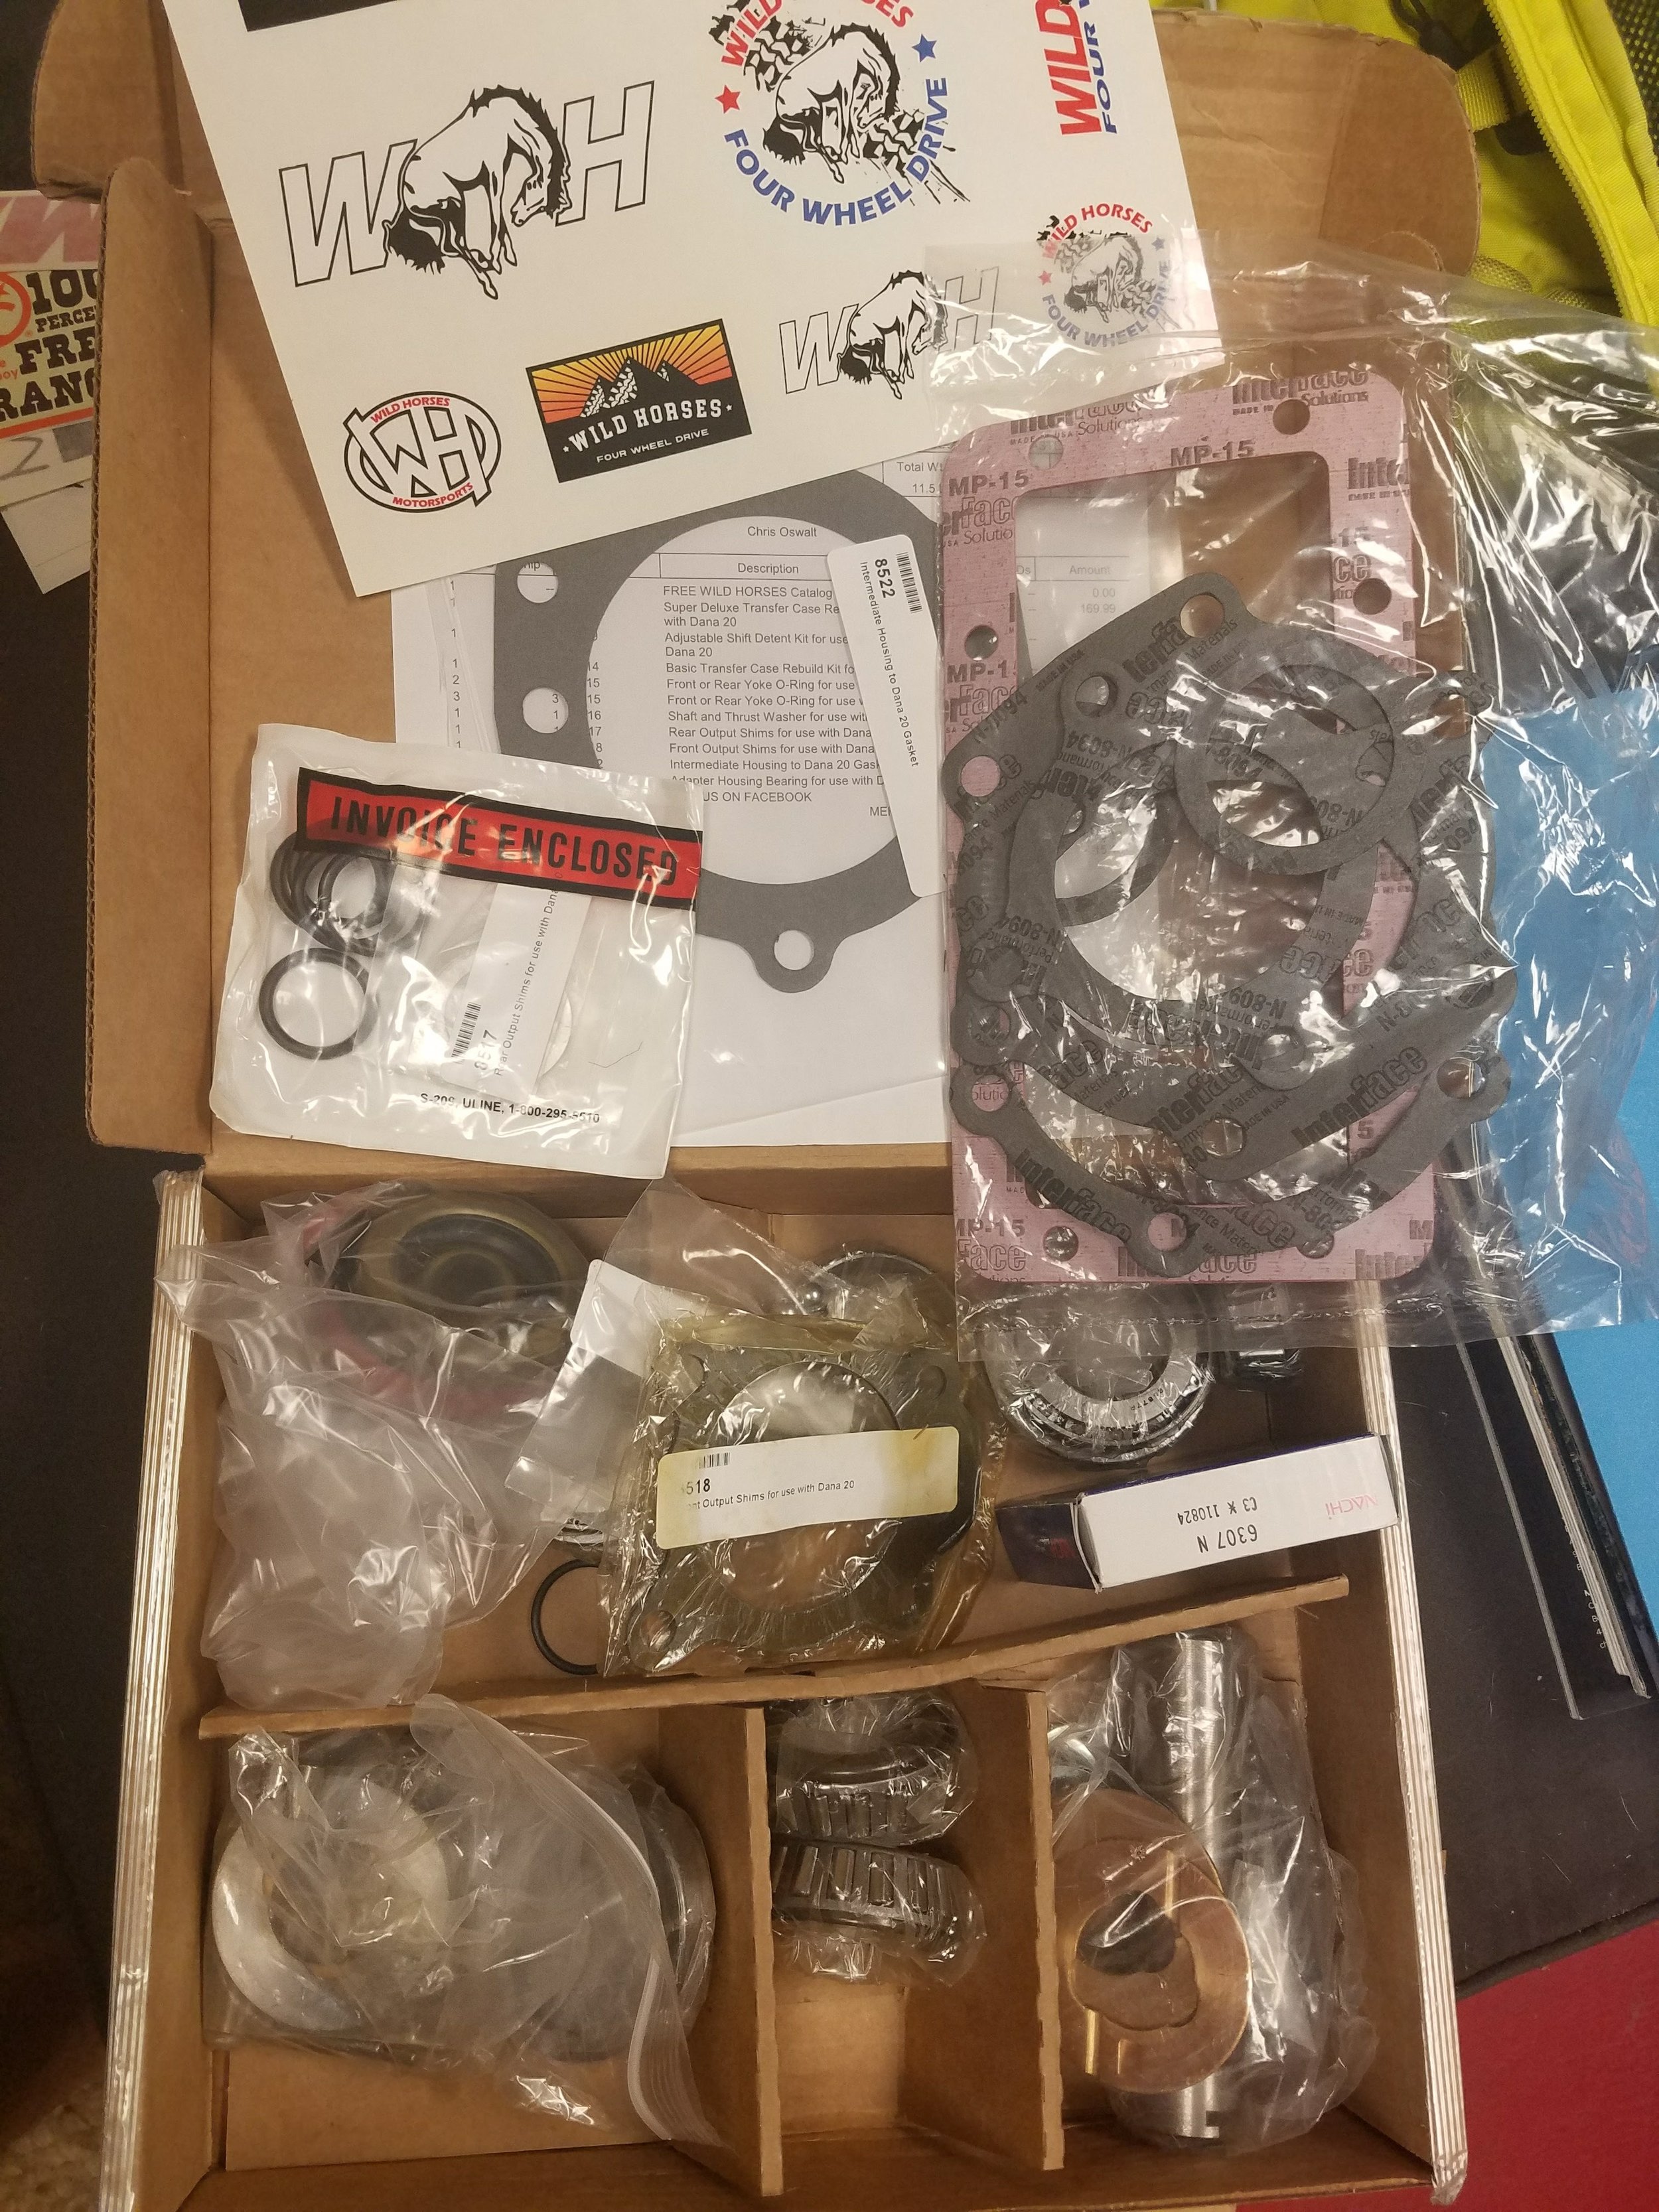
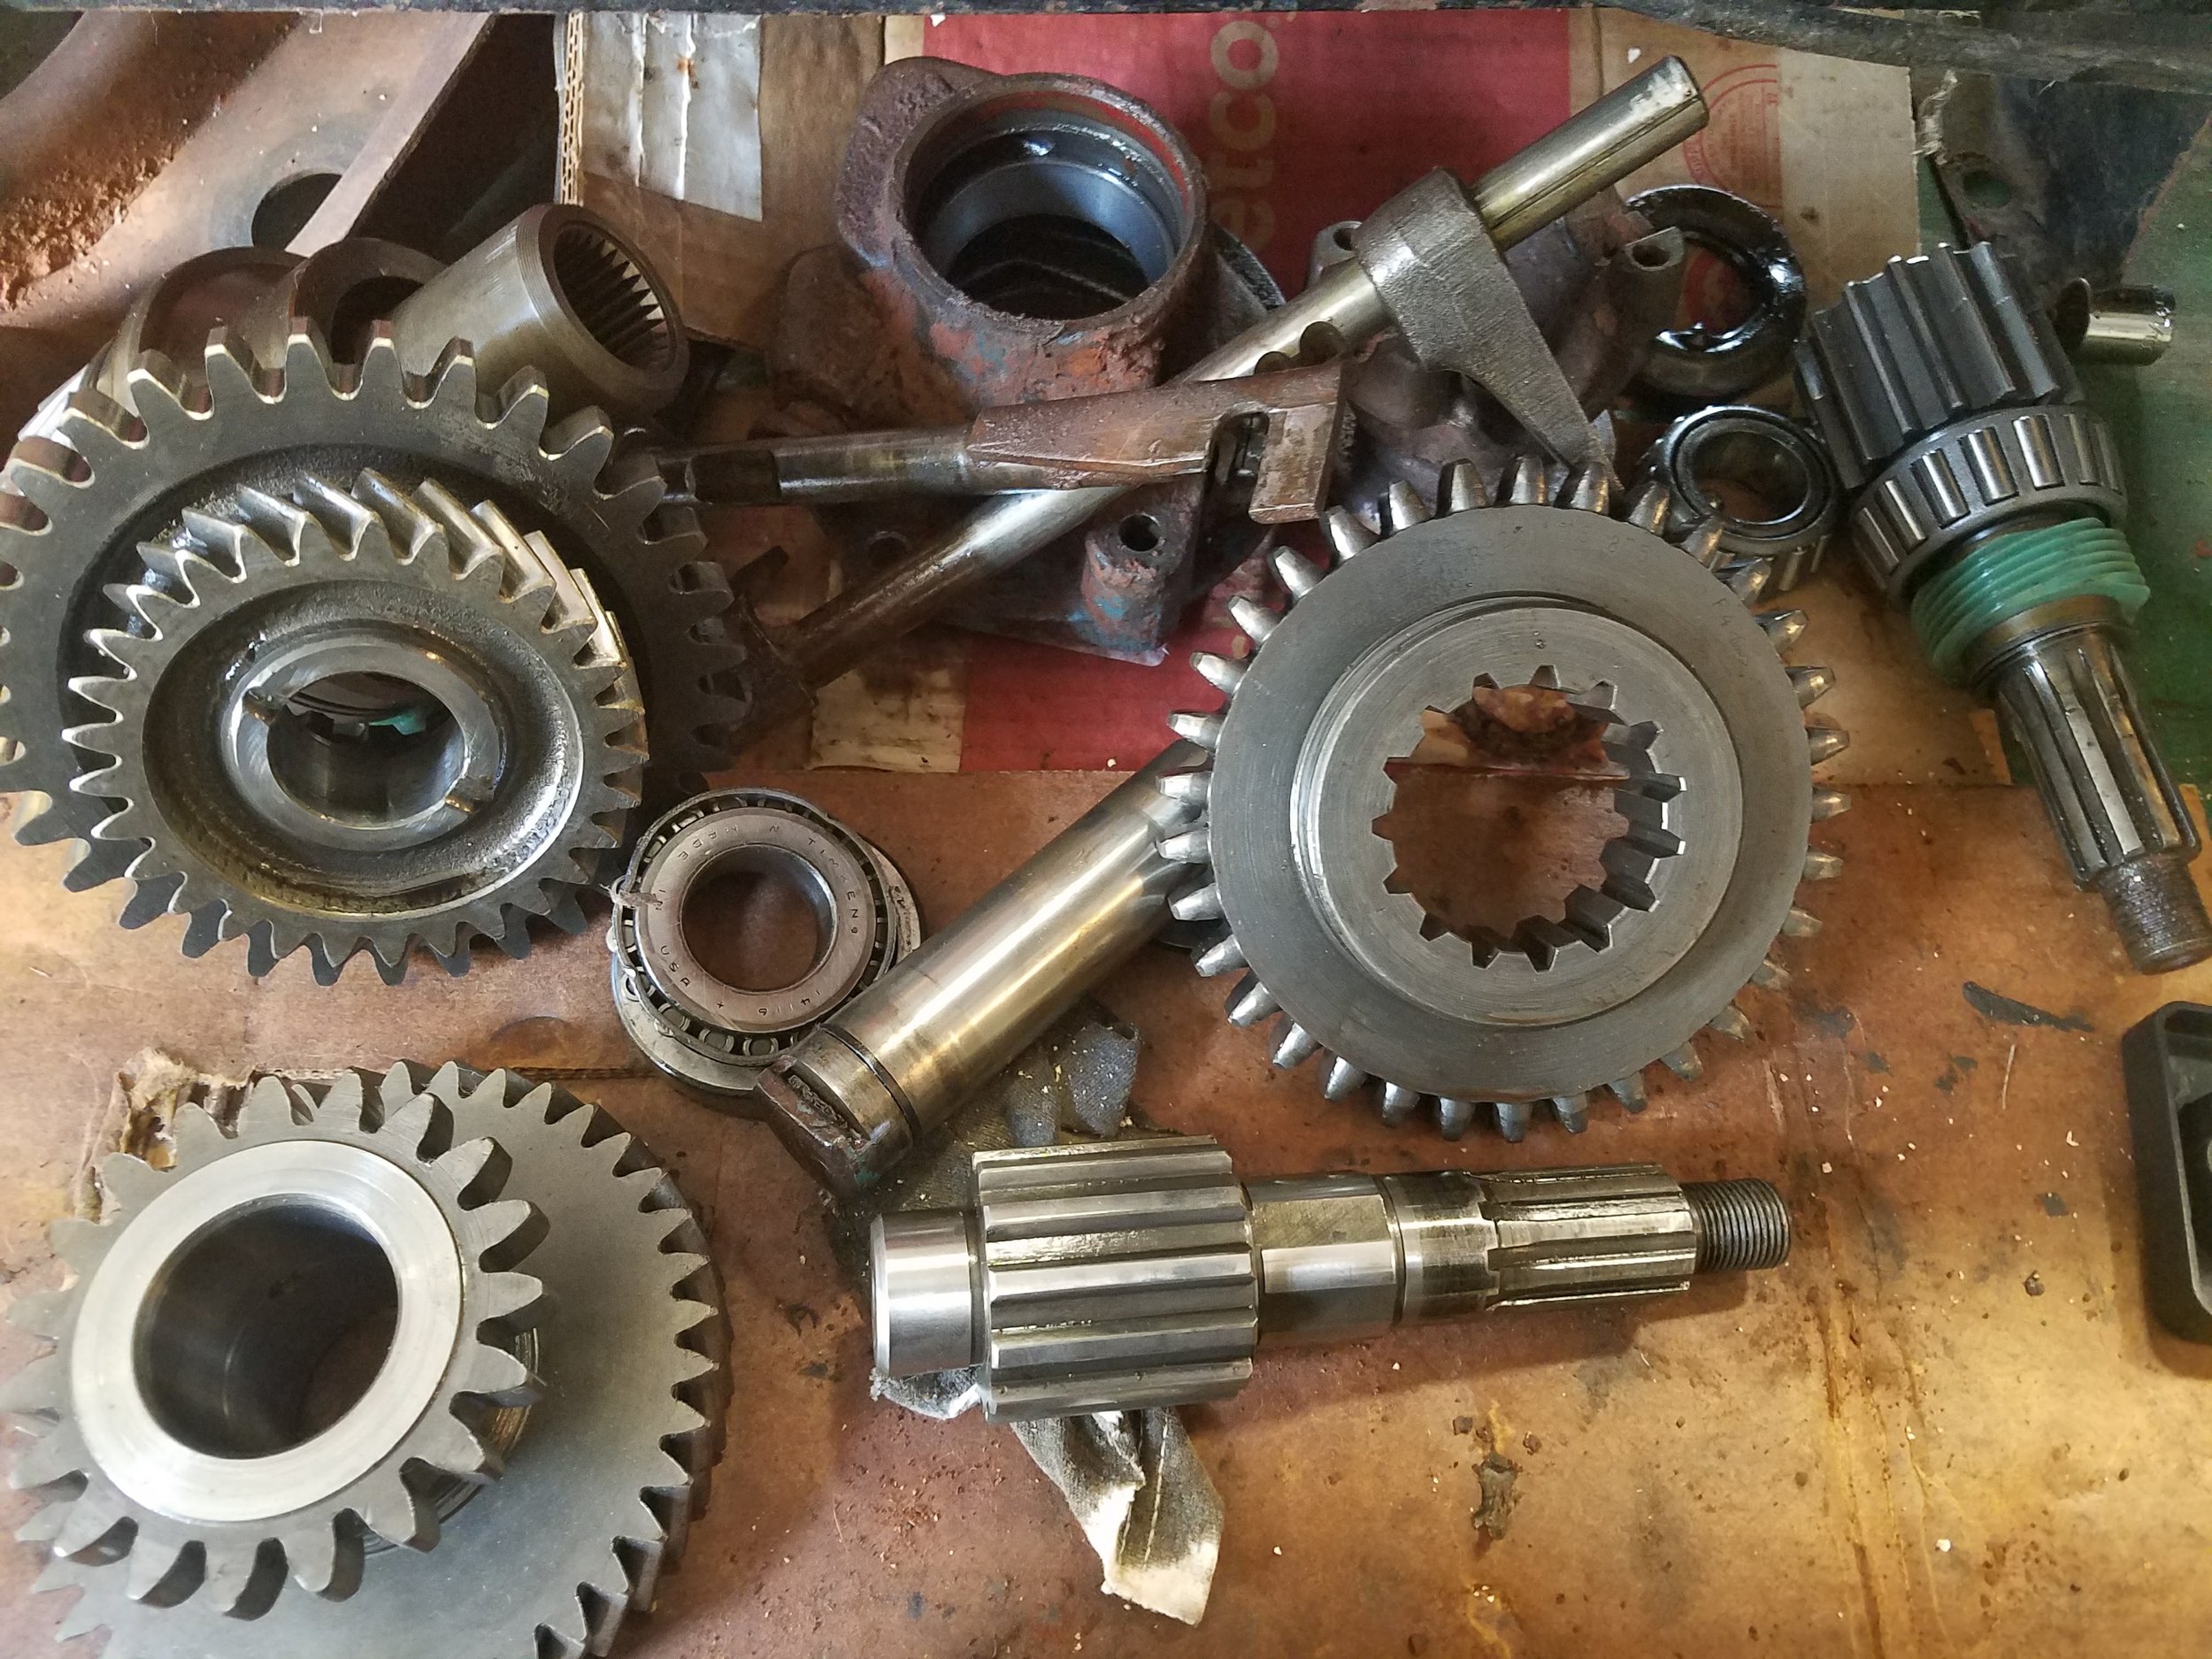
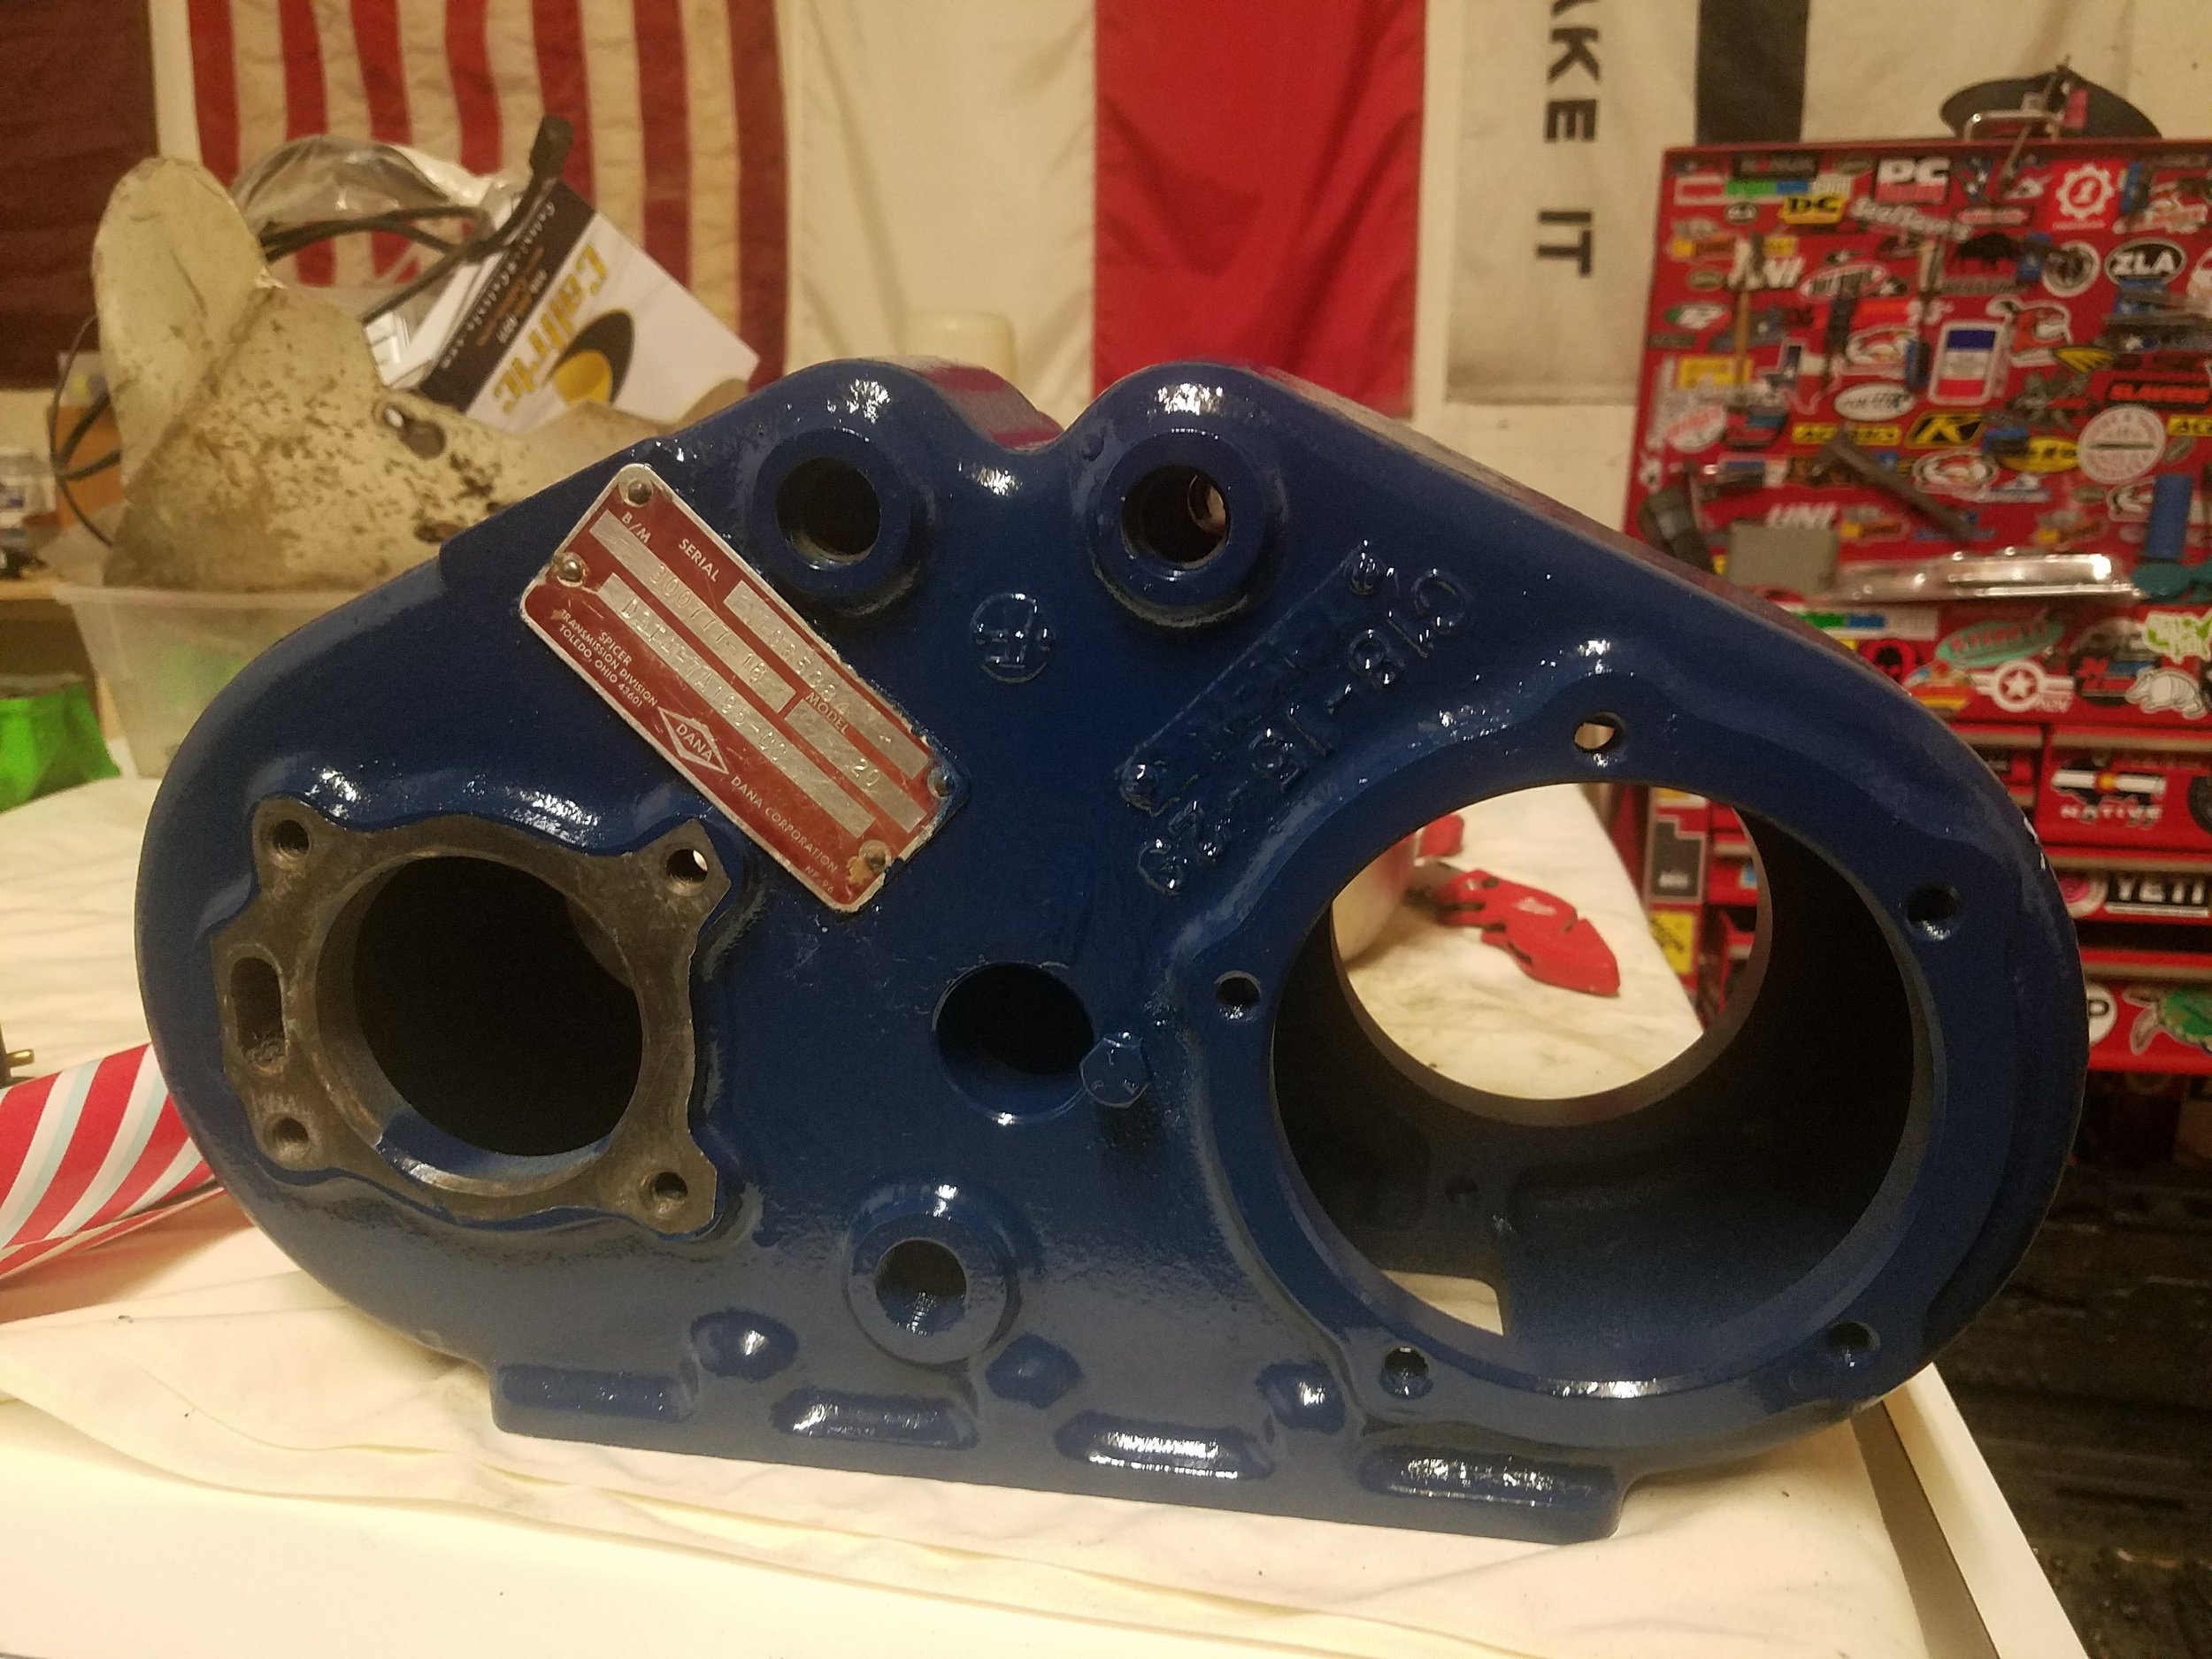
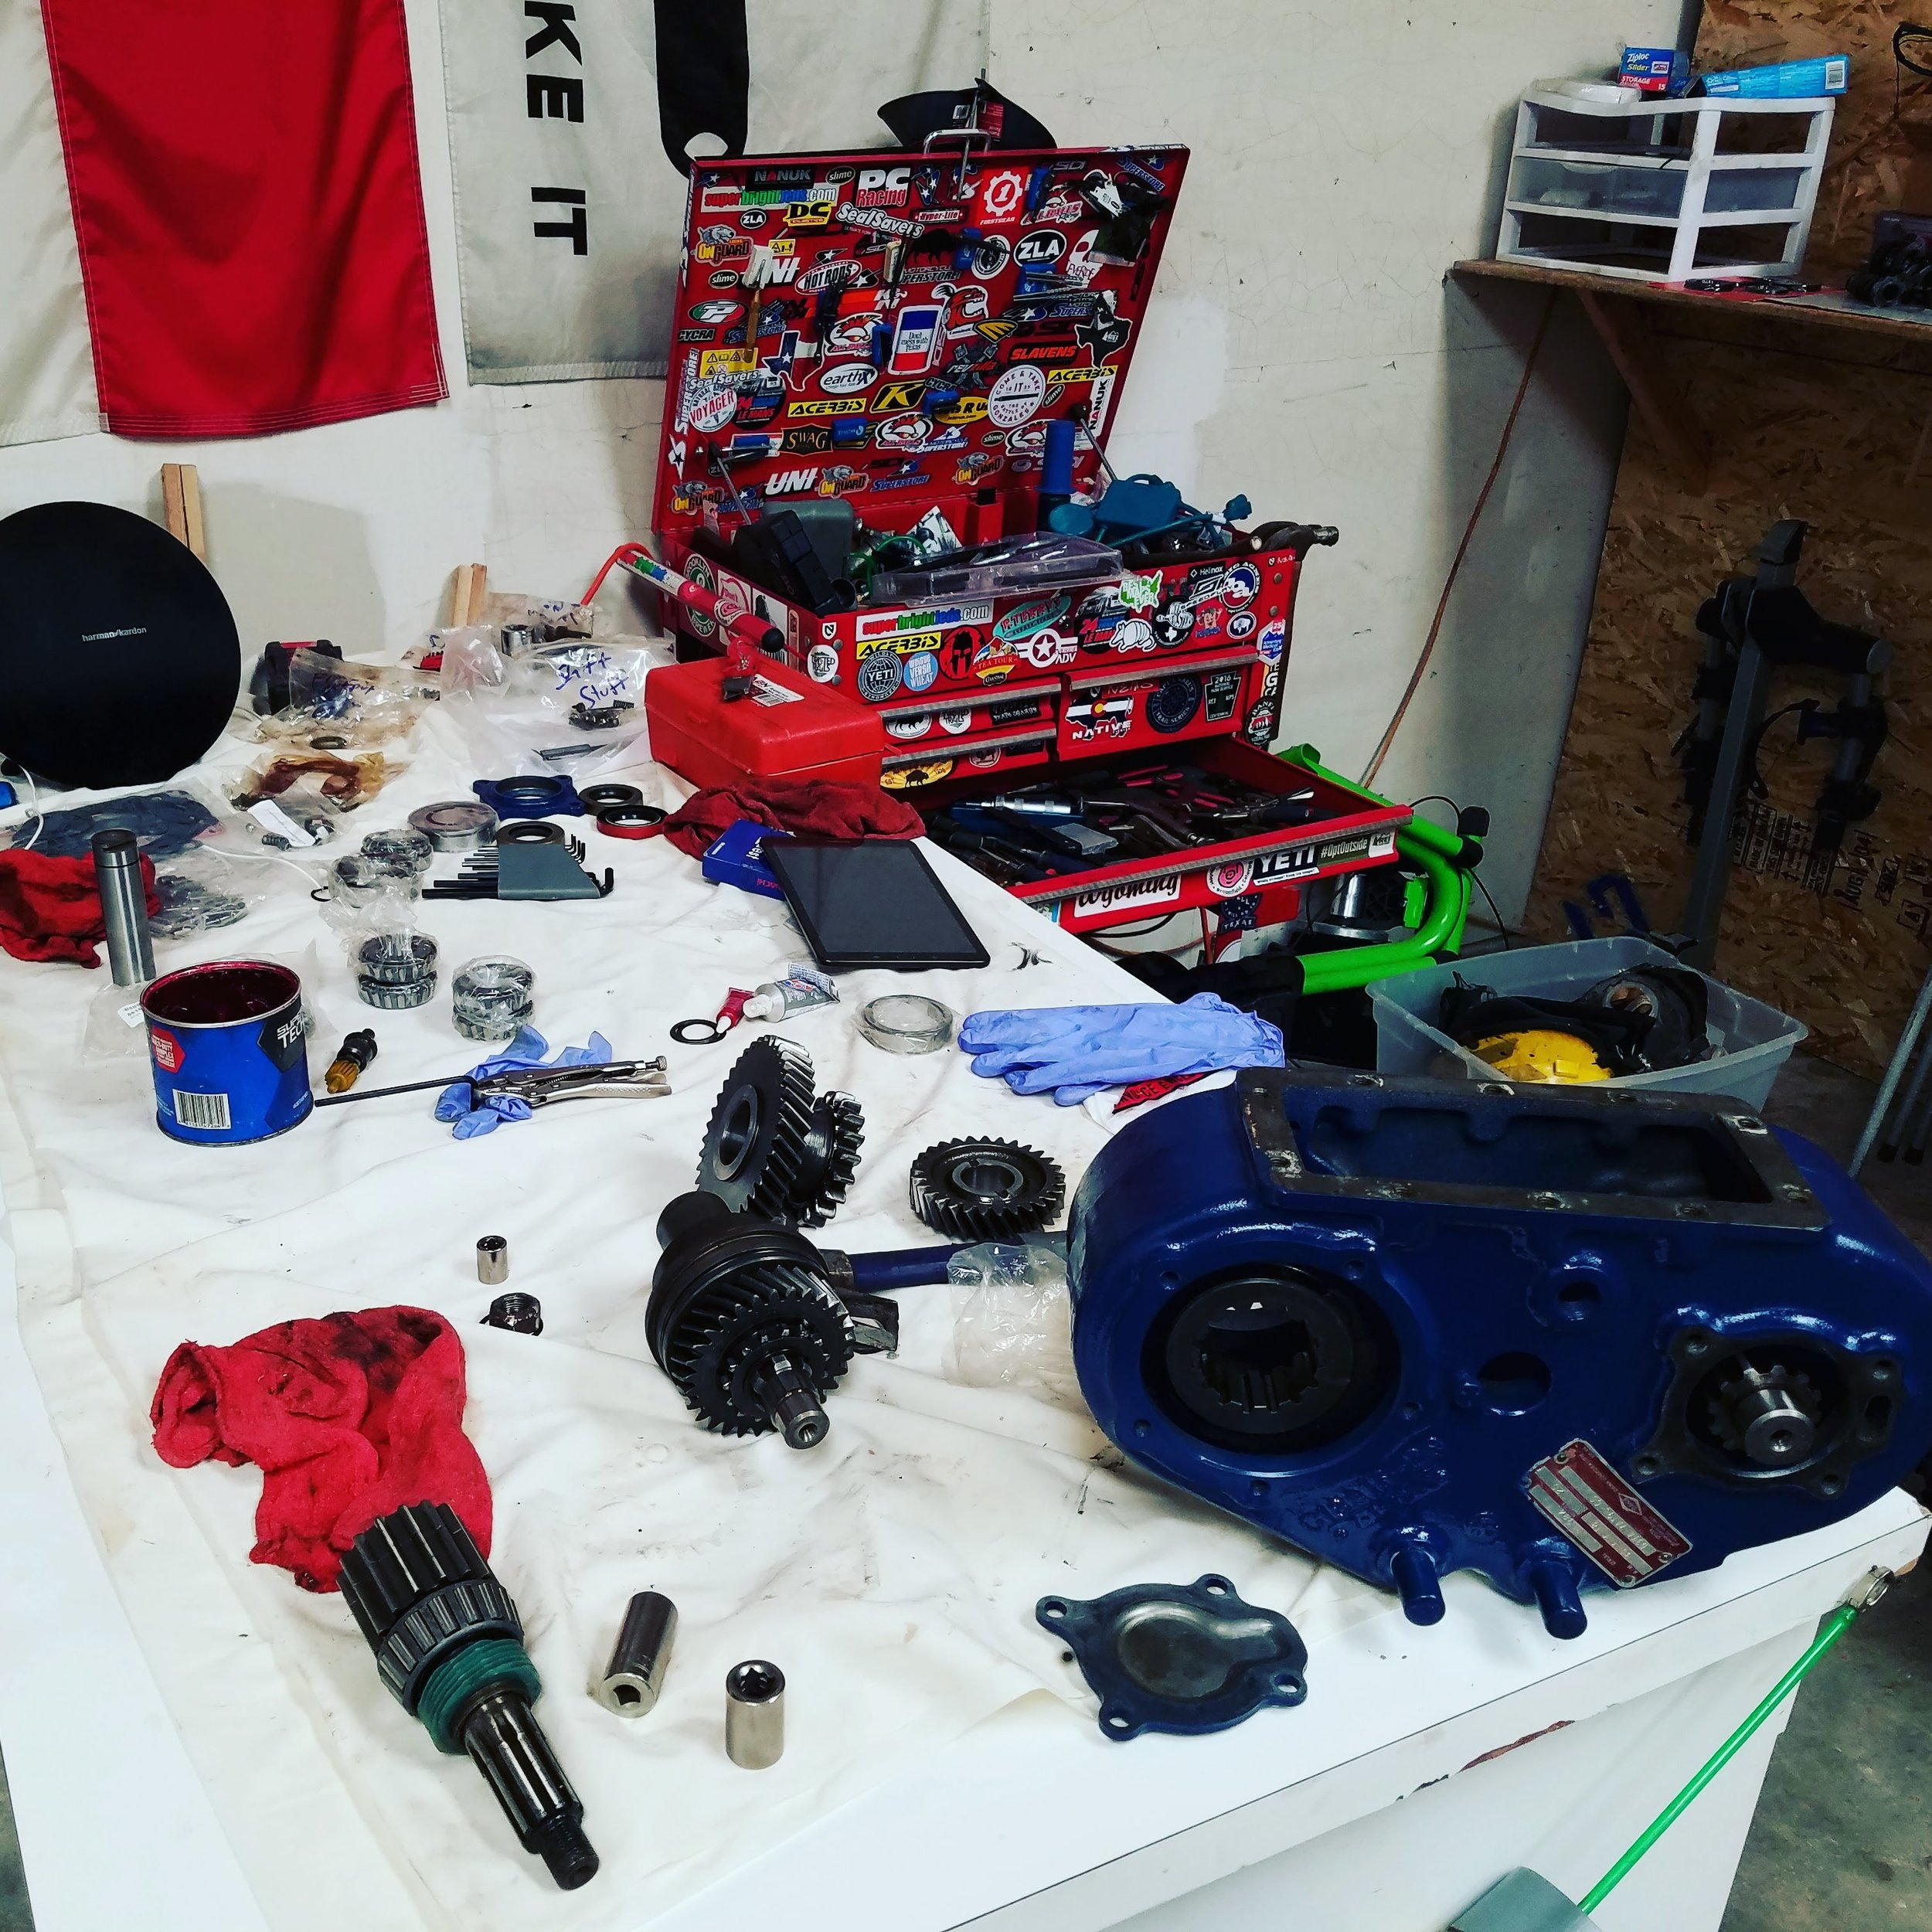
Also in the works with the bronco is the transfer case. Aside from being caked with Oklahoma mud, it wasn’t shifting in to gear reliably when we got the truck. So I began taking it apart. Rebuild kits are cheap and consist of a ton of tapered bearings and loose roller bearings. The hard part of the work is the cleaning. I need to get a 20 ton press to get the new bearings on. Planning on buying that today. There are no instruction which makes putting it back together hard, but I took plenty of photos. The case will get a new shifting set up—a twin stick instead of a single. In this way the front and rear differentials can be controlled independently, When I took the case apart, it was full of ATF instead of gear oil which was curious. This is indicative of a leak between the old automatic C4 and the Dana 20 xfer case. The rebuild will fix all that up. Plus it’s ford blue now, a big win.

RT360-
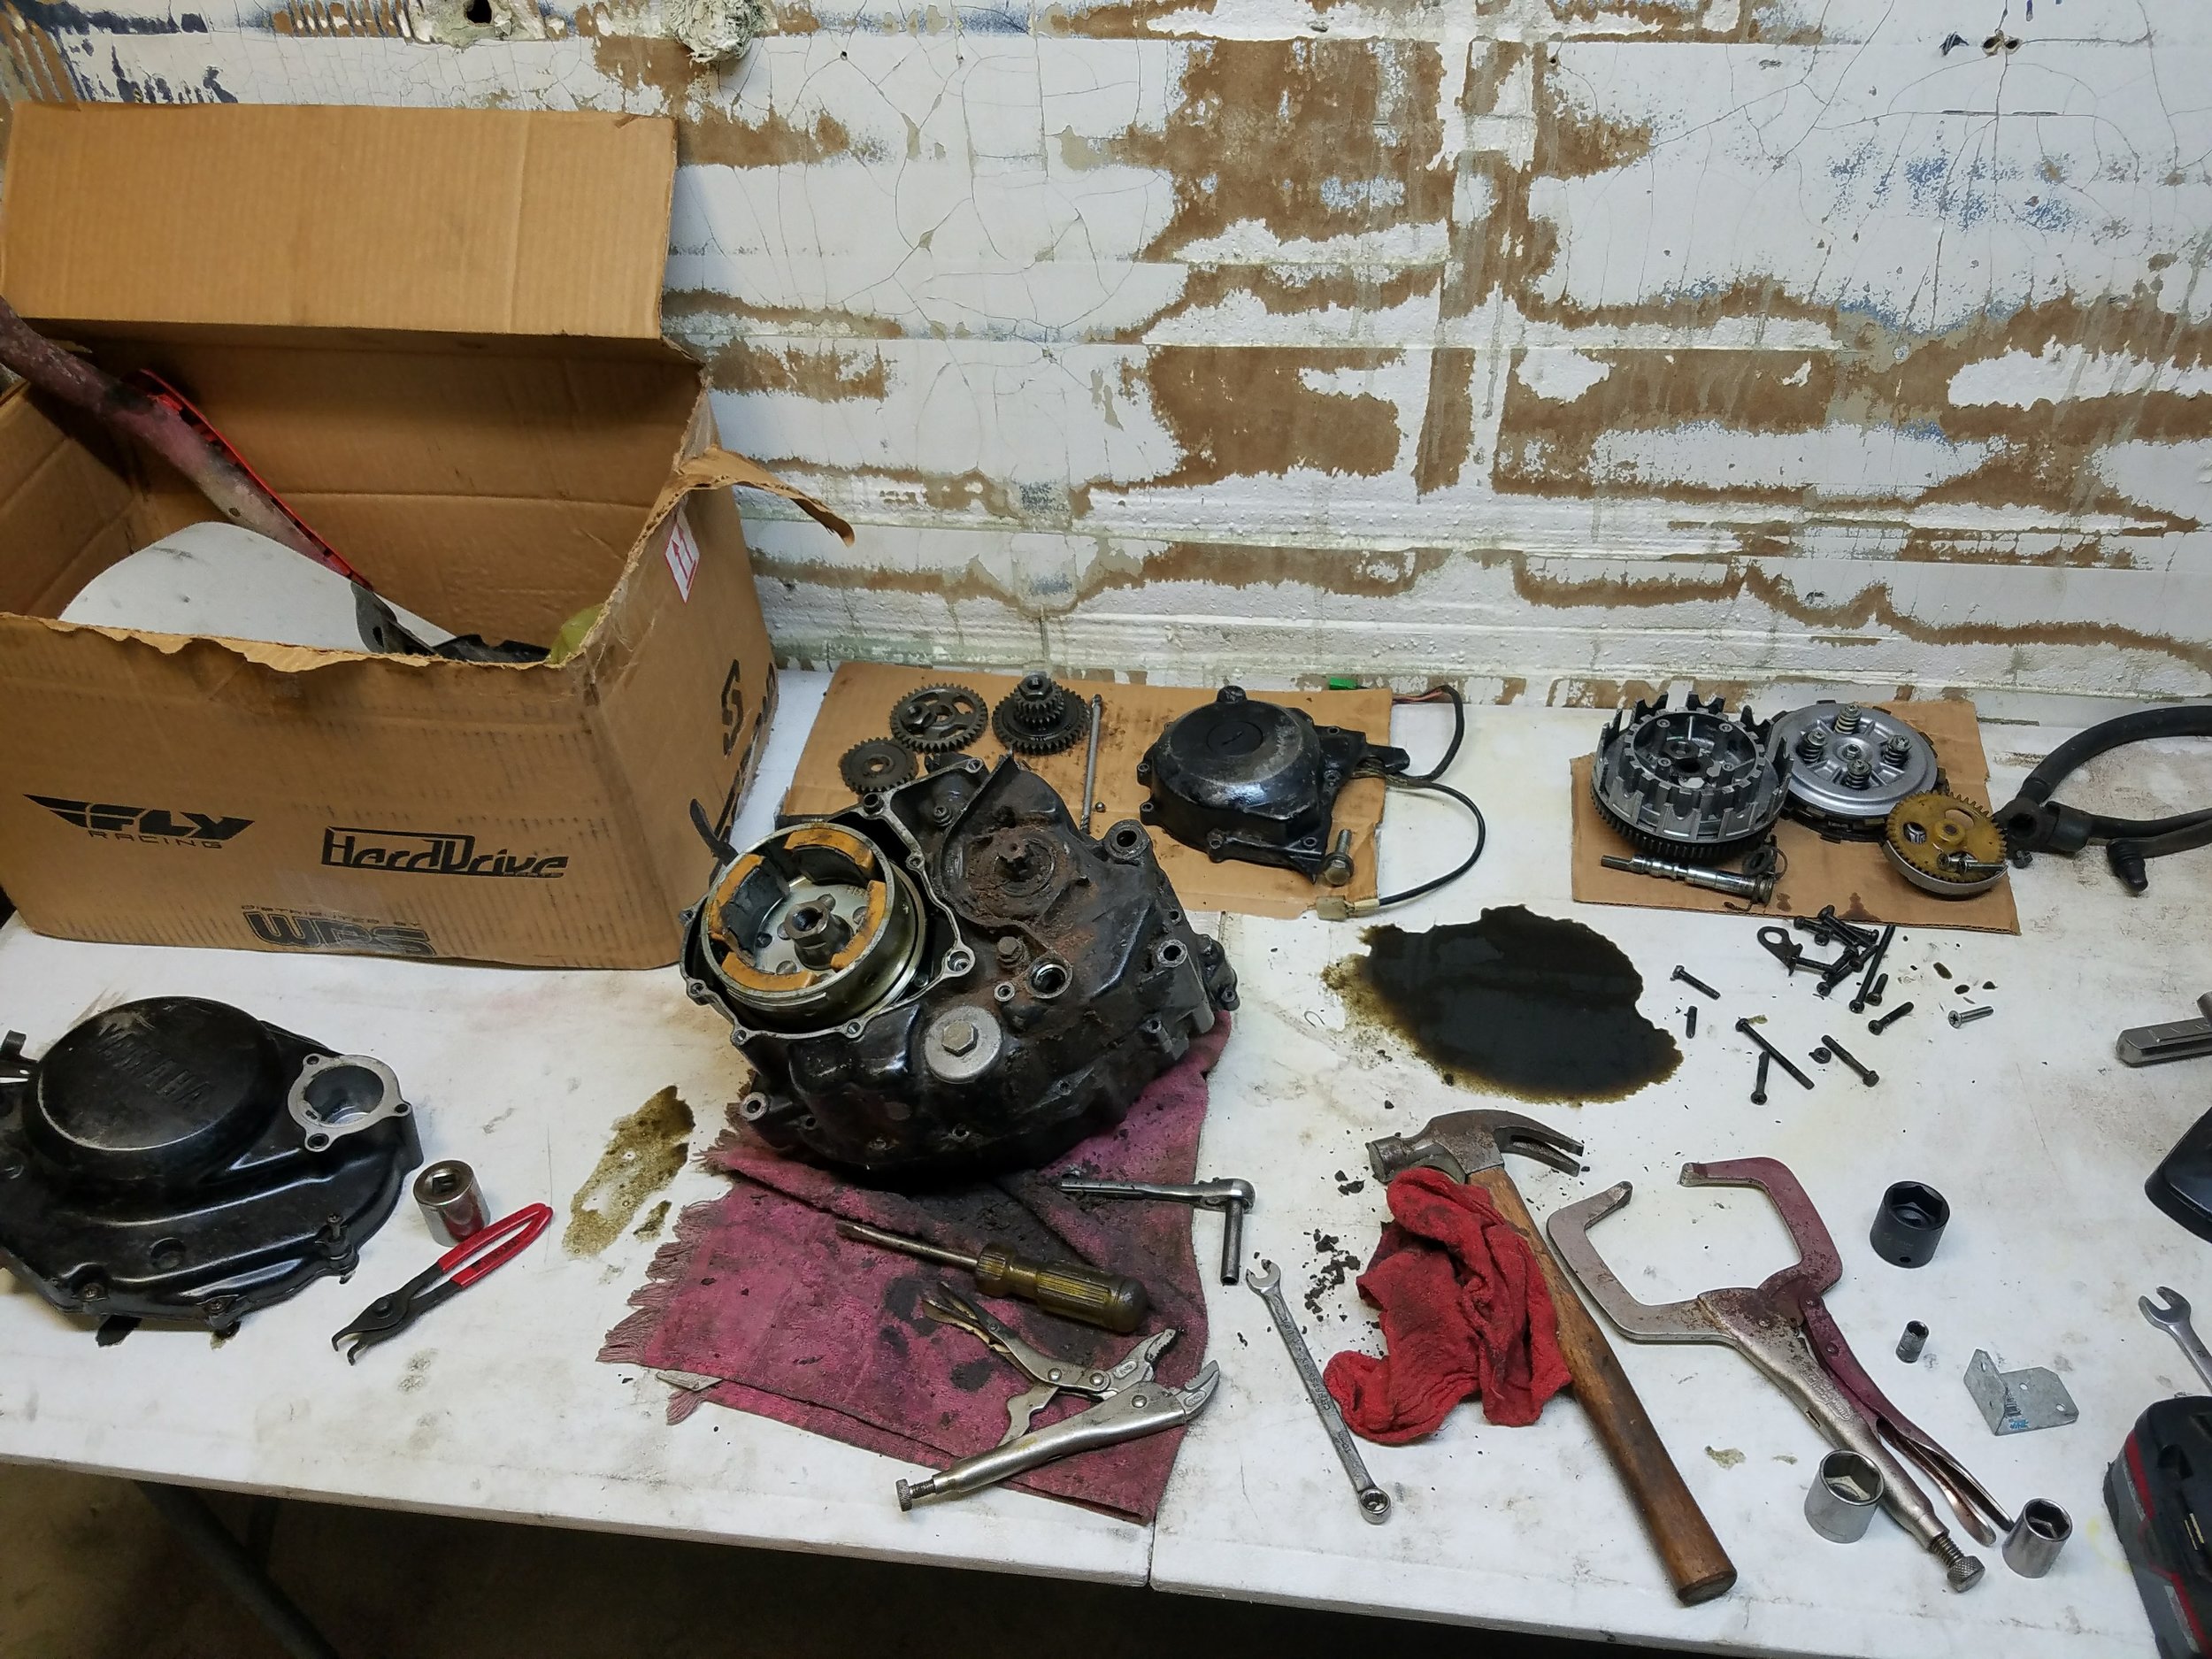
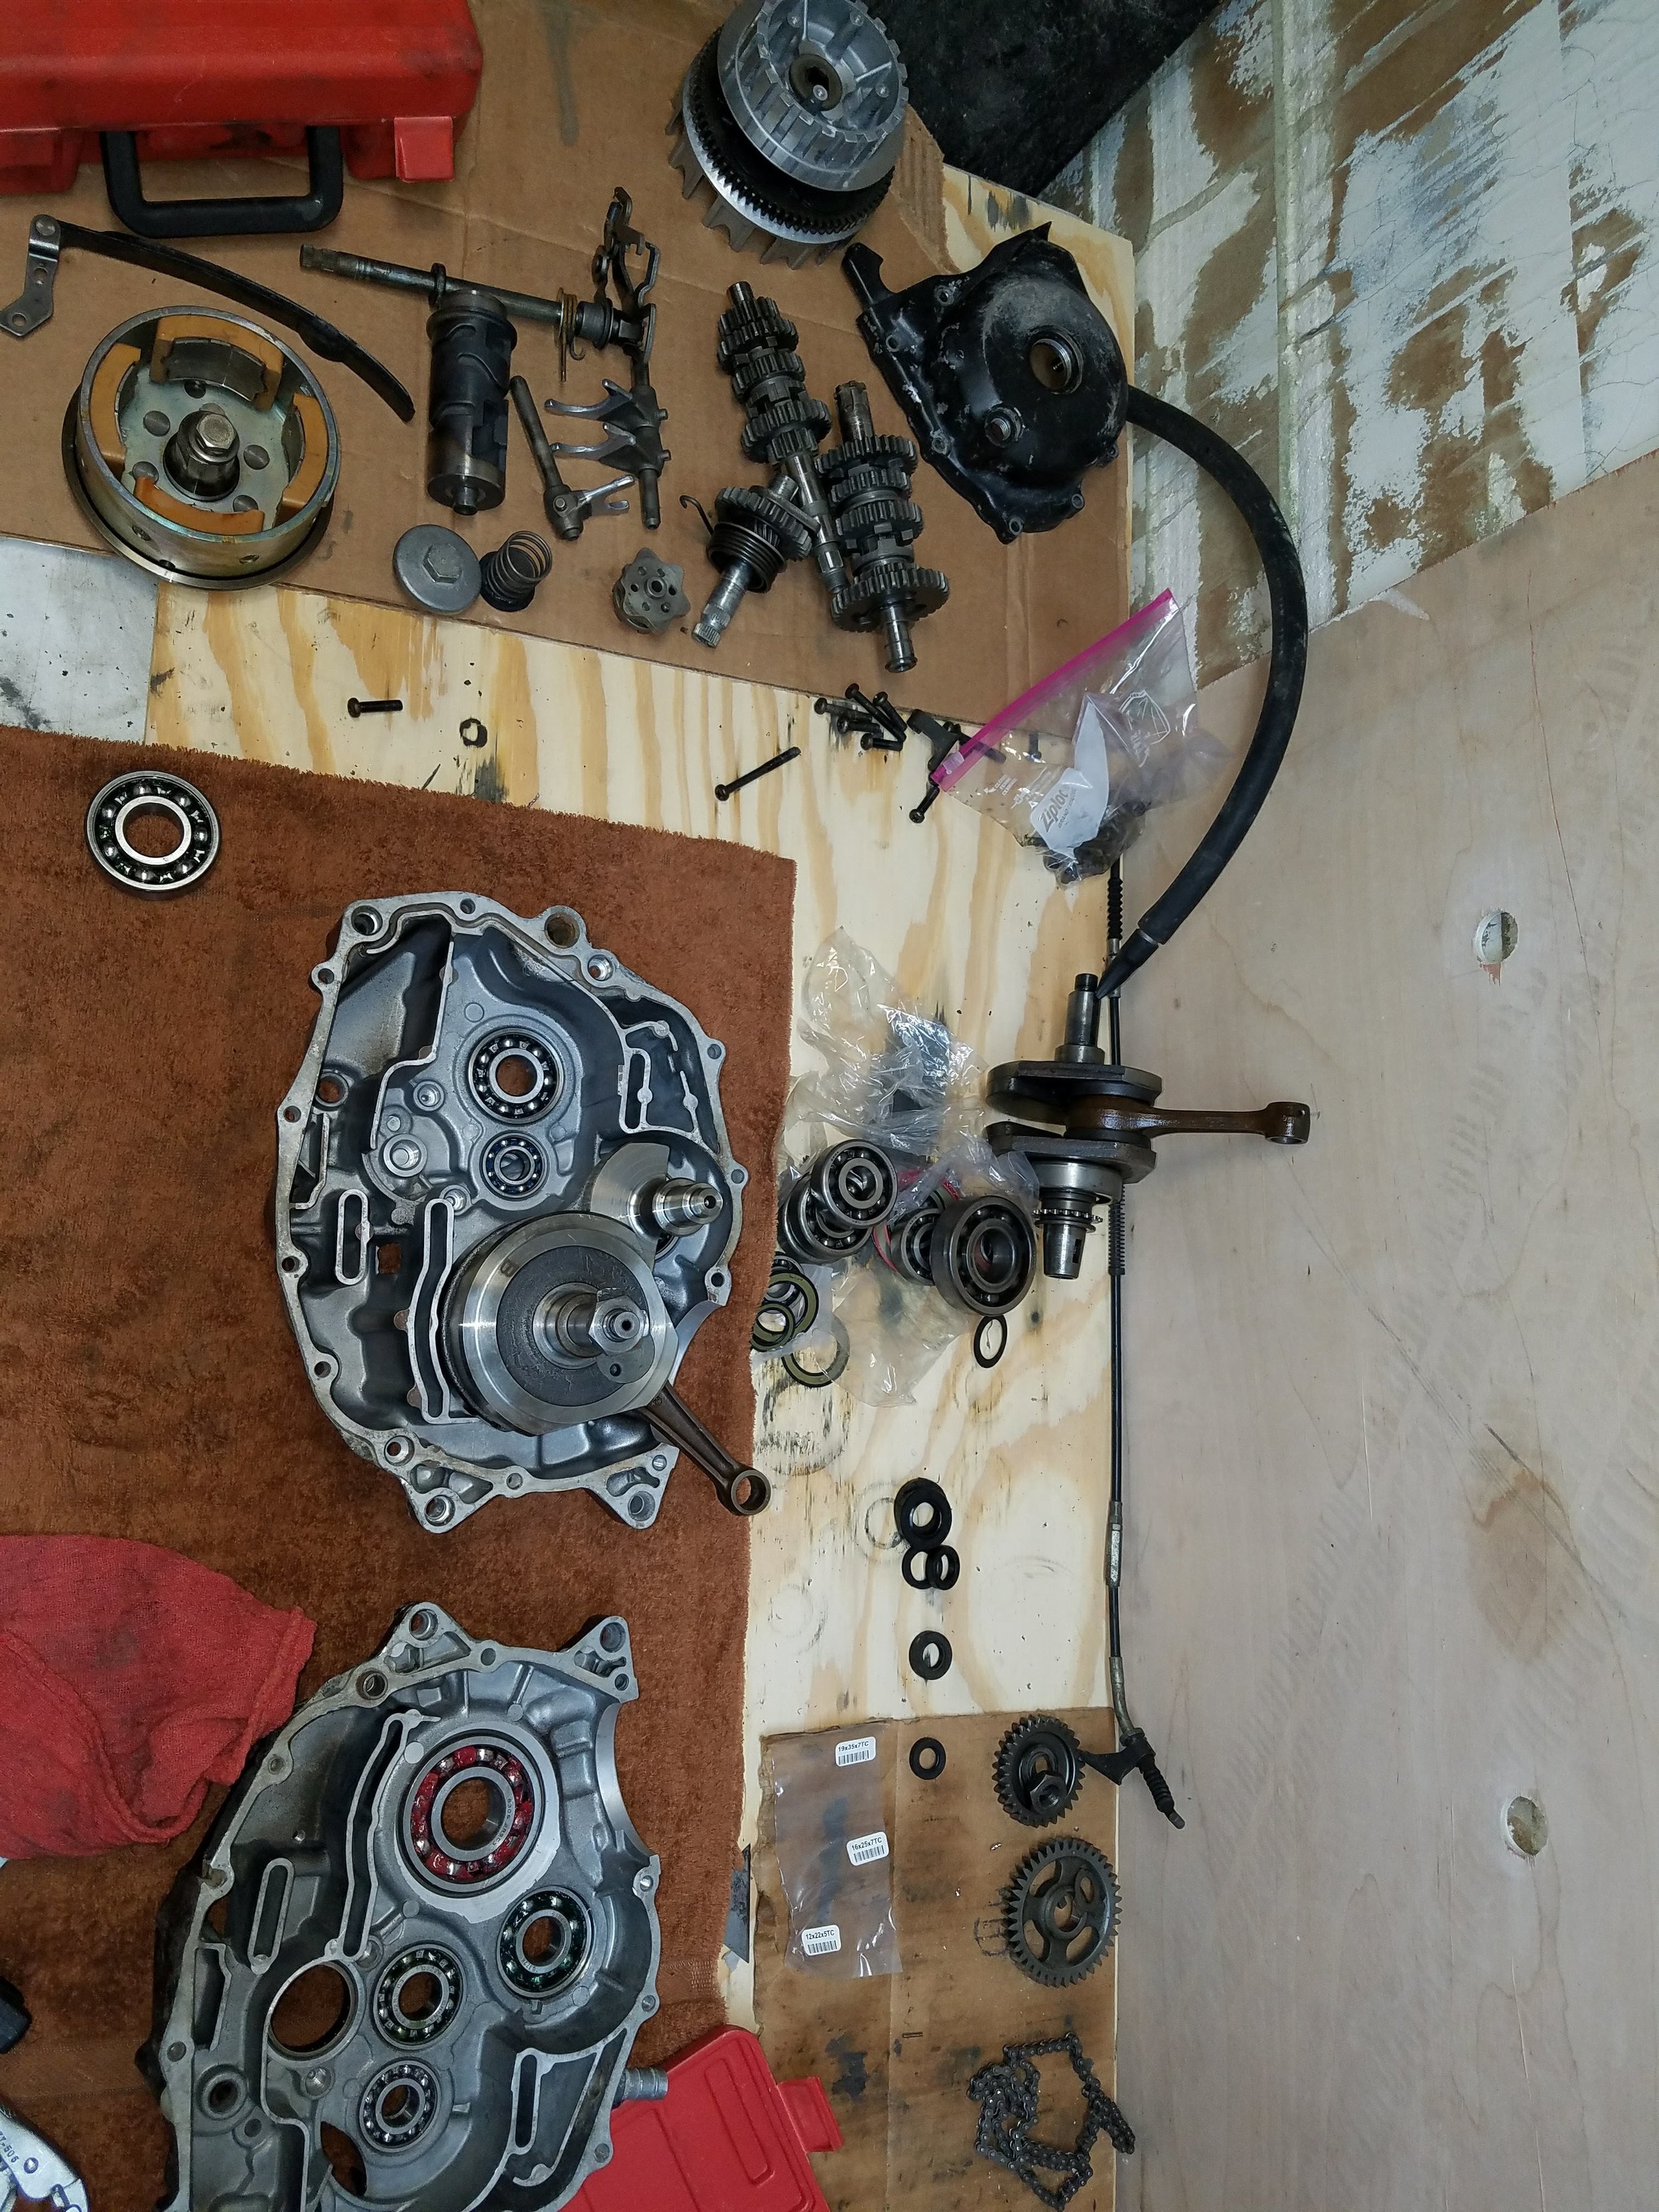
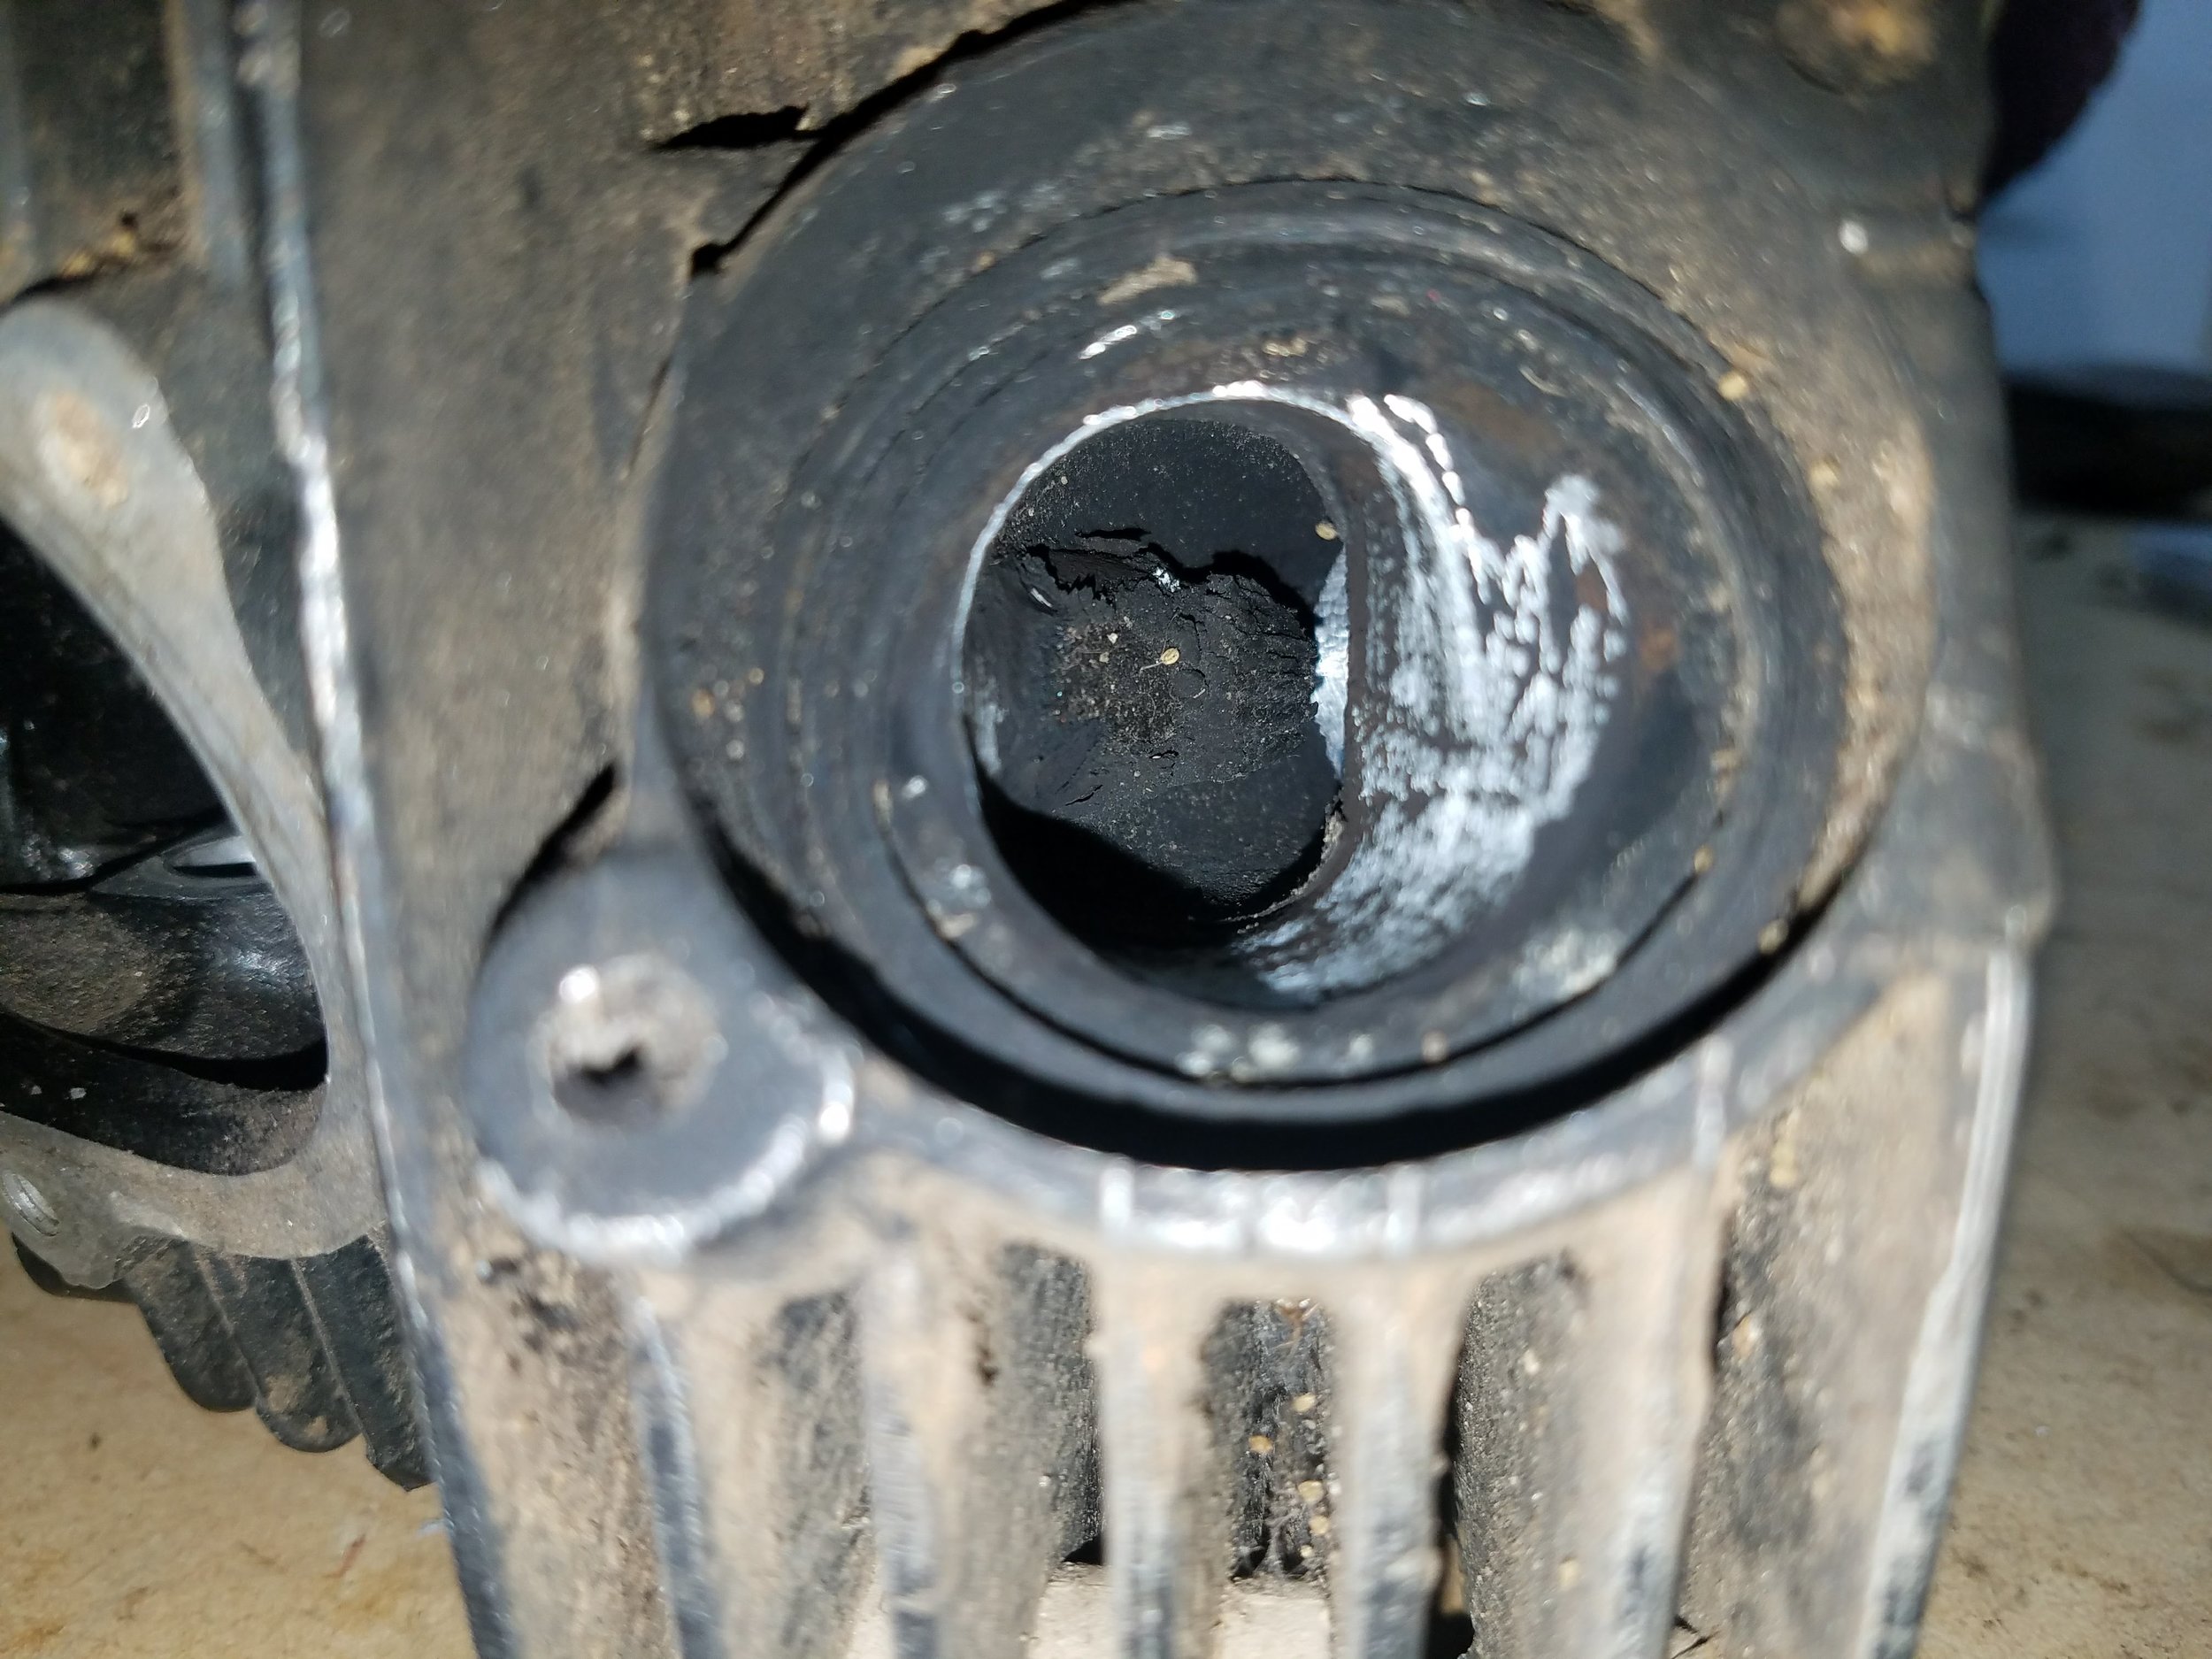
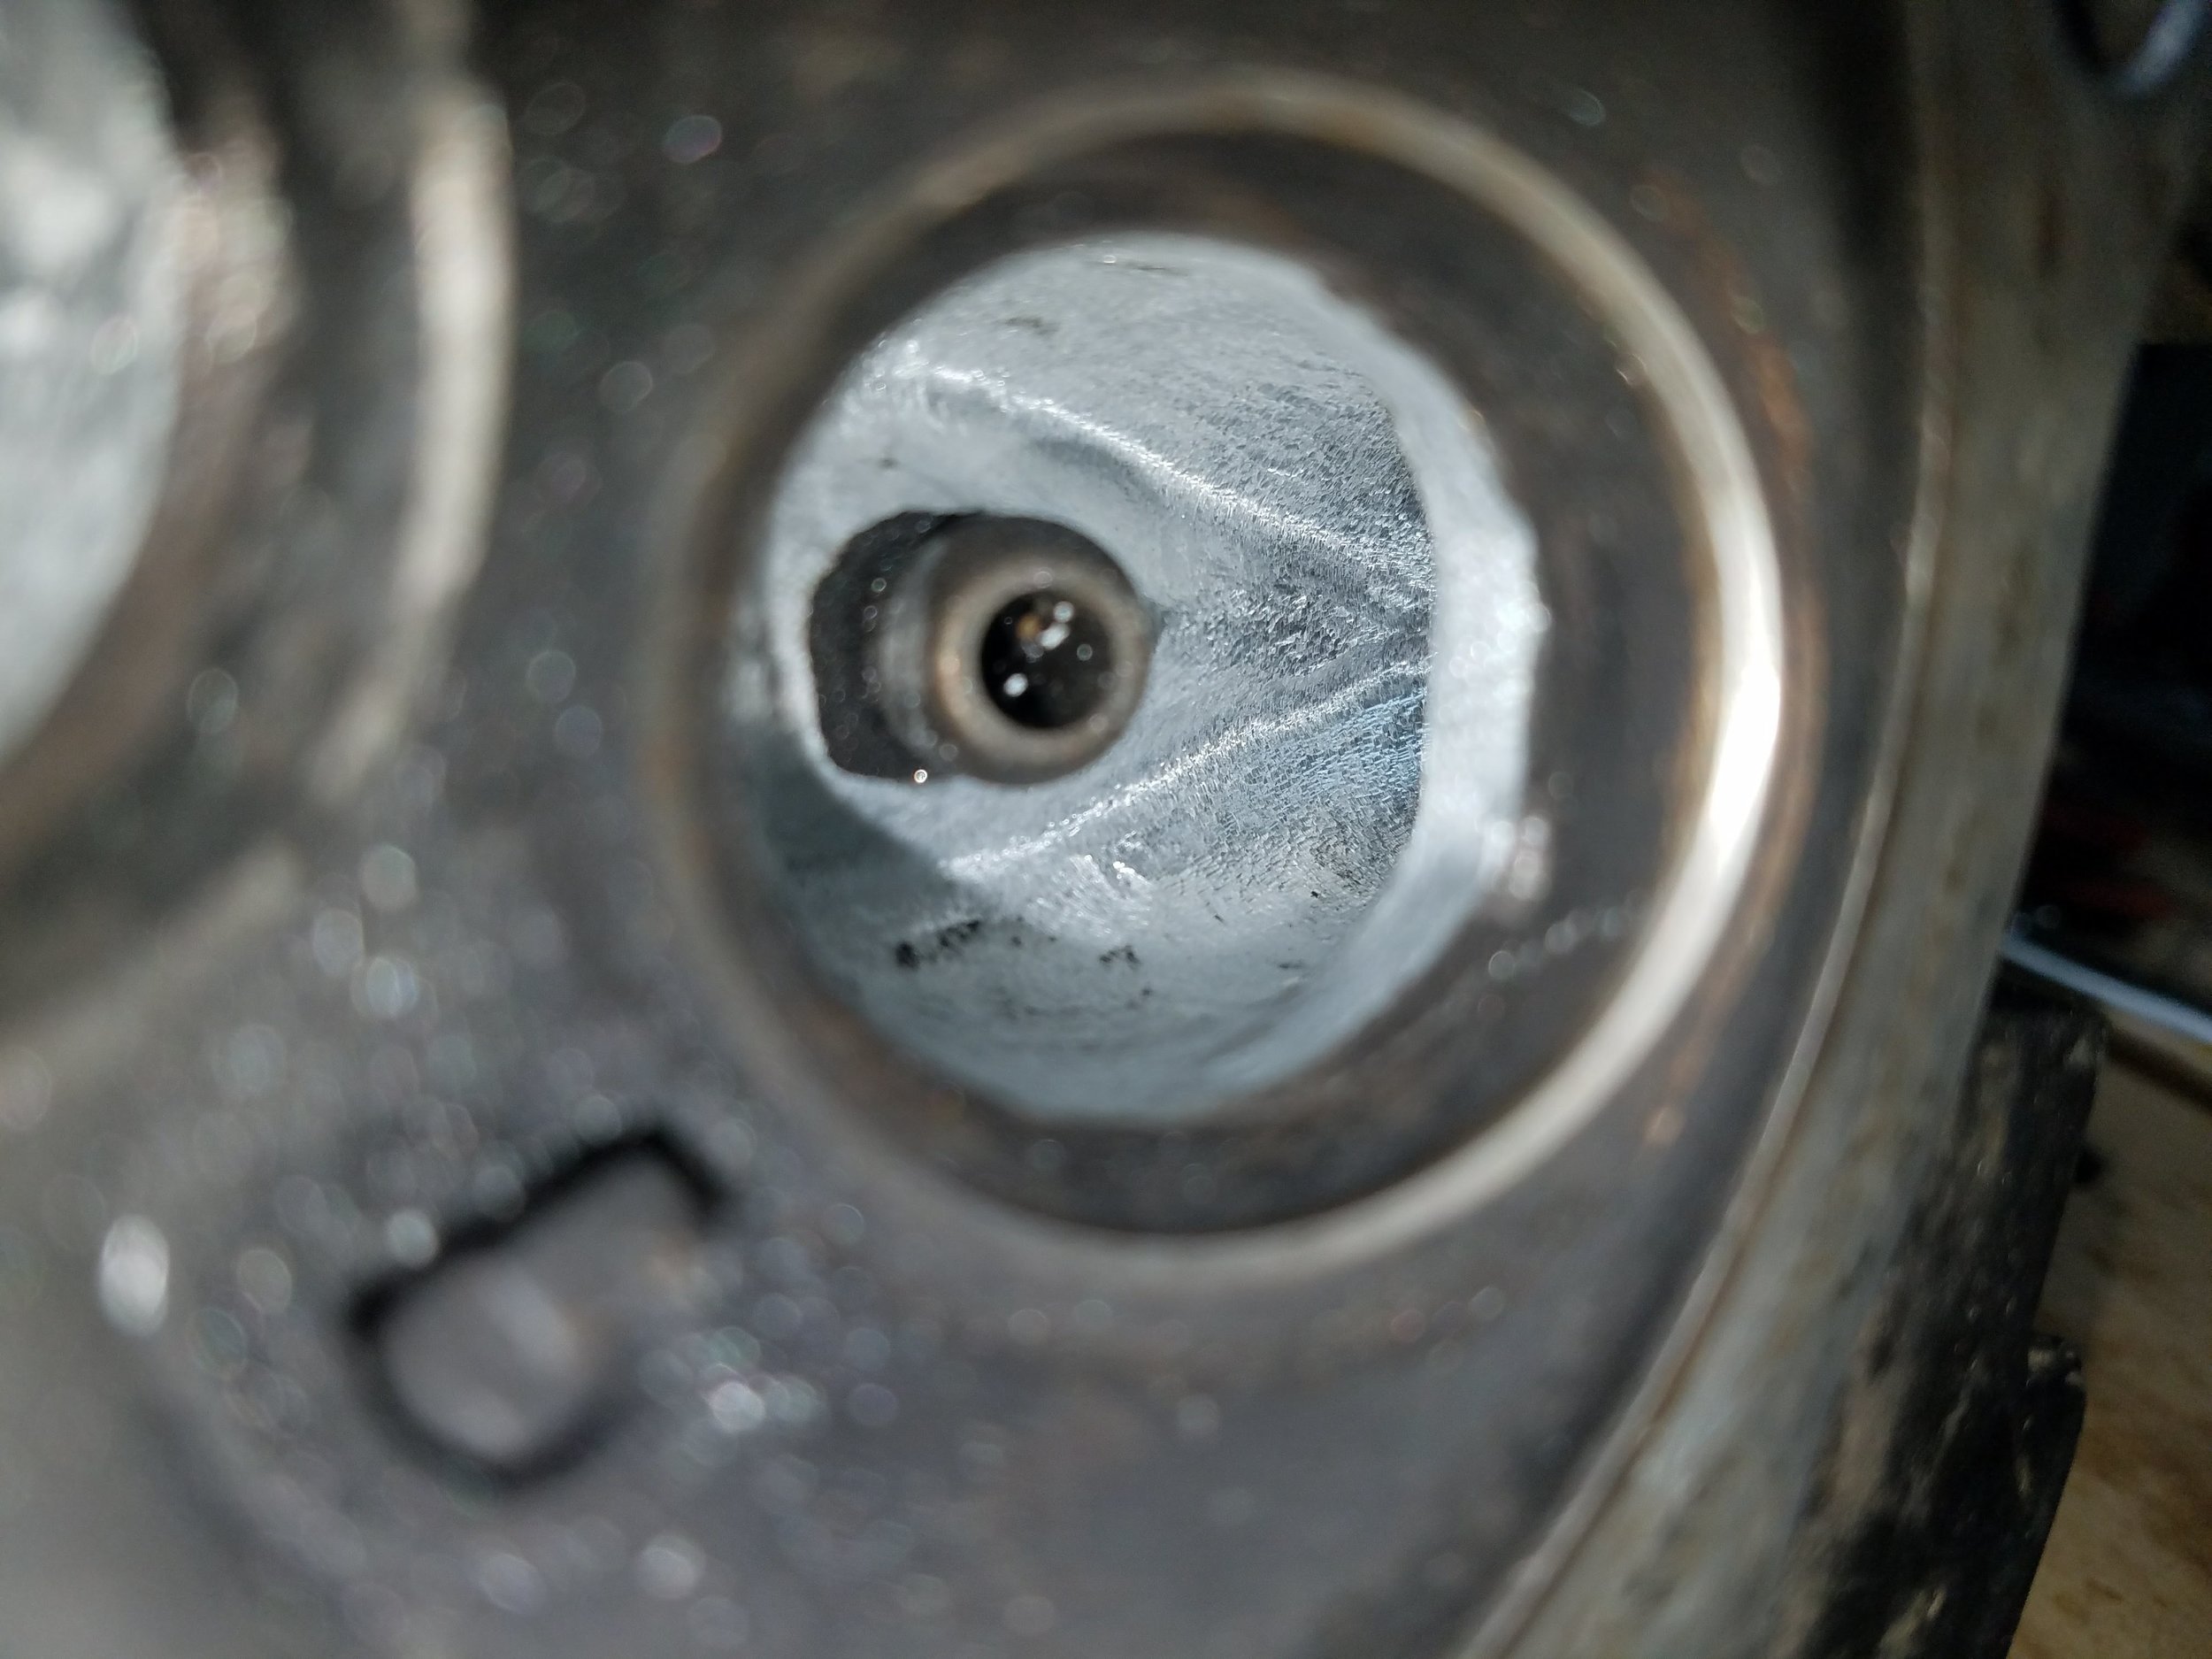
The guy I paid $300 for this thing told me it needed some wiring work and it was good to go. I took the engine out and opened it up just to have a look, and the motor is trashed. A transmission bearing went AWOL; just grenaded itself in the motor, so I sourced replacement parts on eBay (transmission shaft, shift forks) and bought all new bearings. It’s ready to go together, but I’m leery about using the original case because the bearing race is pretty messed up. Cases are hard to come by on eBay for this model. I may roll with it as it, it depends on if I can get a reliable interface between case and bearings. It should be a tight fit. The cases need to be media blasted. I was going to polish them, but That’s proven difficult and not worth the effort.


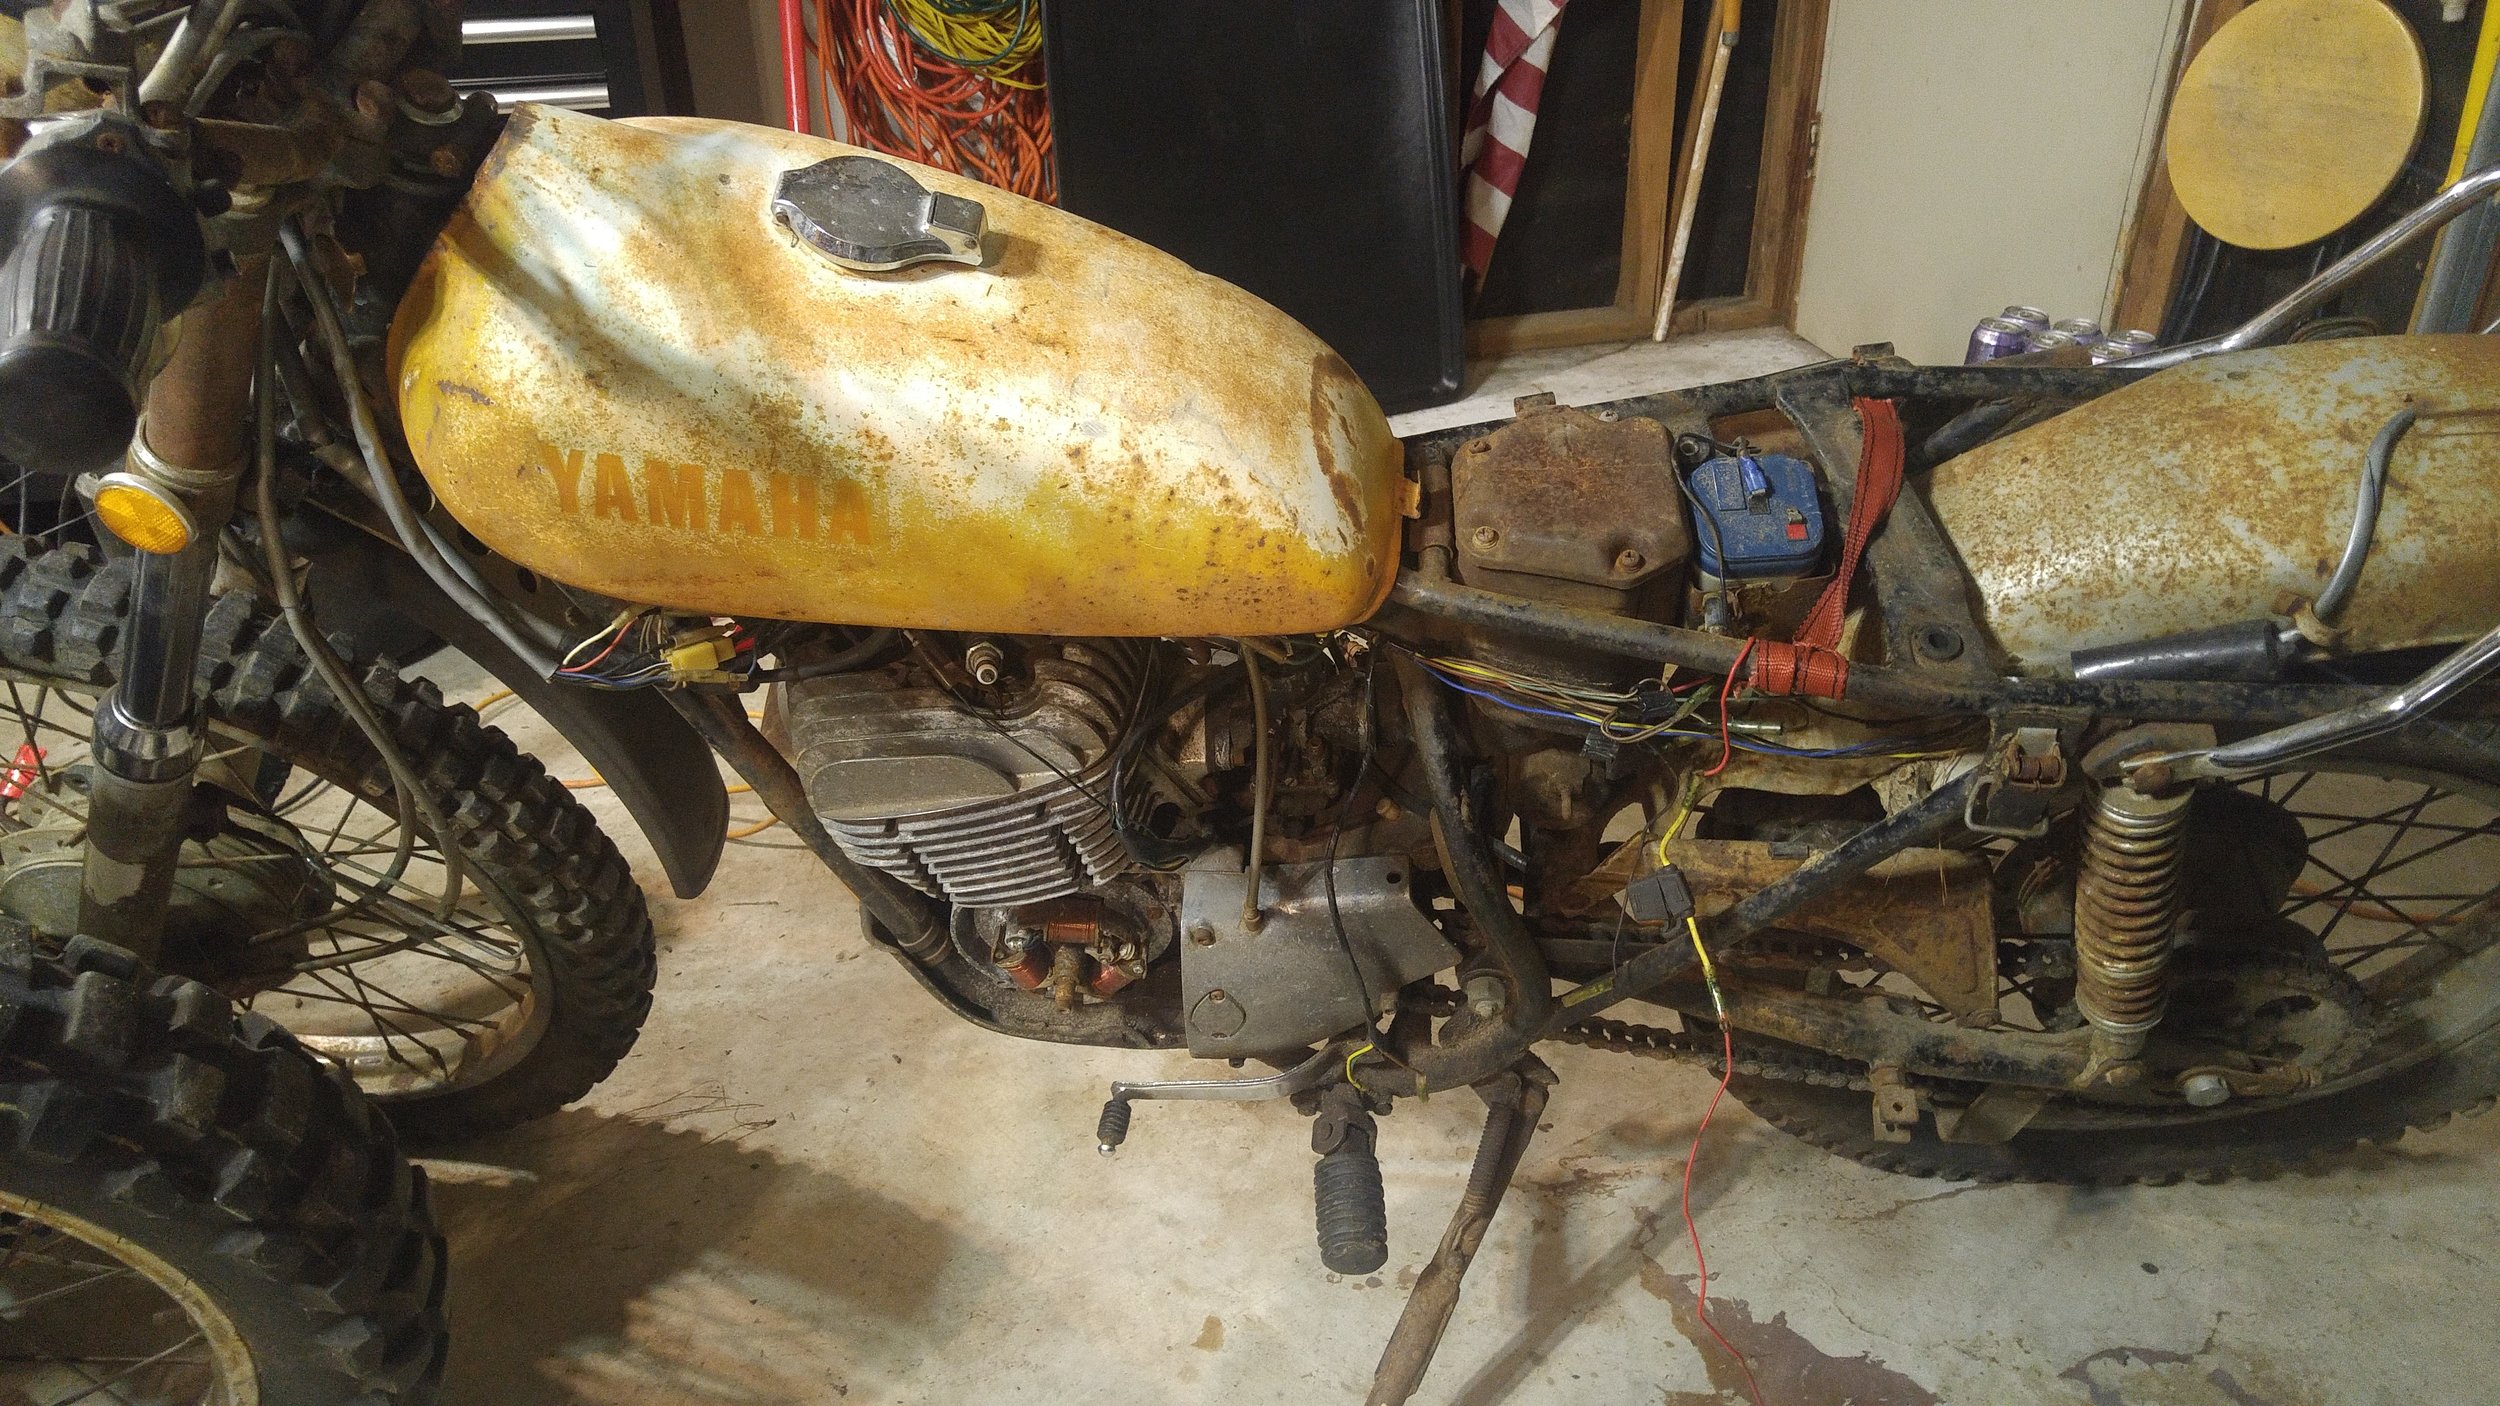
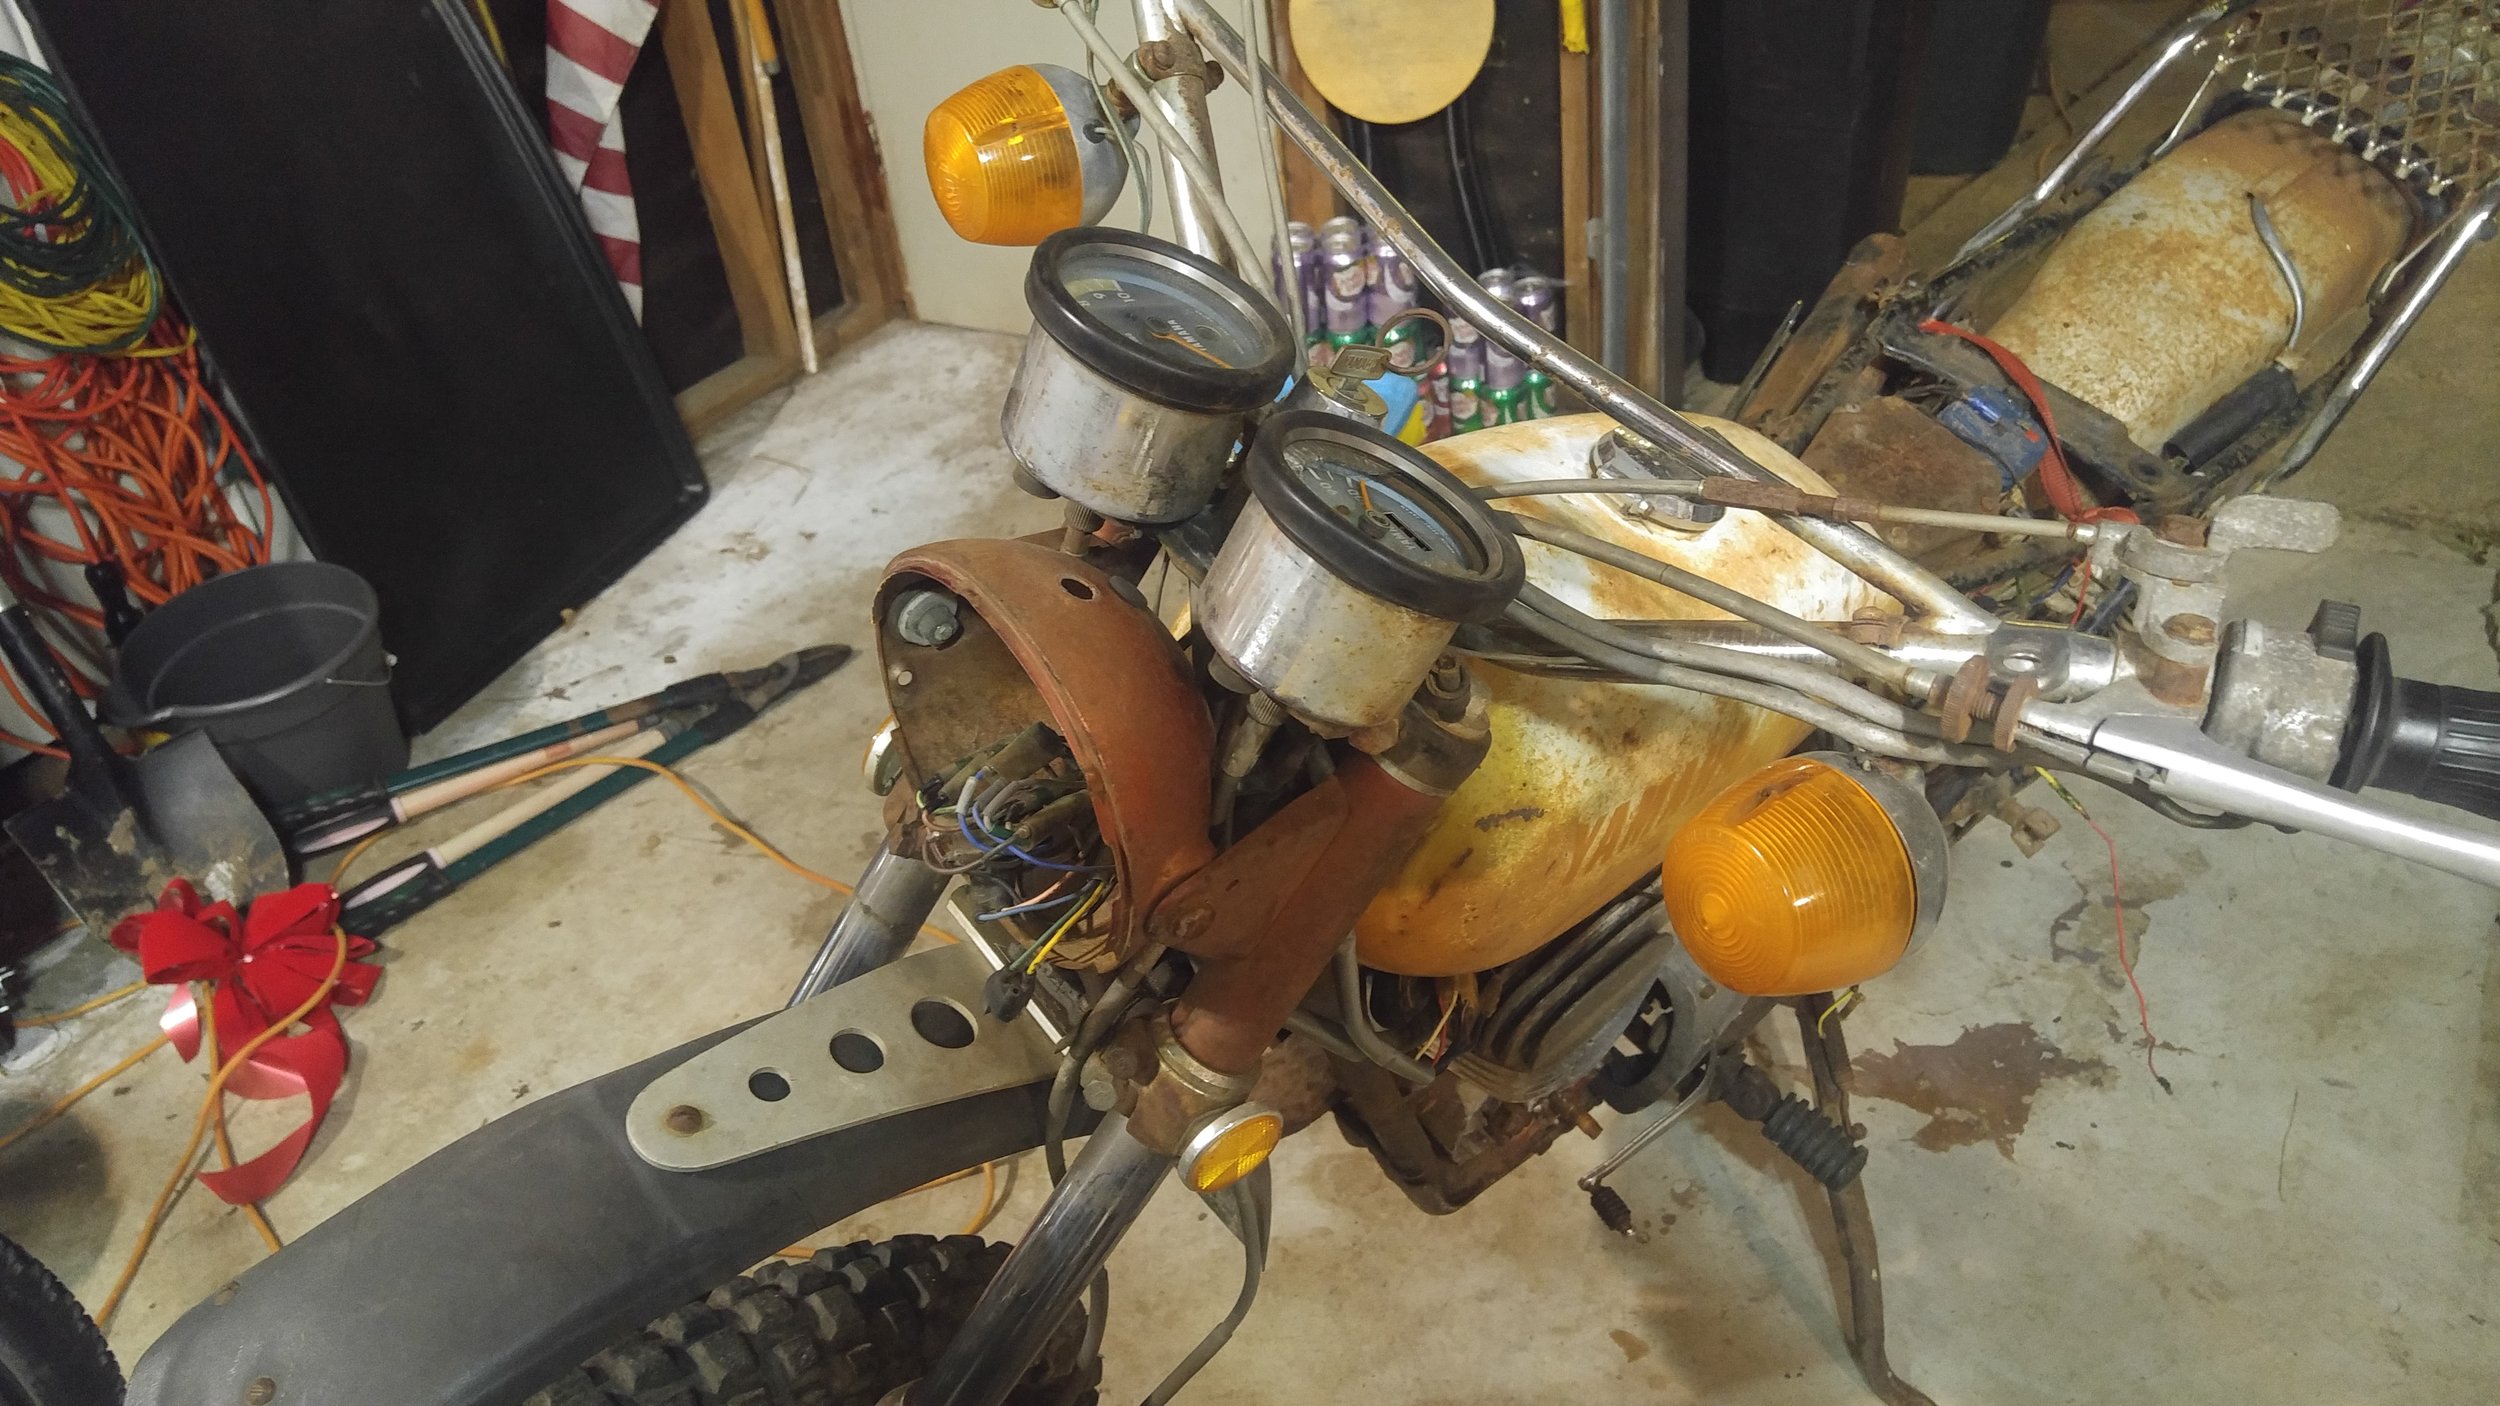
BW200-
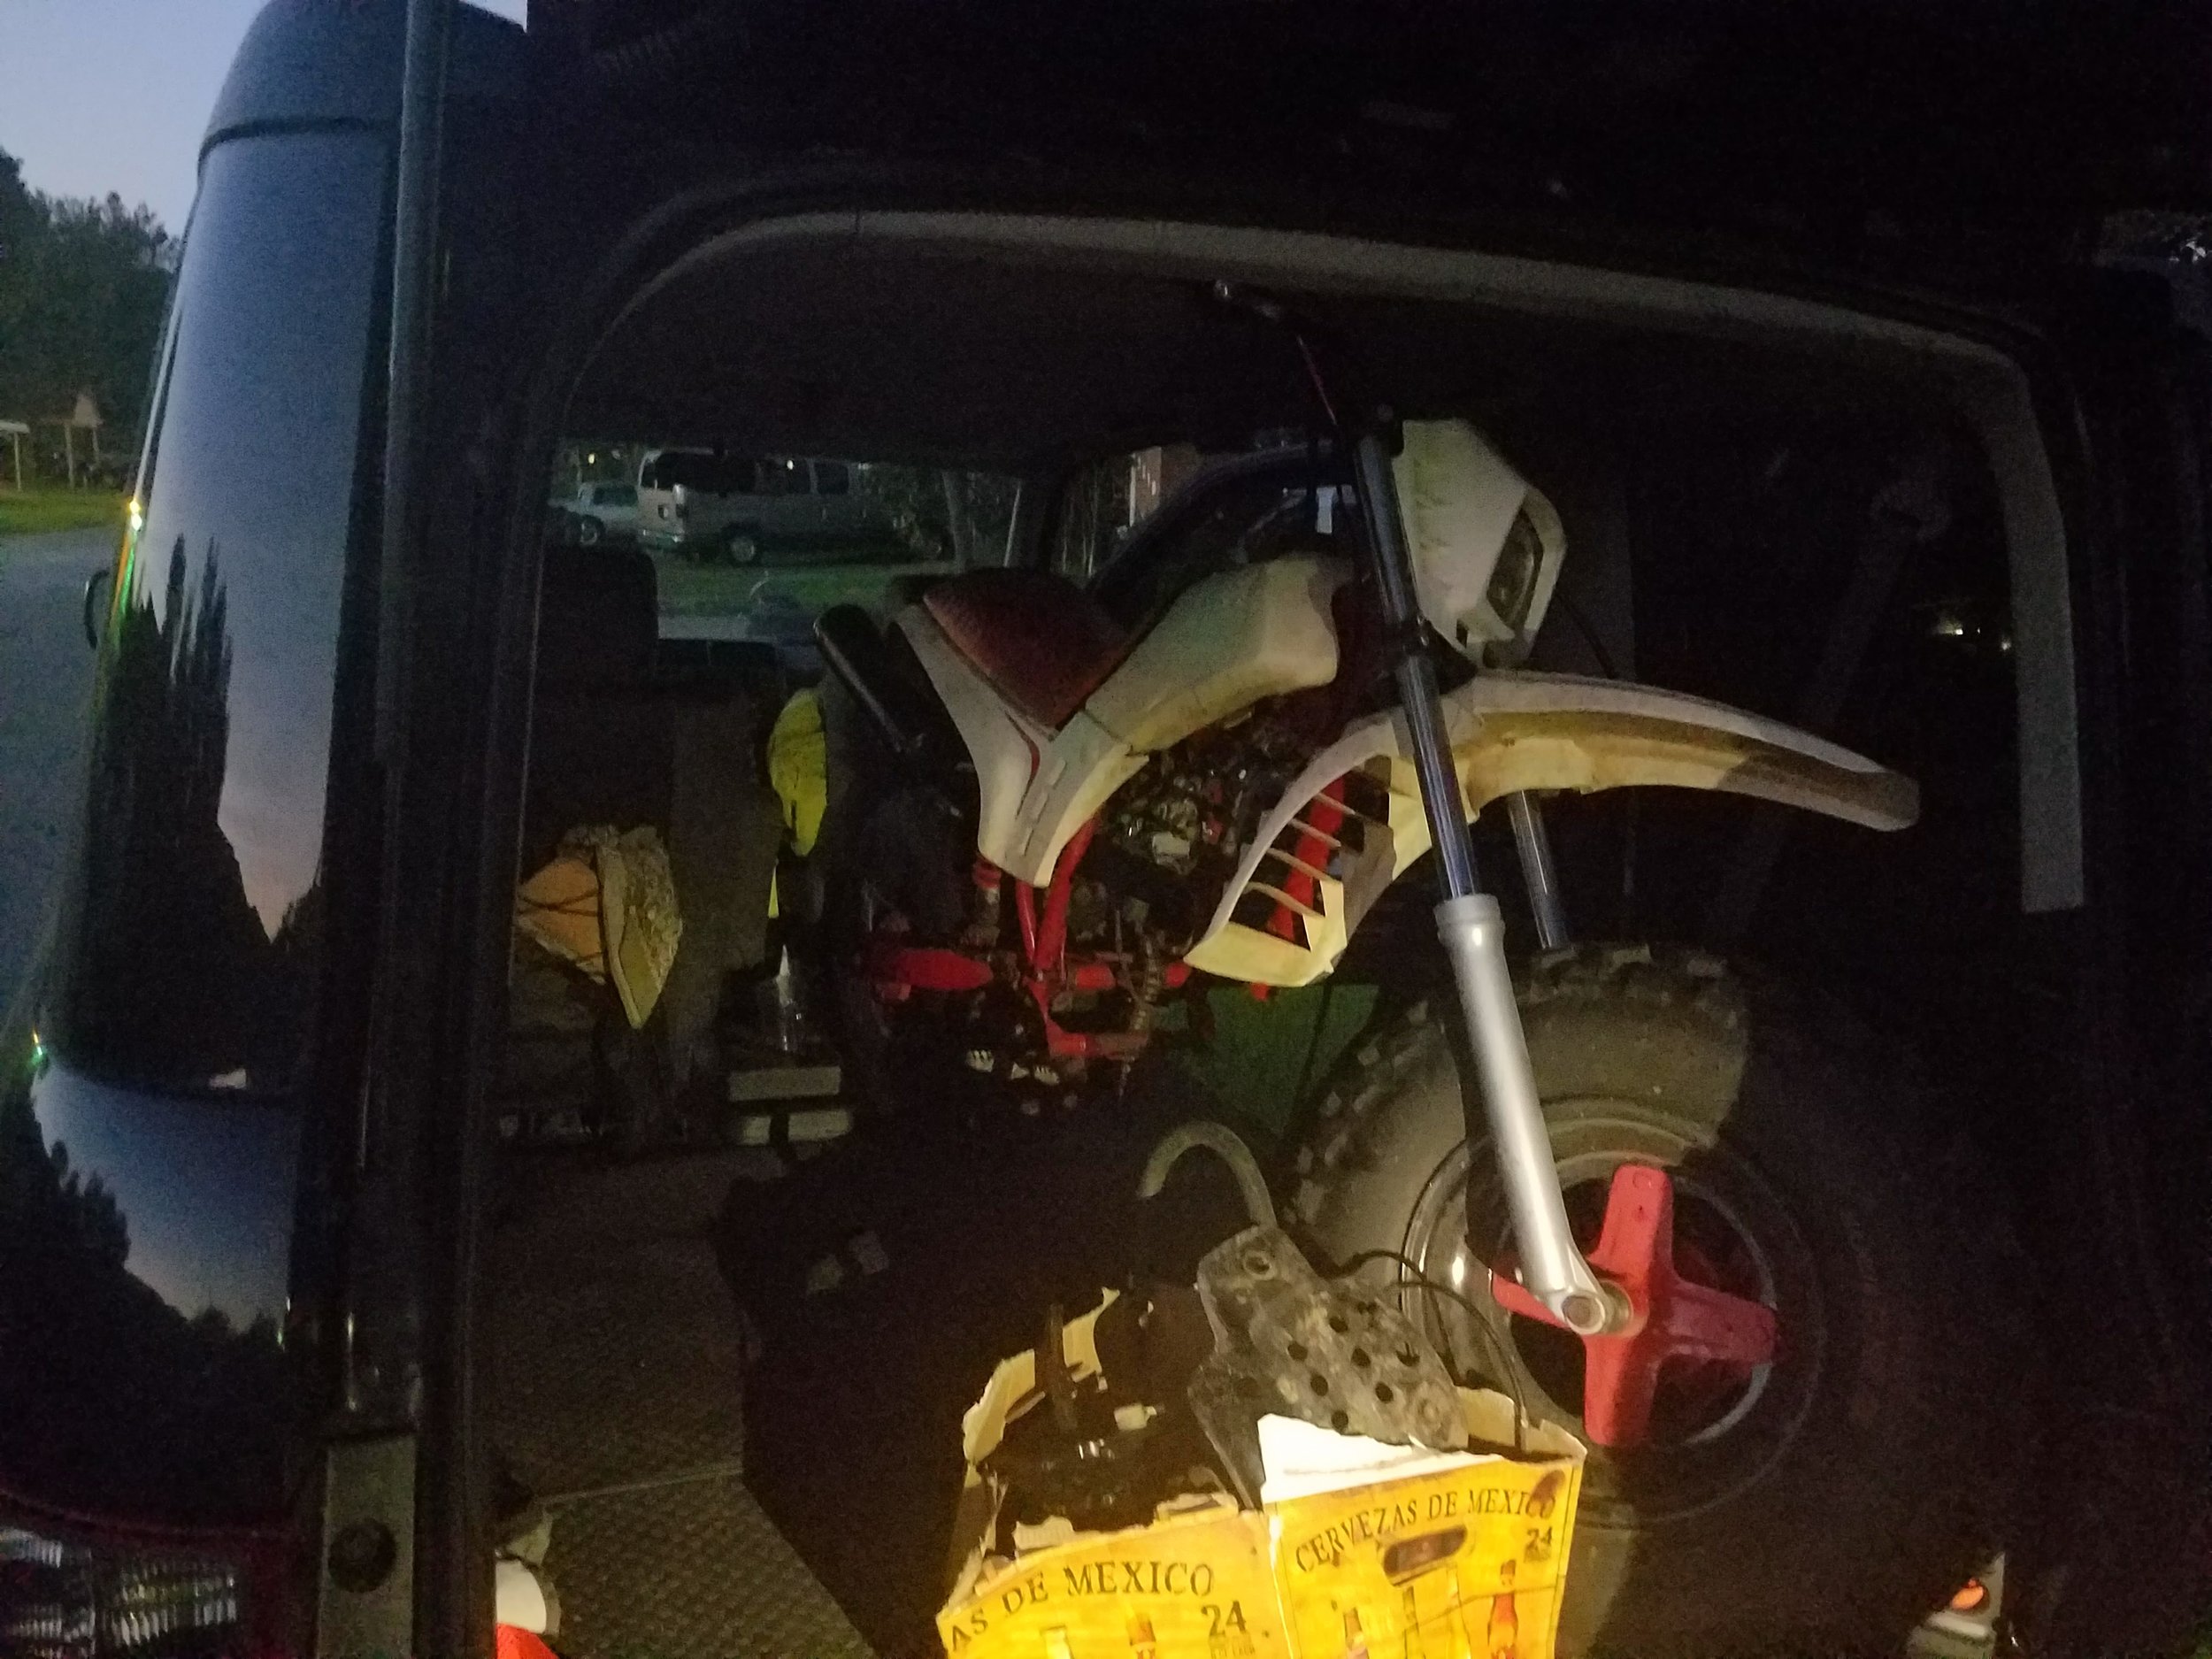
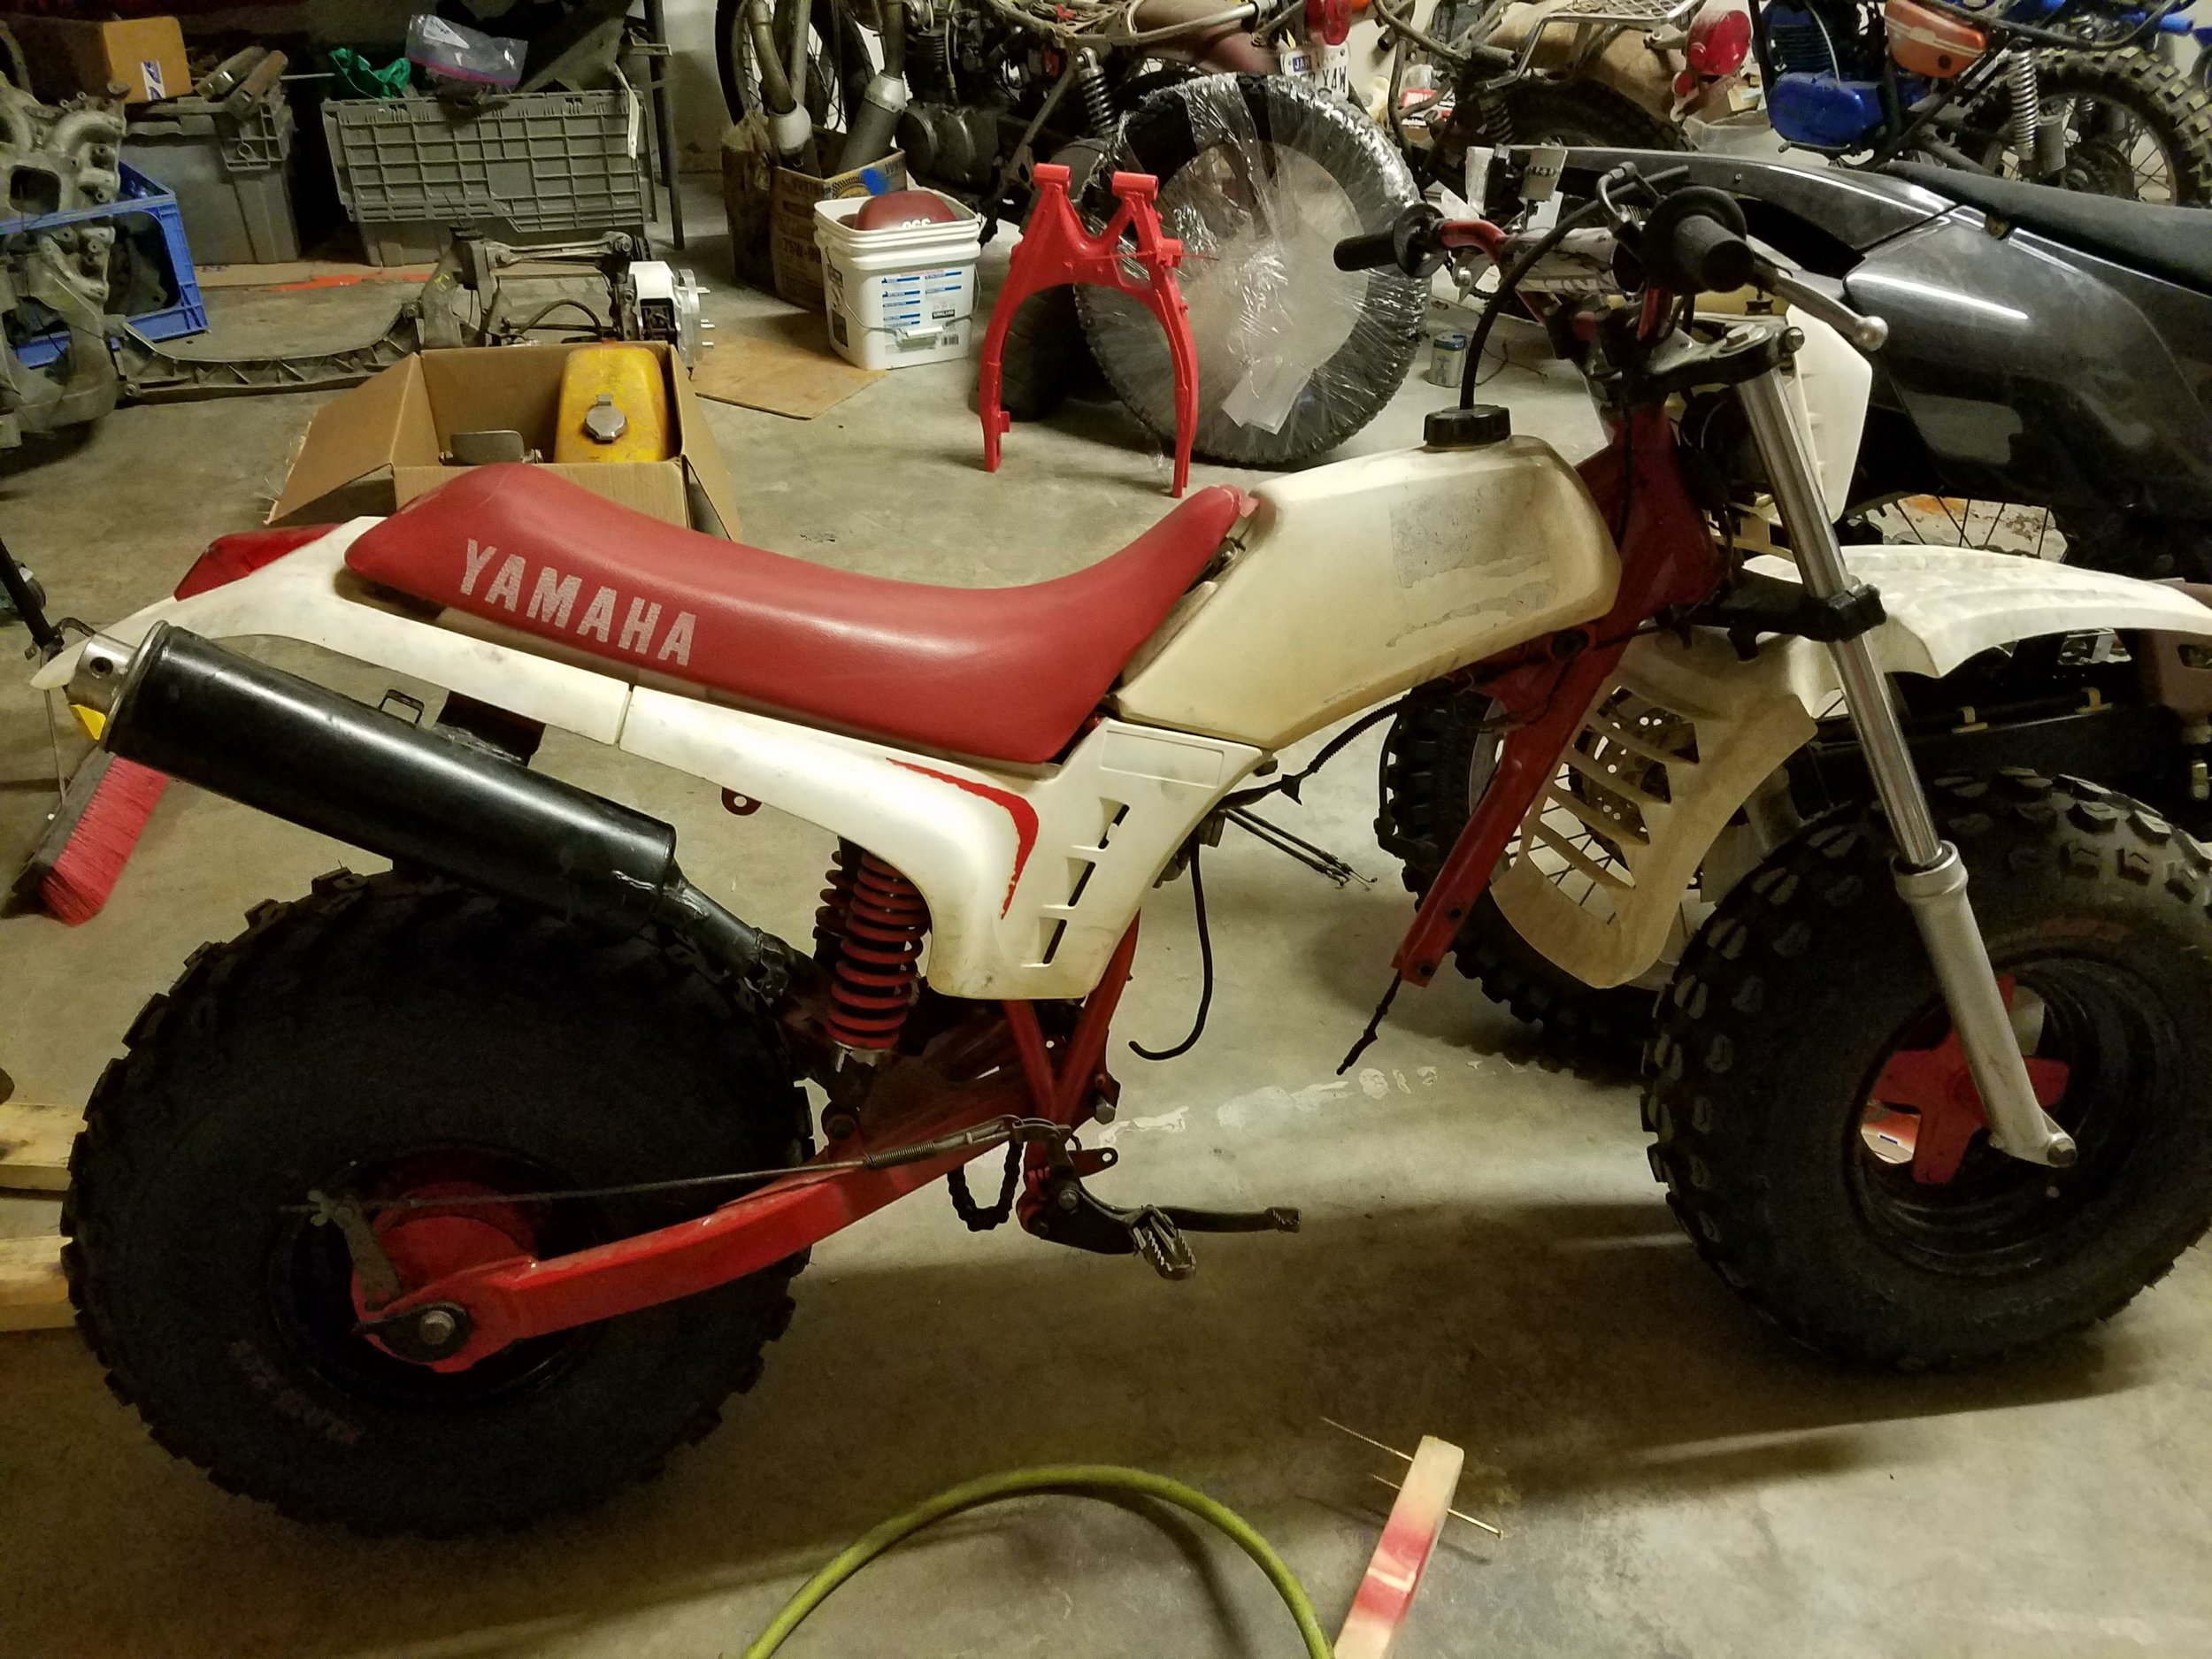
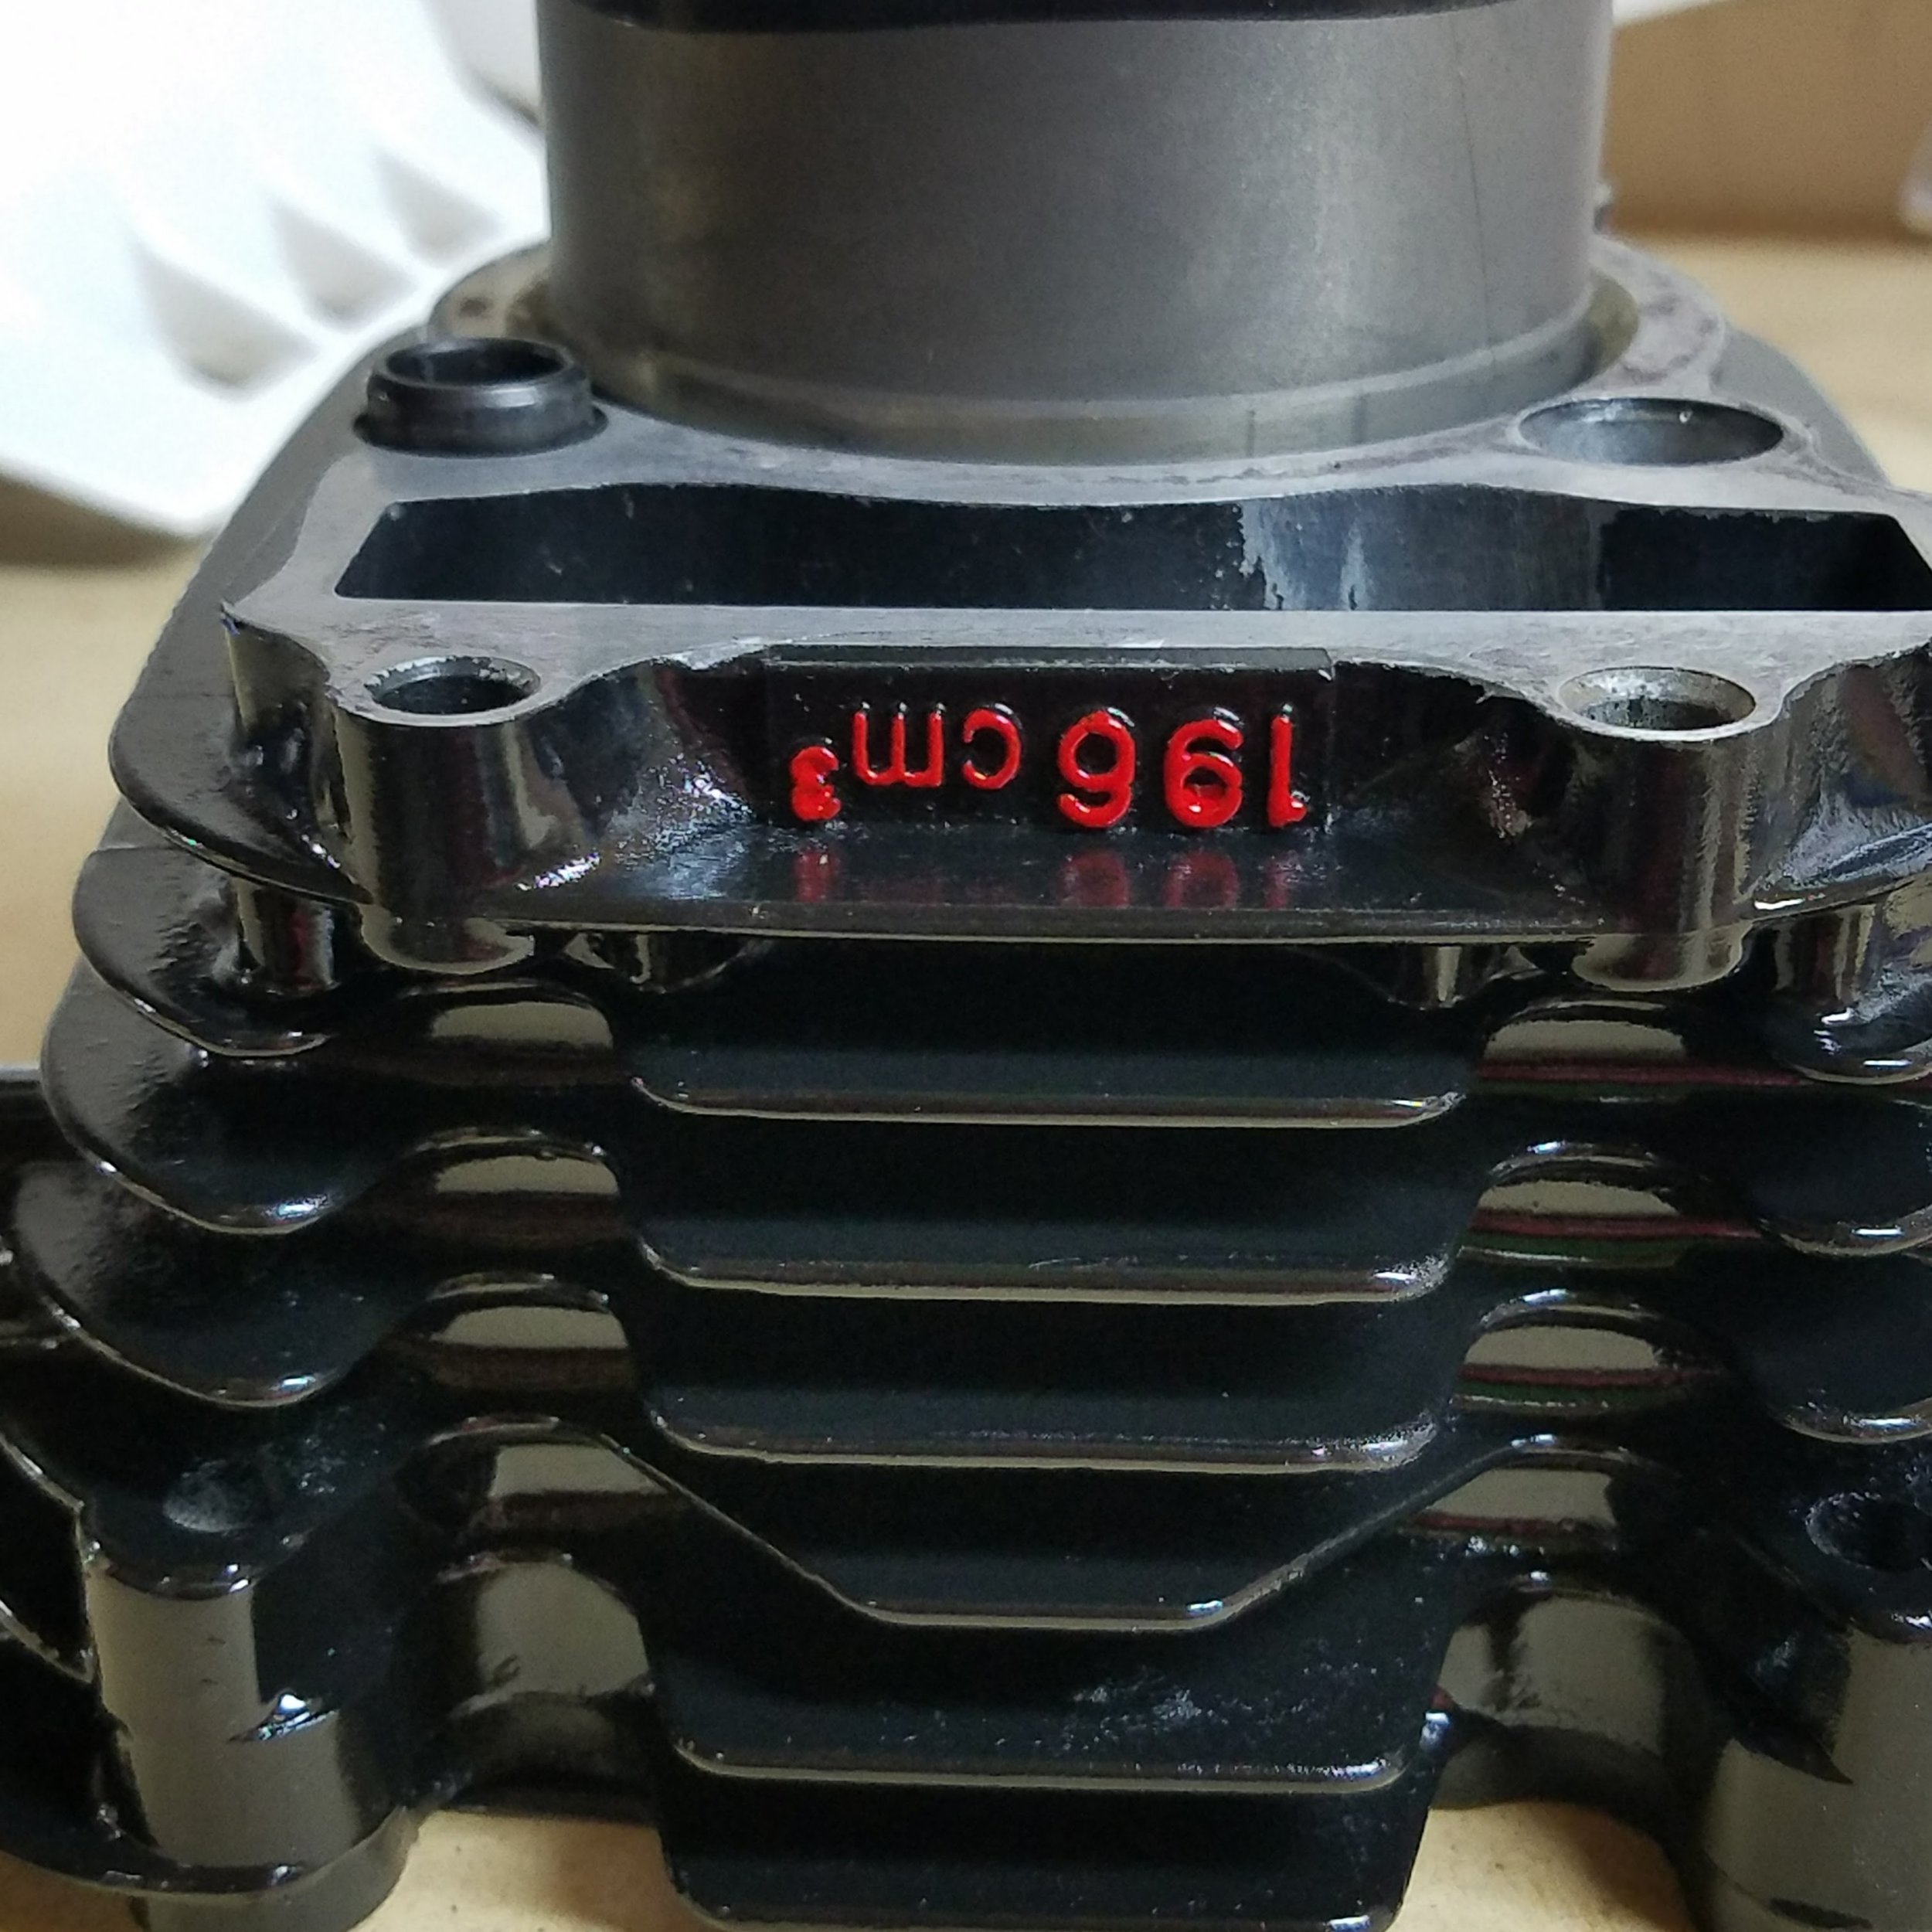
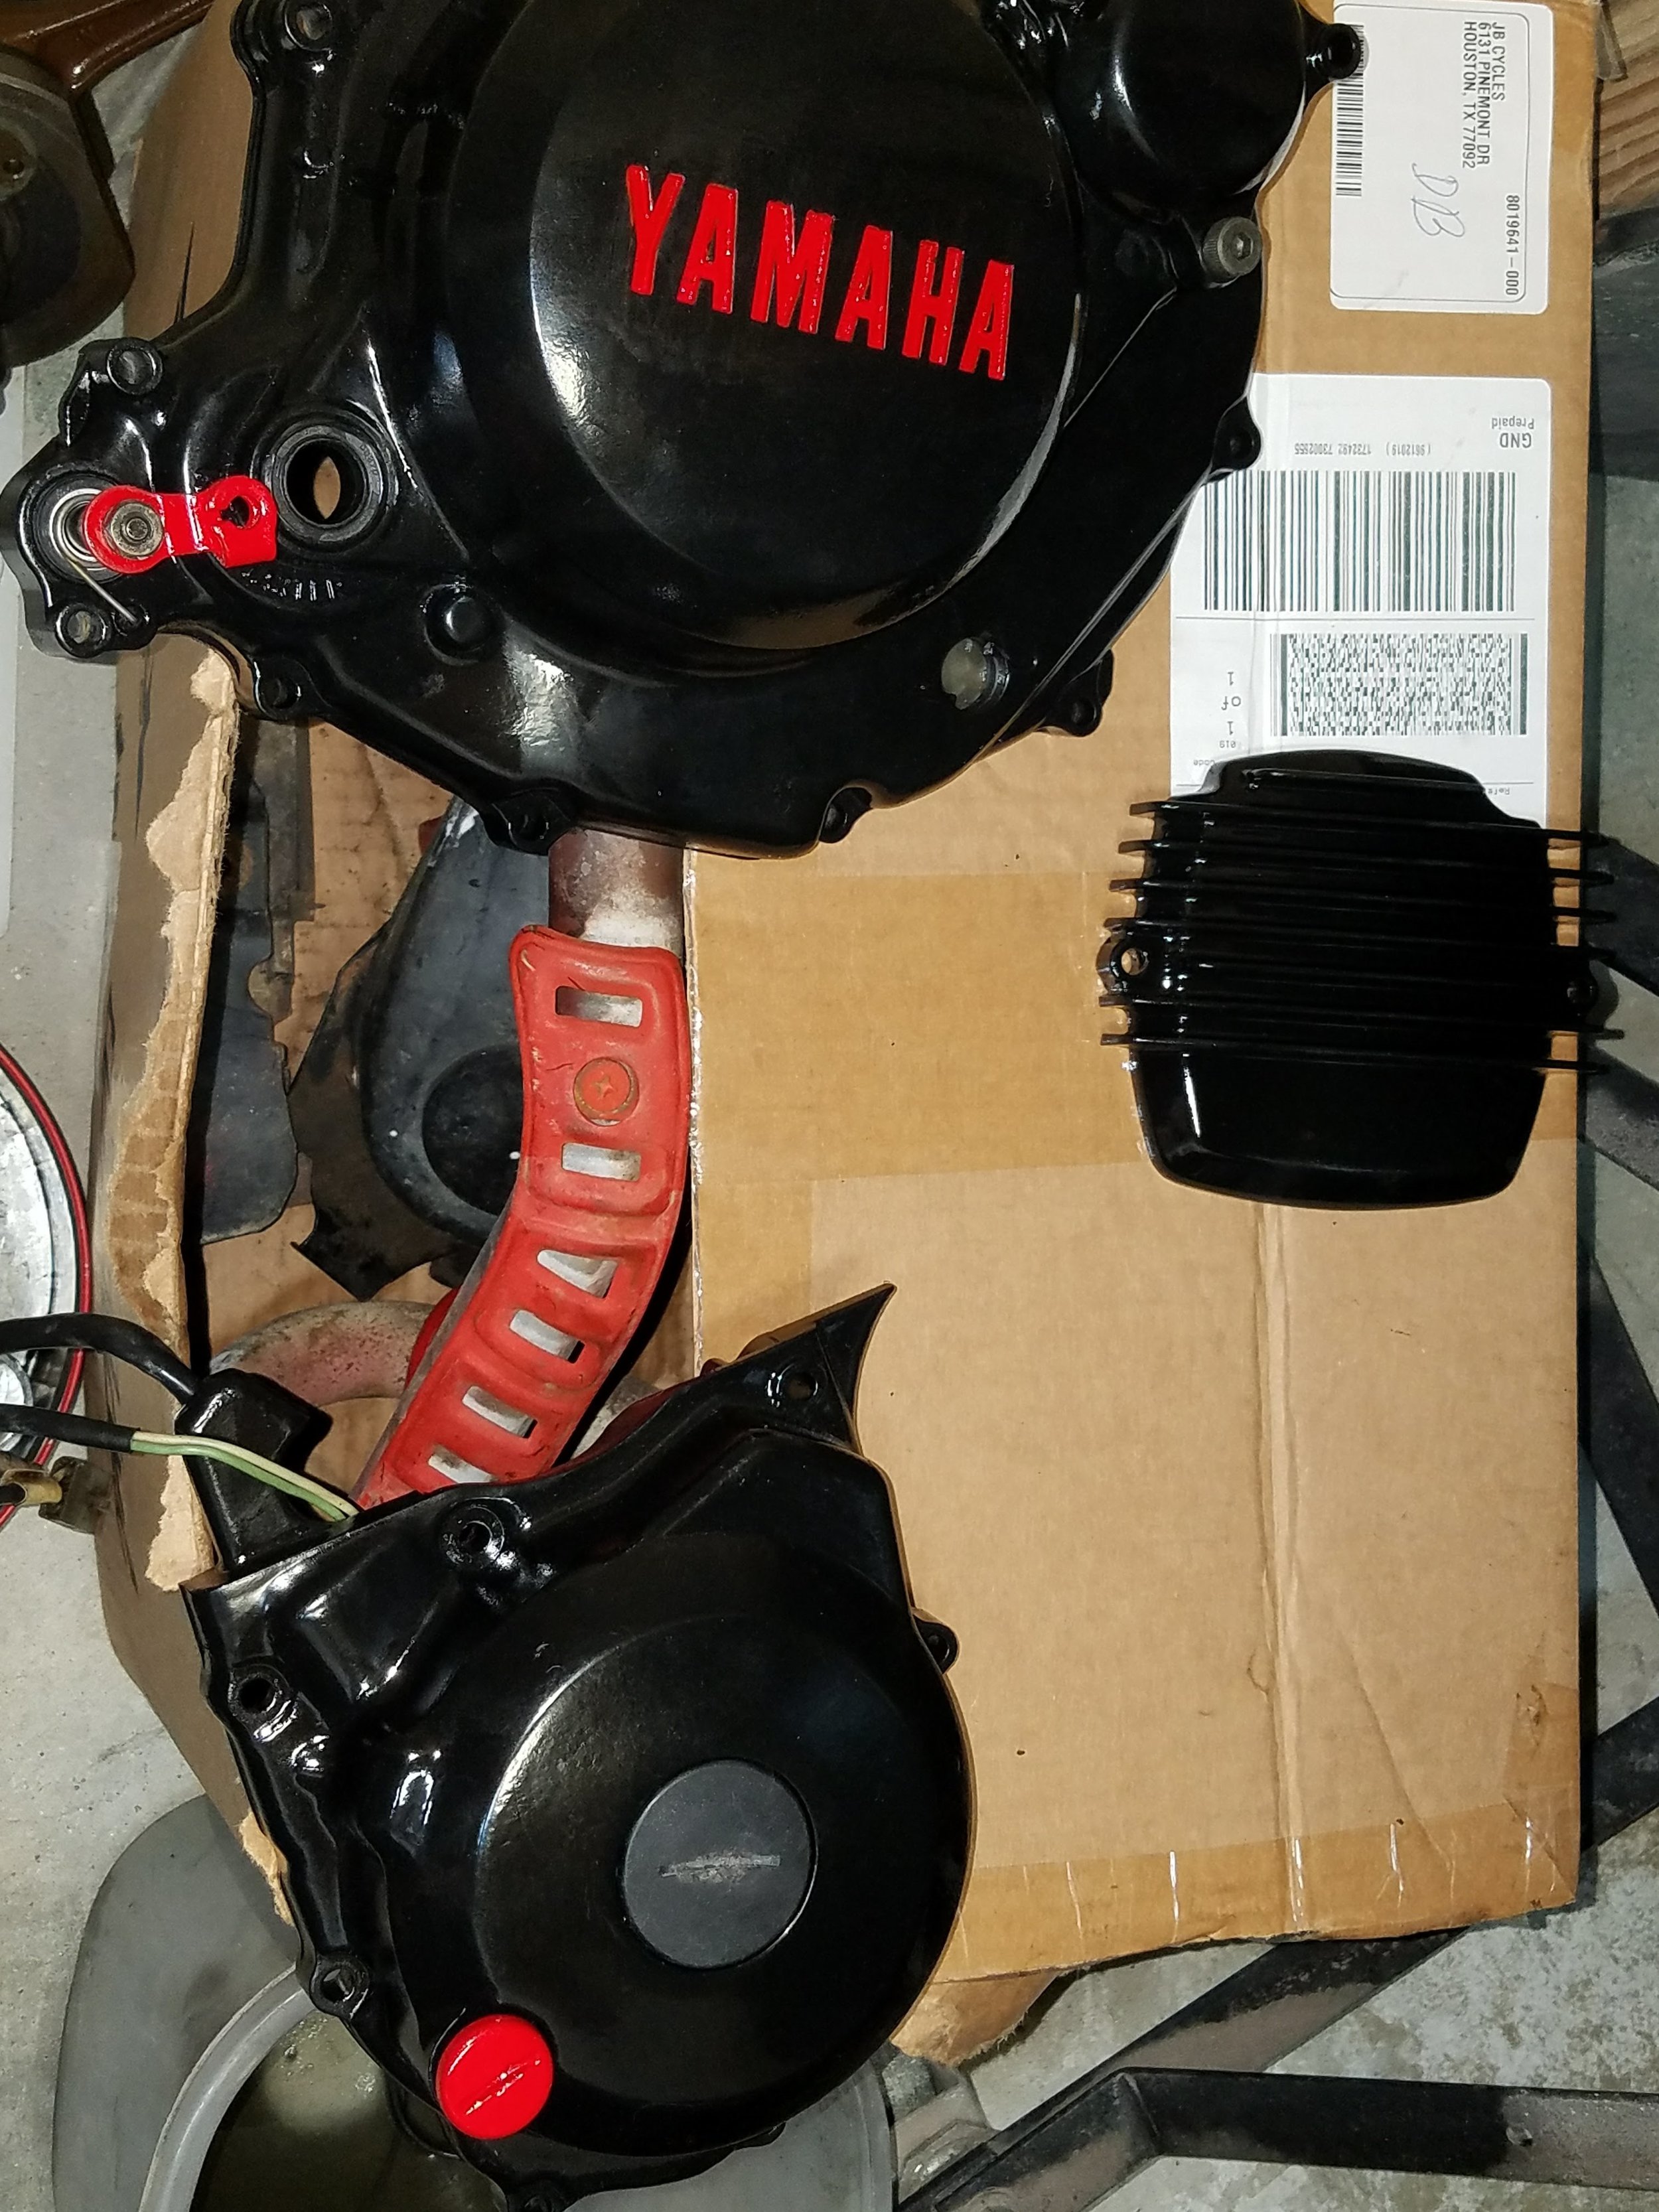
NEW!!! I found this on a random craigslist search. The guy I bought it from said he got it from a guy who rebuilt it, and then the problems started. Previous owner said the valves were sticking. He had already pulled the motor and had an extra head put on, but it was still causing problems. So I got the rolling frame and a box of engine parts for $800. Maybe a bit steep, but when it’s back together I hope it can sell for twice that. This guy has a blown lower rod bearing. Same problem that the TW200 had. Same problem the KLX400 had. So far I’m $537 dollars in to this one and that should be it. The engine is all ready to go back together. I ported the head (because why not) and put a new crankshaft in it. I wanted to powder coat the whole motor gold, but opted for the original black paint instead. Lots of time cleaning this one up. The good news is I’ve made a handful of videos about it. Here’s the first. Watch as many as you wish.
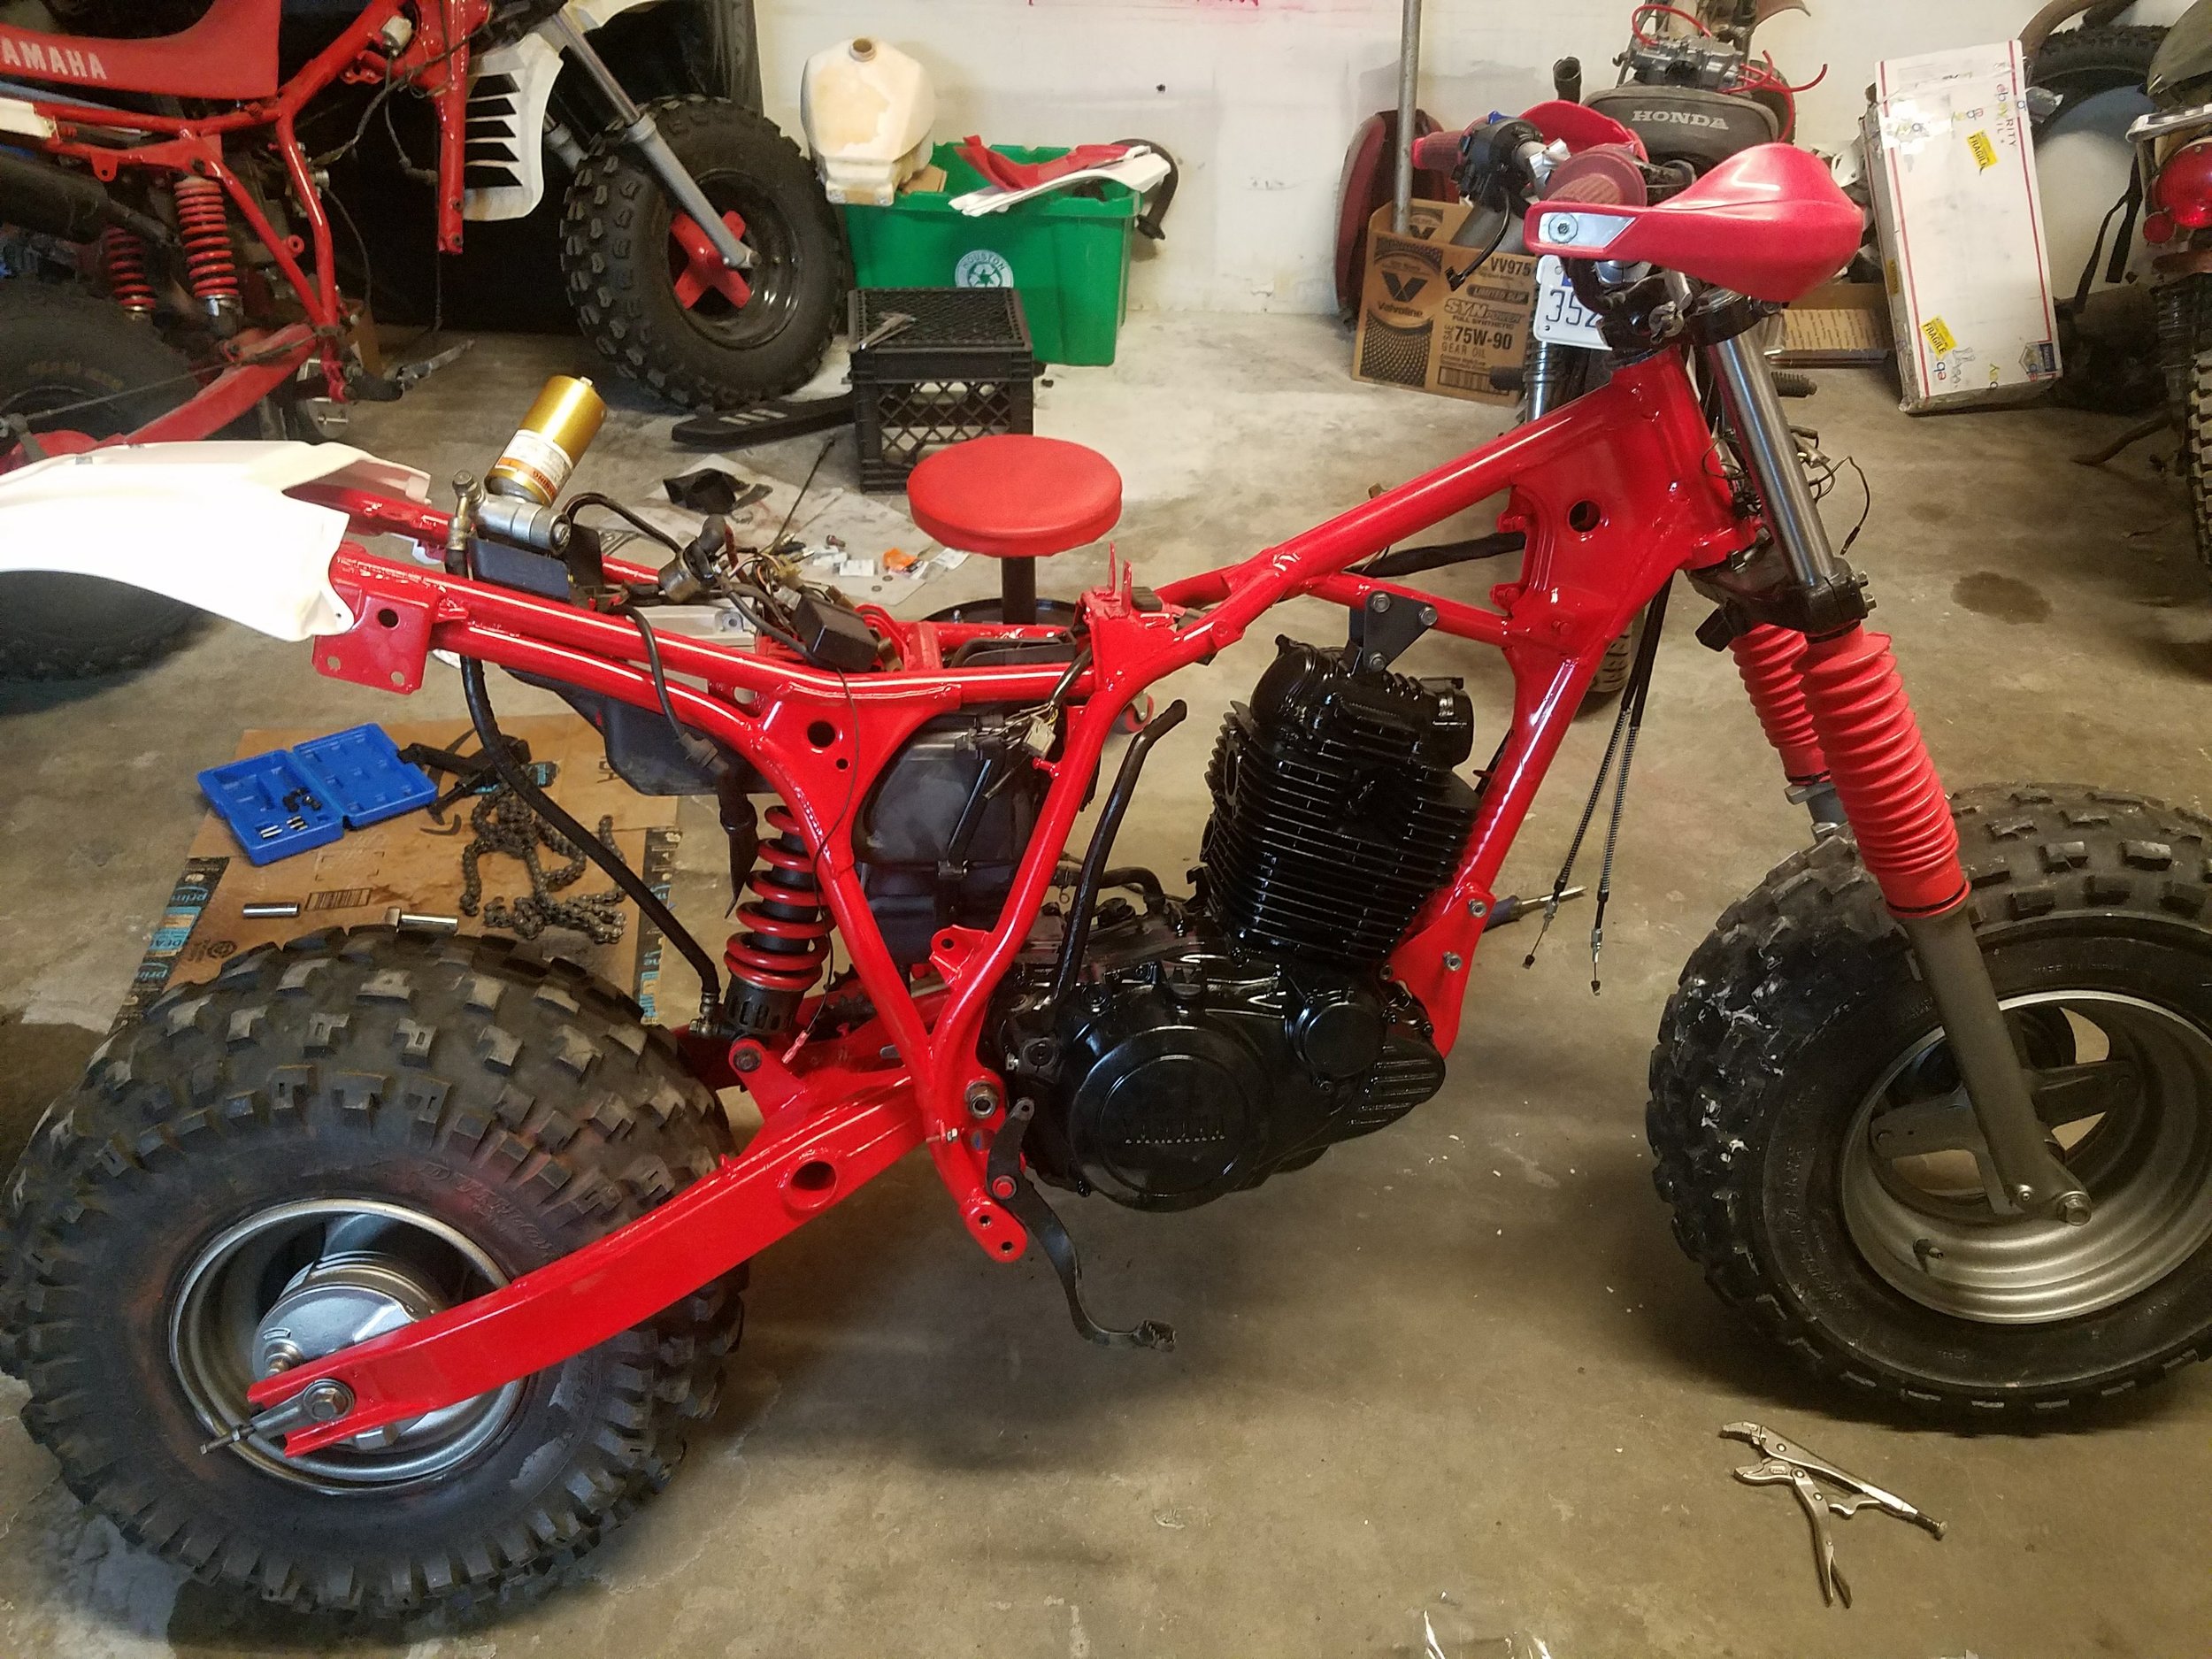
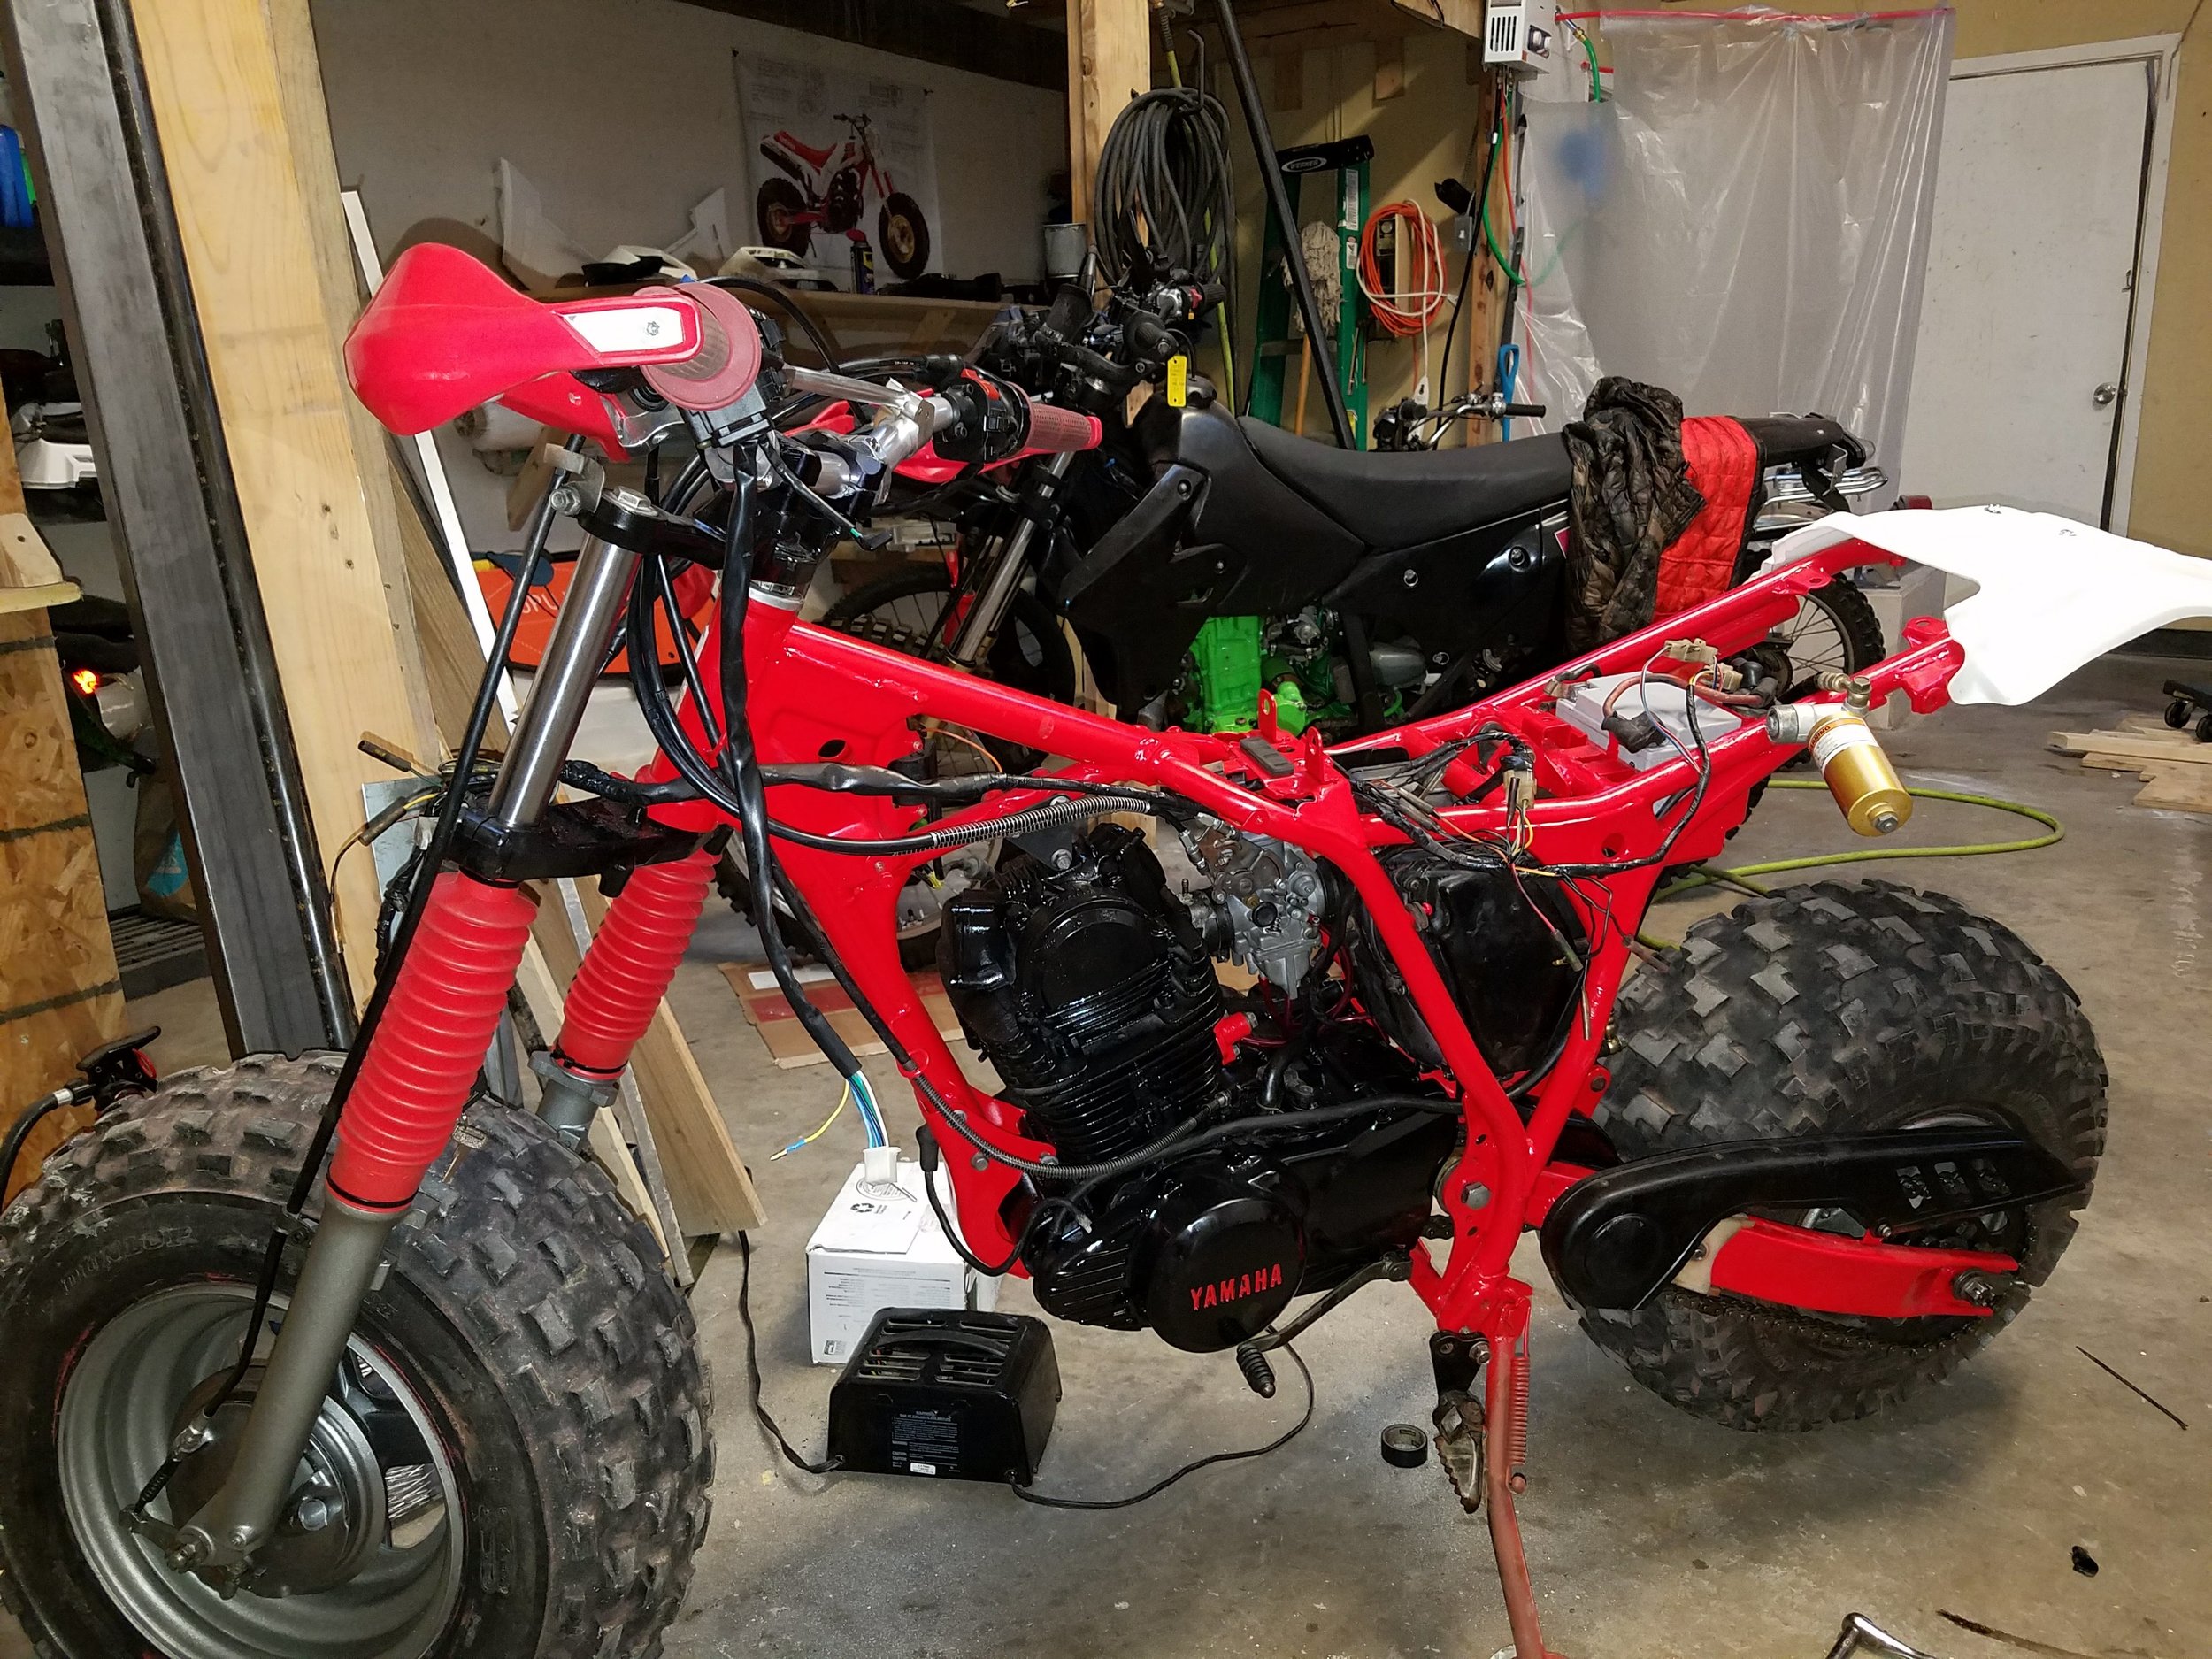
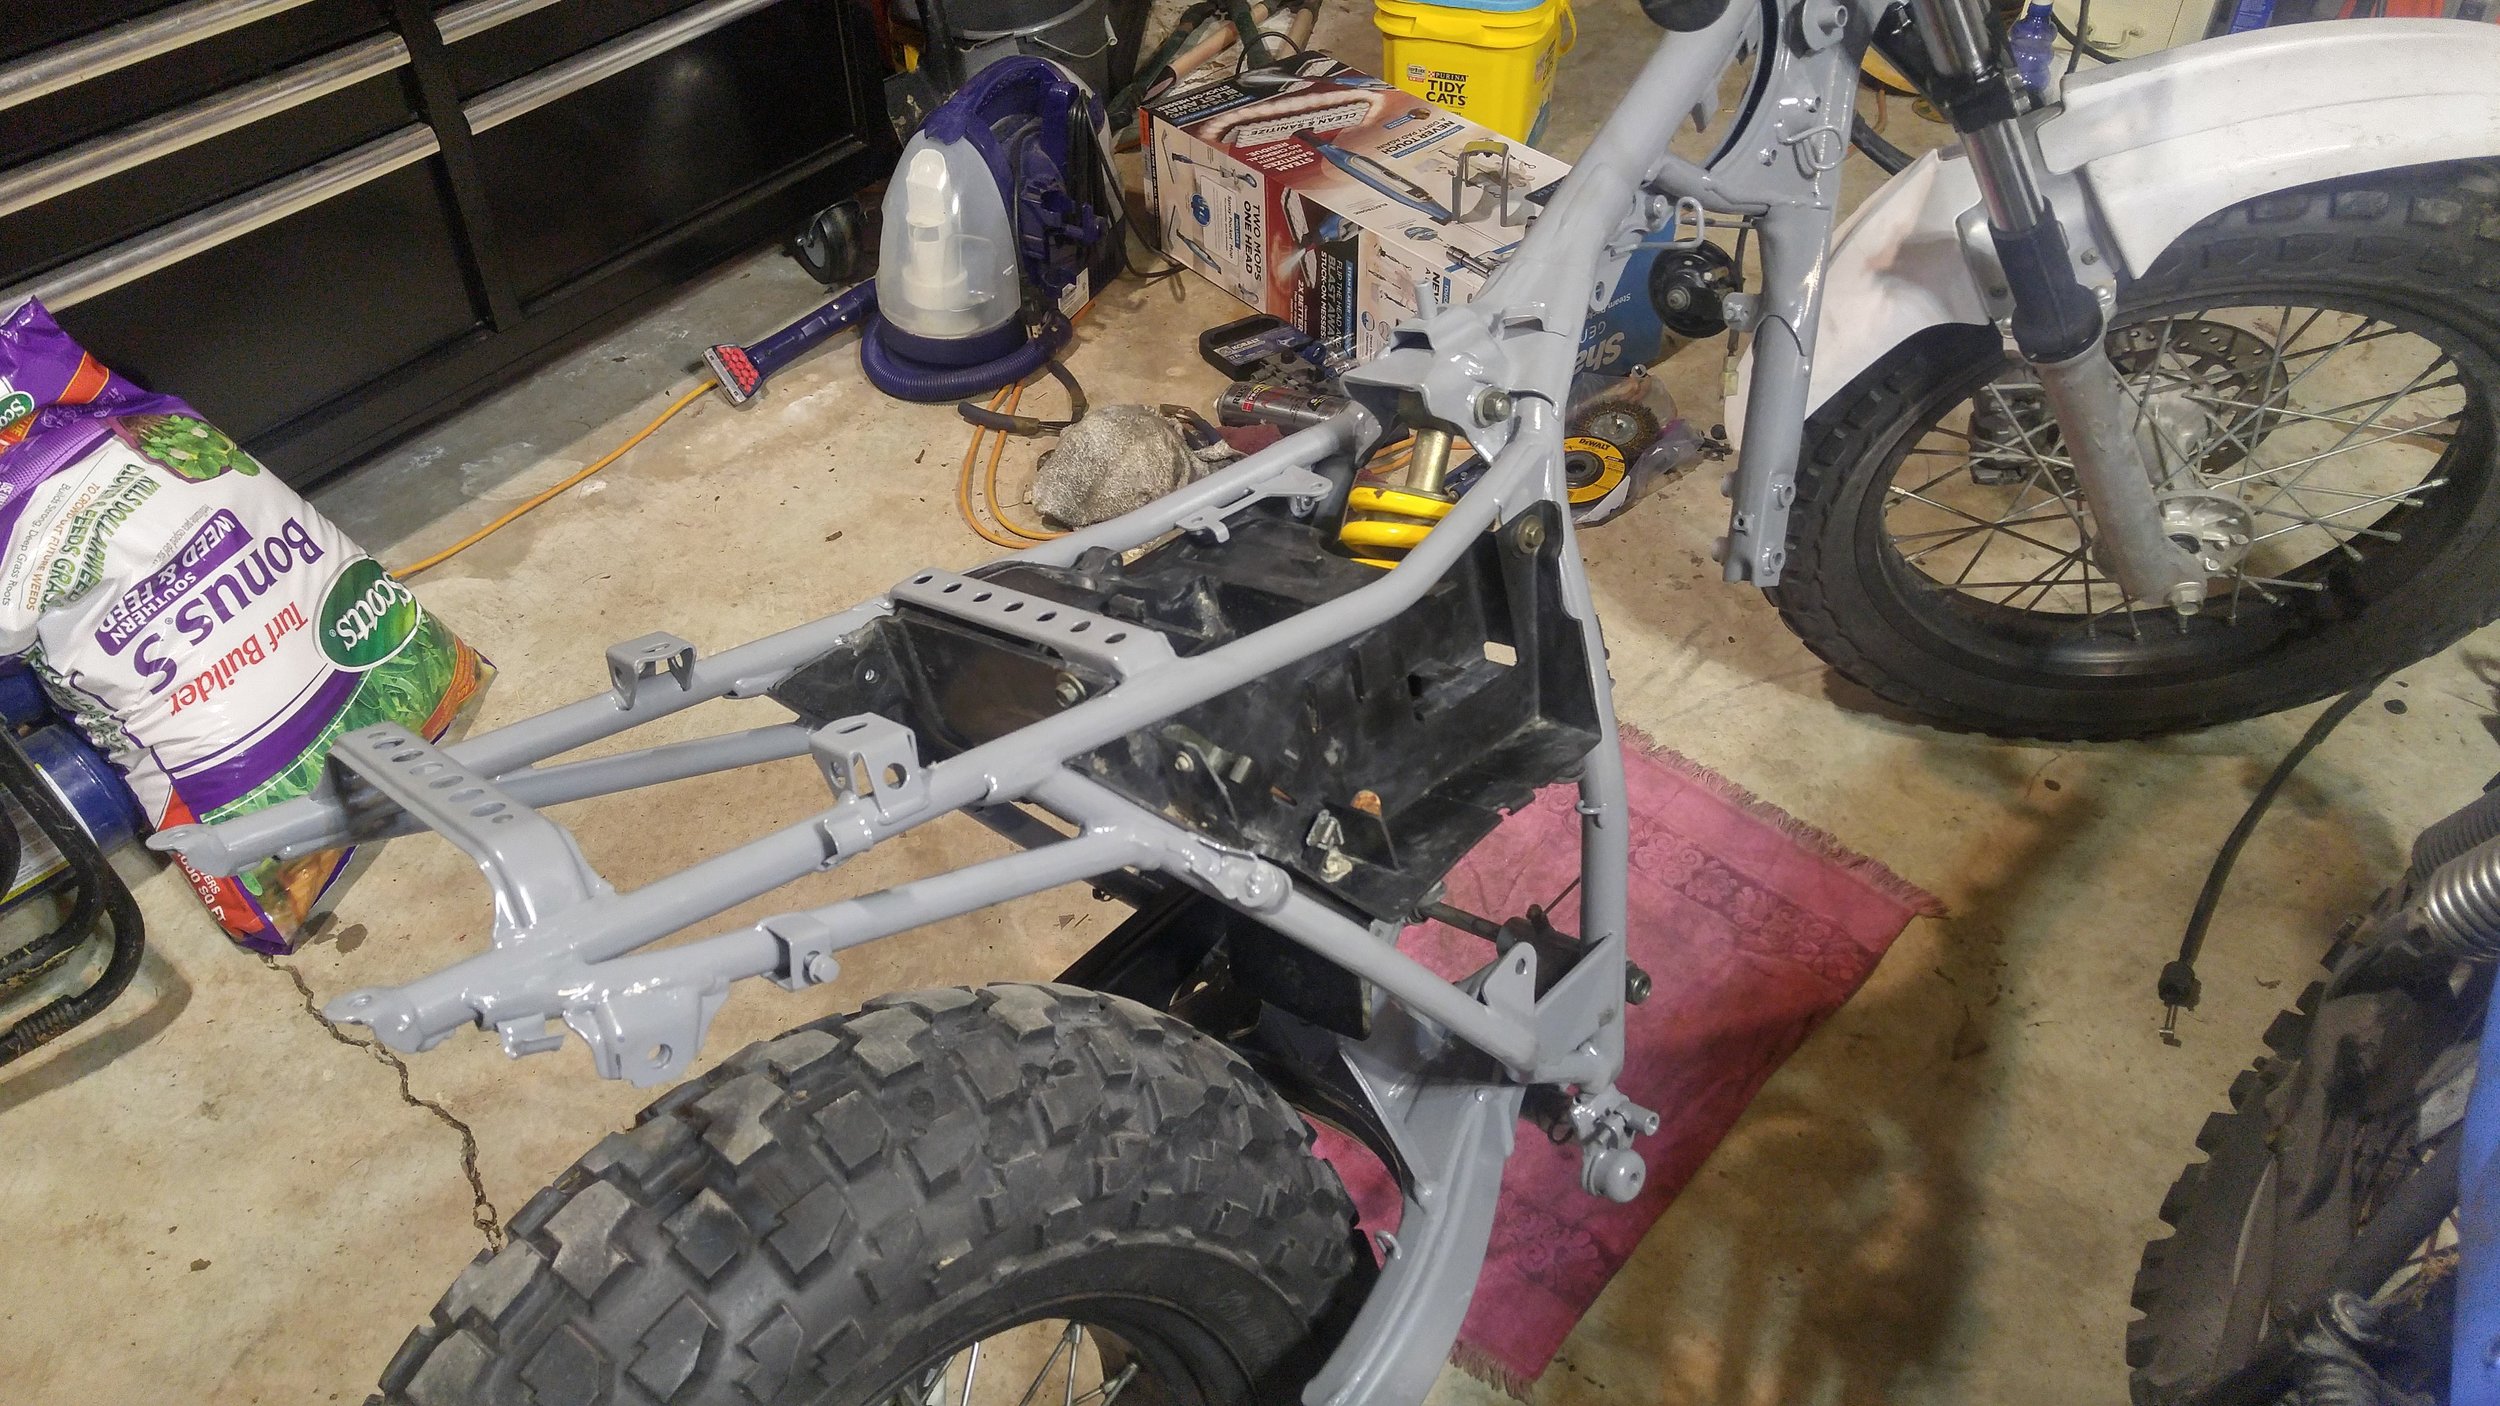
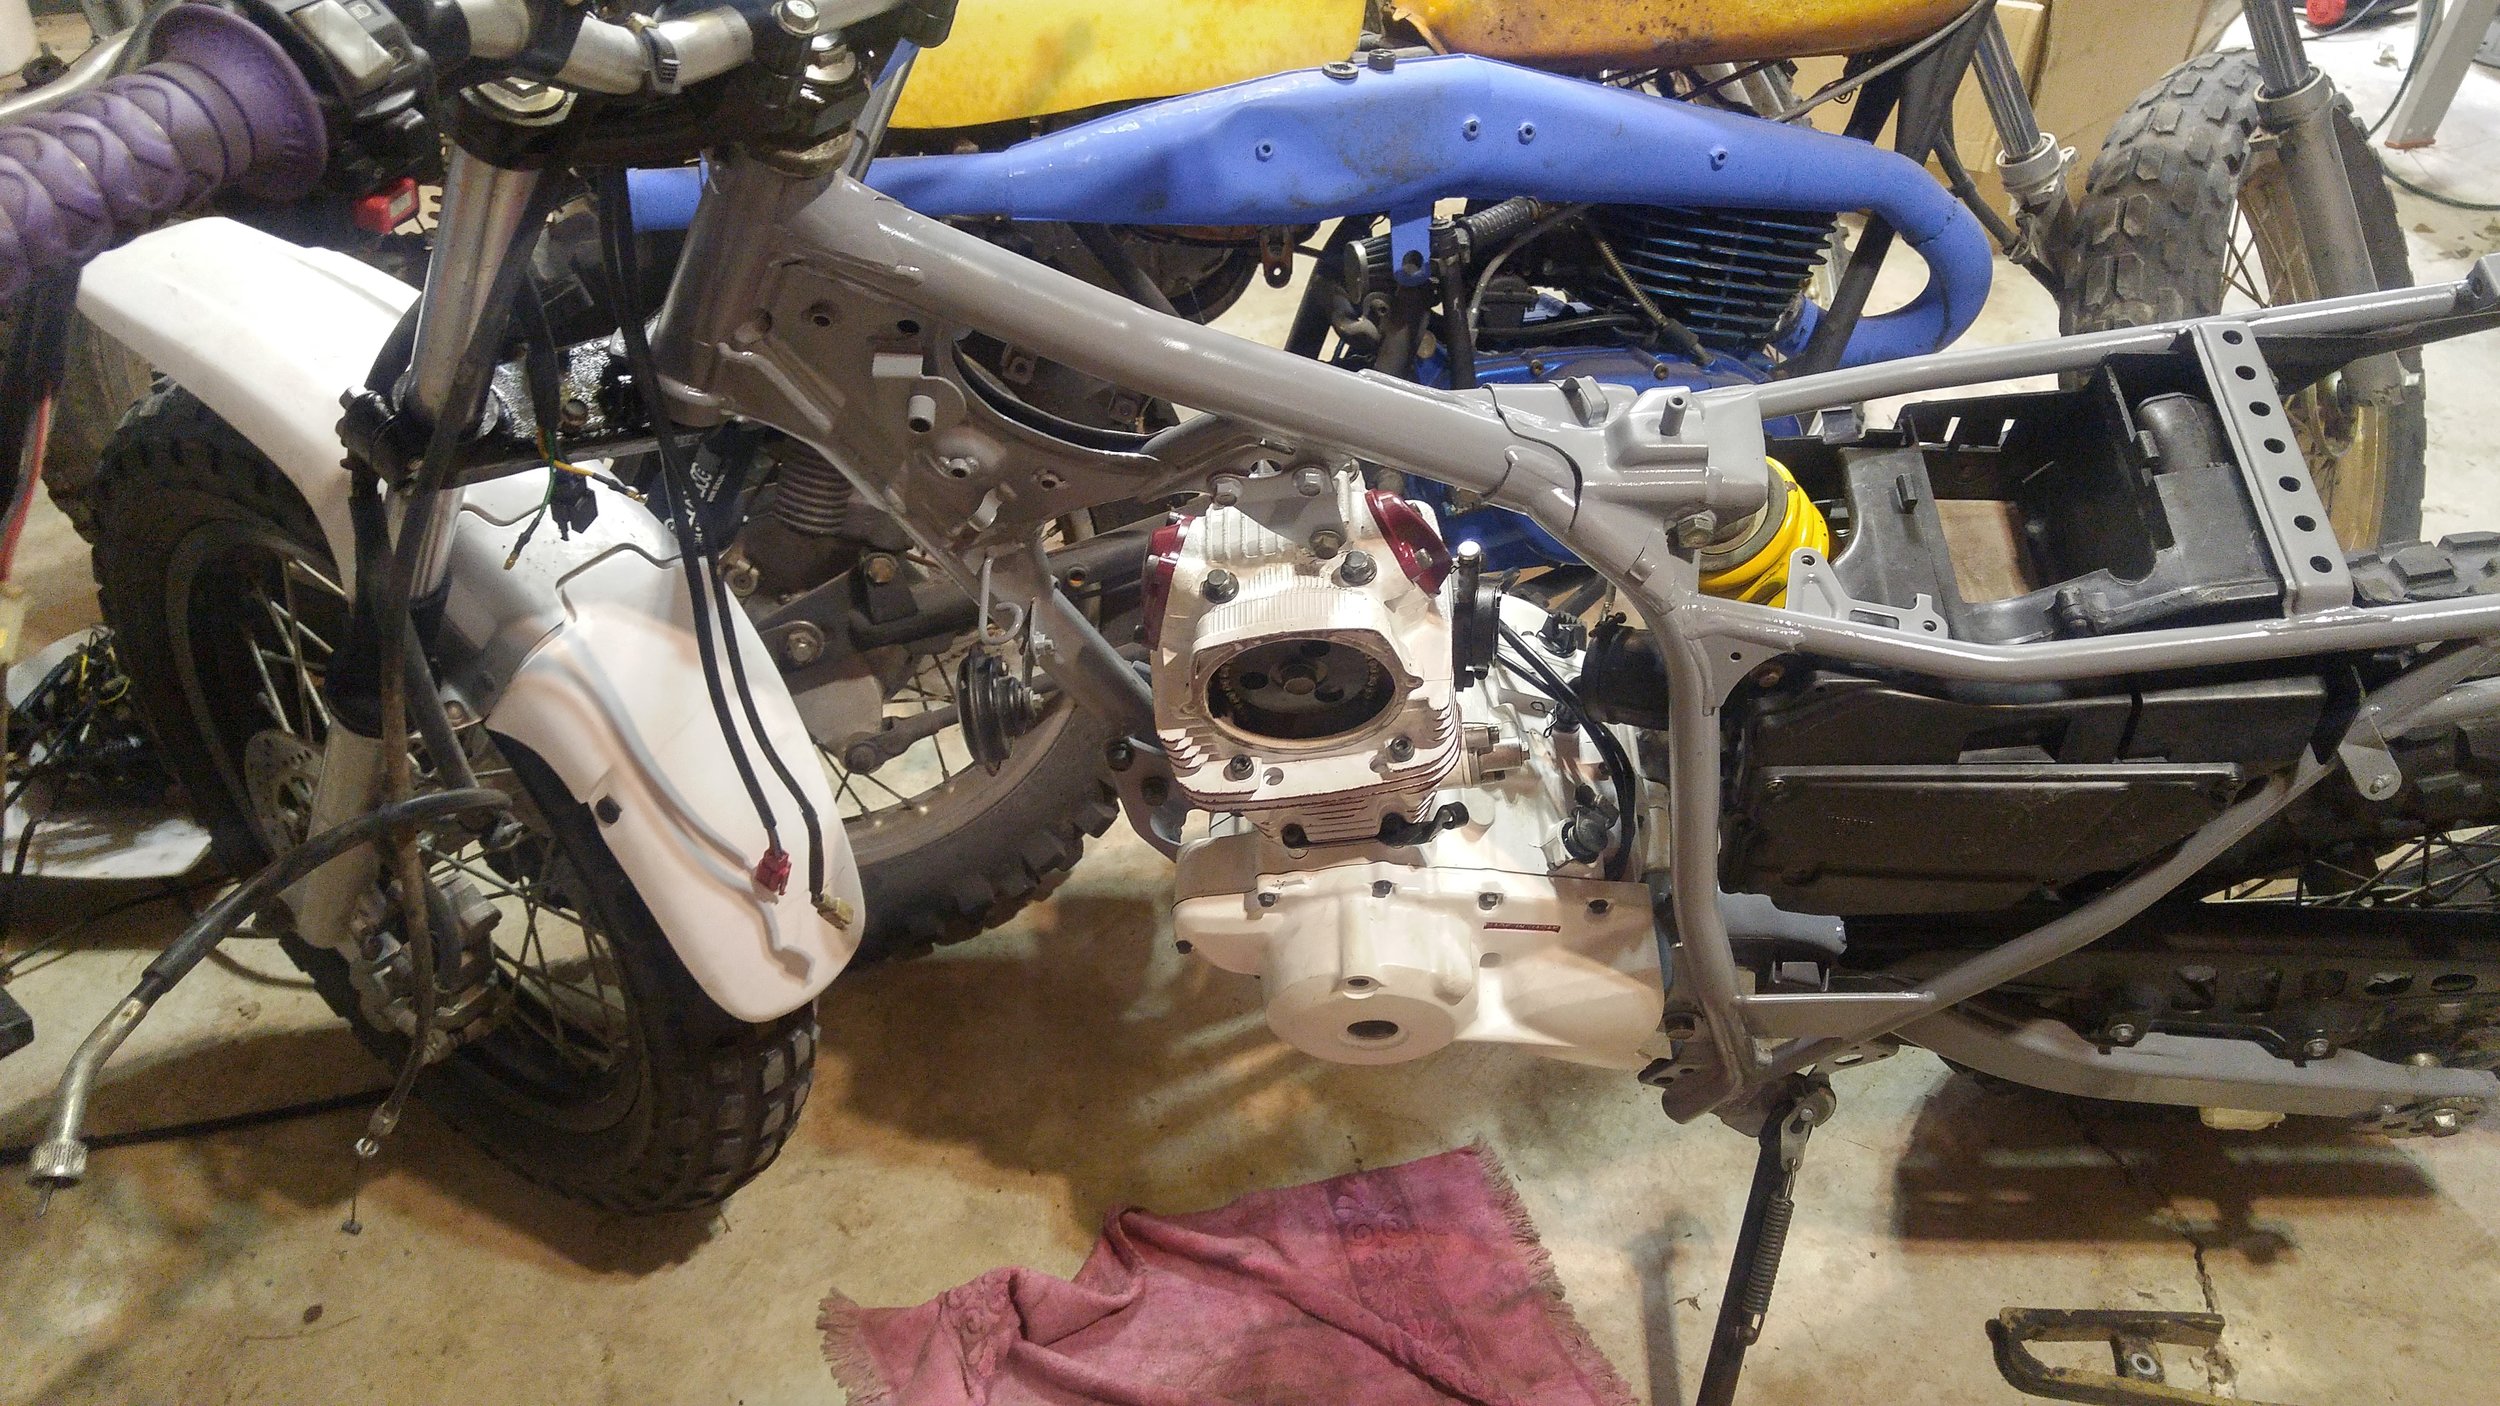
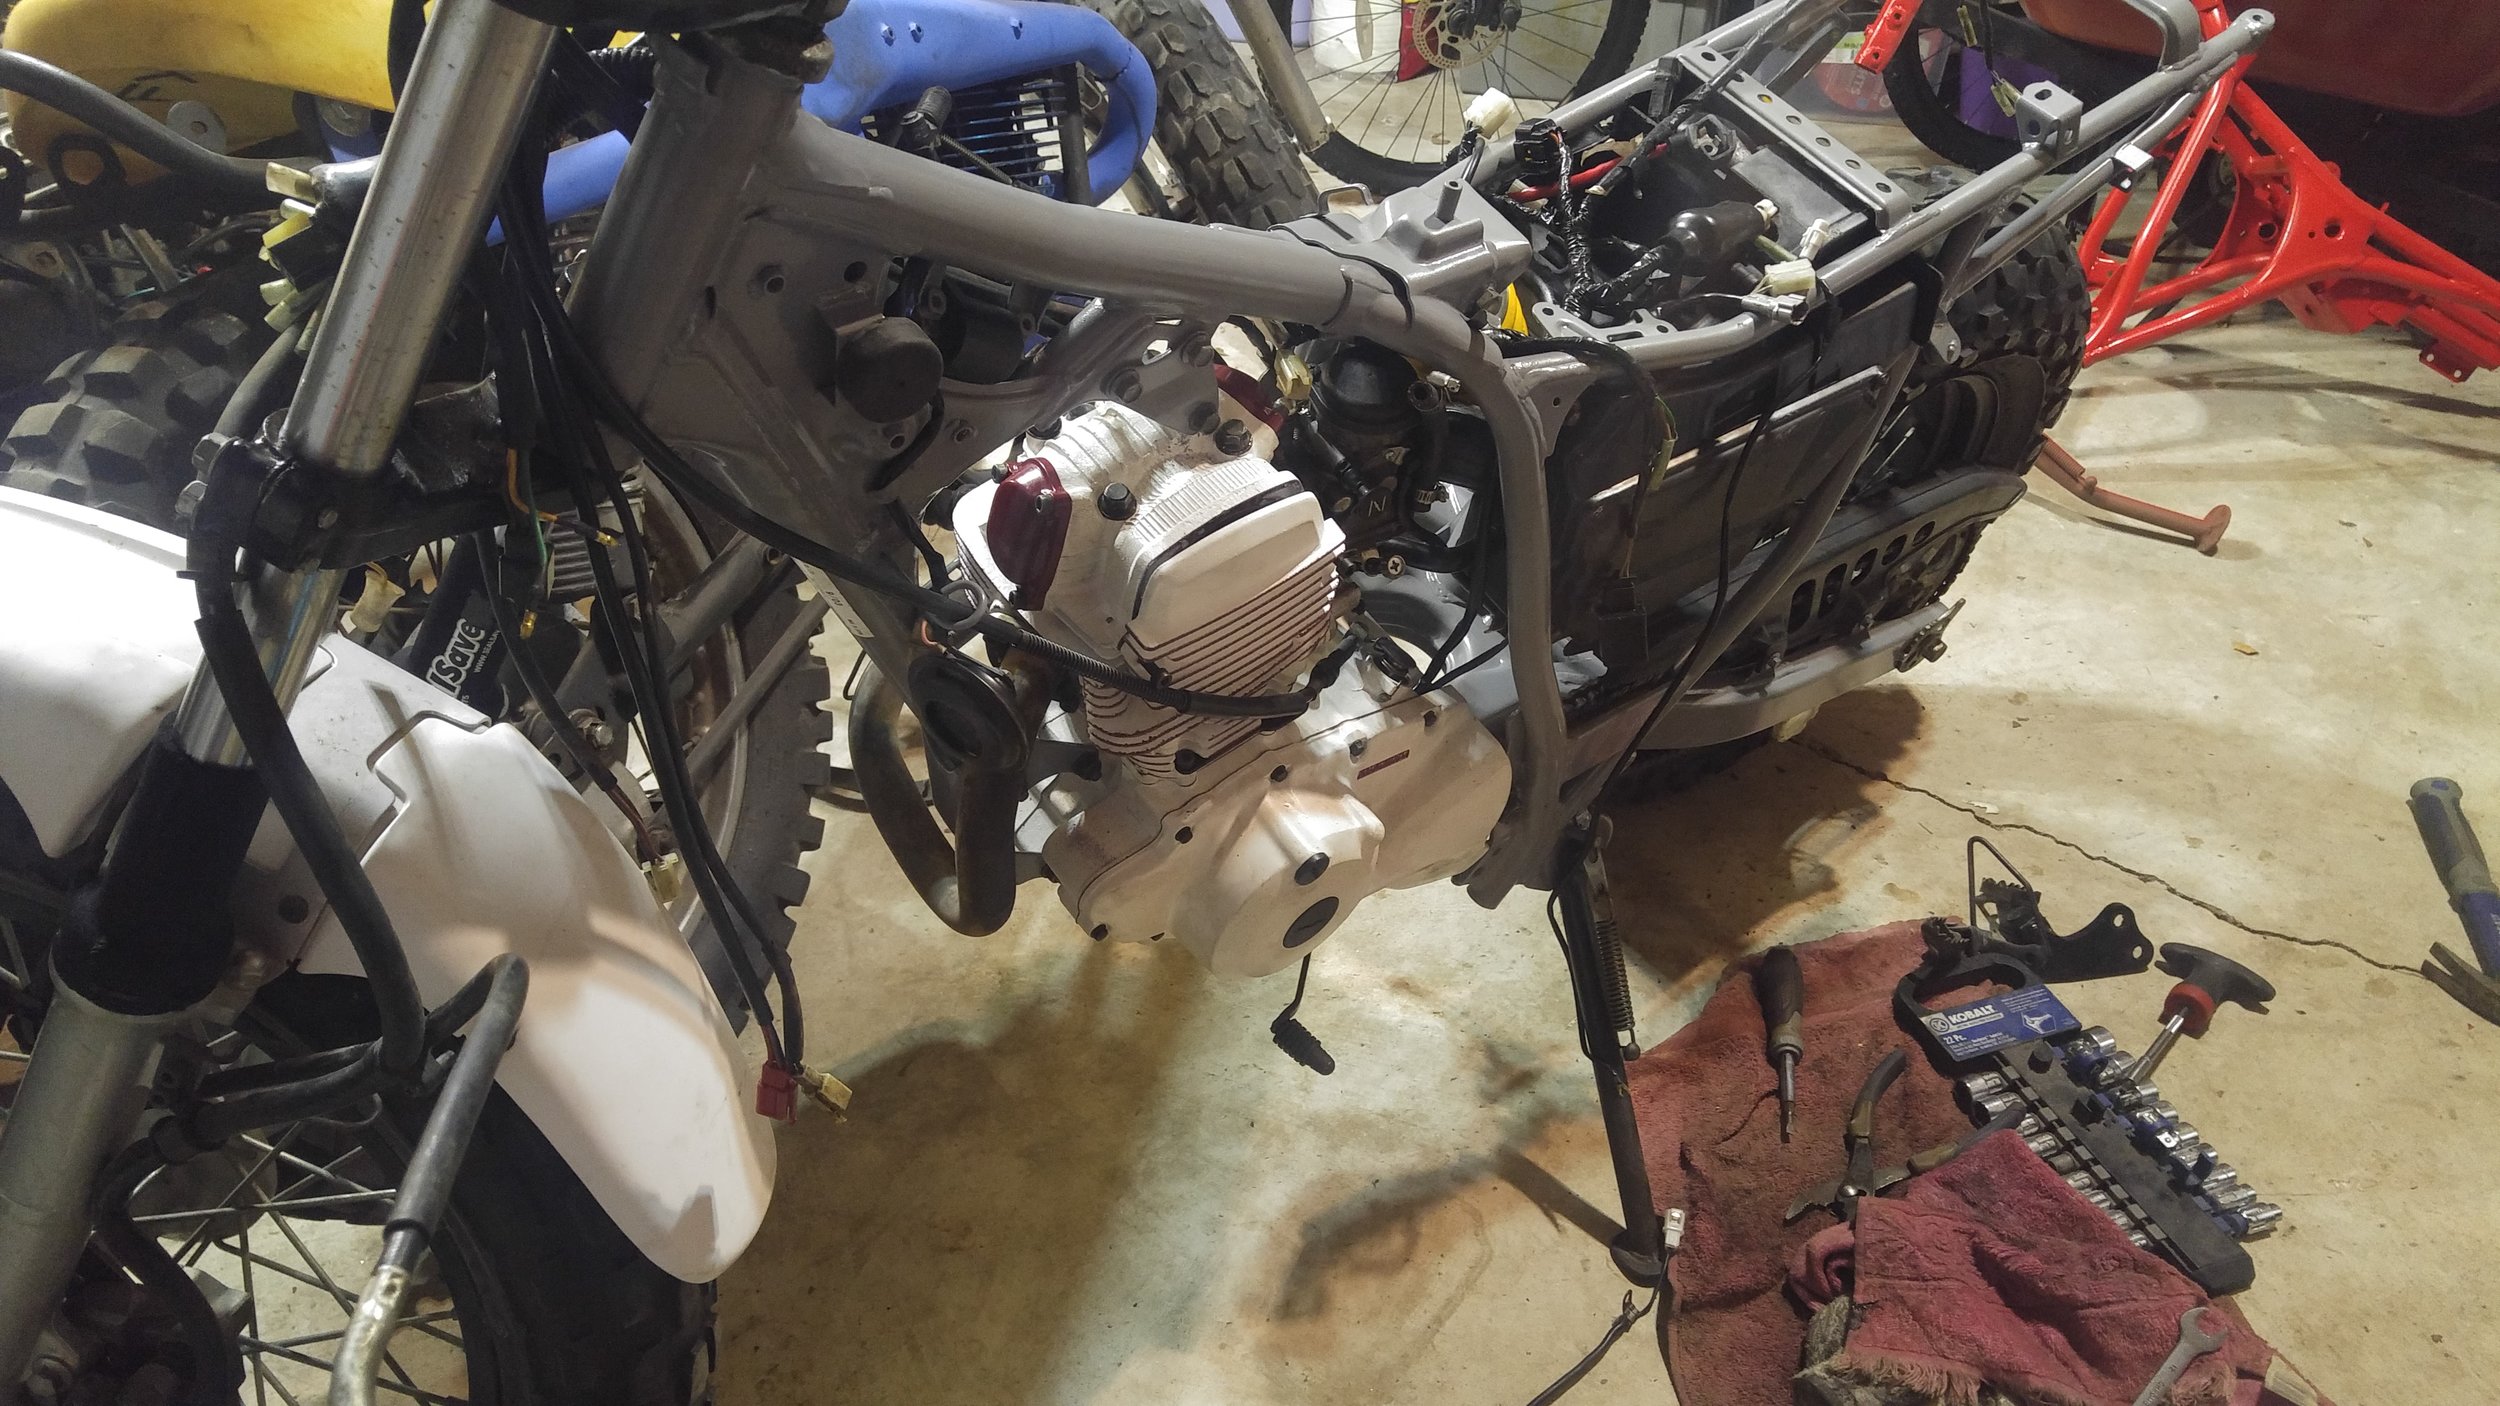
BW350-
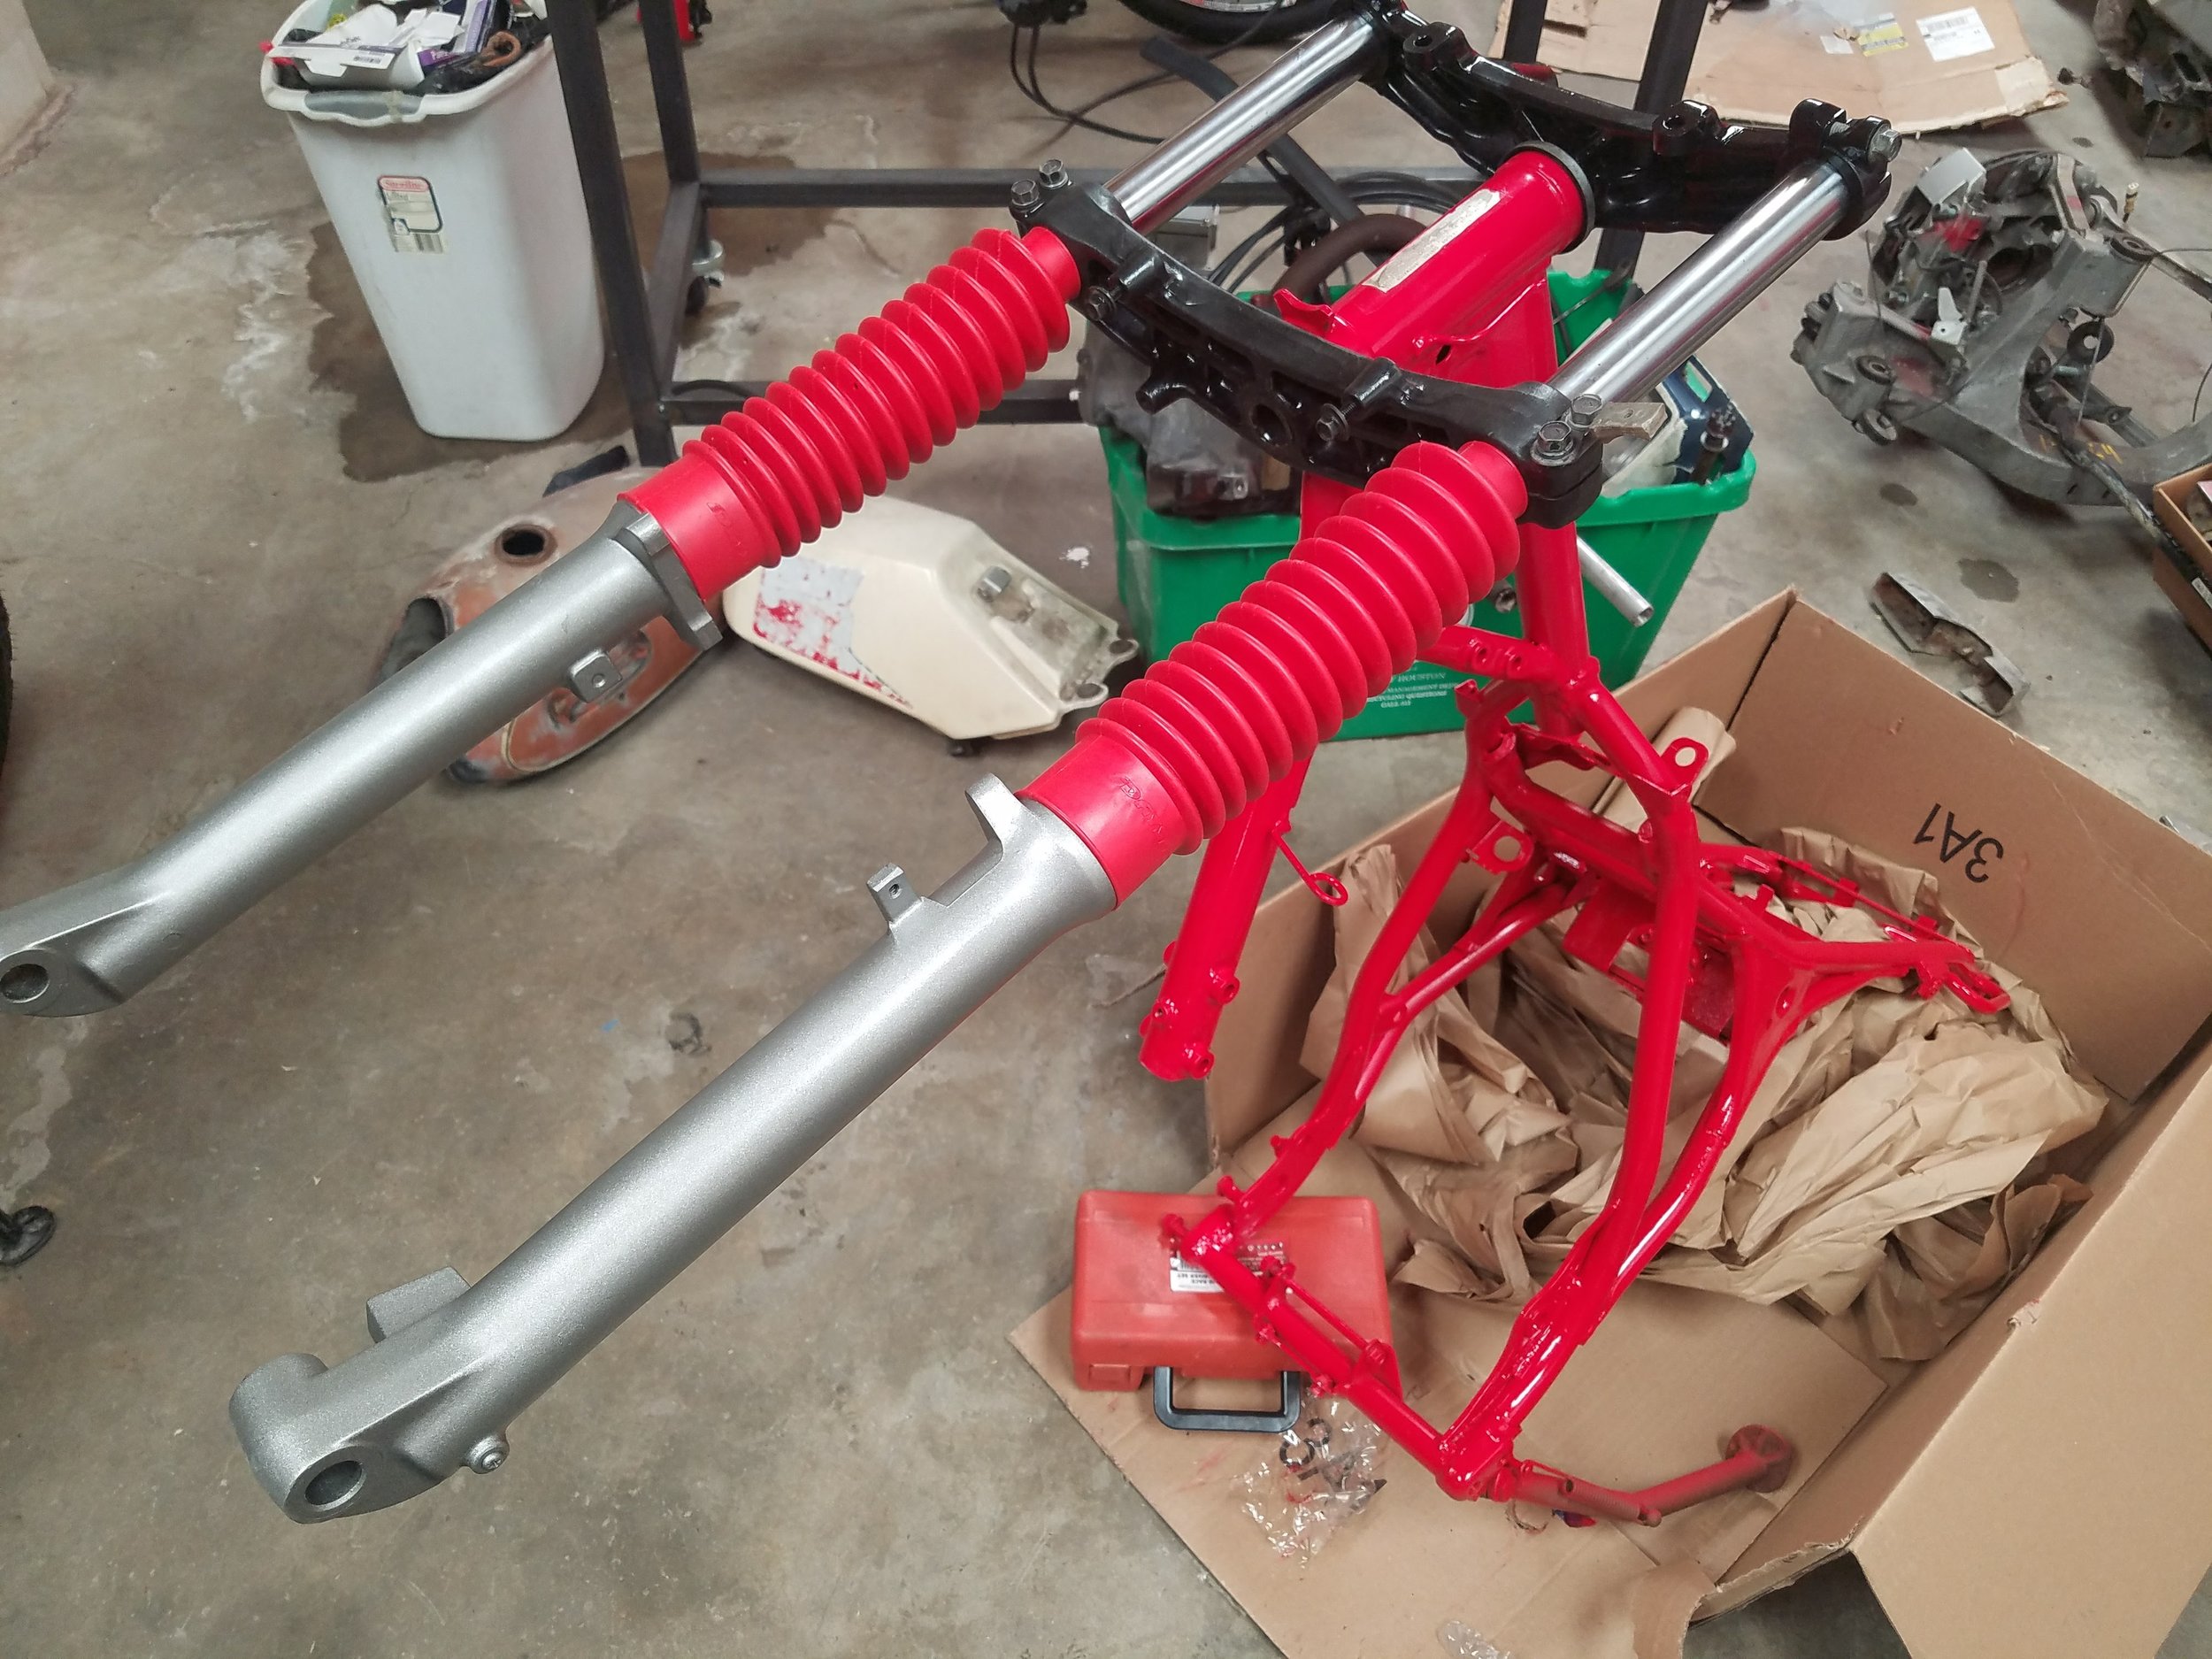
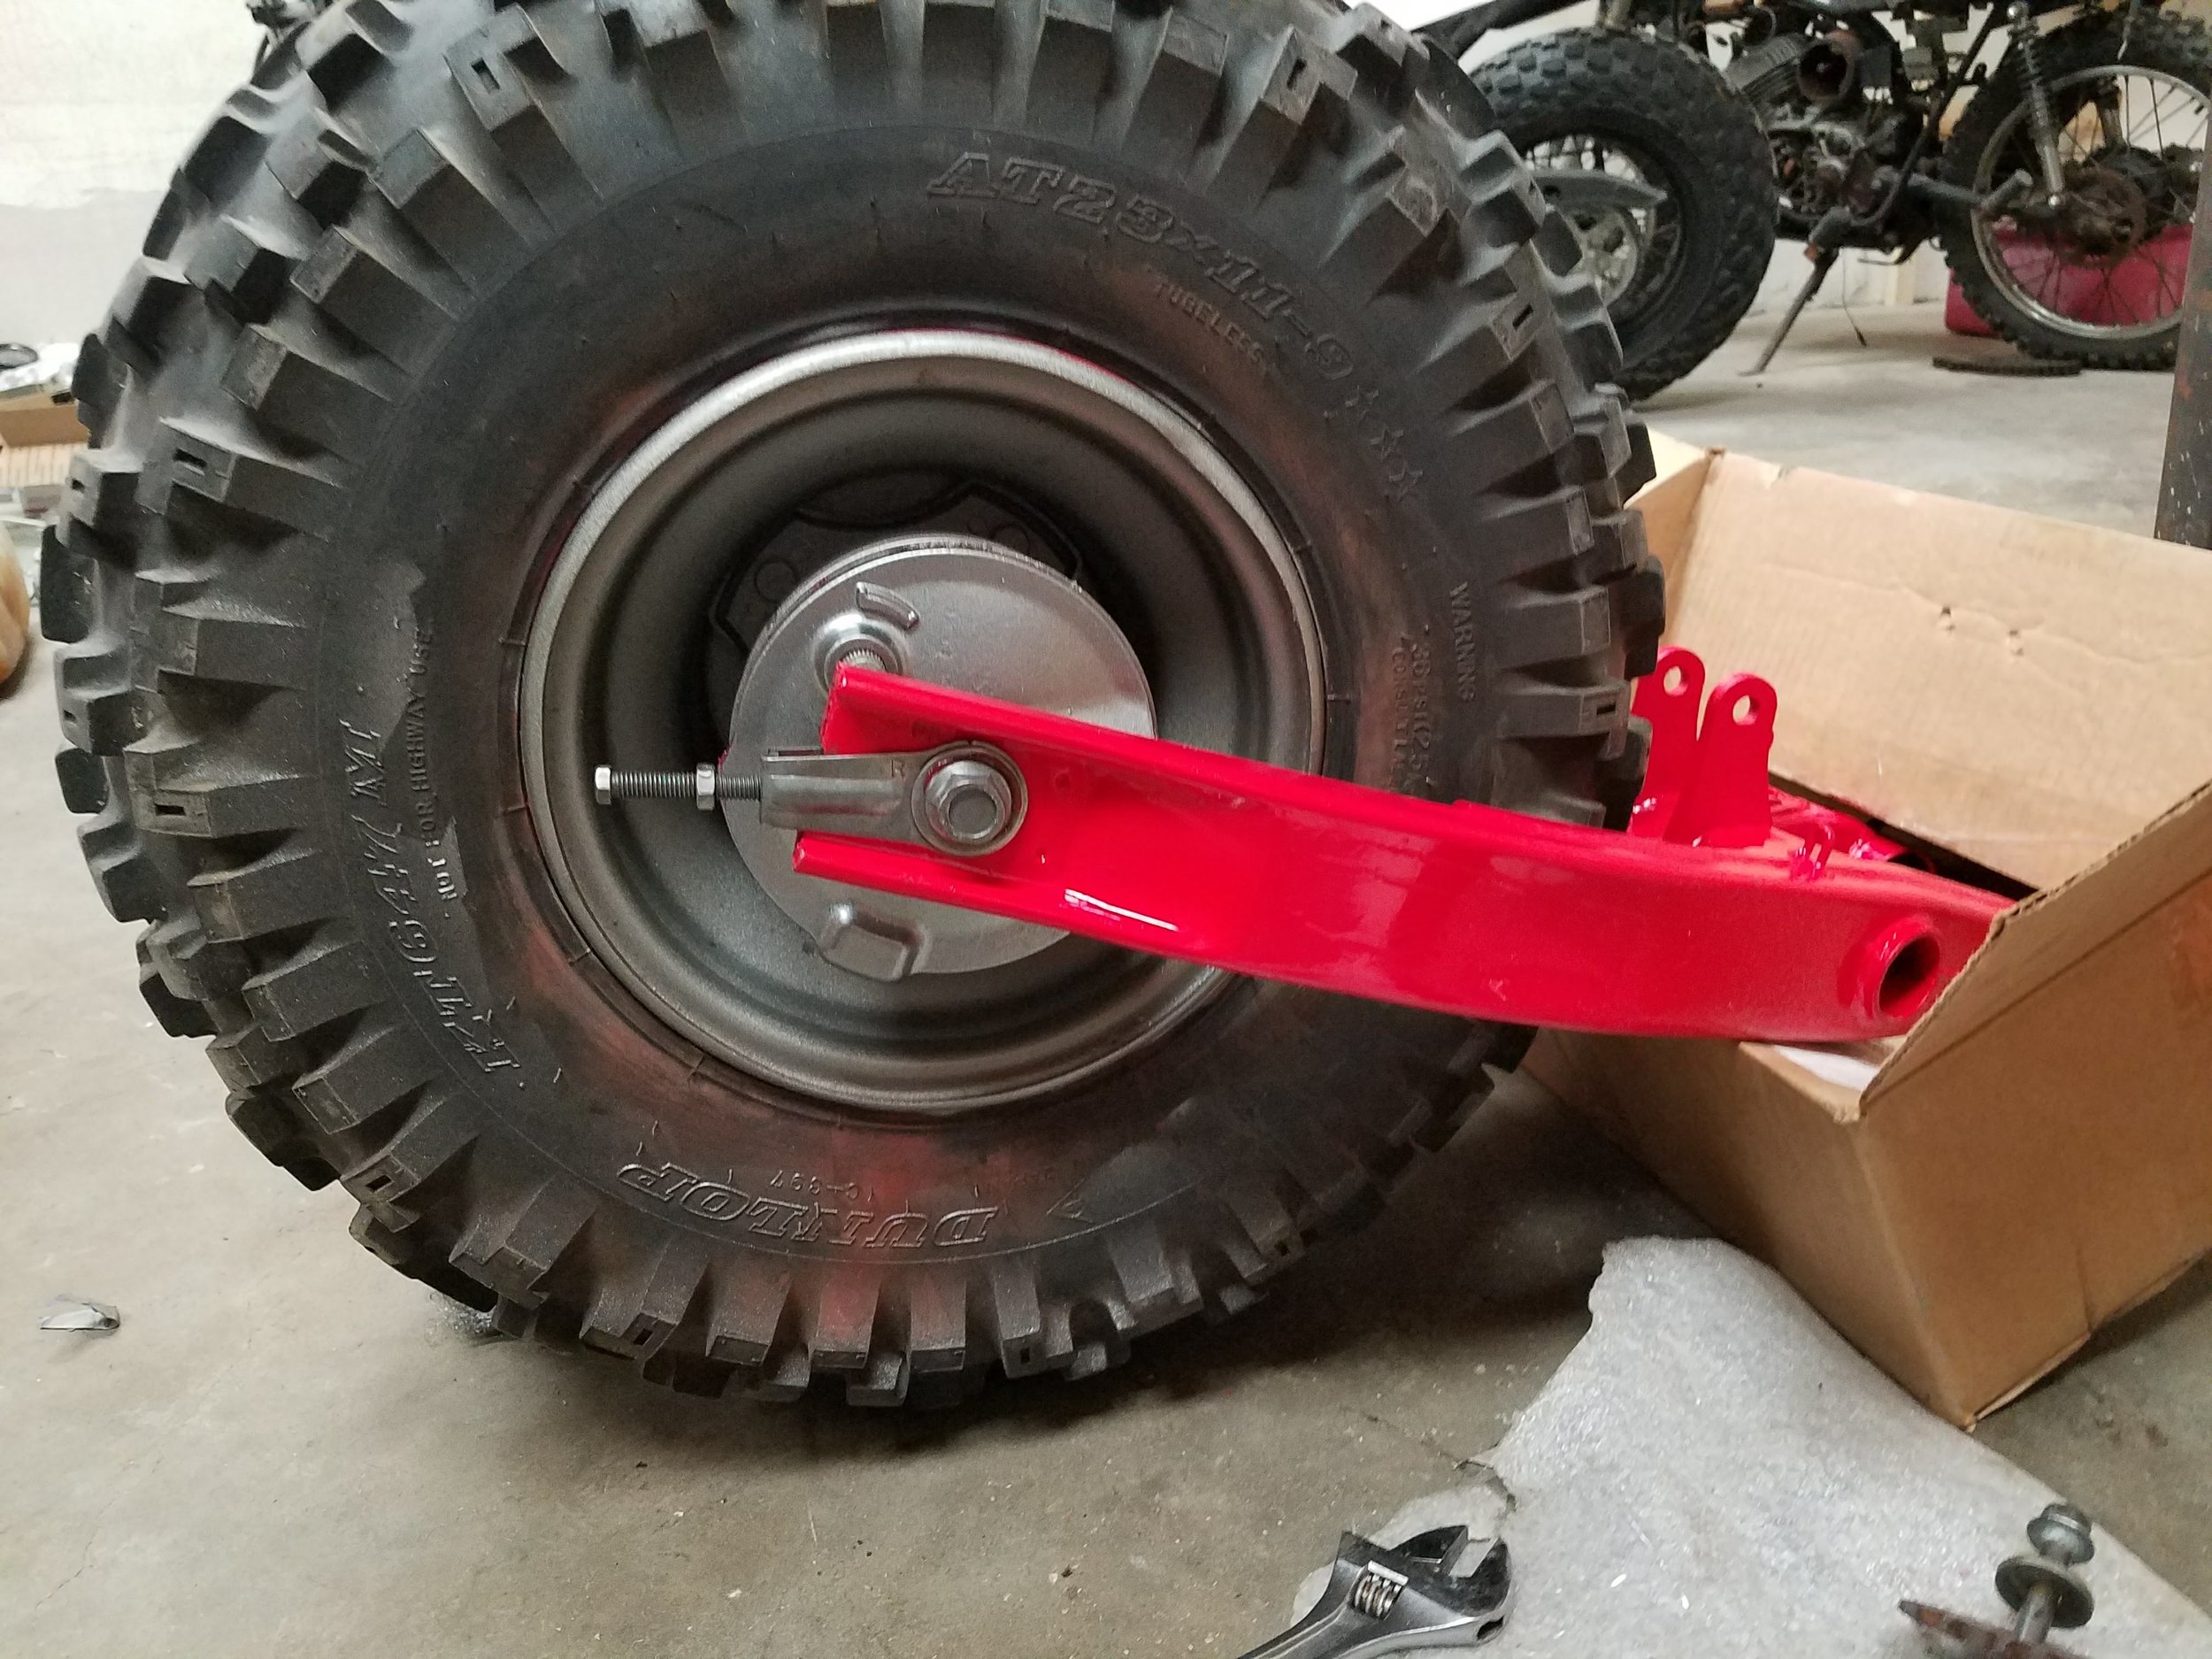
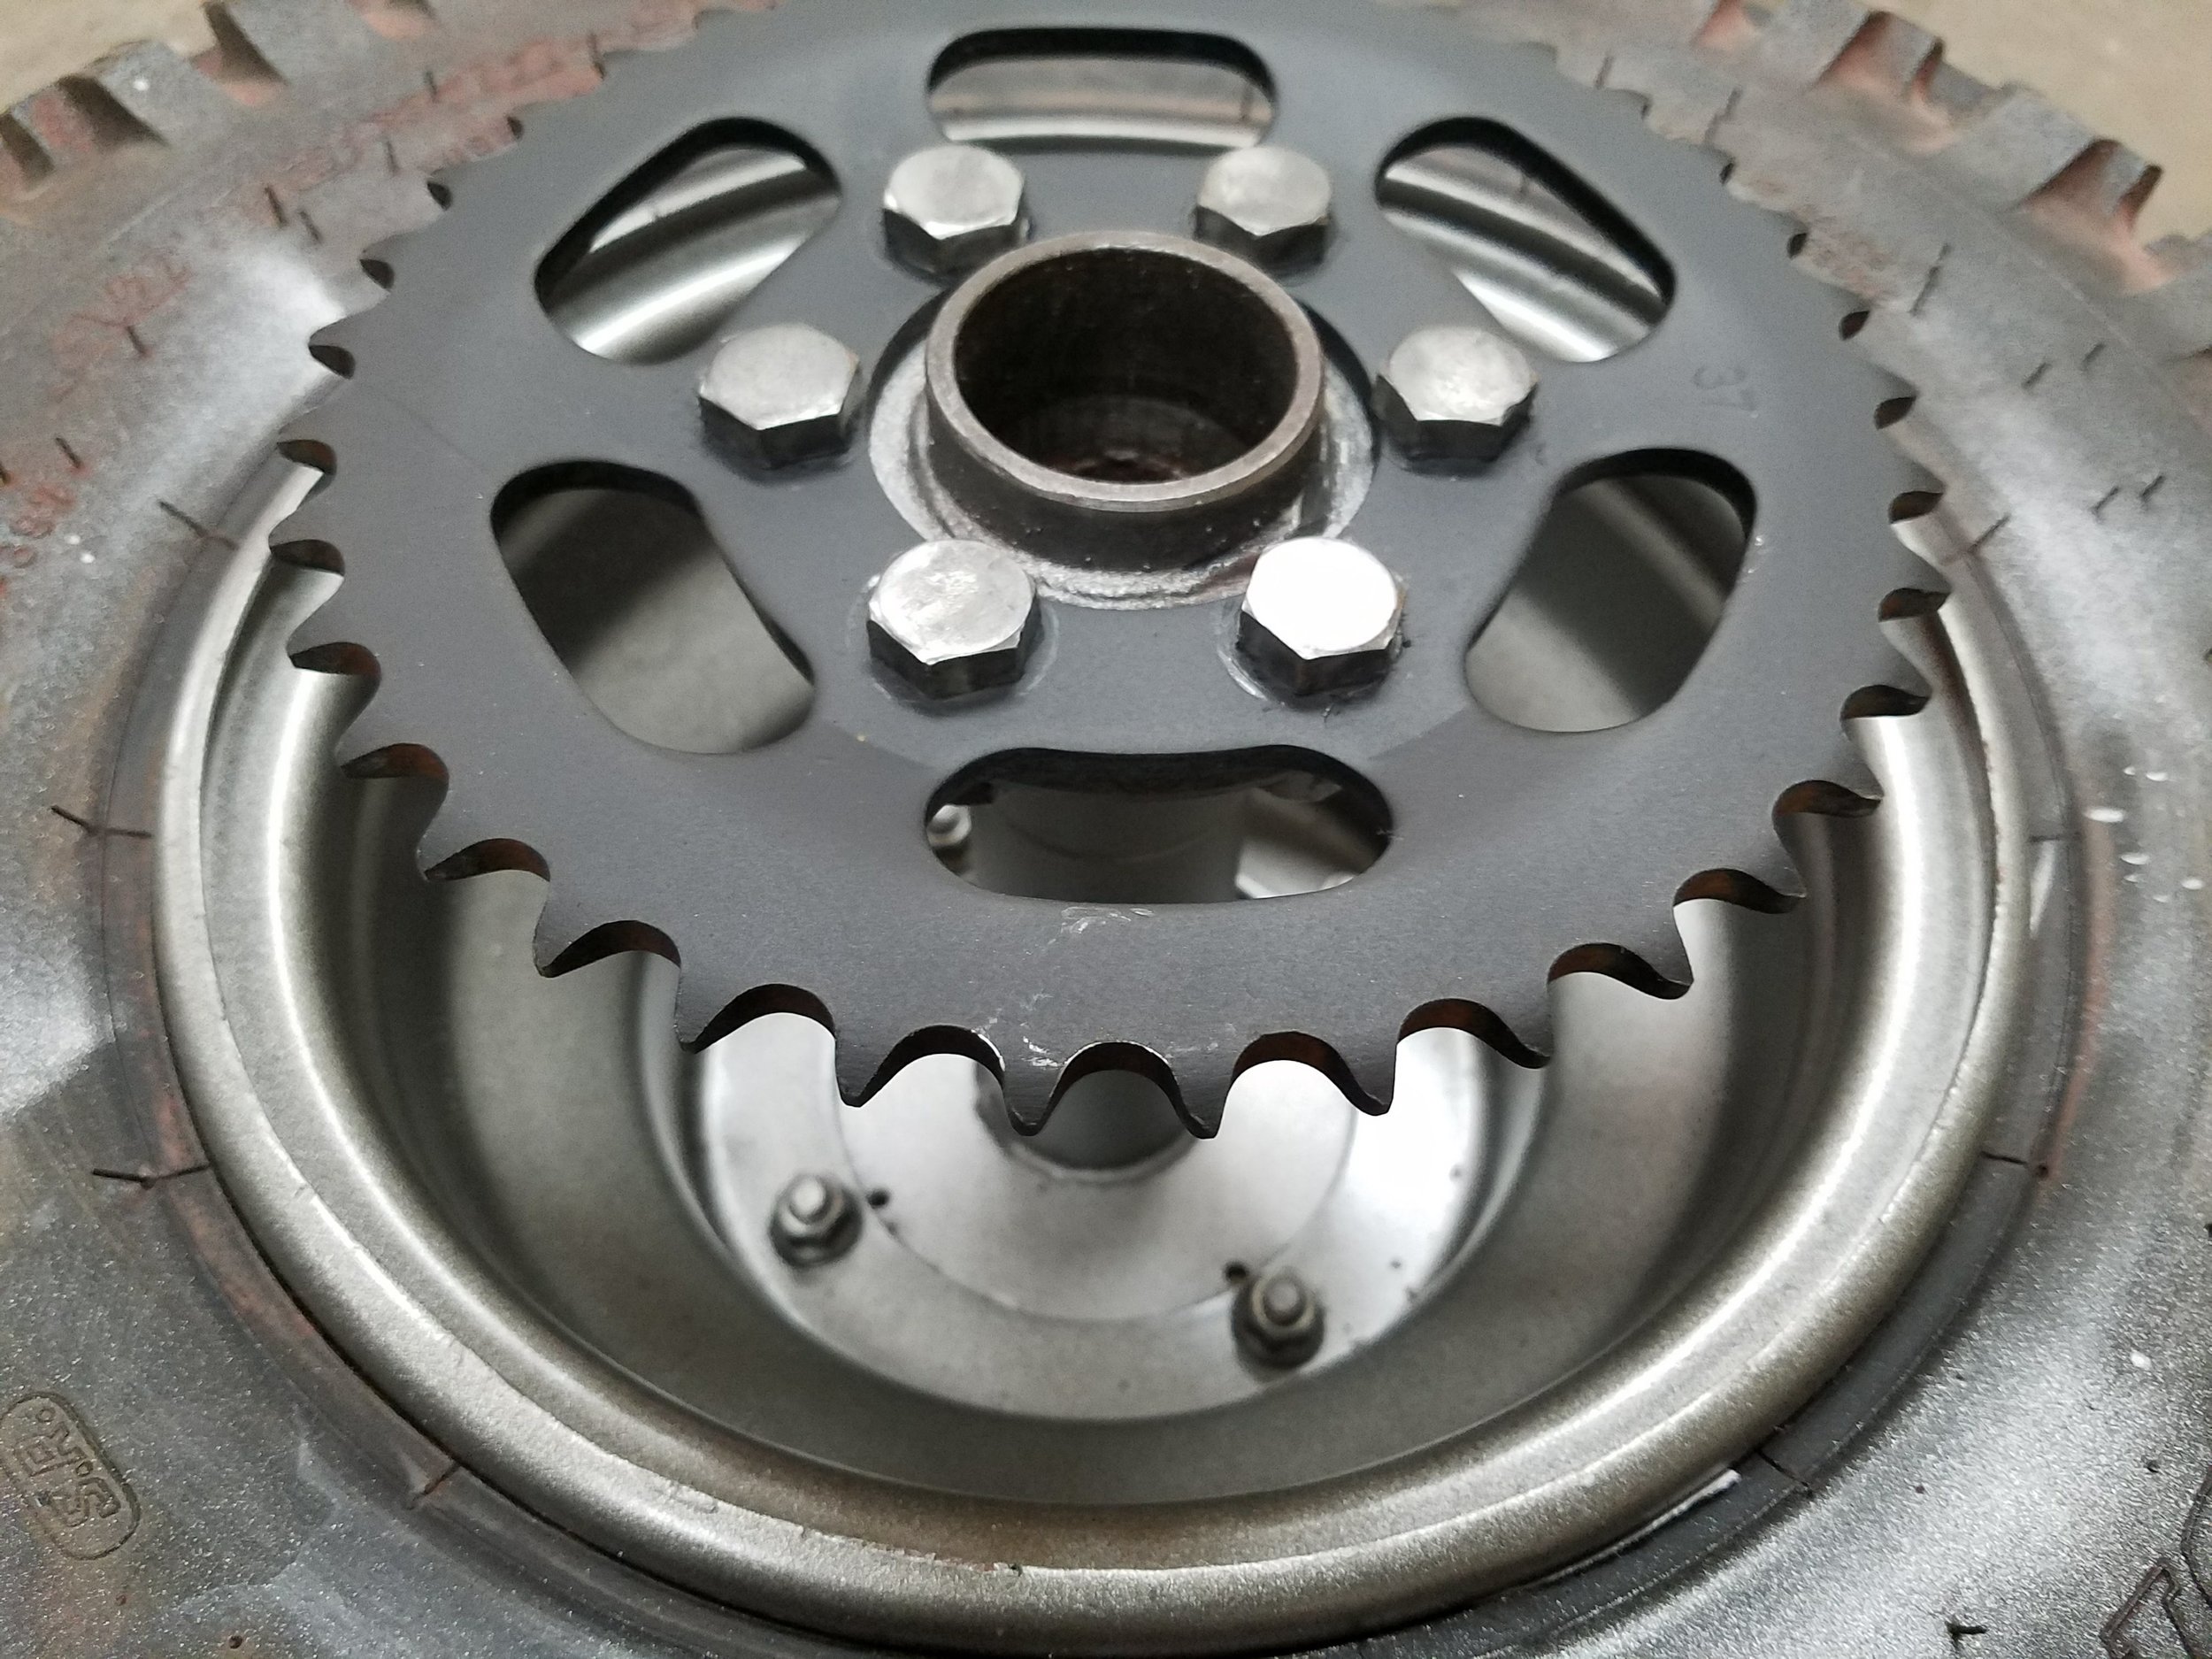
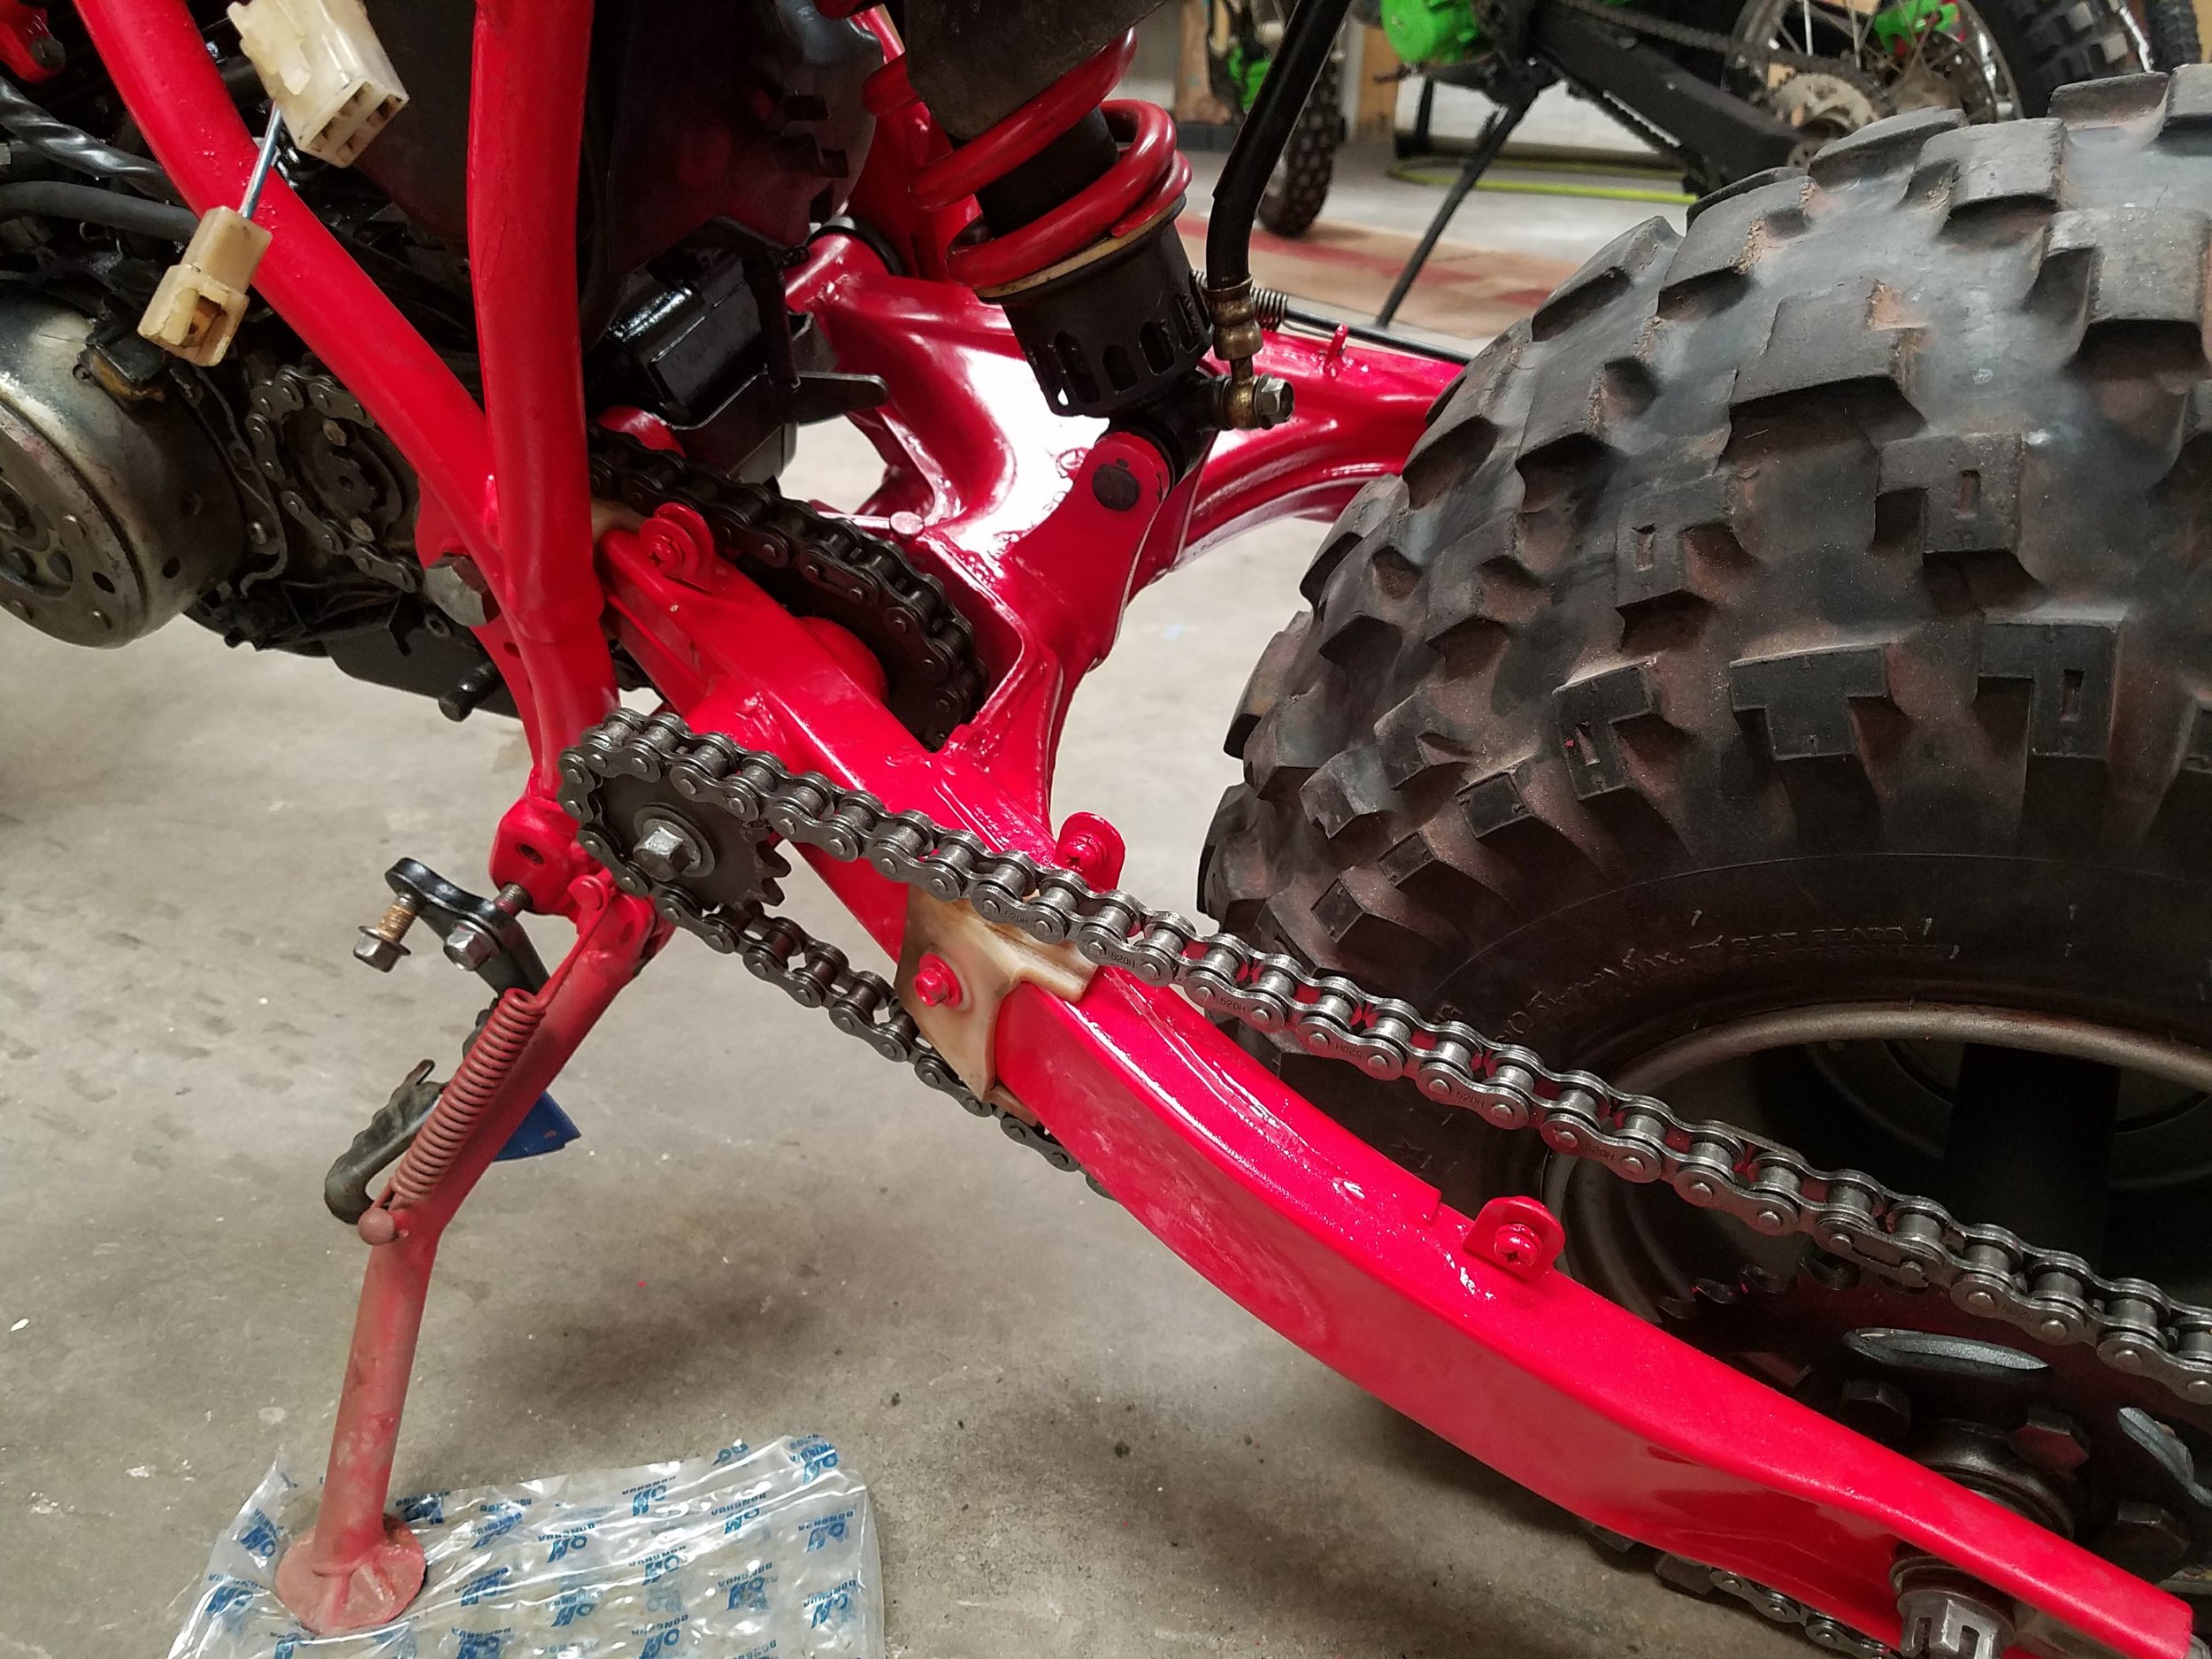
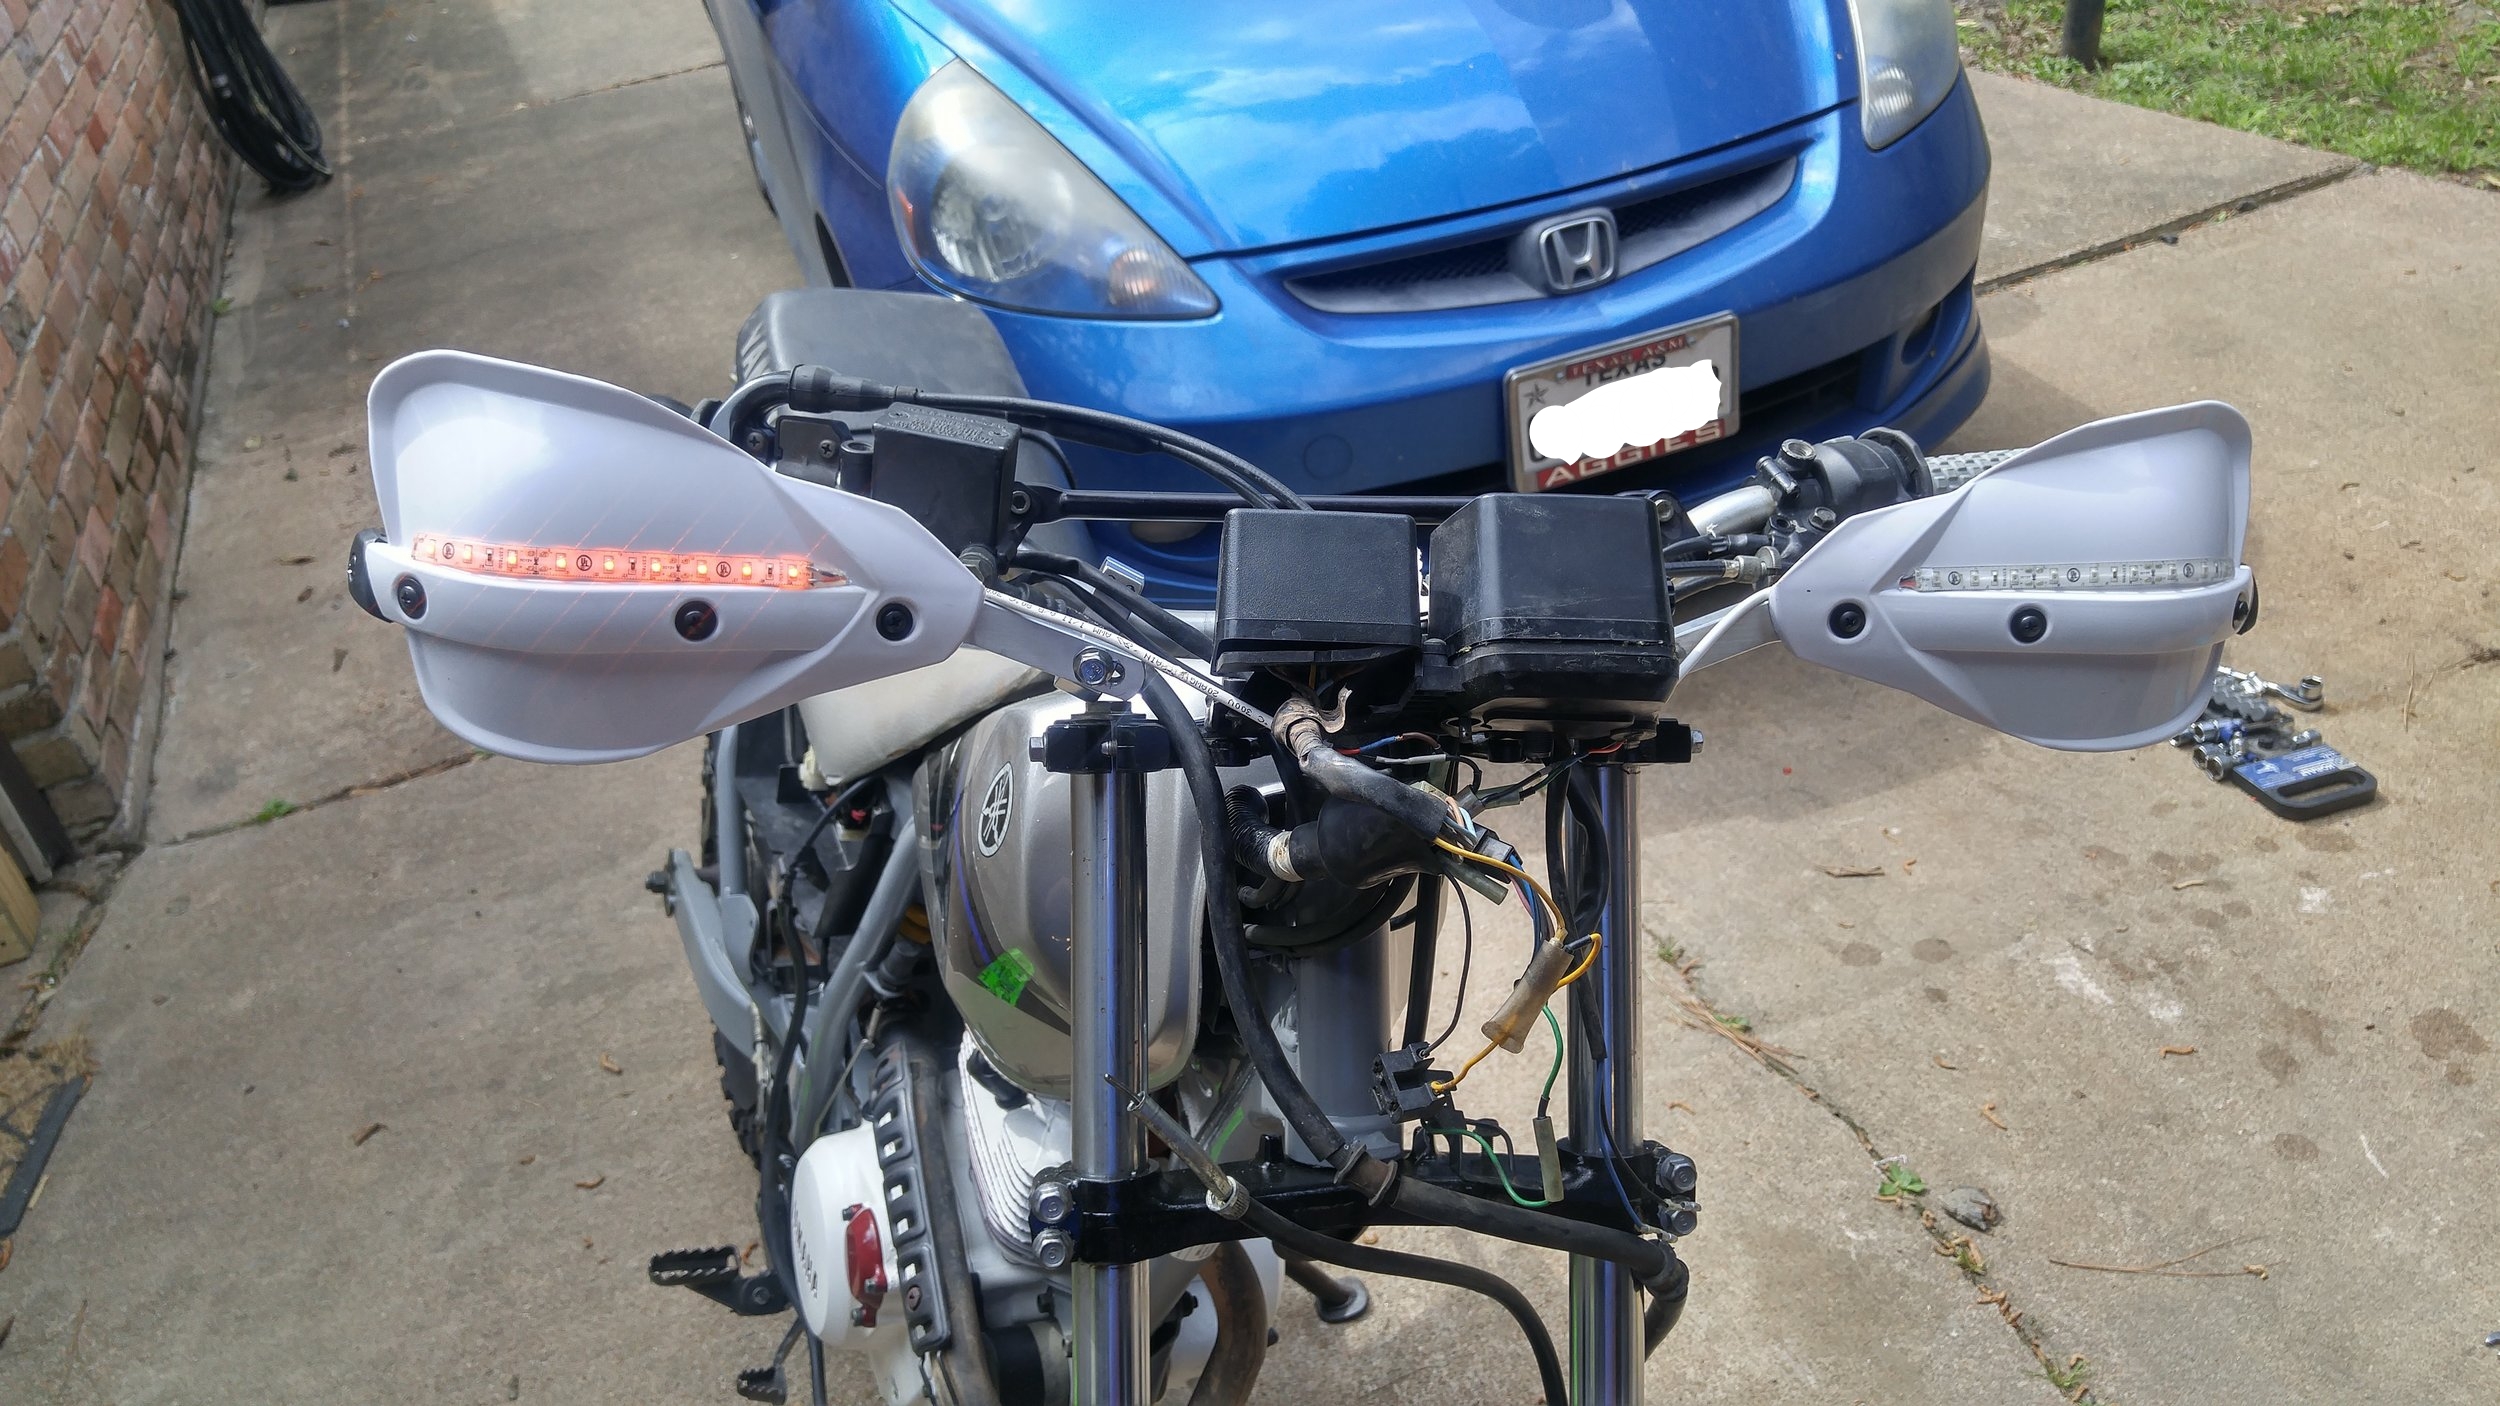
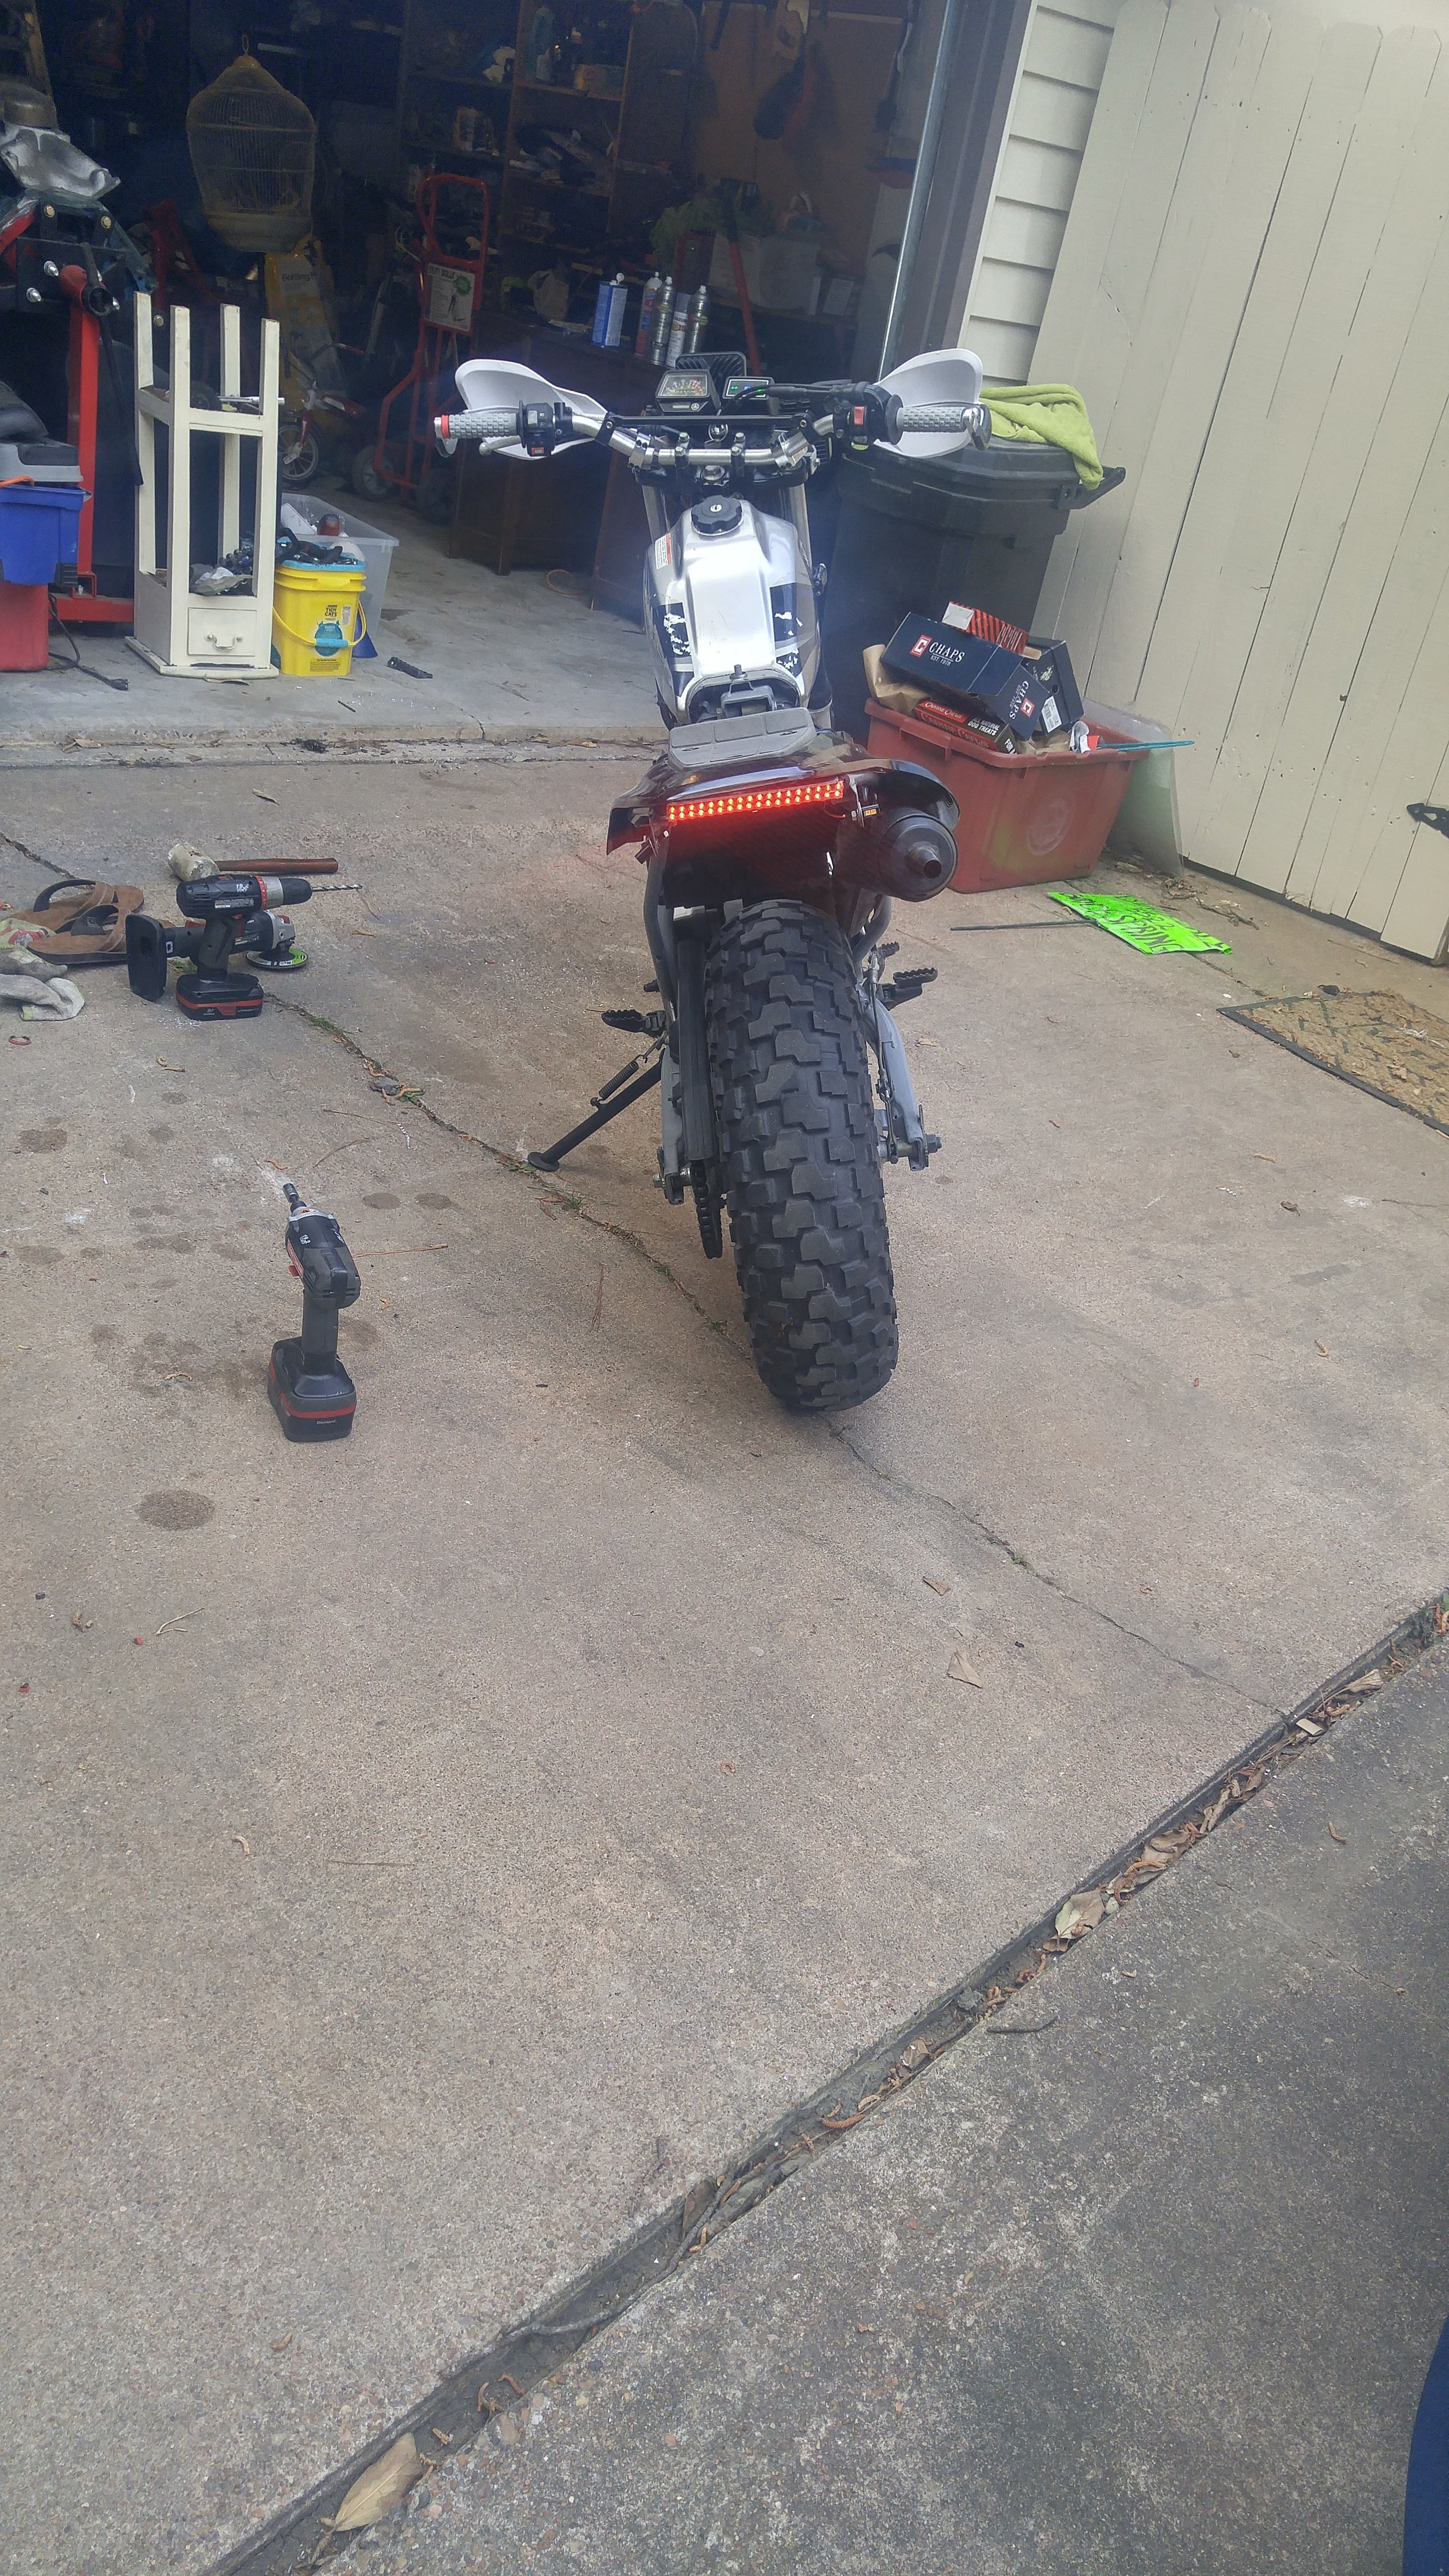
this one has come a LONG way. From being a half painted frame and tons of parts, we now have a full roller ready to fire. I’m working on the wiring right now. This is one of the more rare bikes in the collection right now and I want it to be street legal. You can buy an aftermarket light kit for around 350 dollars, but I think that’s absurd so I’m doing it myself. With LEDs. And it’s going to look better. I’ve pieced together brake light switches, hand controls, instrumentation, and all manner of wire and connector to come up with a factory looking set up that integrates in to existing wiring. The bike was never built to handle an electrical load like this, but since its LED I think it will be a nominal strain.
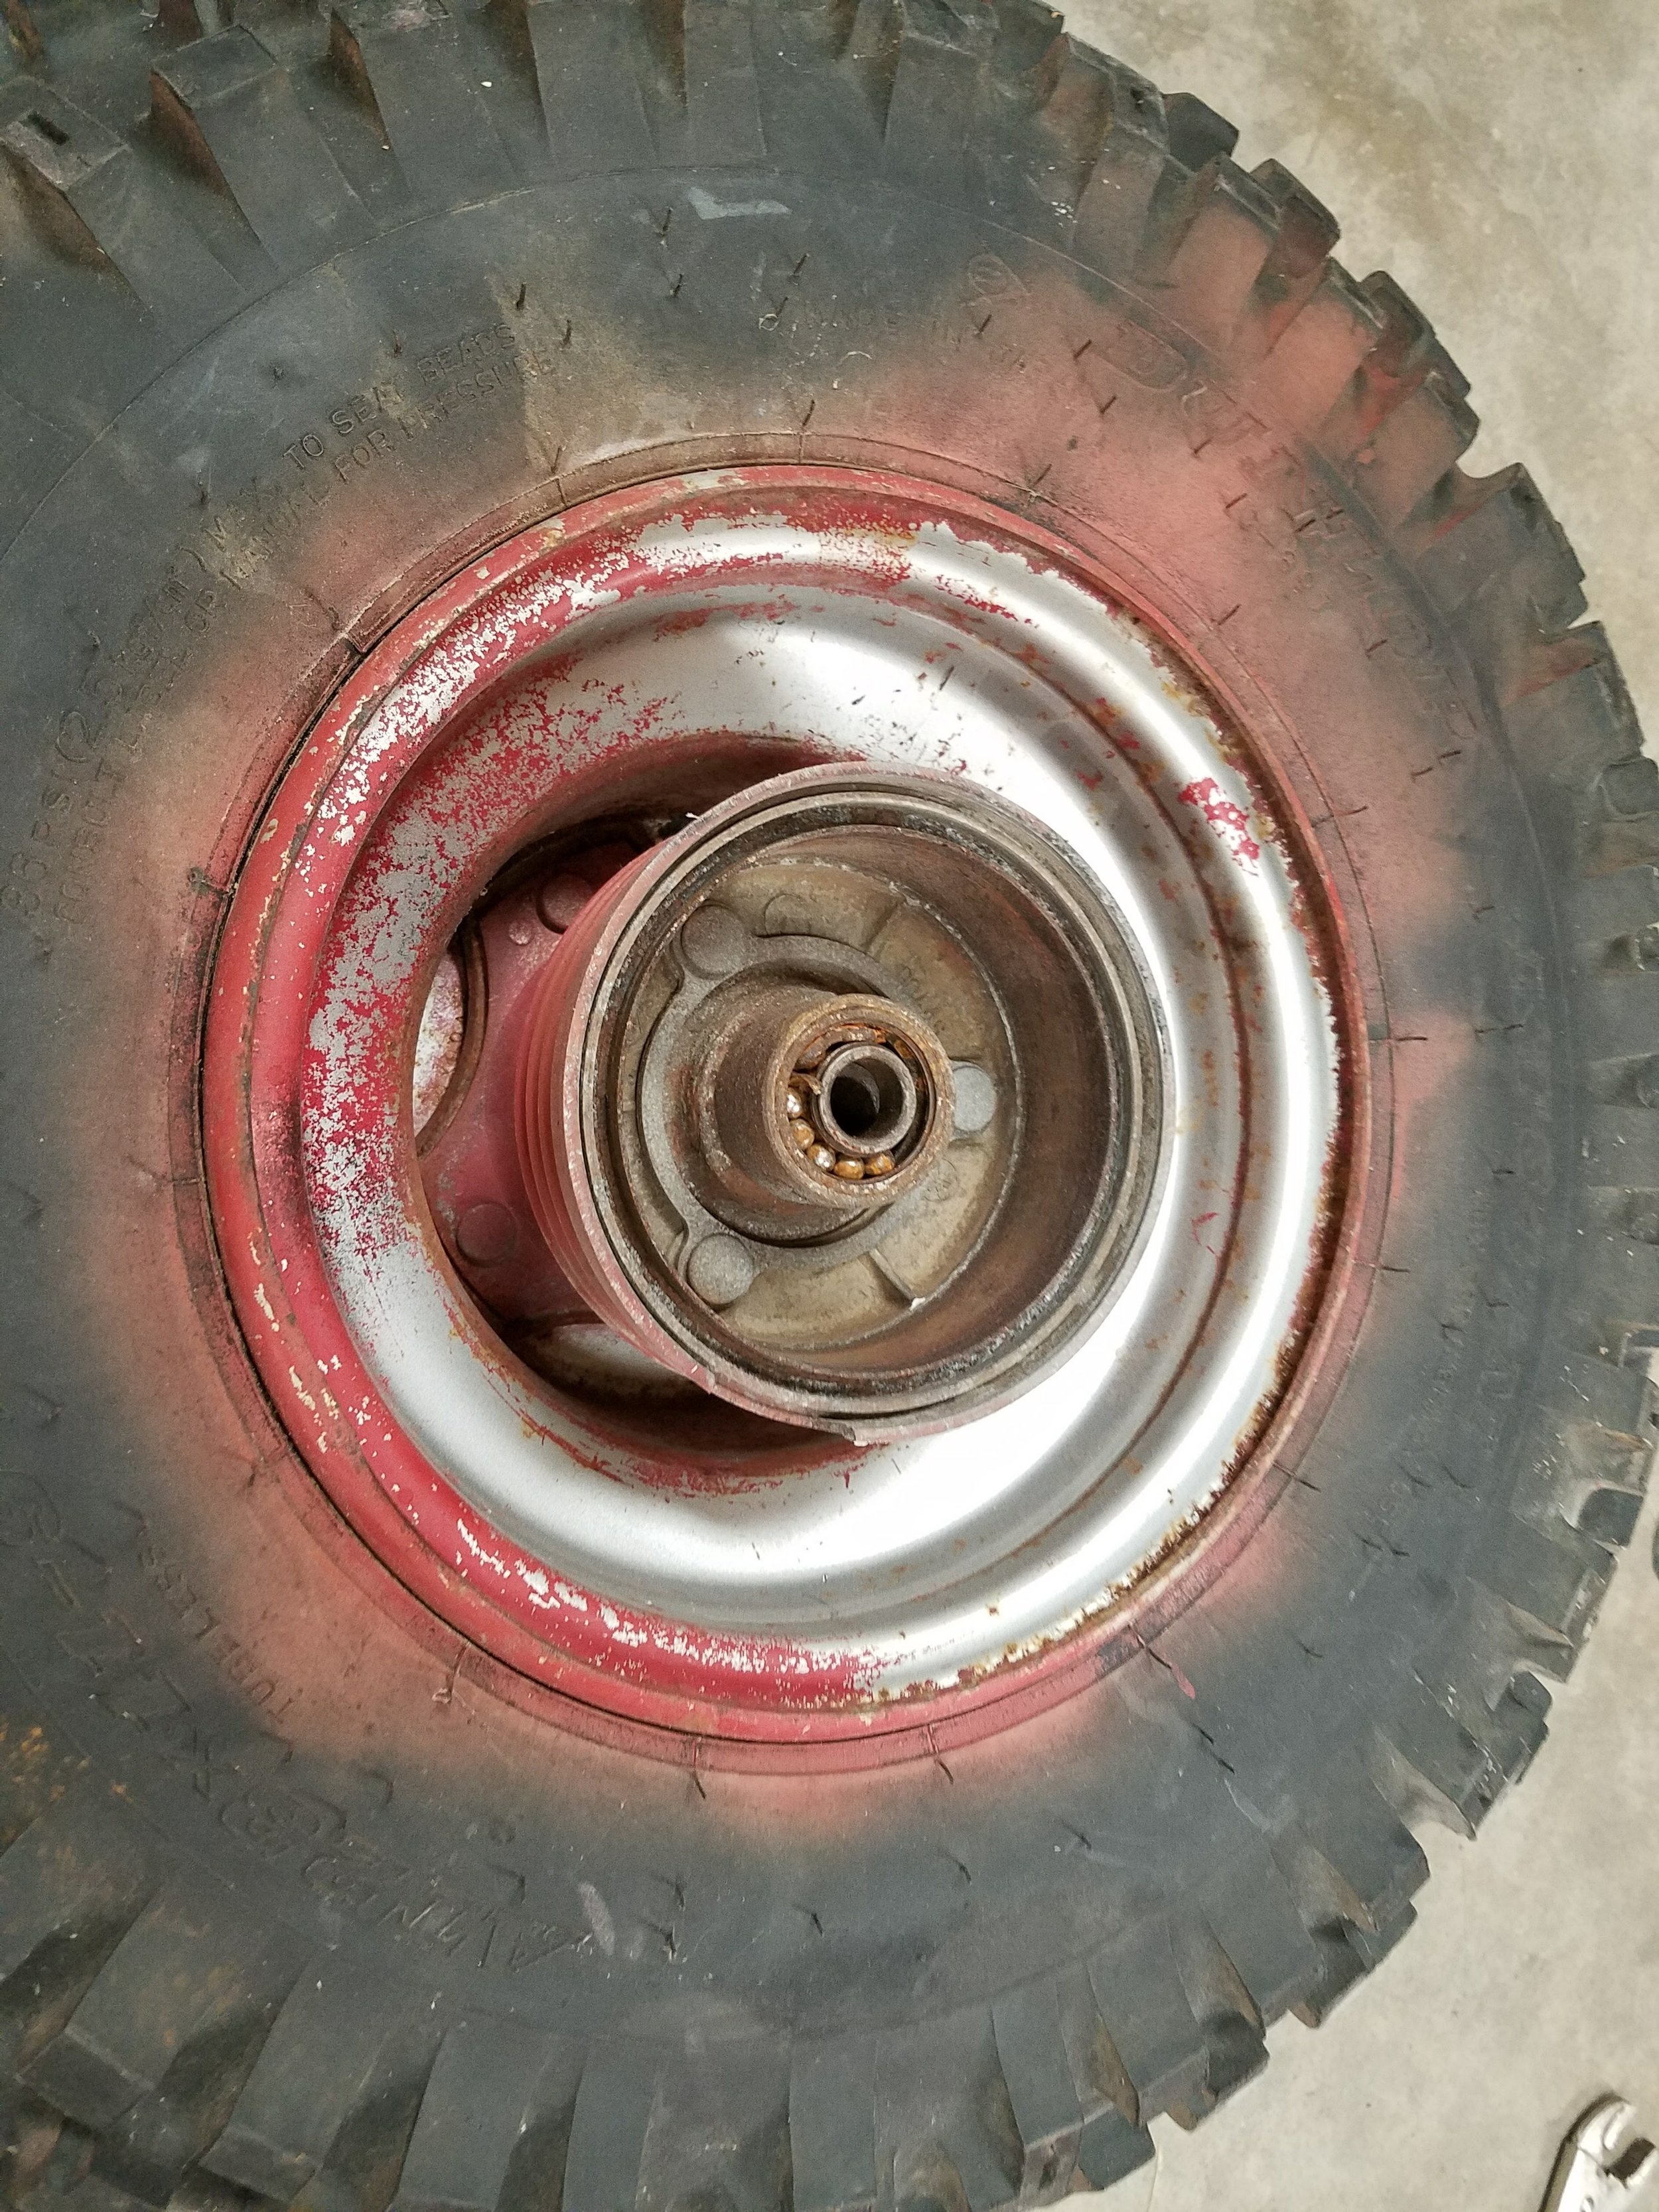
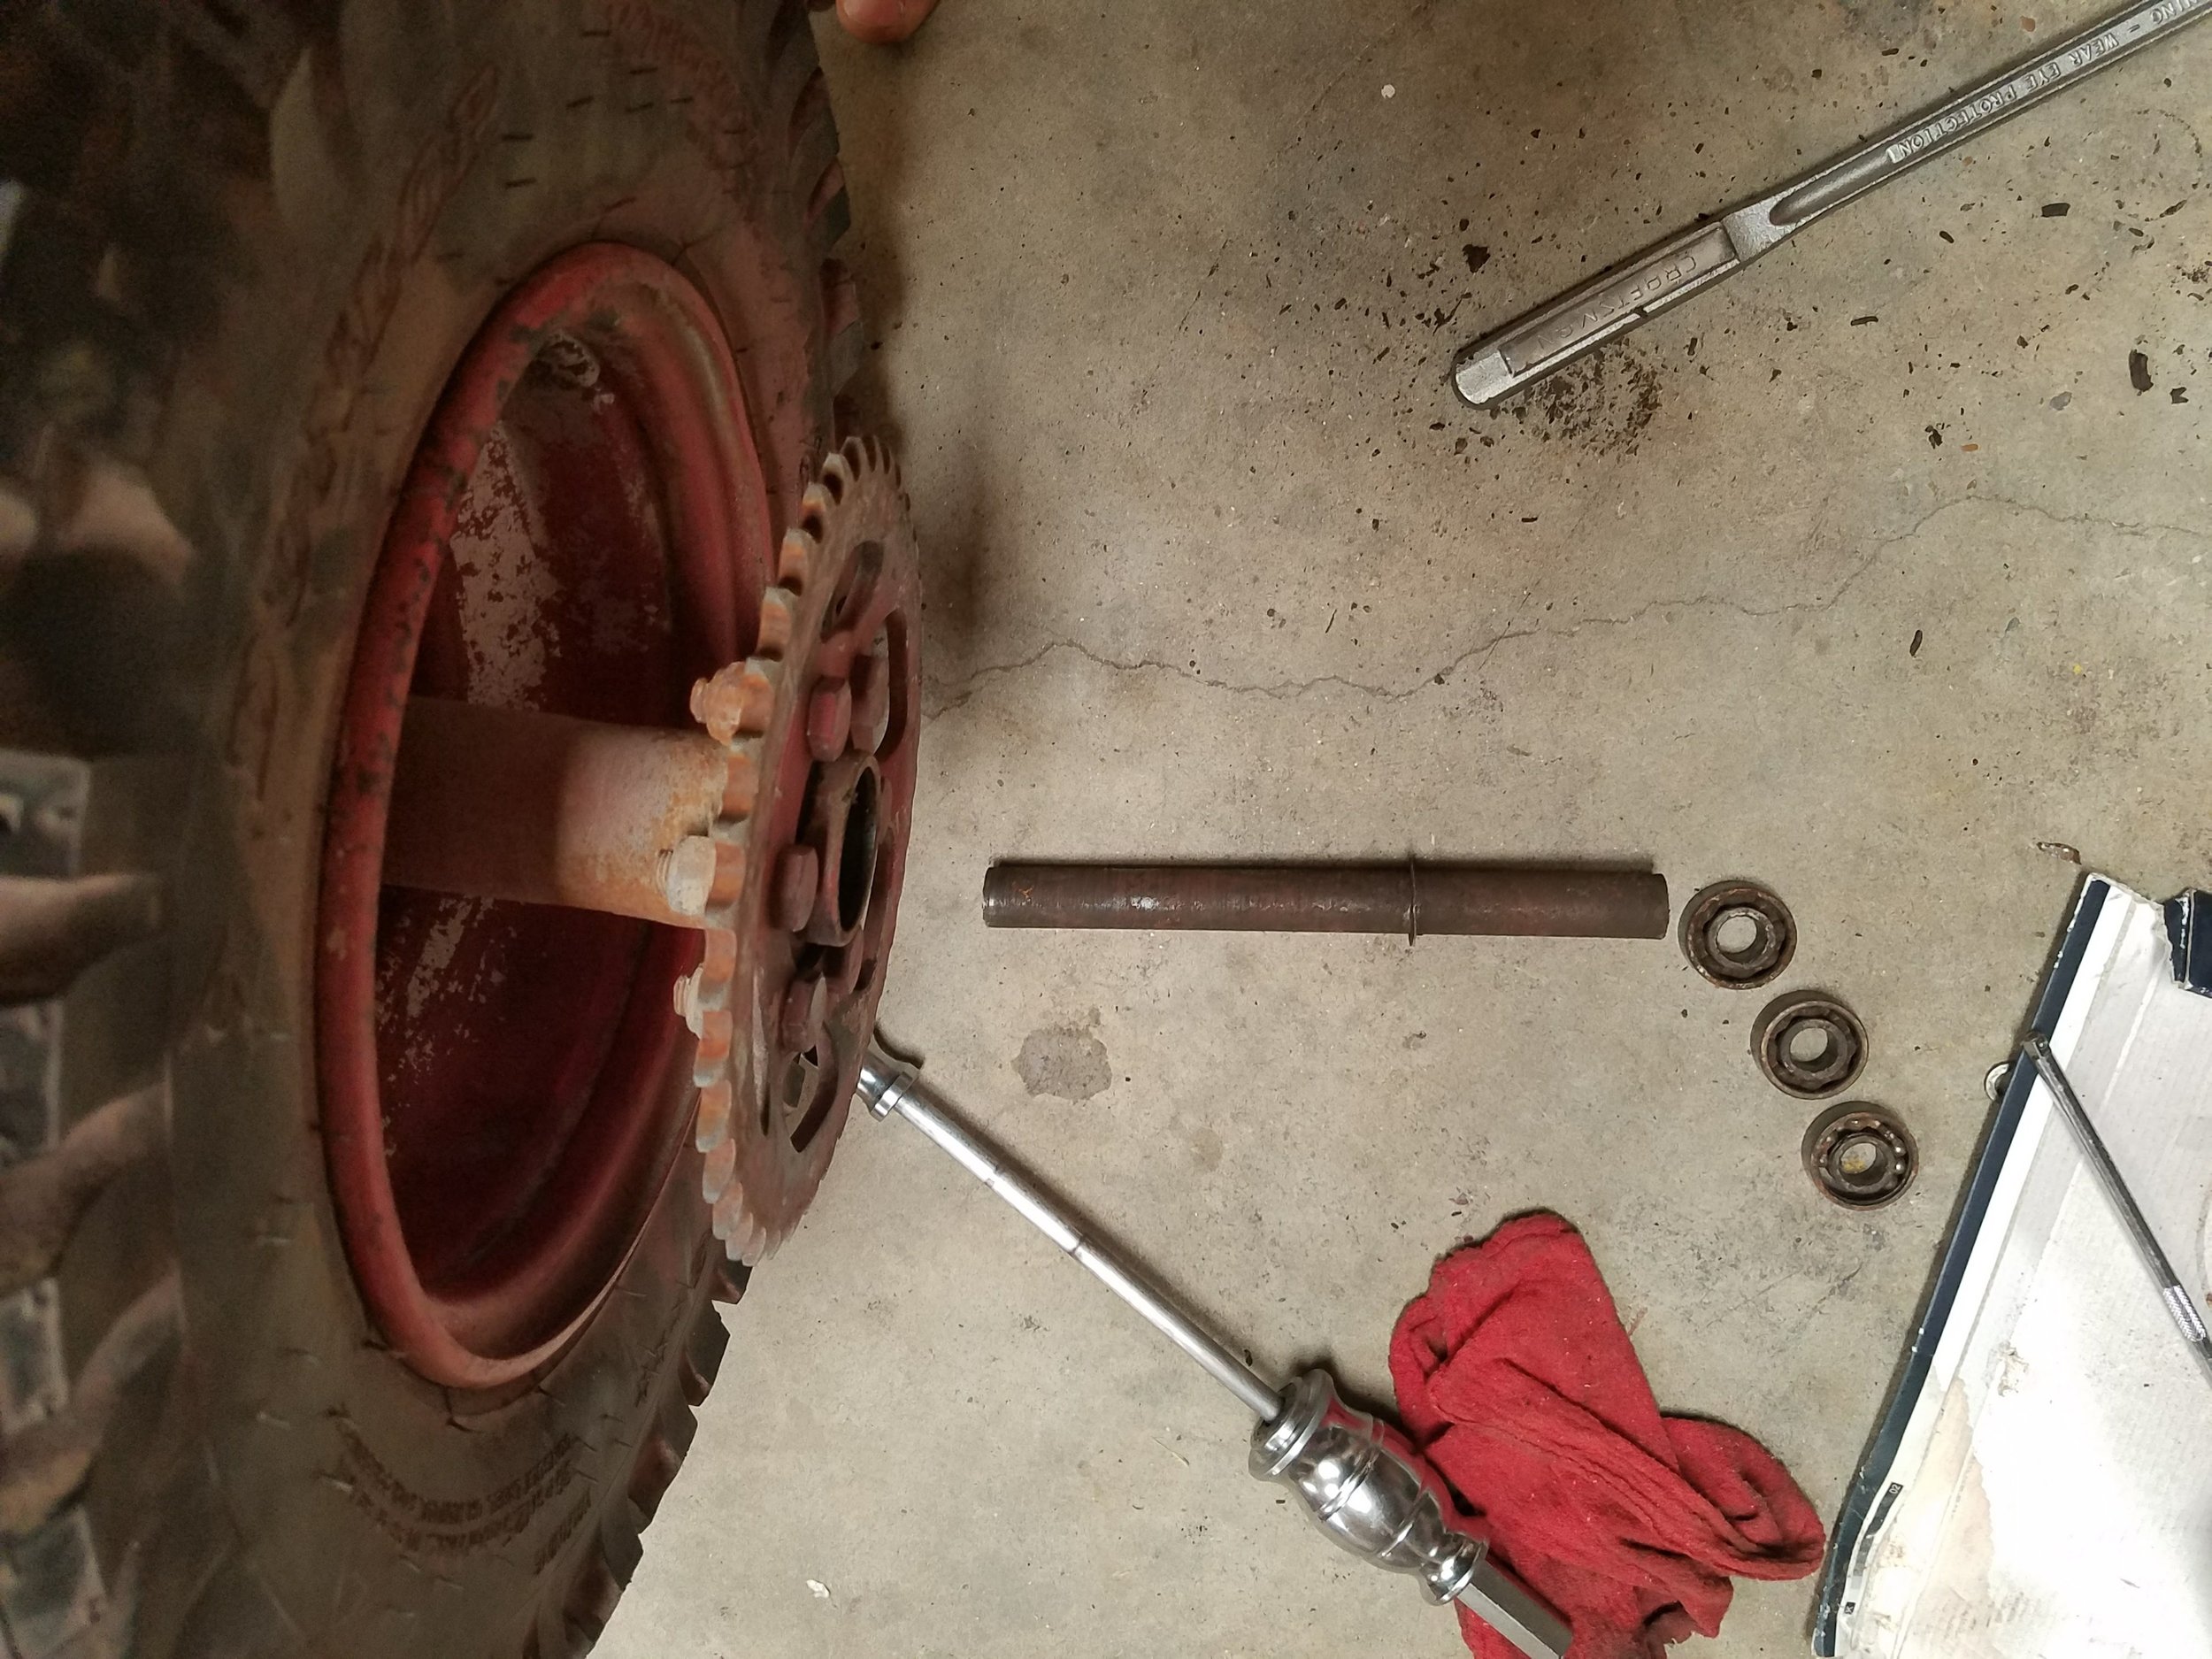
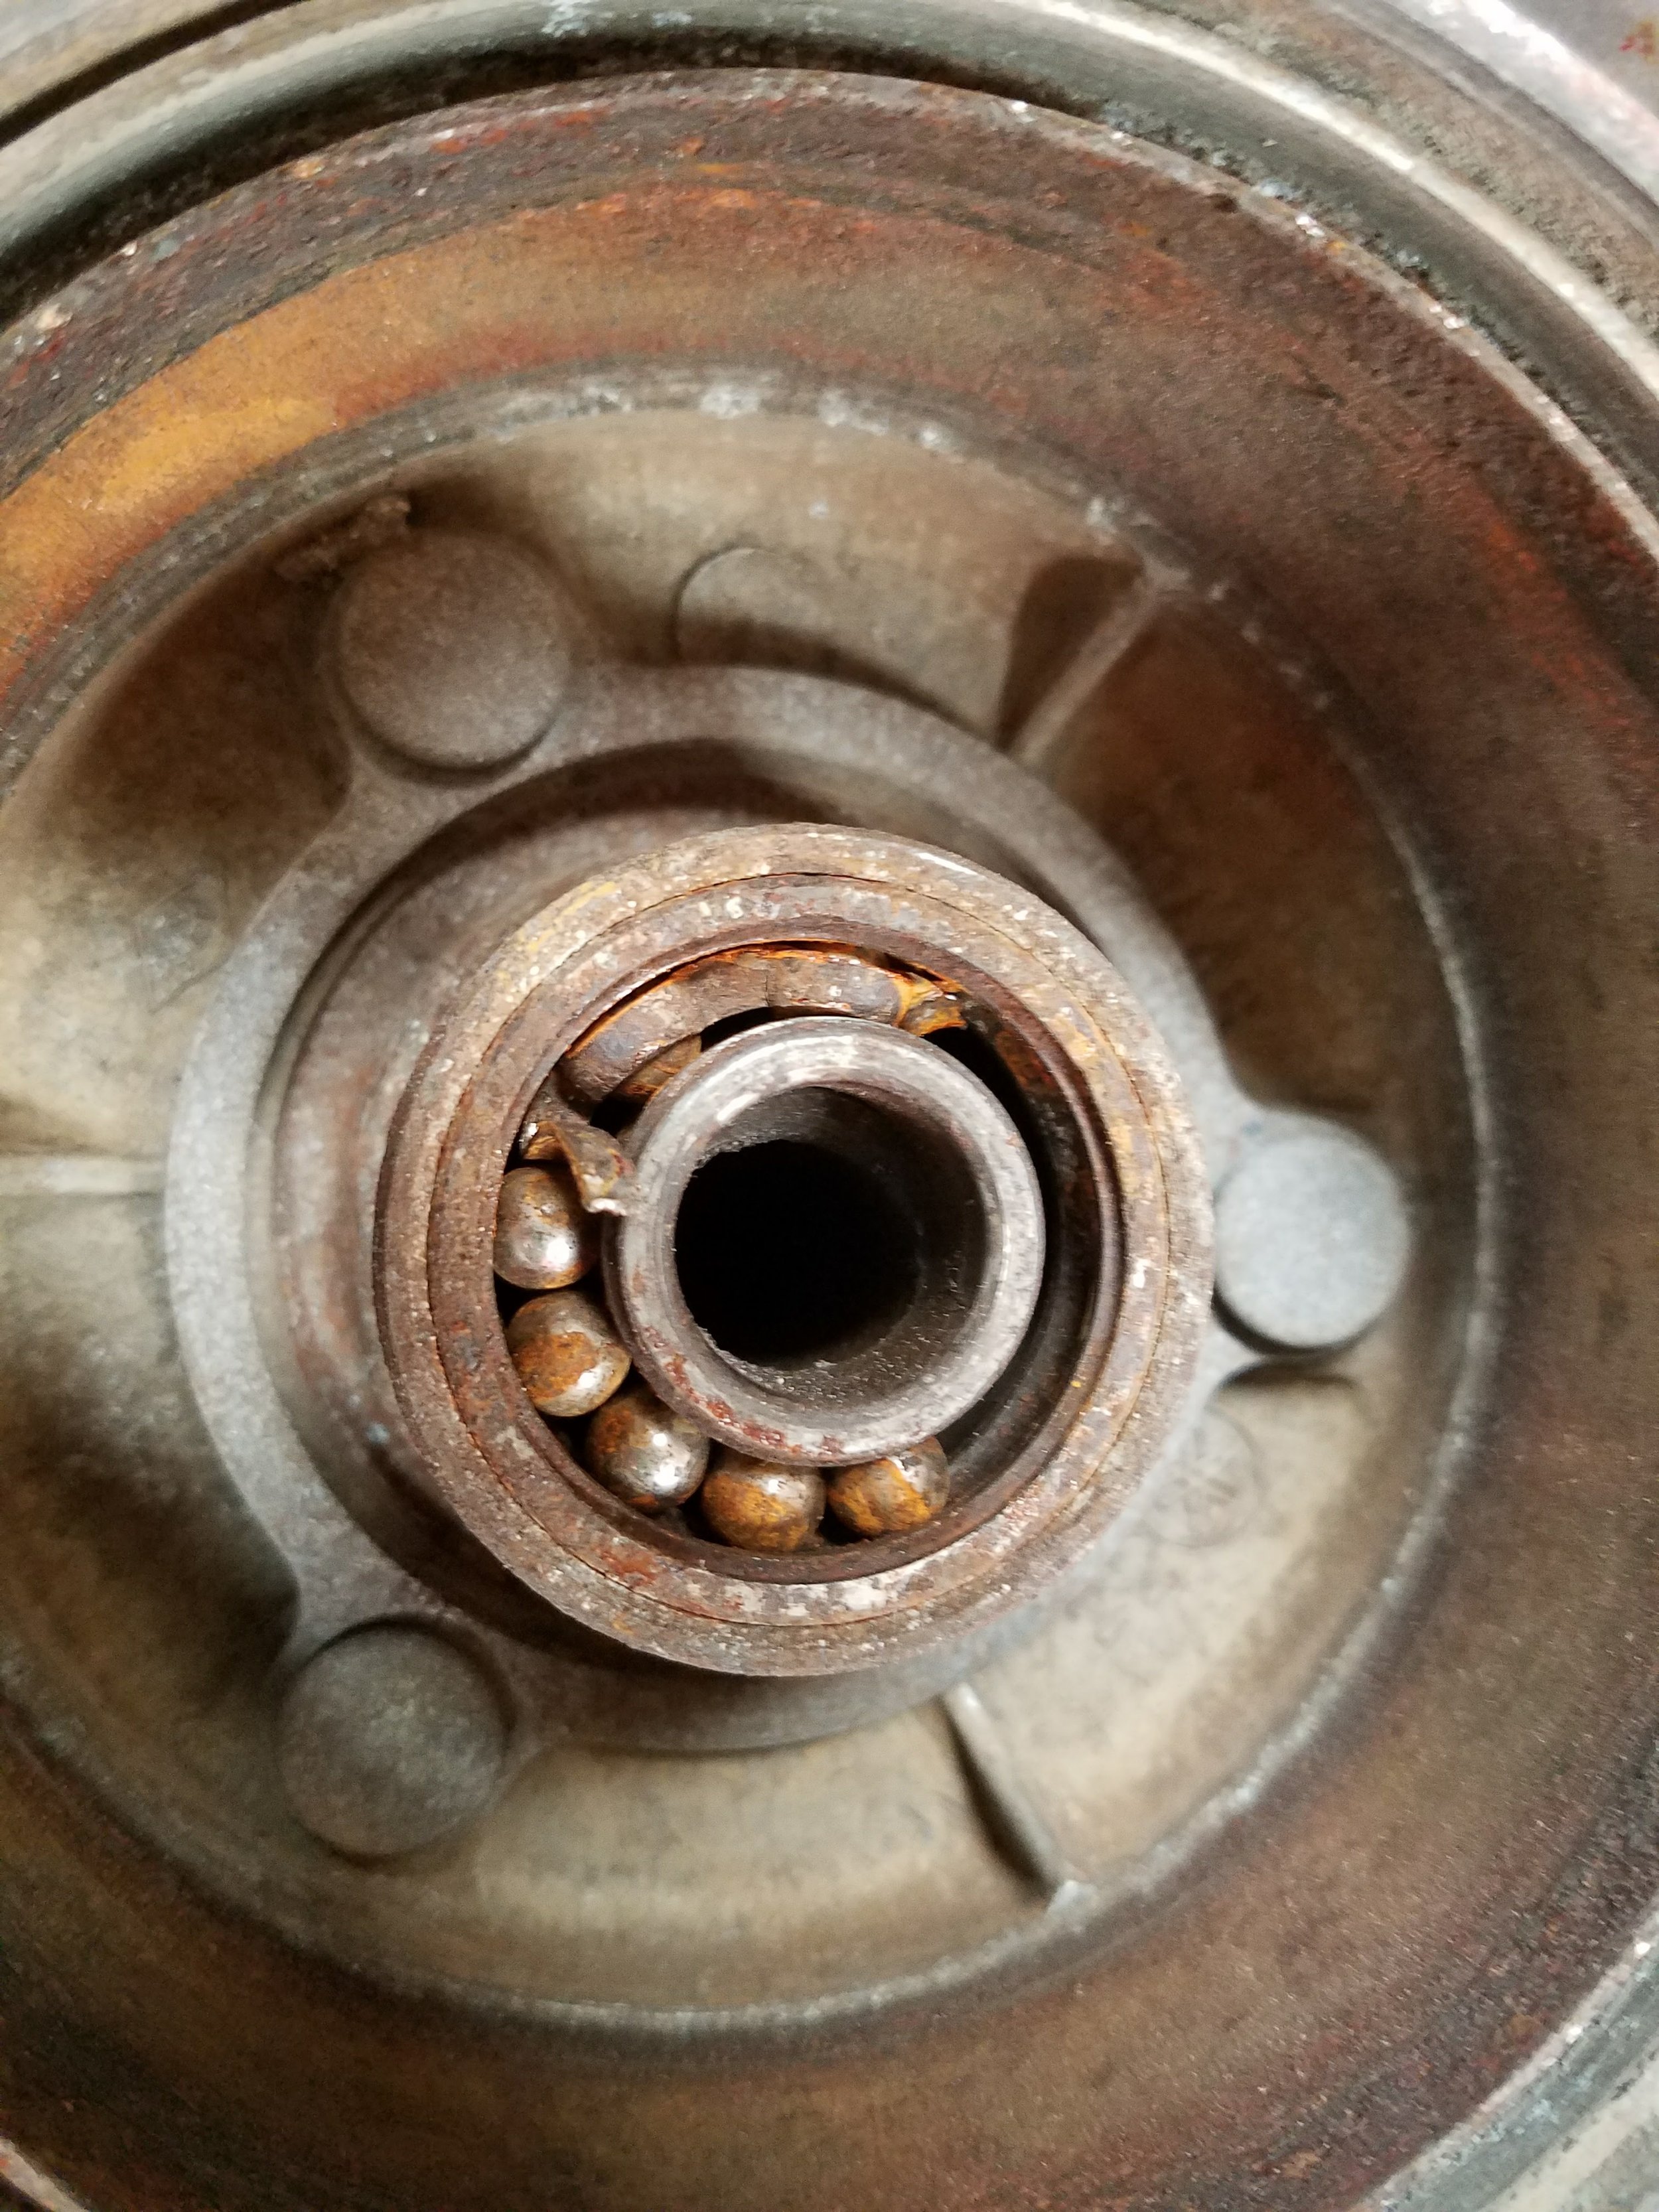
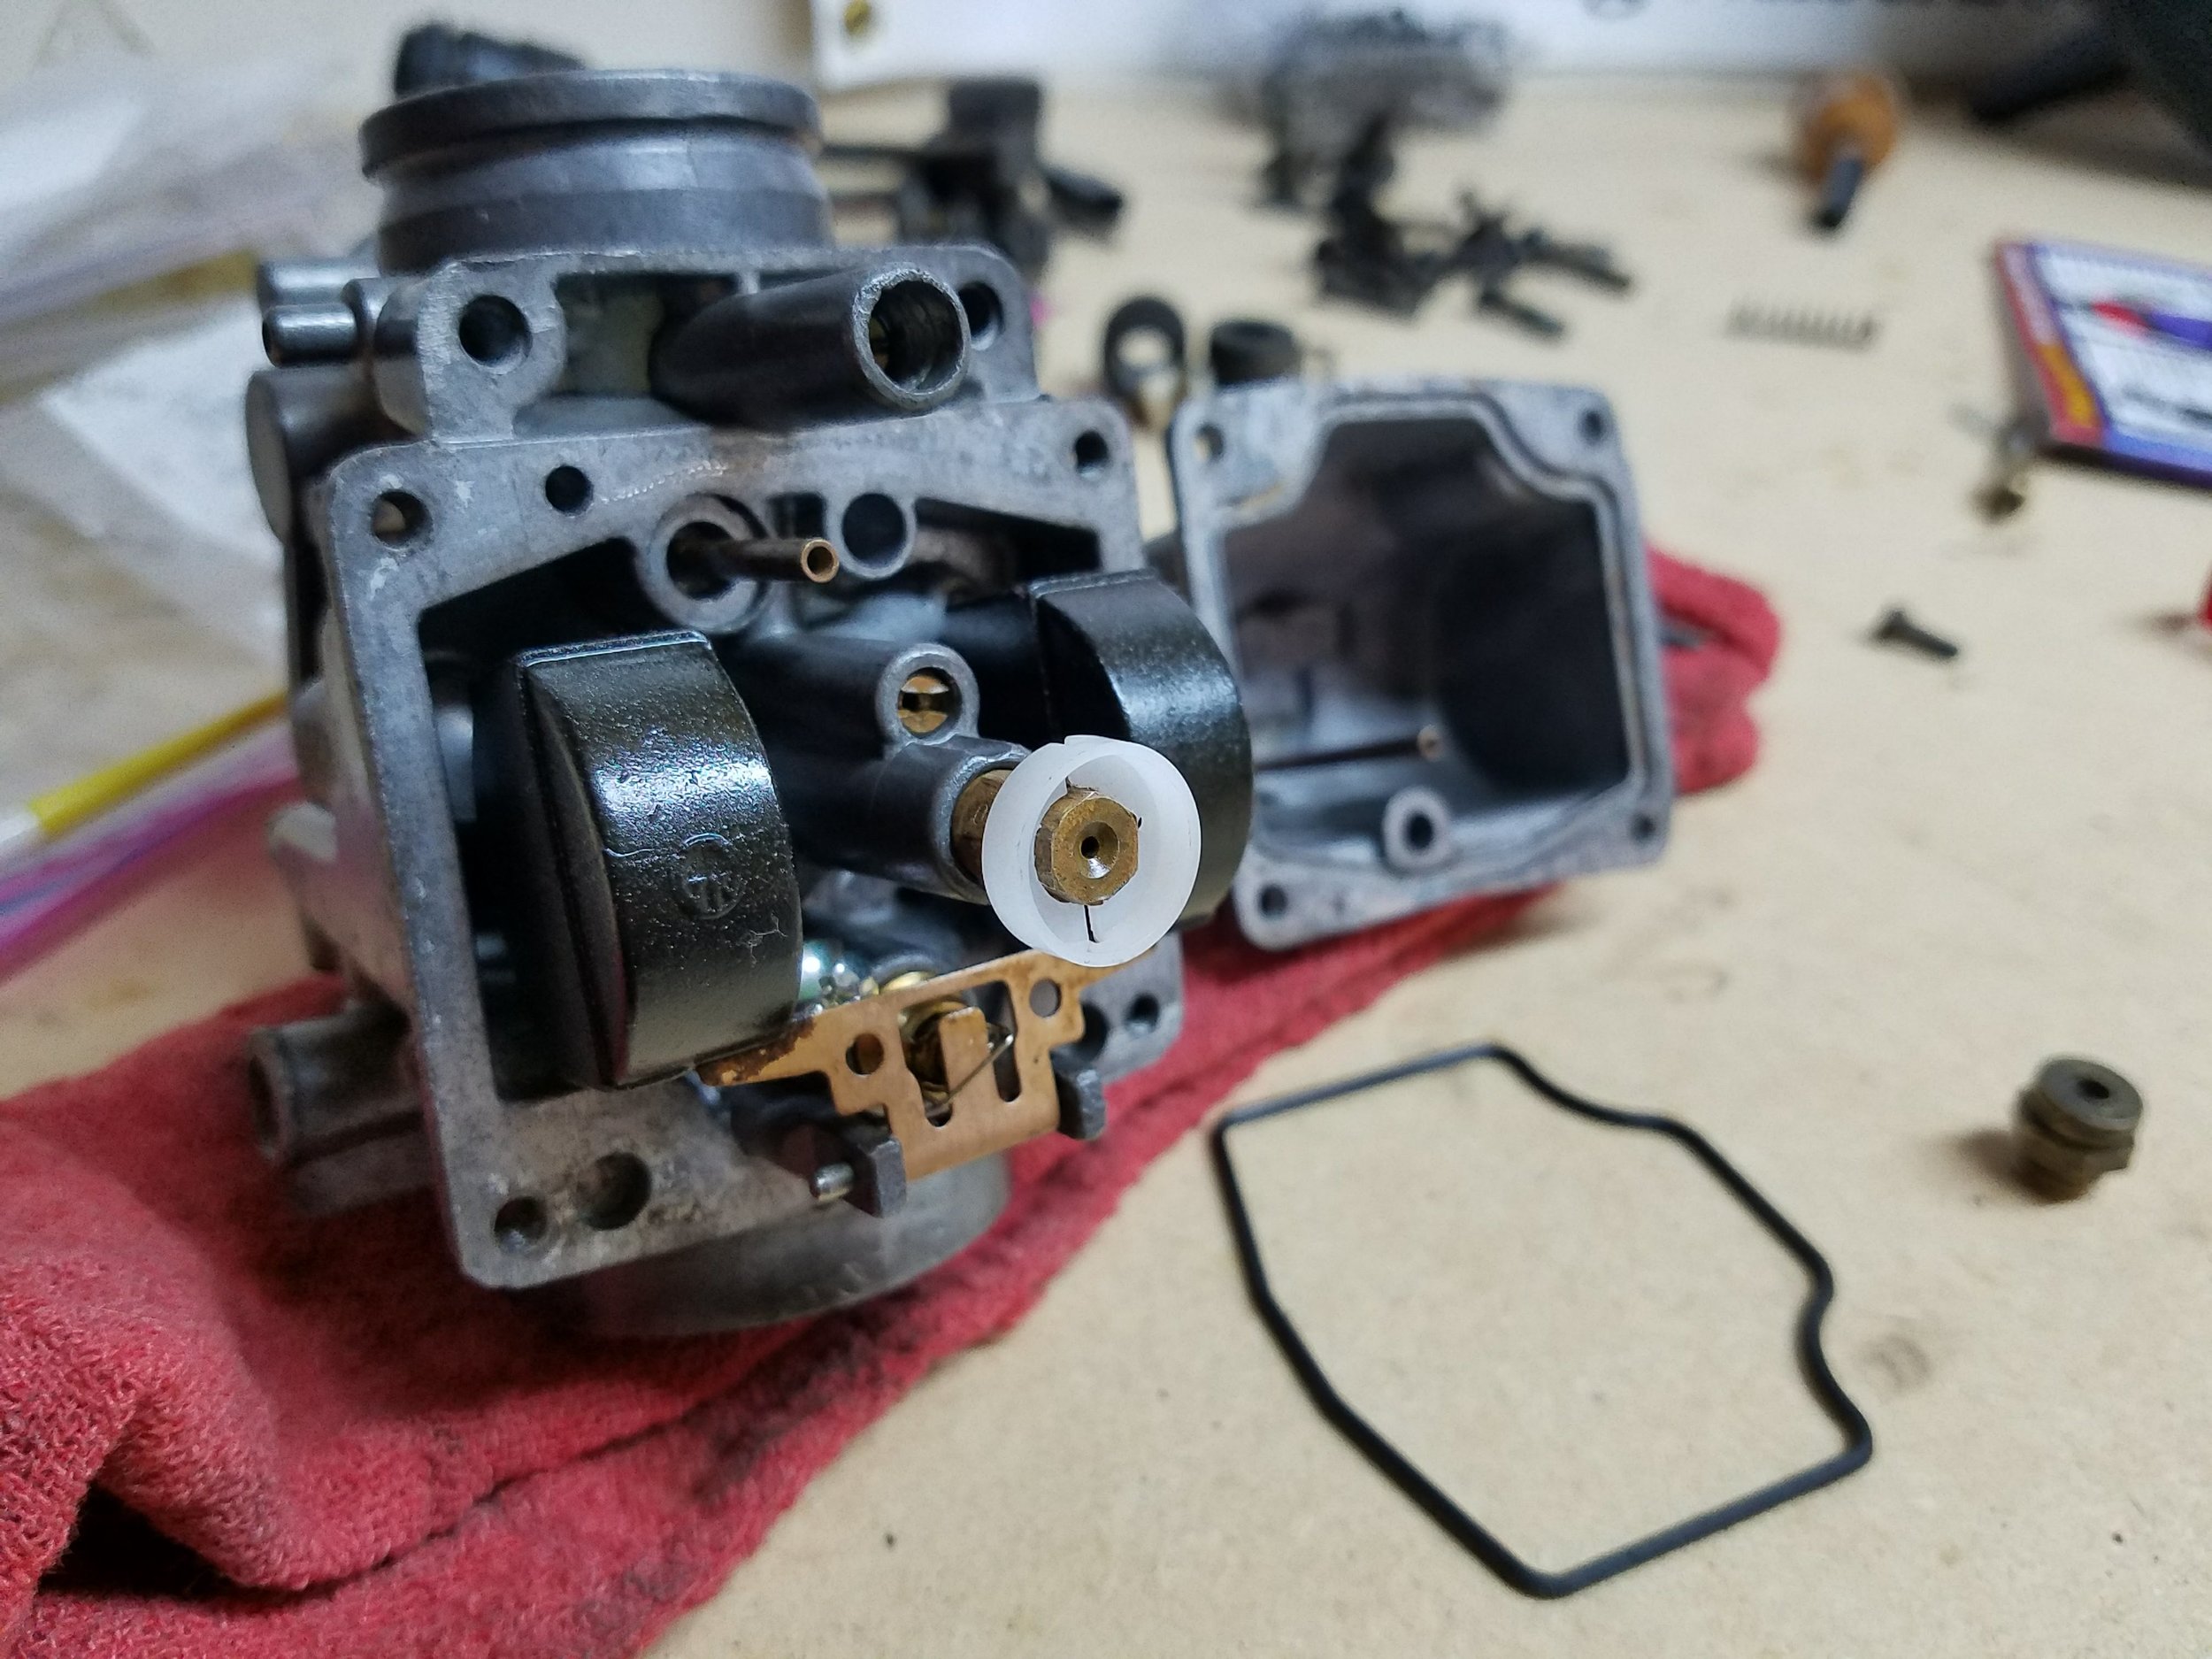
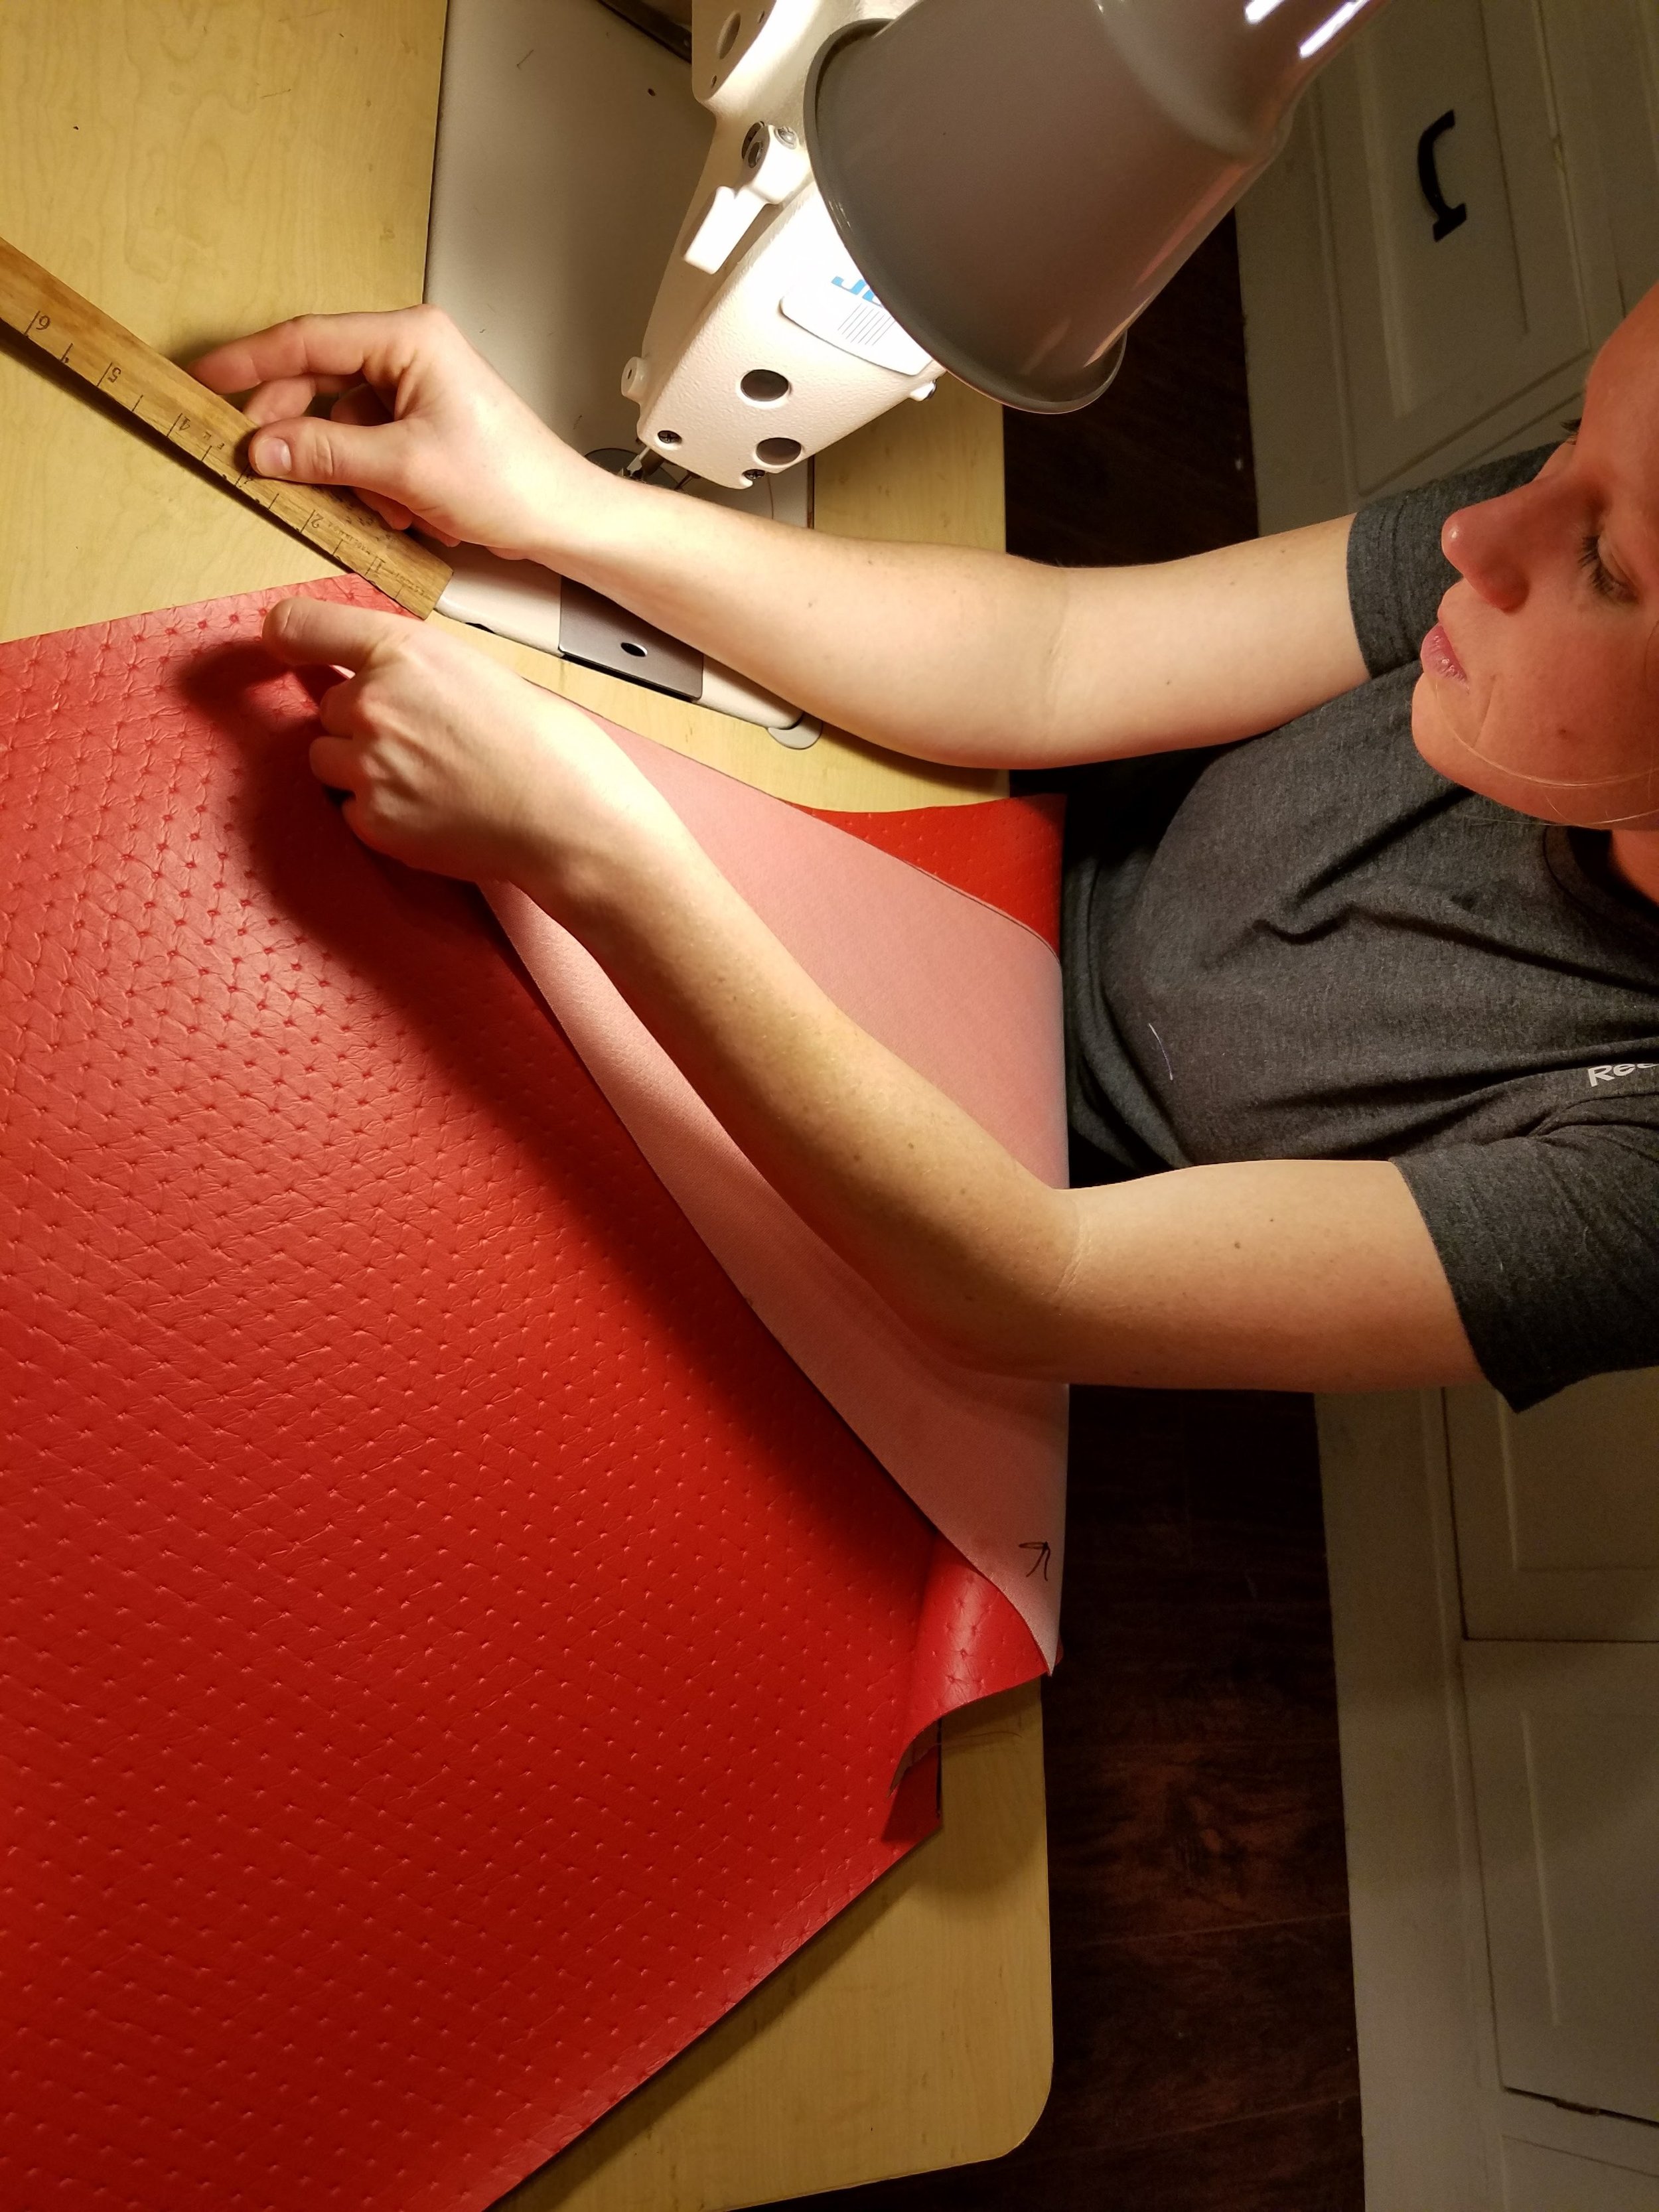
The frame was painted, new steering head bearings were put on (a pain, as the lower bearing was incredibly tightly pressed on, and the new one was very hard to press on as well) front forks were rebuilt with new seals and Automatic Transmission Fluid as fork oil. That’s a tip I’d read on the interwebs, and seems to have worked well. The wheels were cleaned, painted, and had all the bearings replaced. New brake shoes all around. The seat is betting recovered by Diana as we speak. I ordered a plastic kit from a reproduction shop in Michigan. They suck. Their molds are awful, but theirs is the only game in town. The carburetor was rebuilt with a new pump, new gaskets, new jets. It needs a new front tire, but this one is about ready to go.
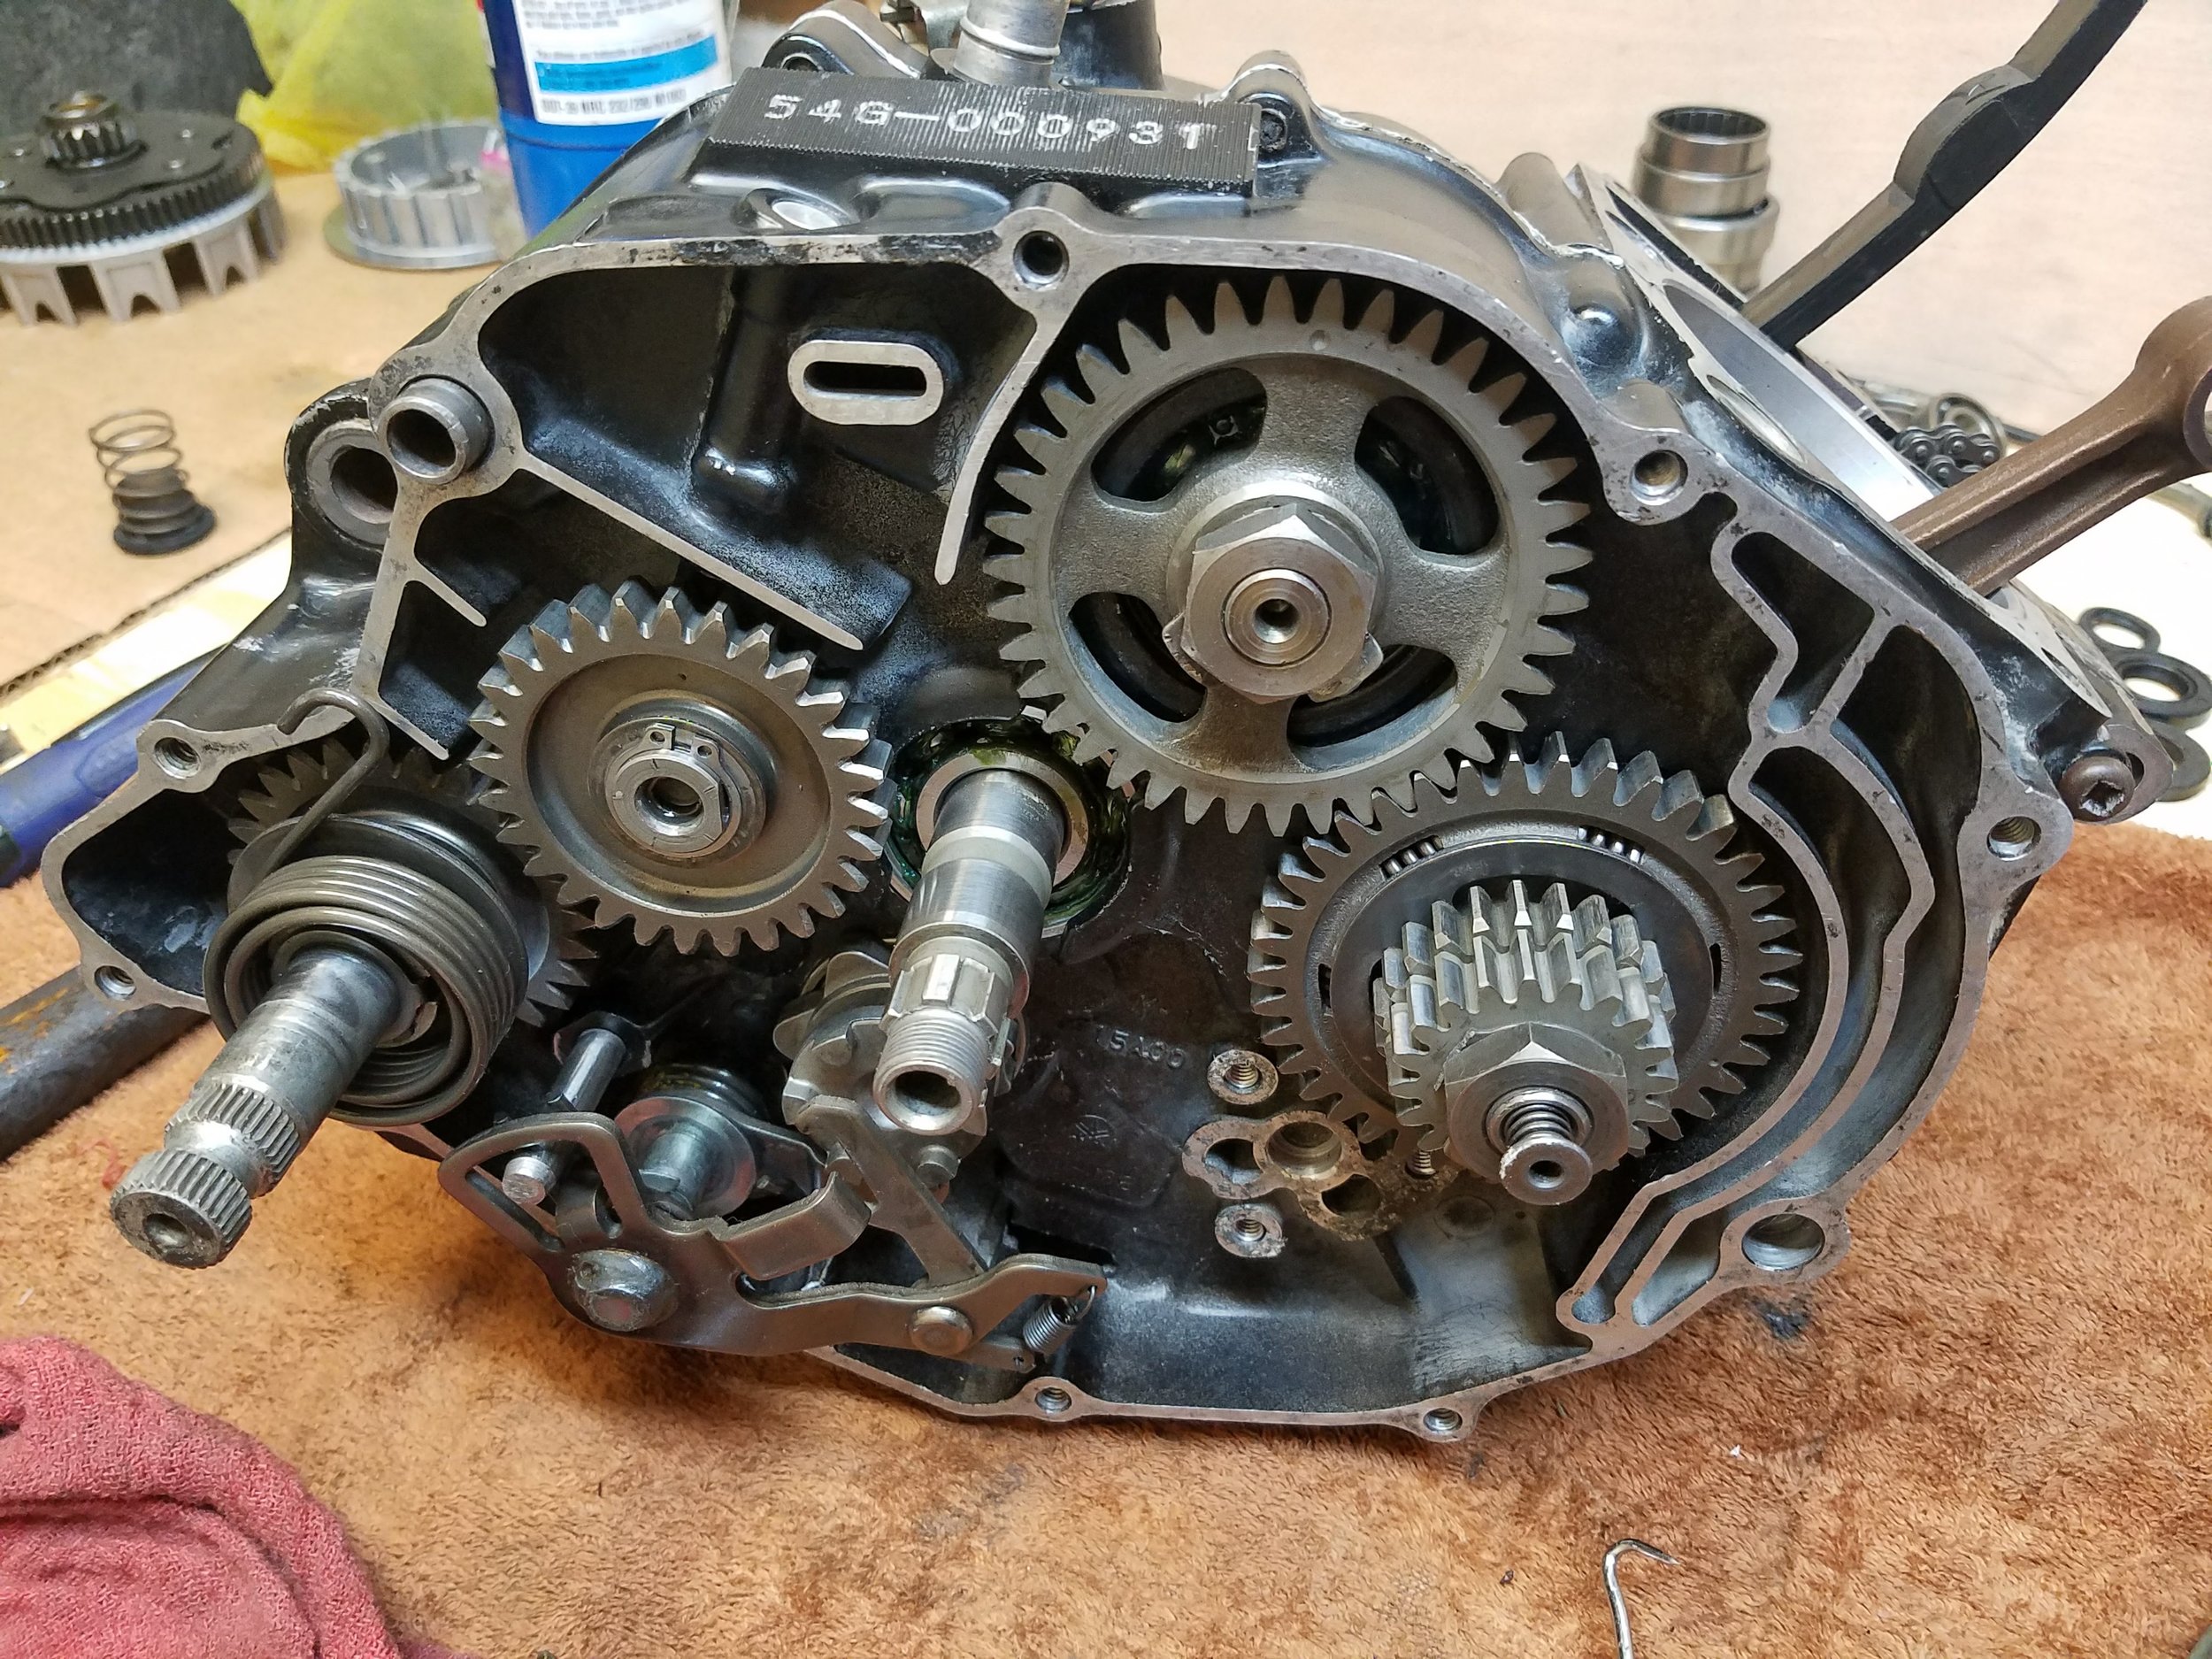
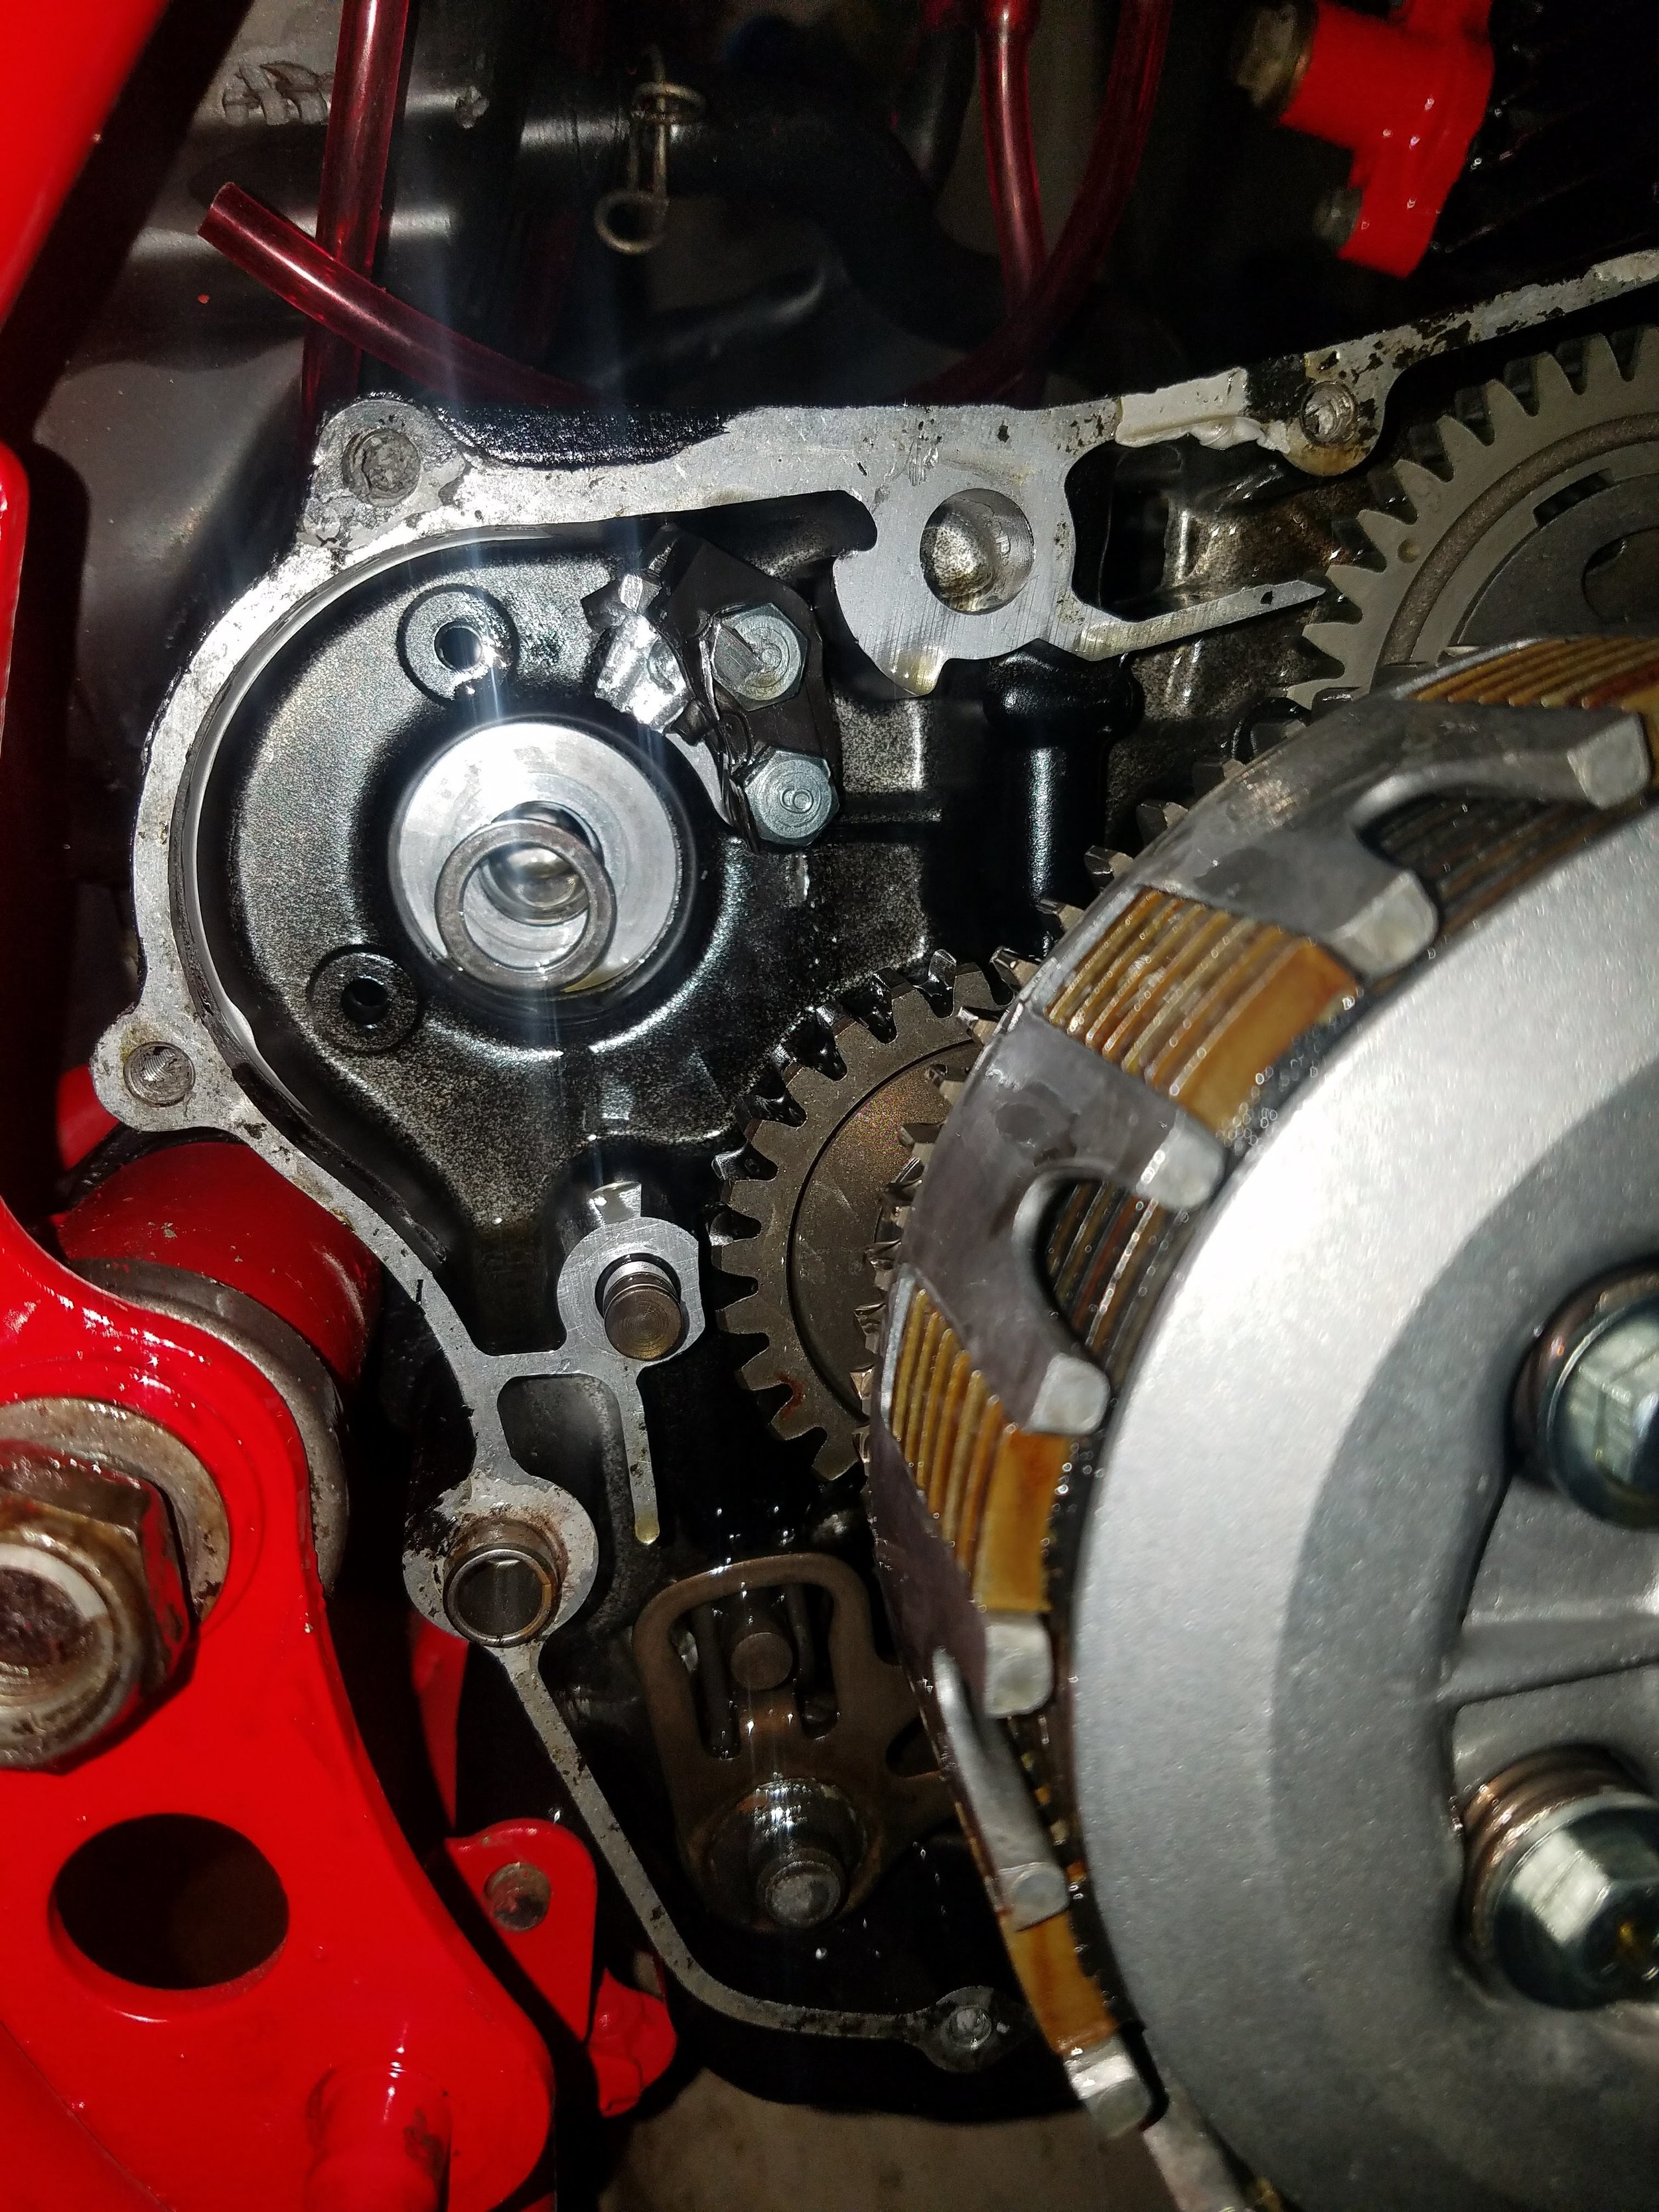
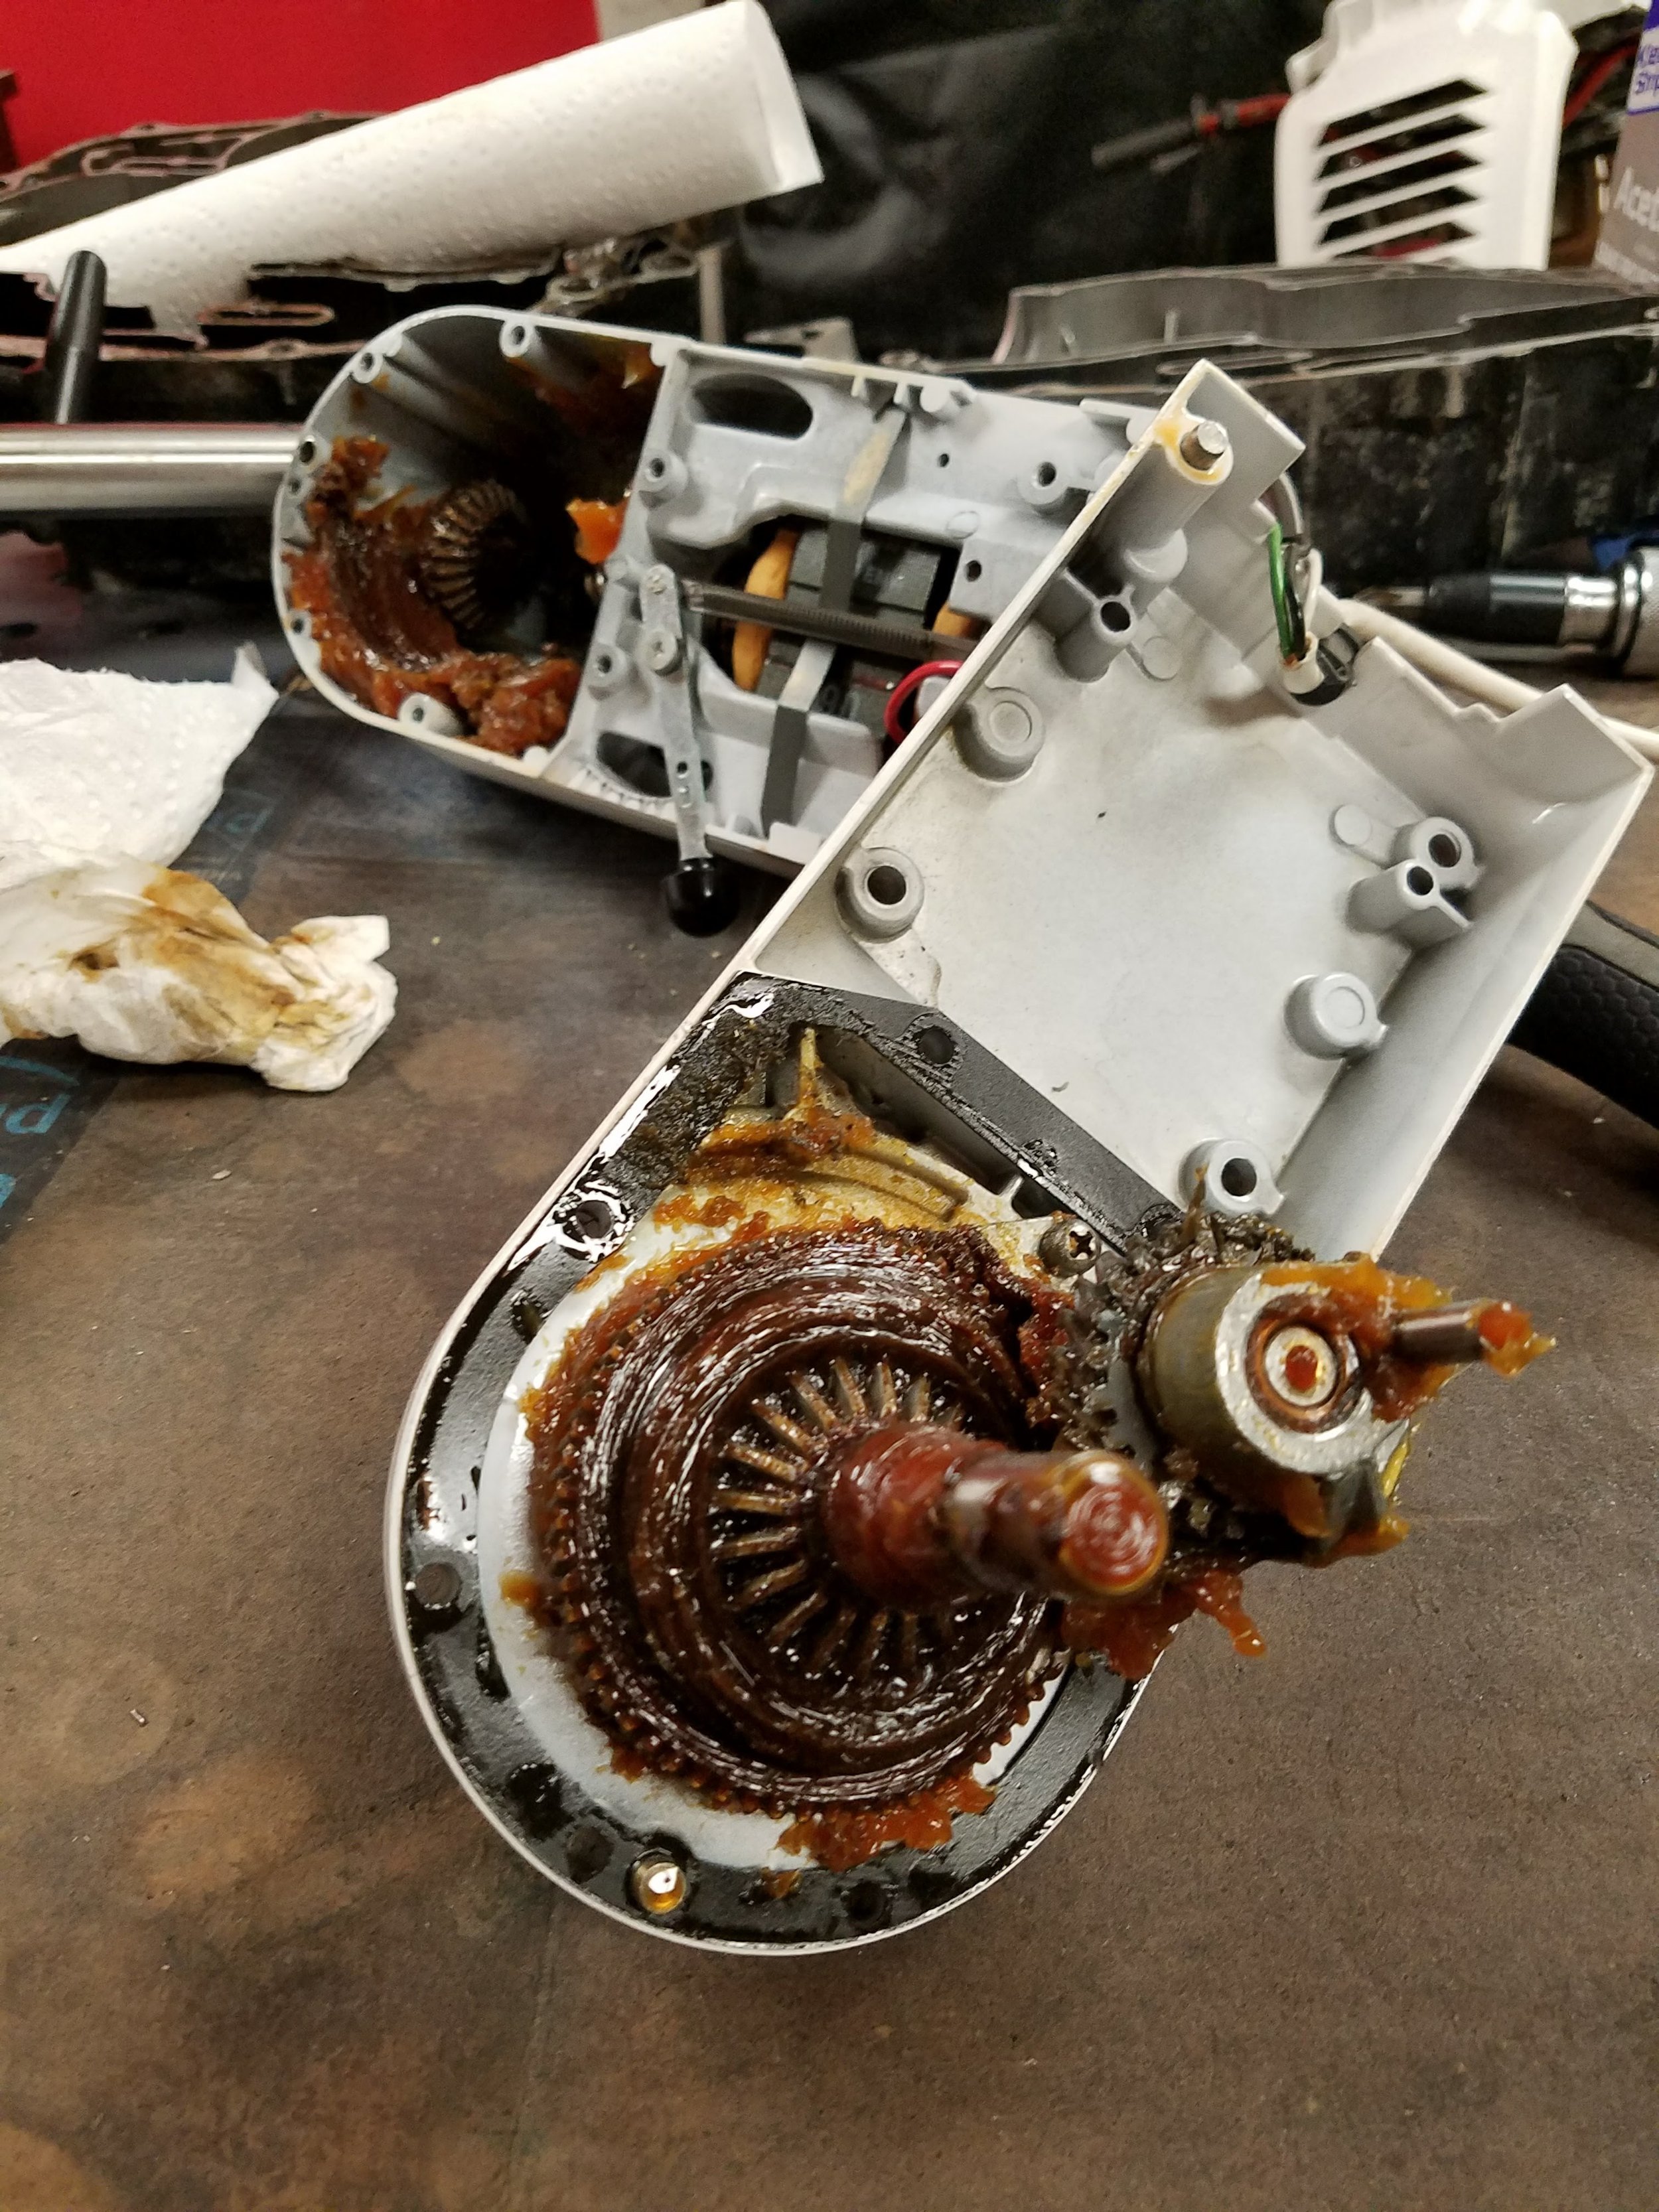
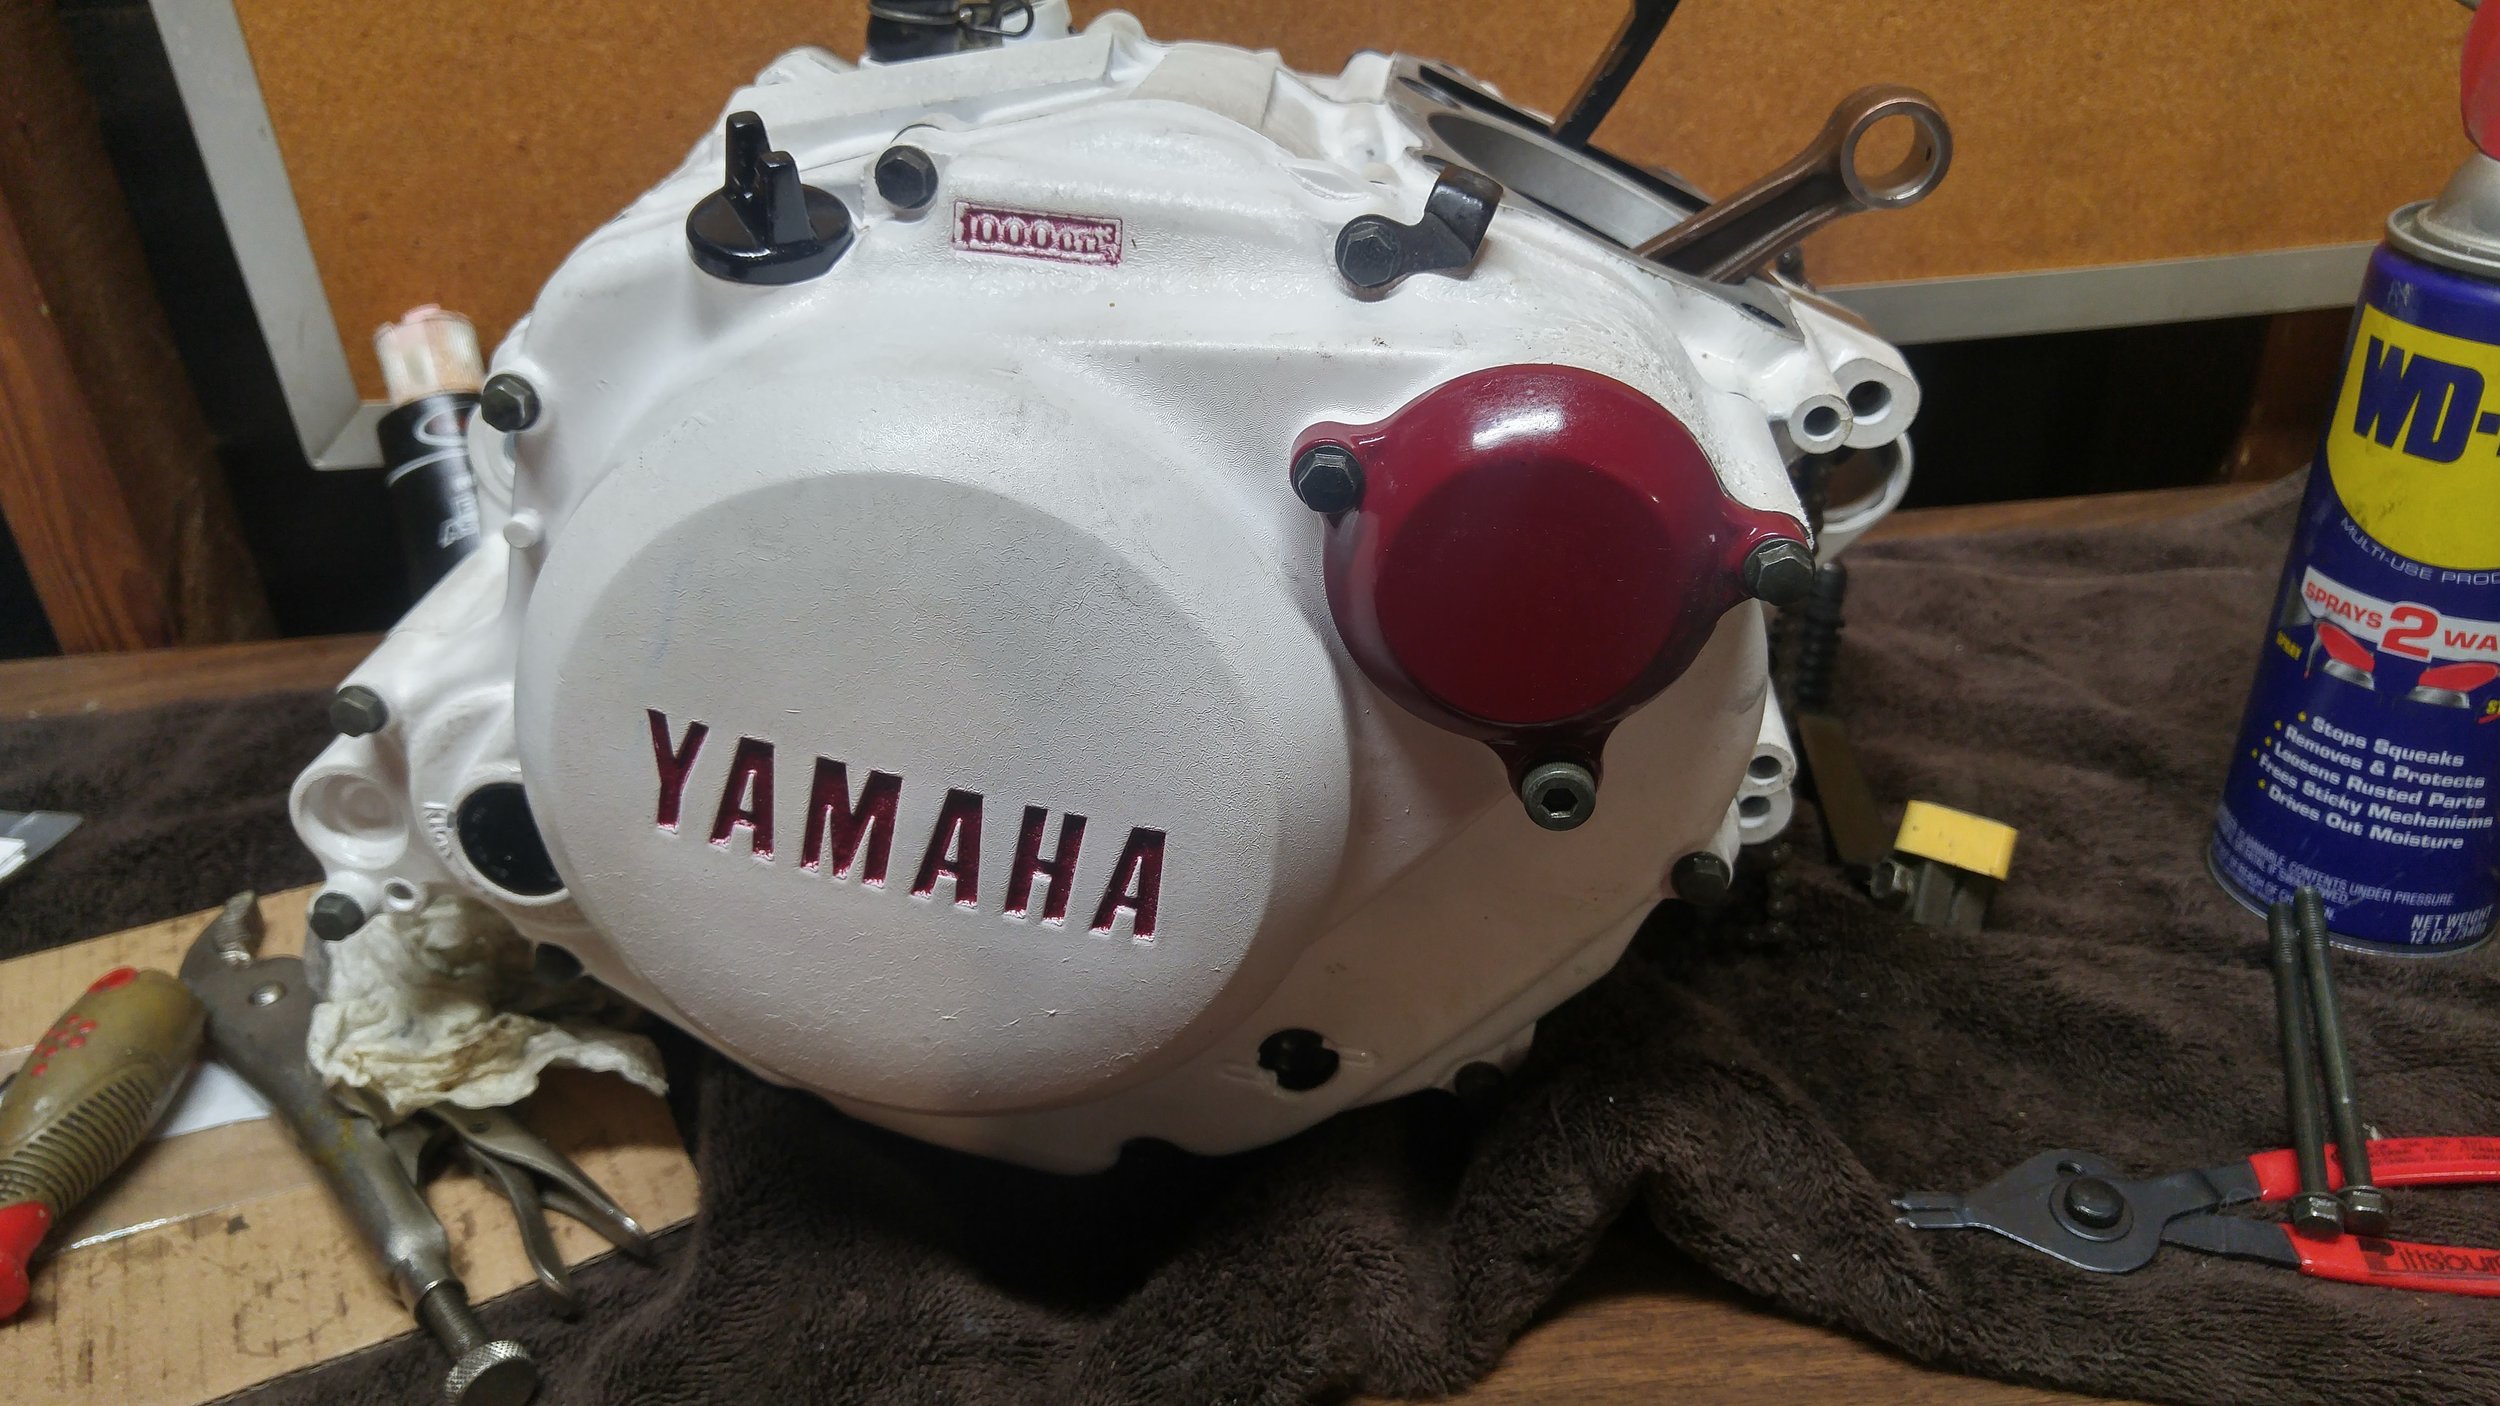
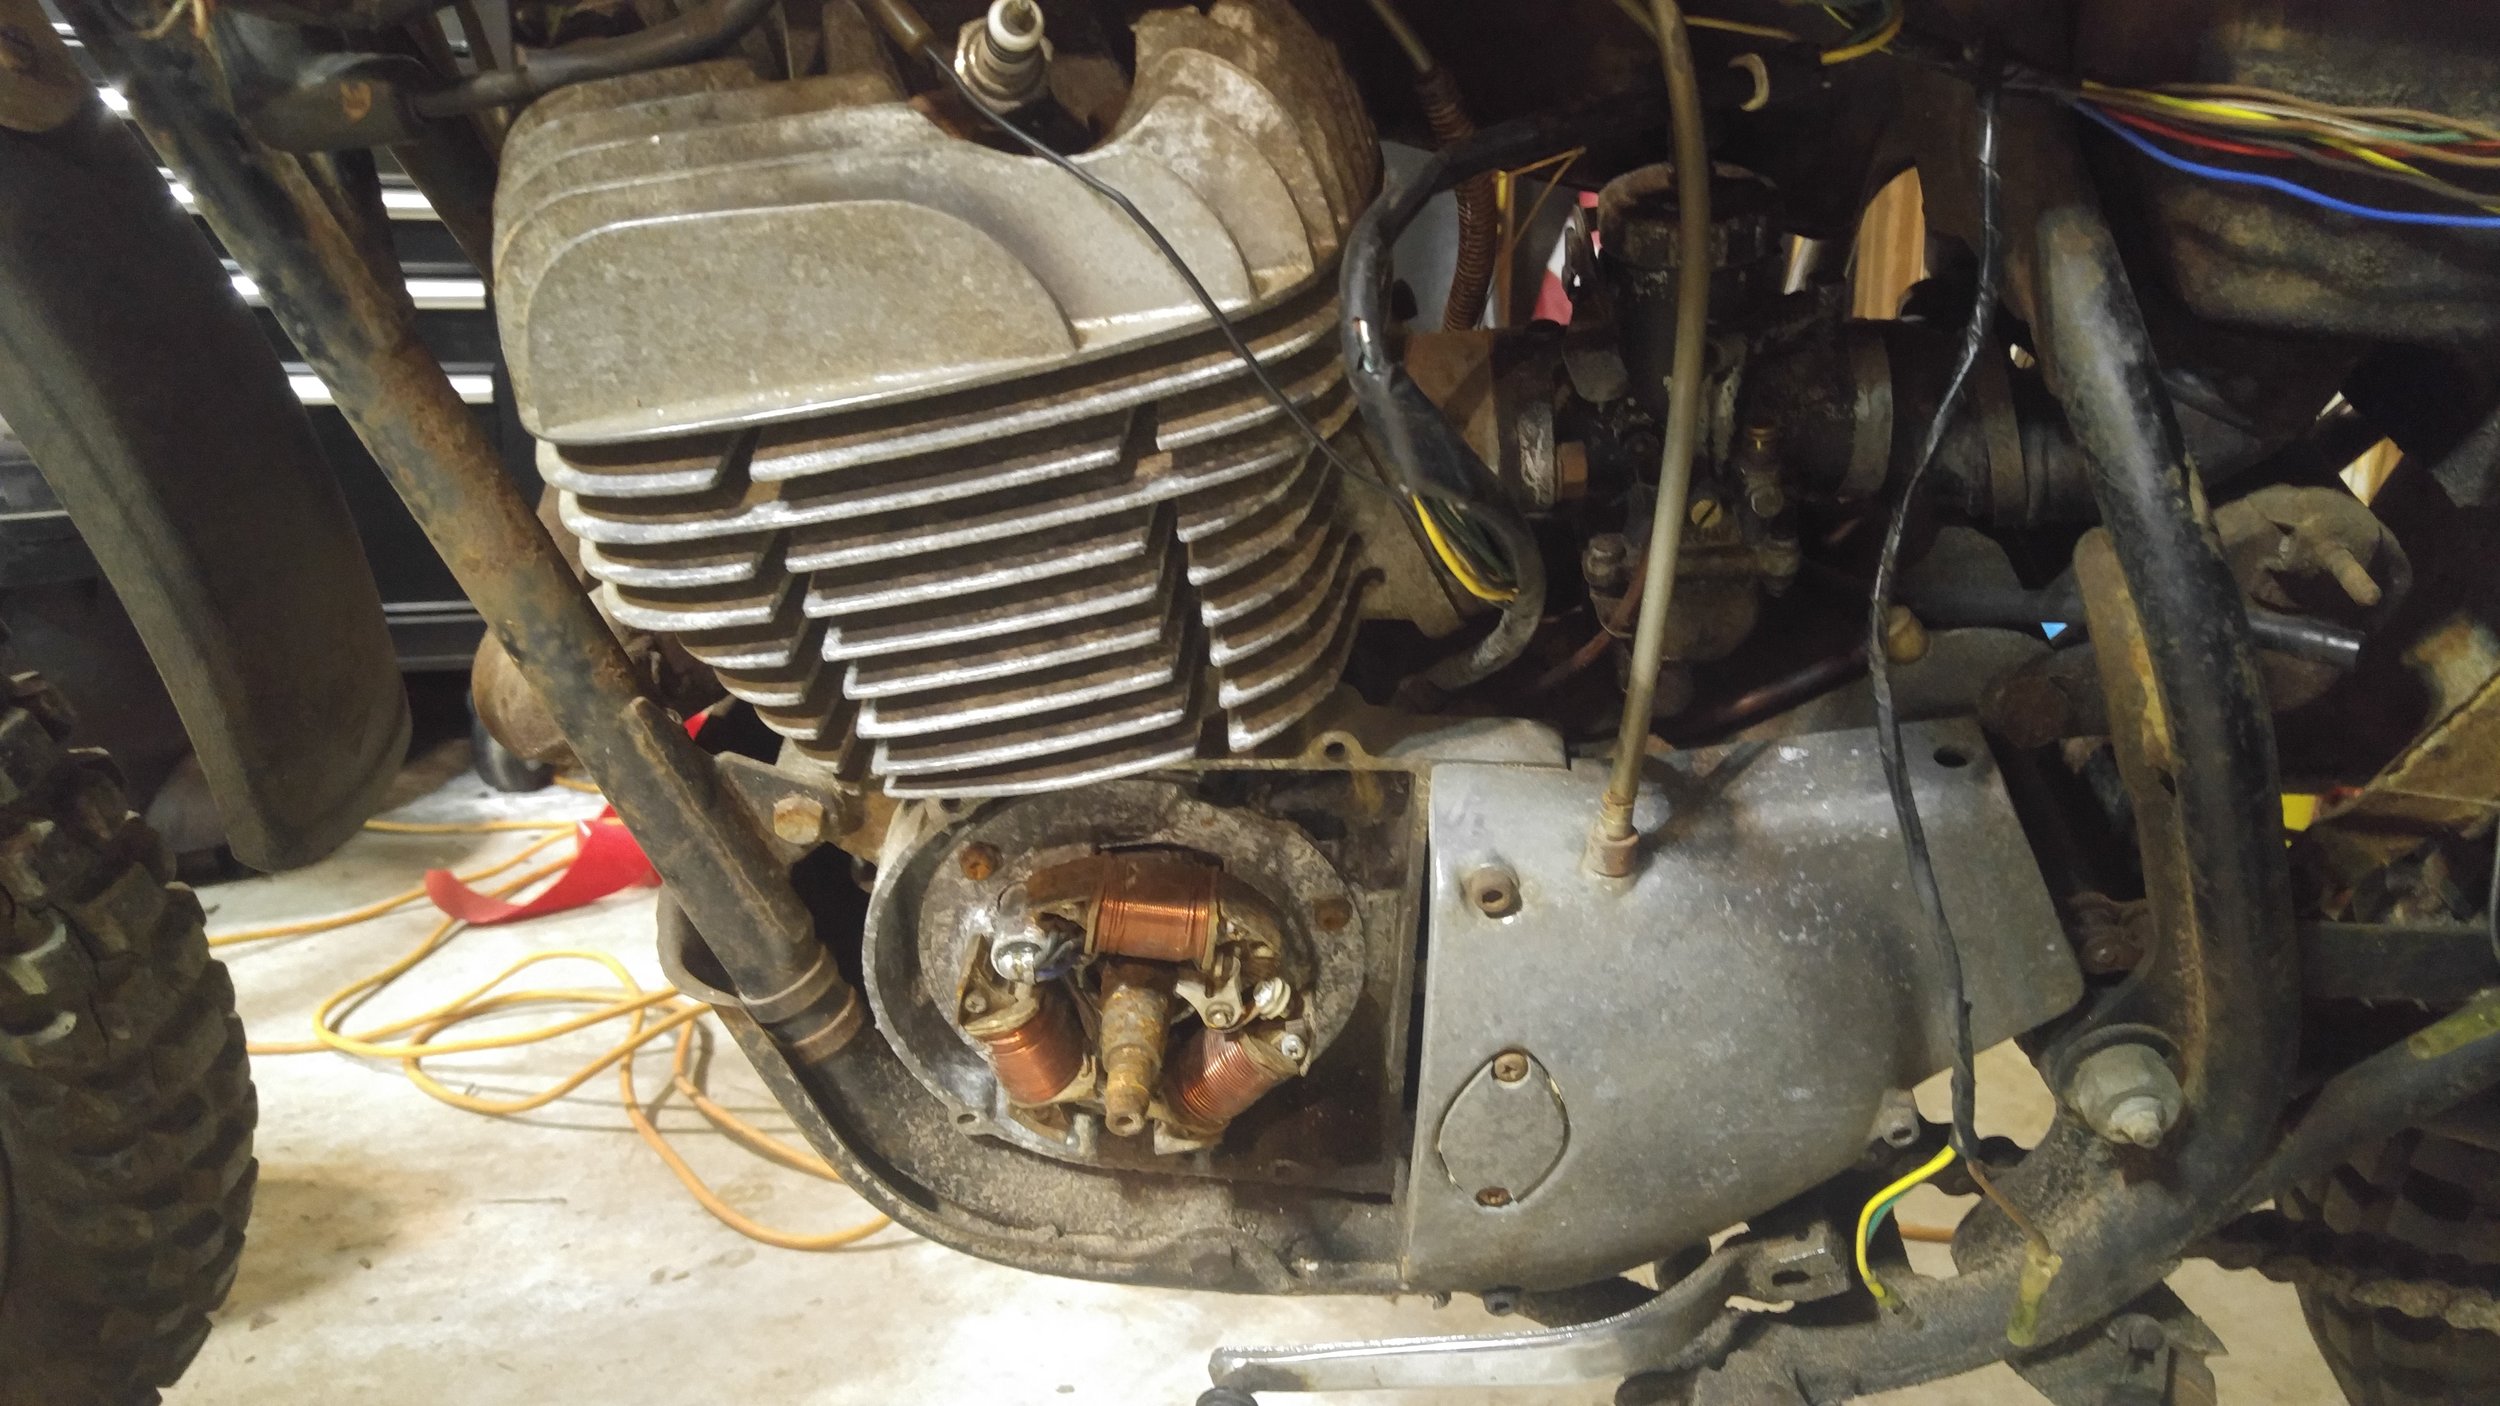
I think the motor is fine. I did have starting problems. I've been chasing an unsolvable problem with the starter relay. I'm going to hardwired it out of the equation.
The electric starter wouldn't always engage the motor. There's a unidirectional cam that is supposed to engage when the starter turns. I rigged this to work by tightening the circumferential spring around the starter mechanism.
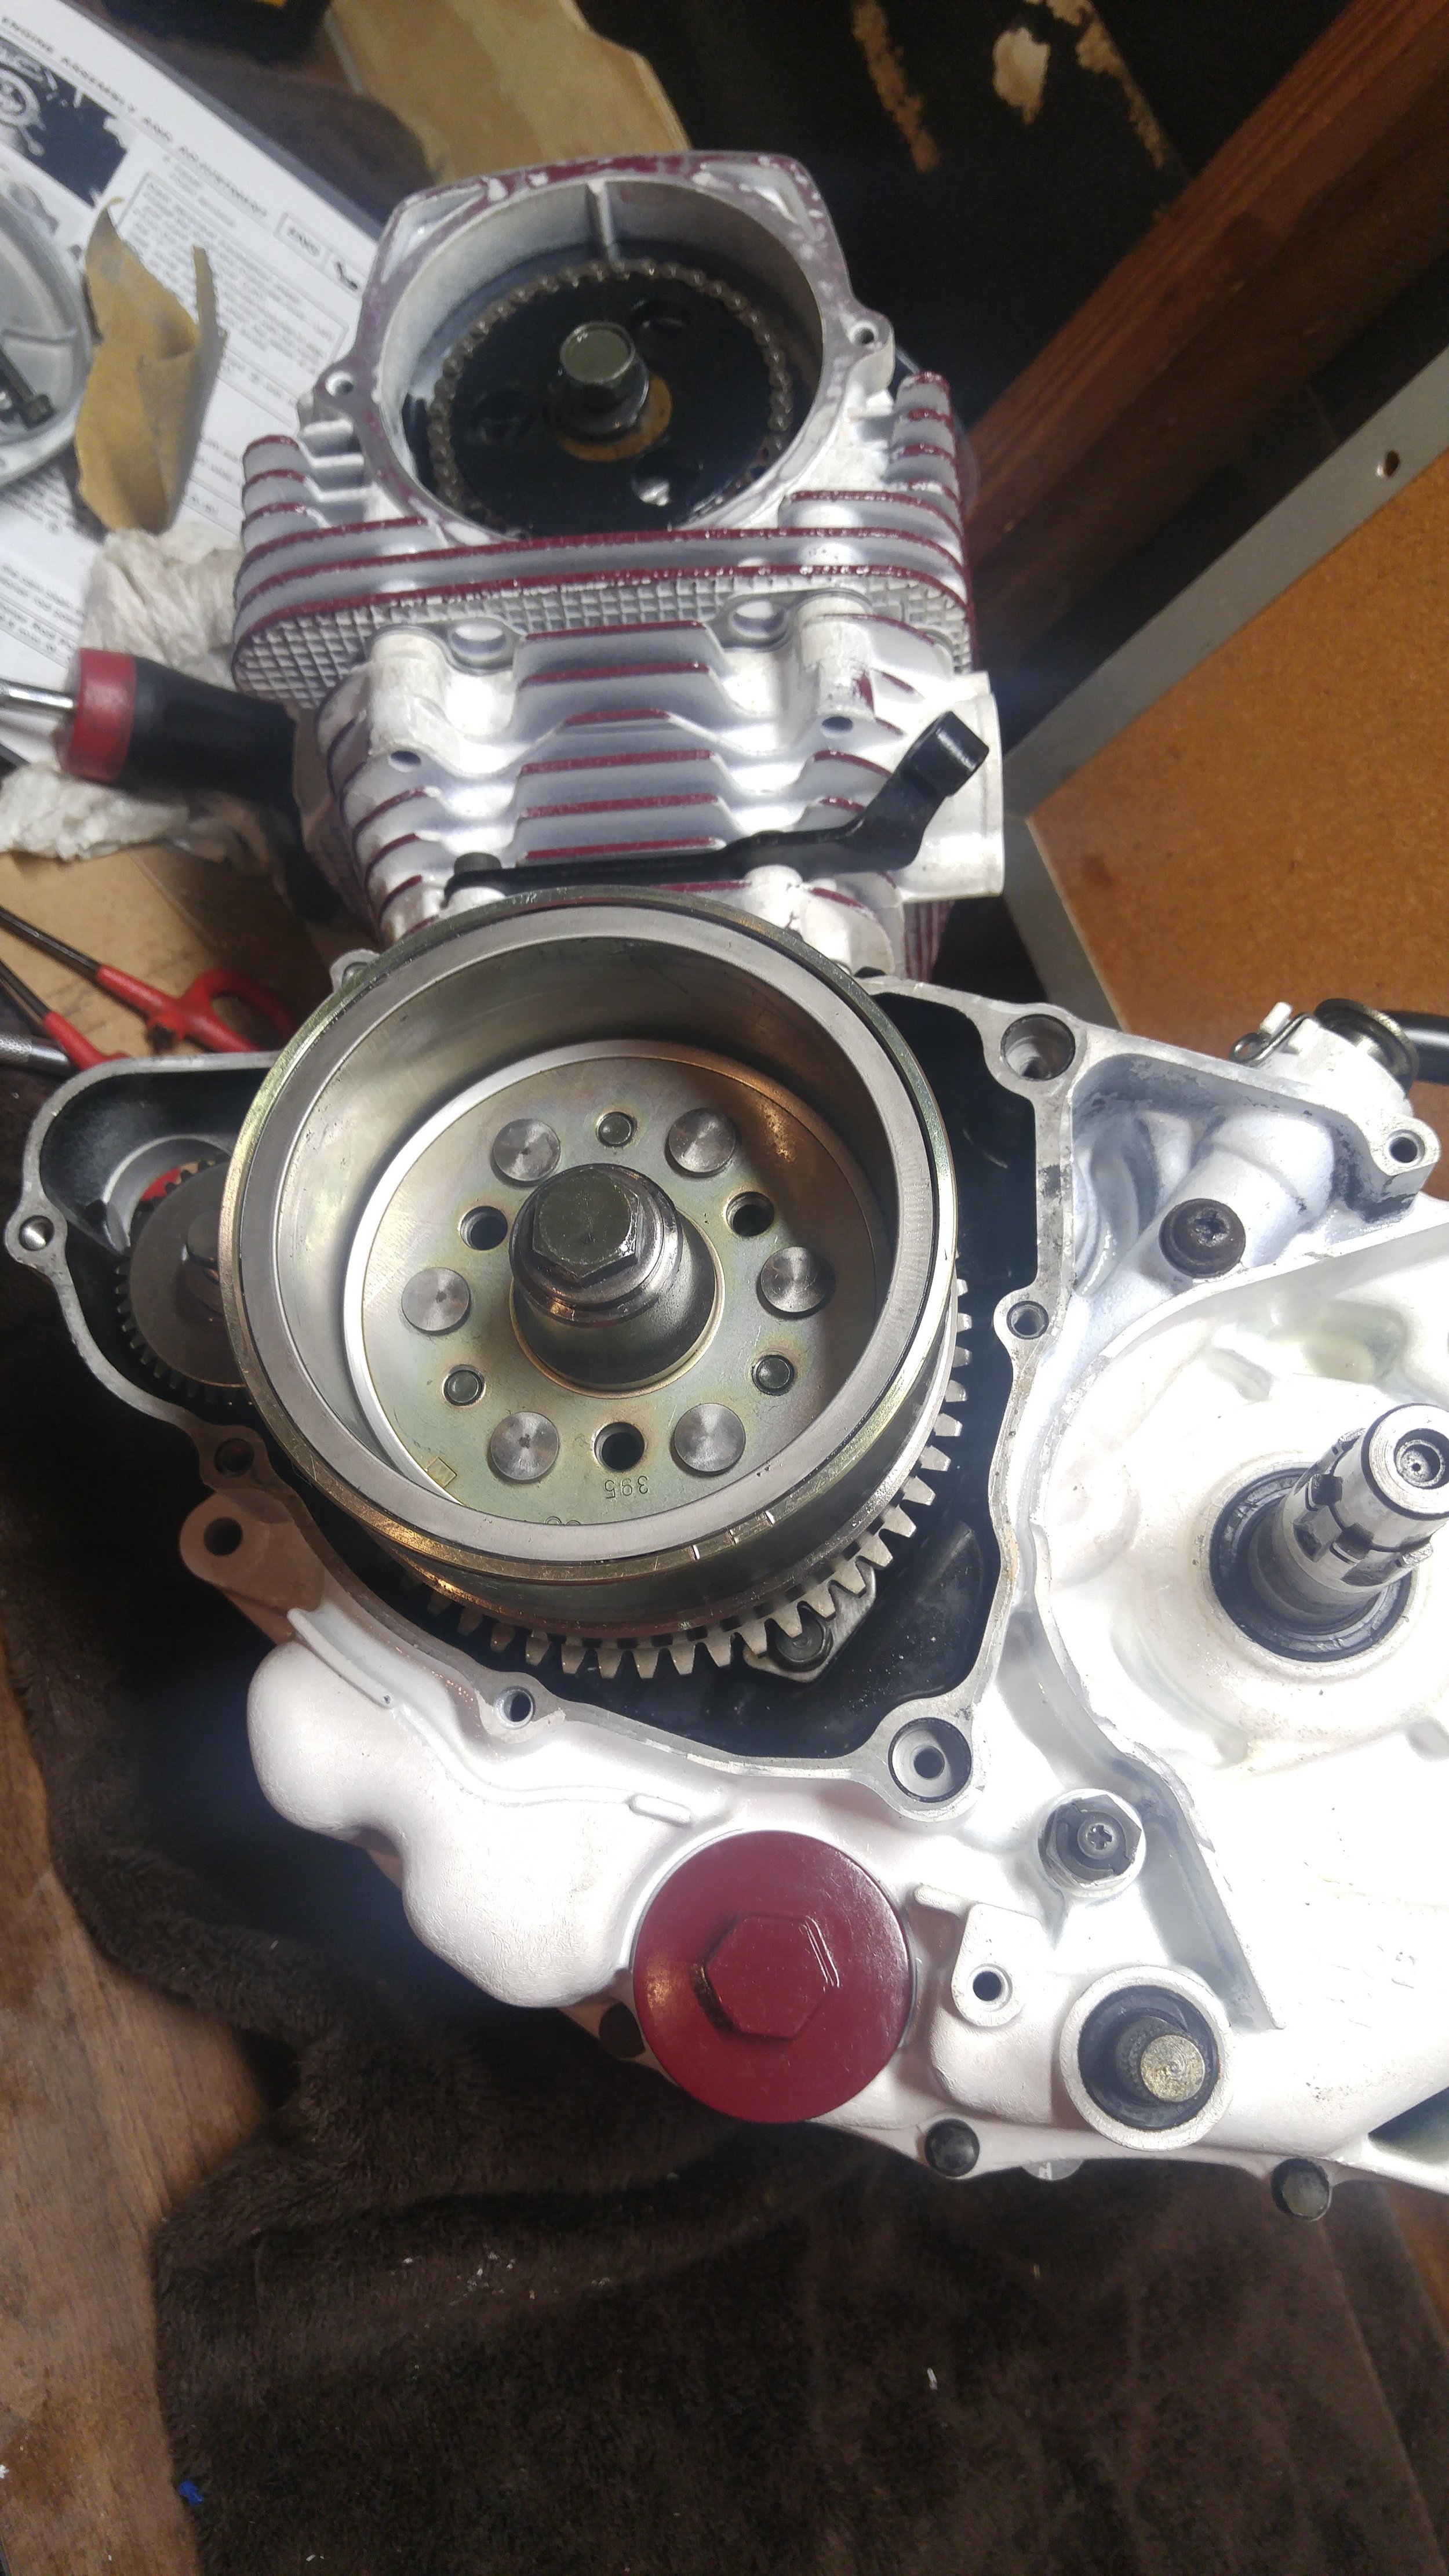
I also noticed the kick starter shook violently when the starter motor was going, and a photo of below shows why. I've never seen it before, but the metal stopping mechanism had sheered off in the case. One bolt completely broken, the other was bent. I was able to drill and remove the broken bolt. It turns out this part is the same used in the old Yamaha DT250s. I happened to have one sitting around, and that's all fixed up and installed with loctite 243.


G4TR-

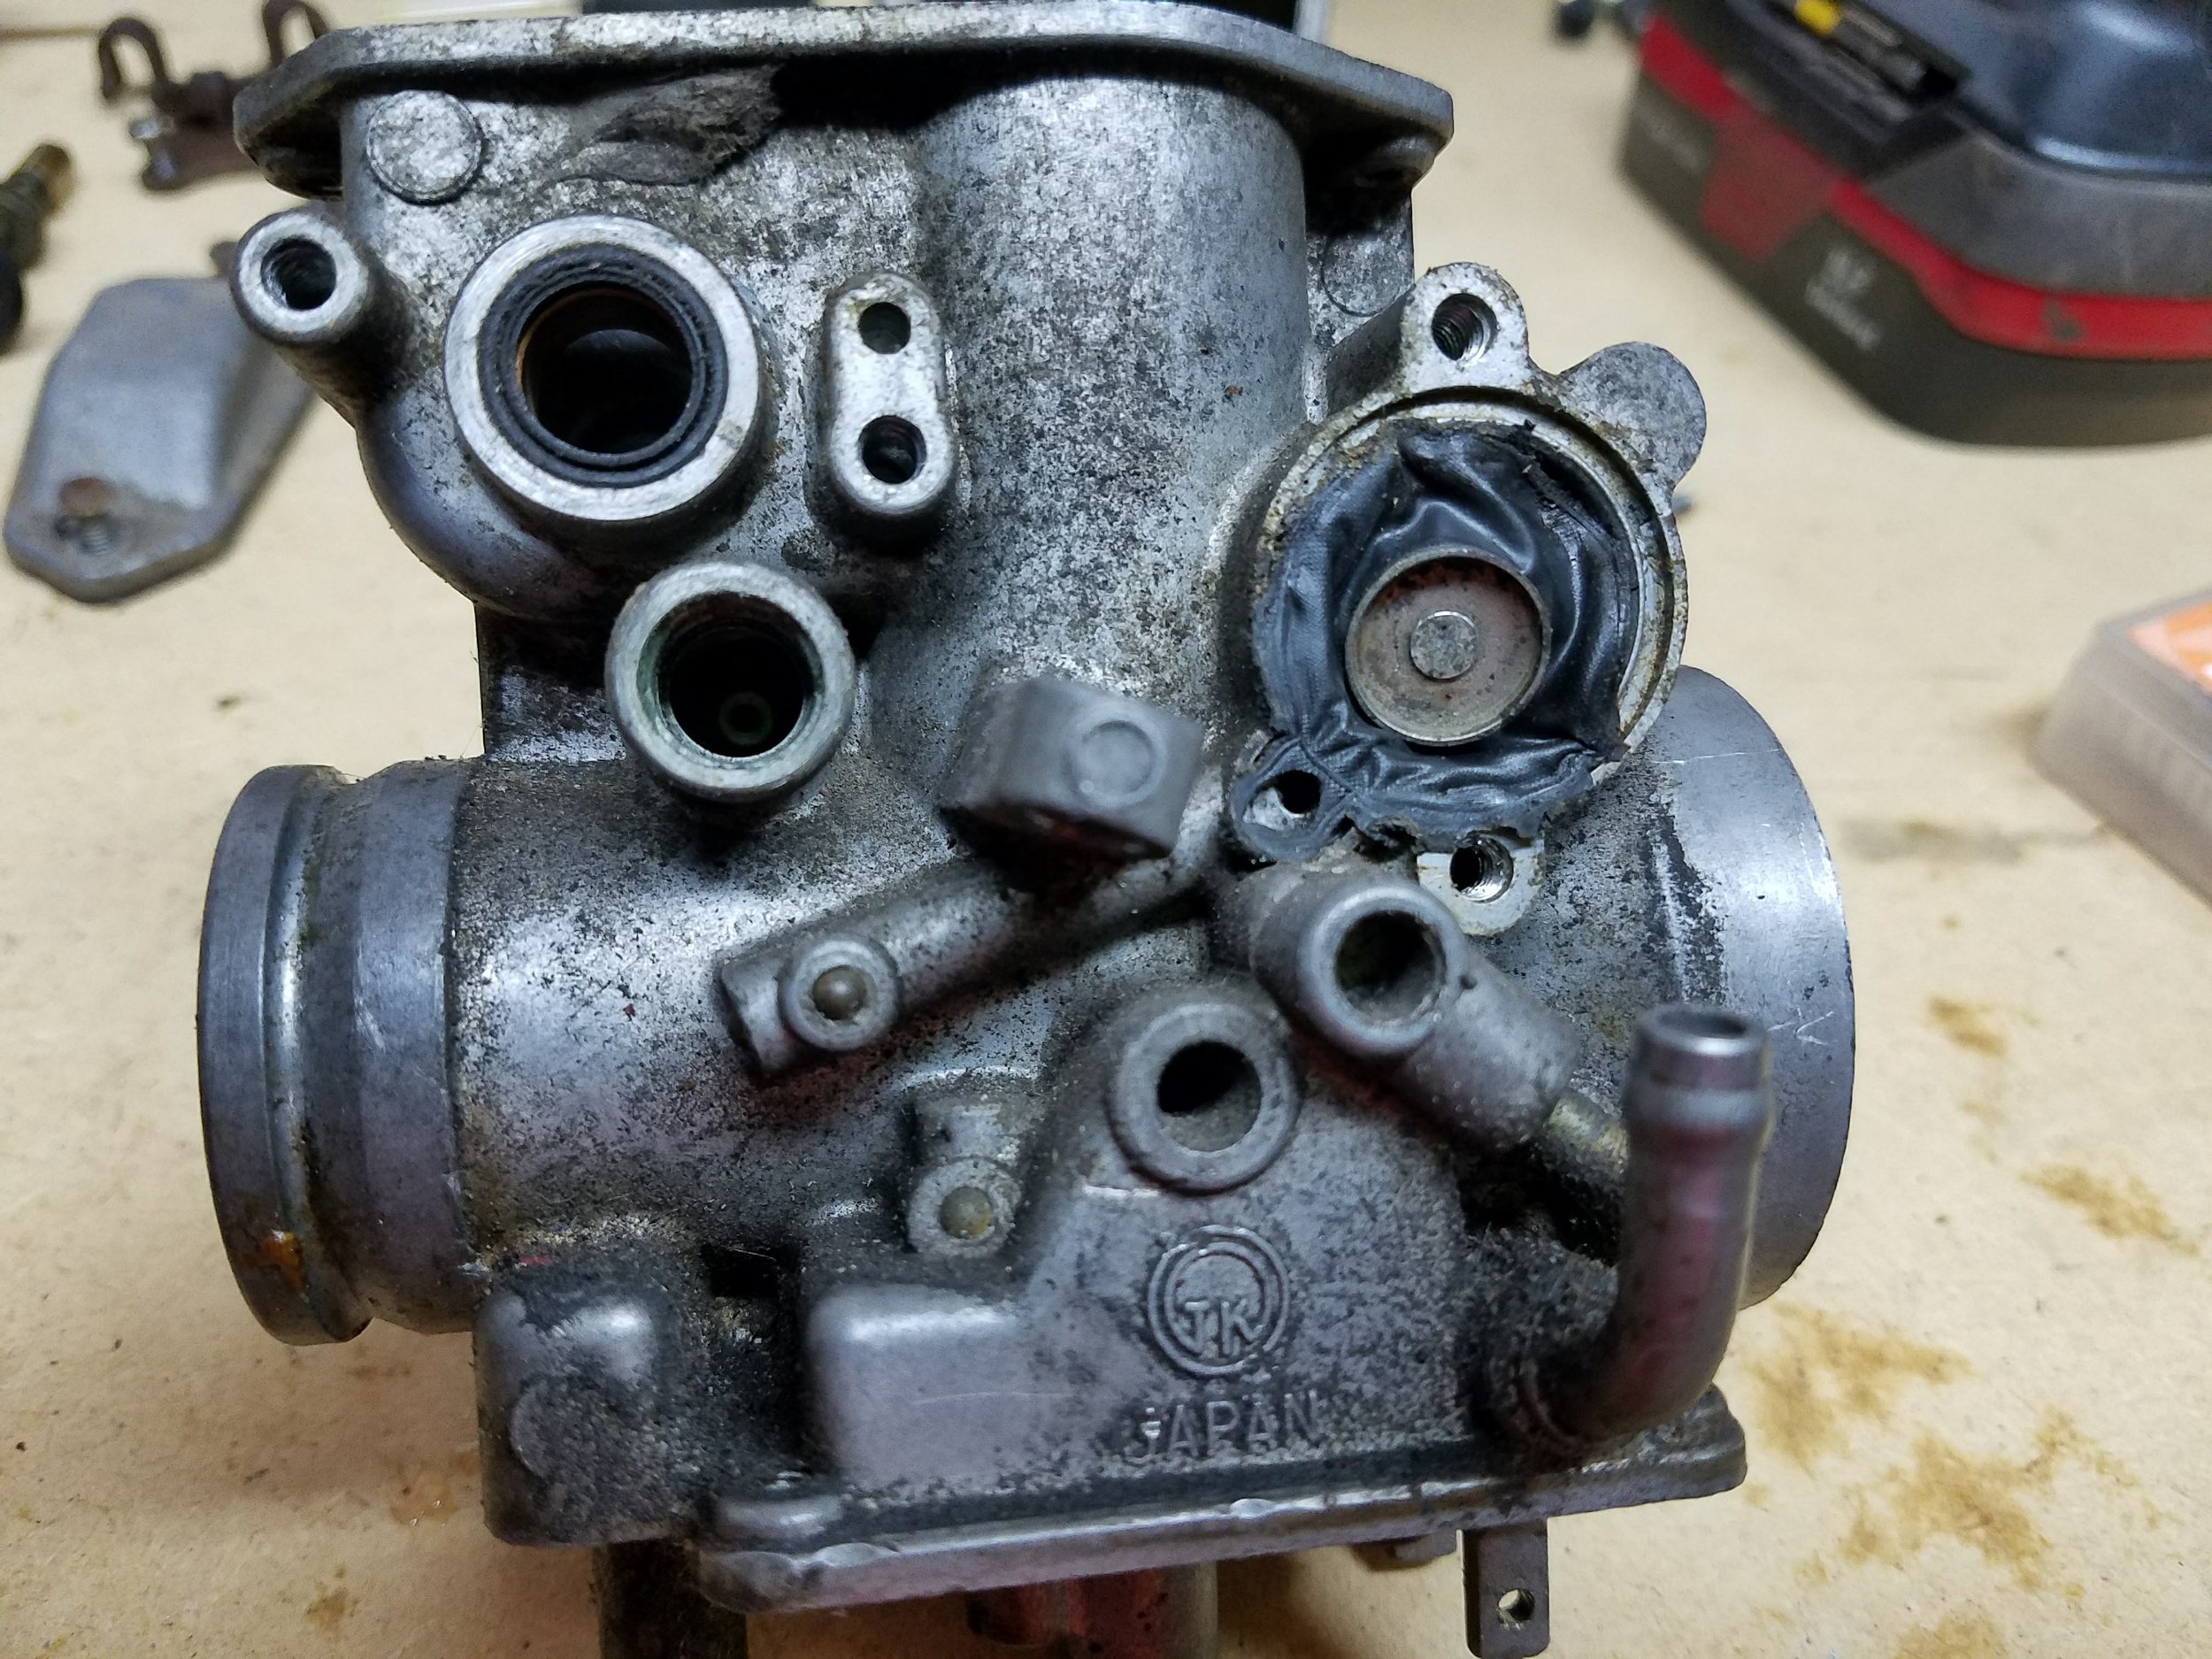
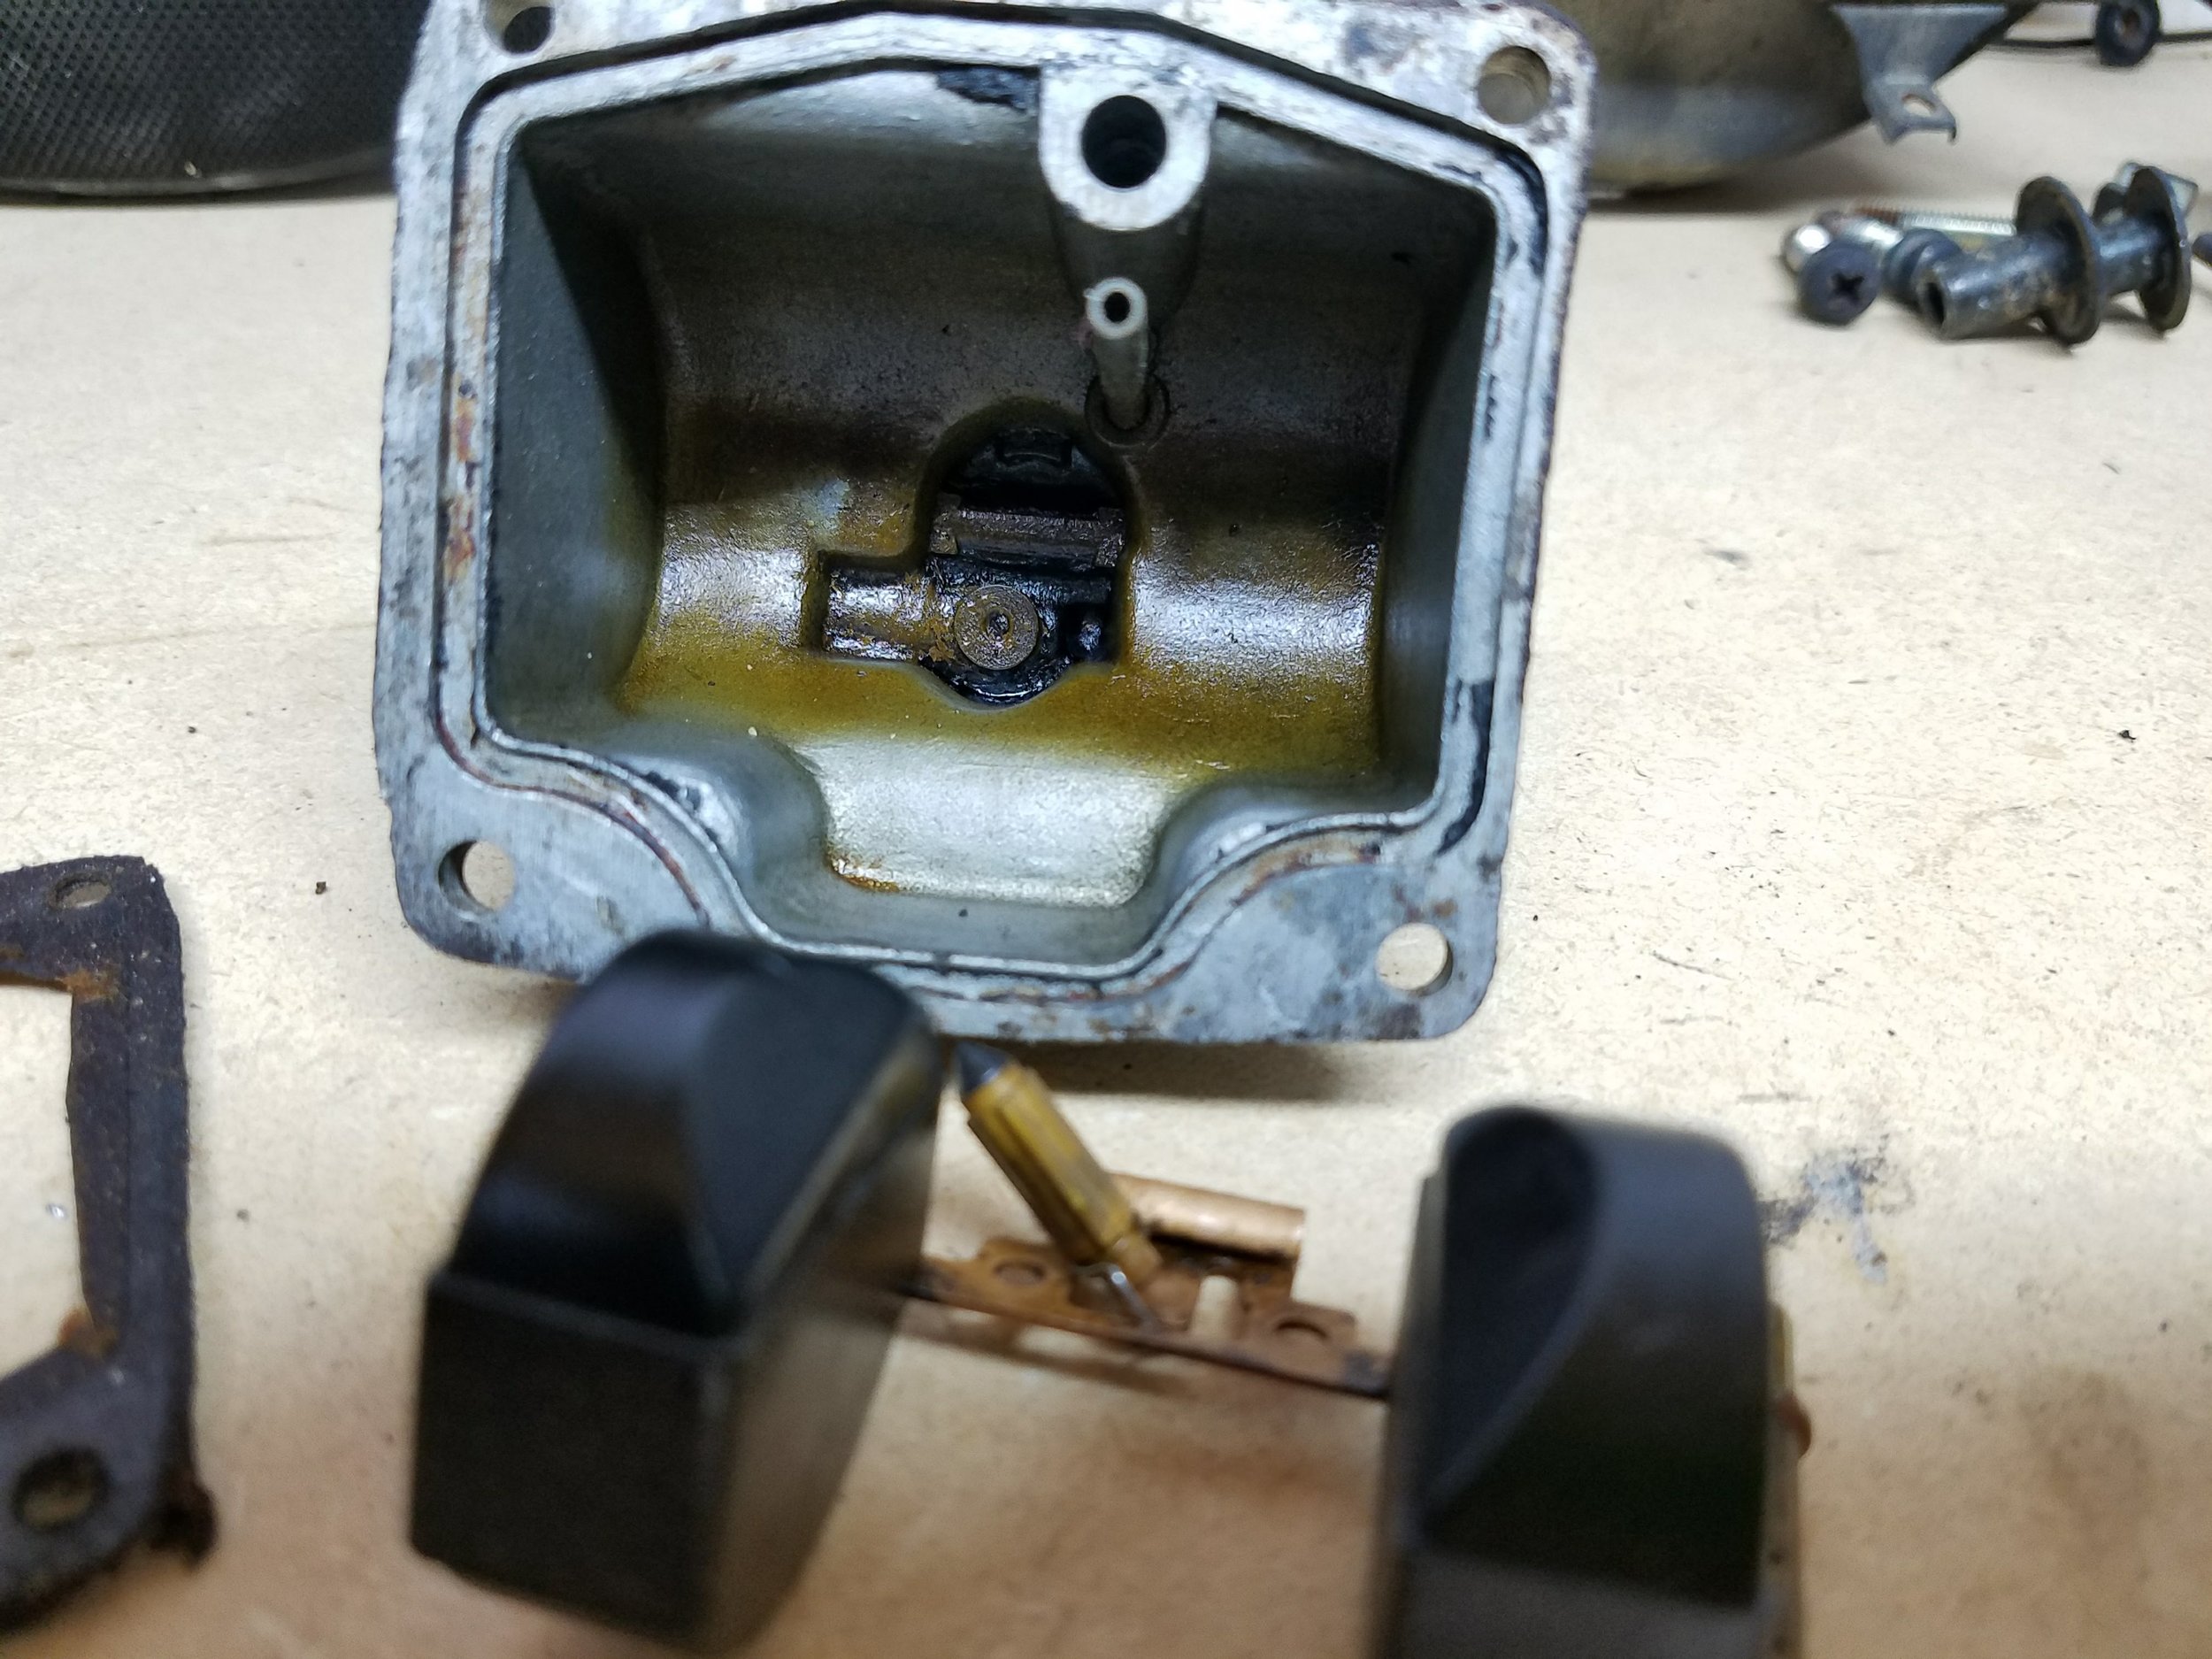
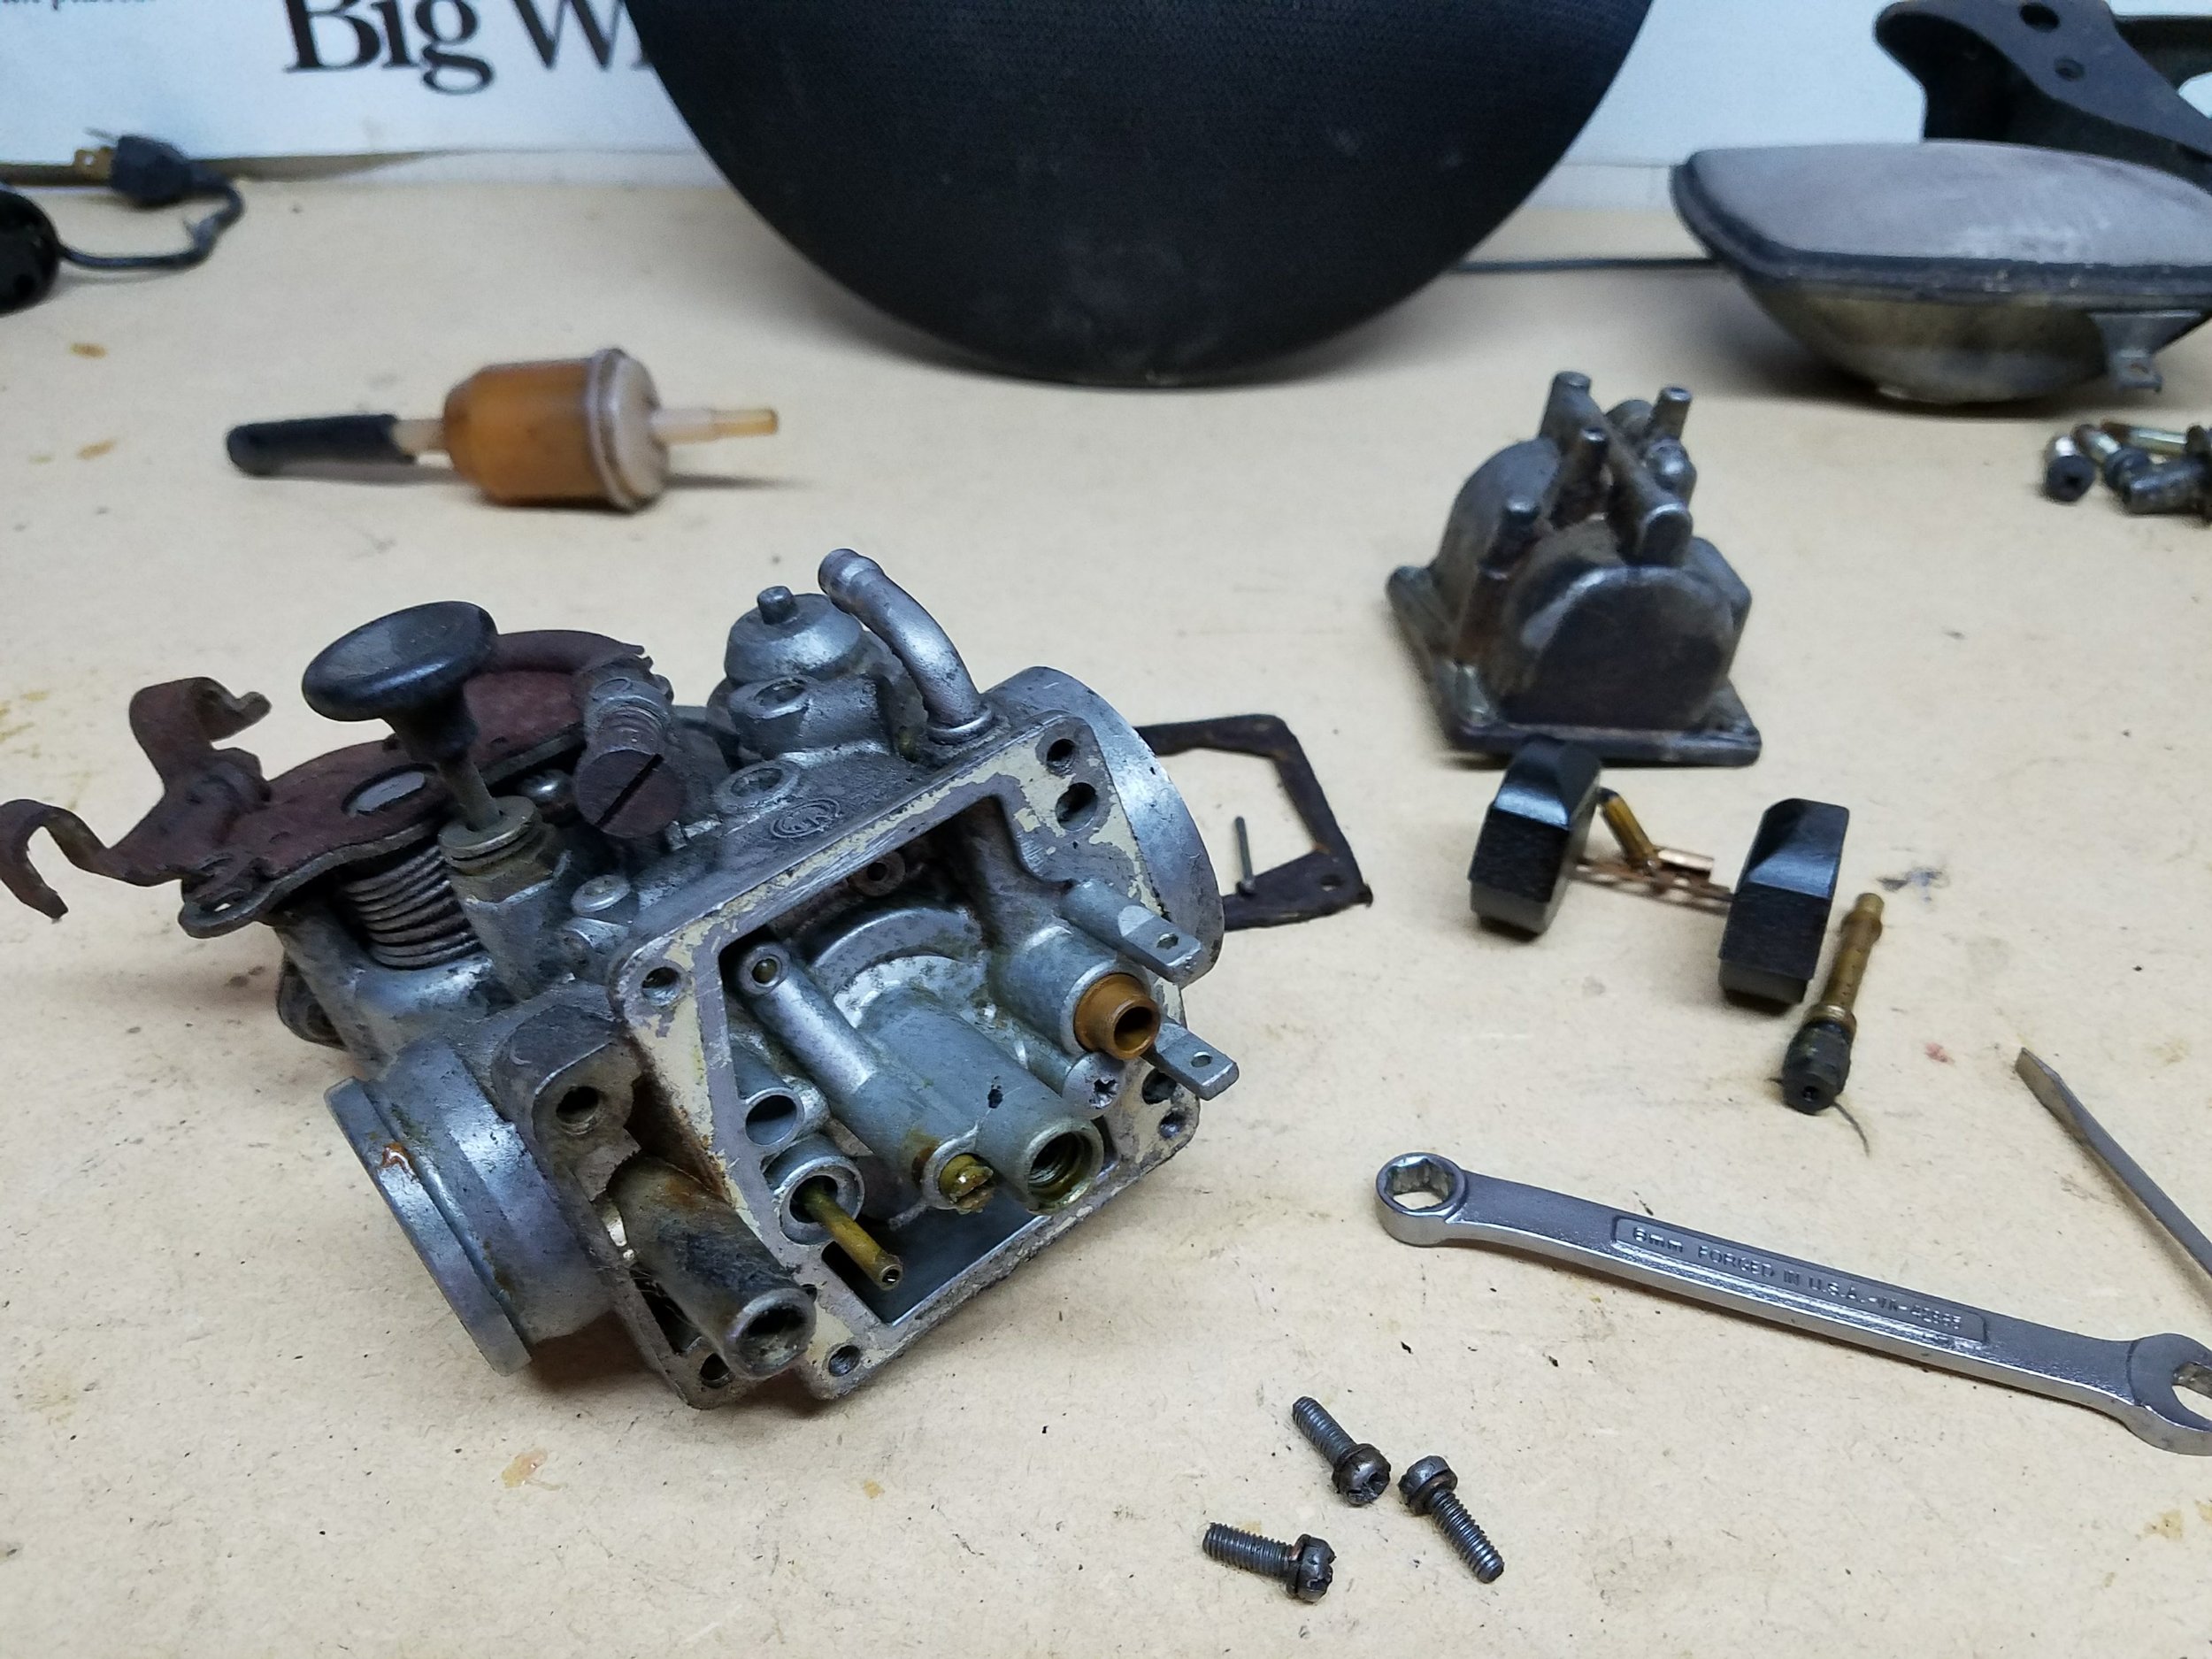
A lot of work has been done on this little 100cc two stroke bike too. I started by taking the carburetor off. What I found inside of it was something I’d never seen. Don’t know what this is or where it came from, but it was trash. So I found a replacement on eBay. Then had to diagnose a no spark condition. With some new points, the bike sparked strong and was ready to fire…in theory.
When I went to kick it I noticed the clutch didn’t work. So I took it apart, sanded down the metal plates, and that freed everything up to normal function.
Then I had to kick it about 500 times to get the water/oil/crap out of the crankcase. I’d kick, pull the plug, clean the plug, and repeat. Kick, pull plug, clean plug, repeat. Finally it came to life in a short spurt. I haven’t been able to get it to idle, but I think that’s a simple cleaning of the carburetor job. This one is about ready for market.
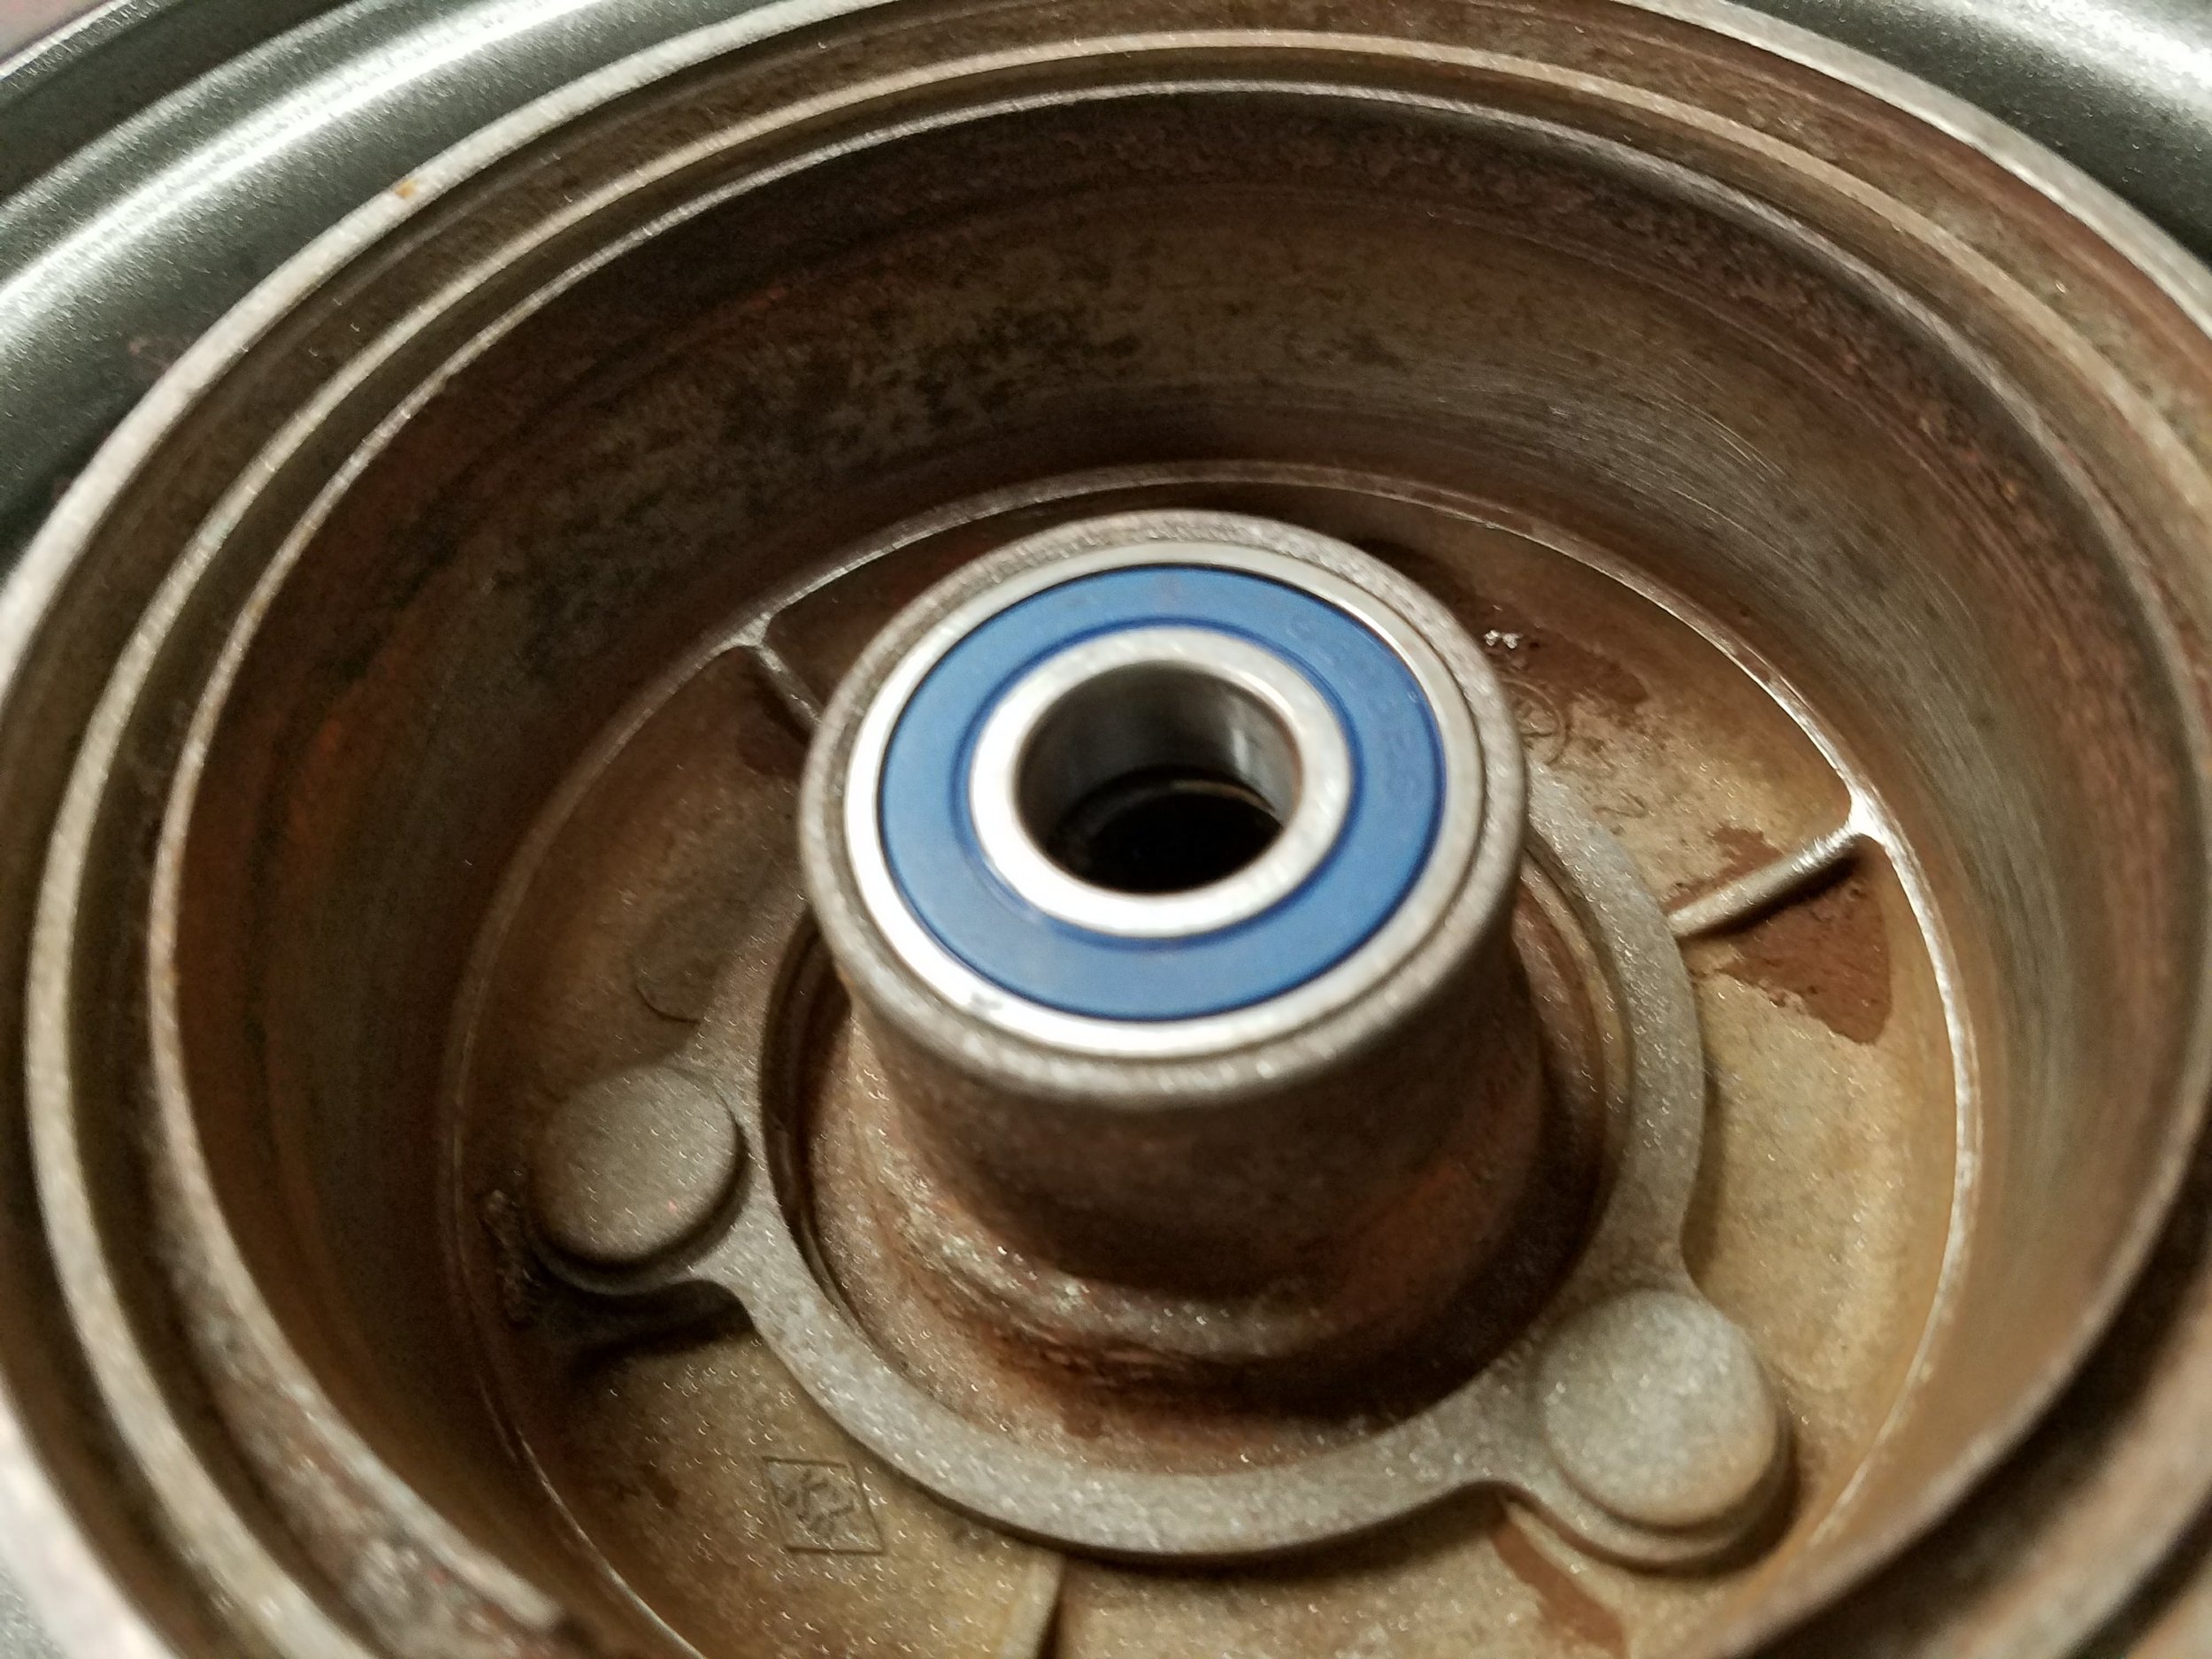
I also replaced the brake shoes front and back. A good example of why you should always replace old shoes is below- The linings delaminate and can cause huge problems when you're riding and they decide to get wedged in the drum.


KitchenAid-
I was bored and walking through goodwill. Found this thing for 25 American pesos. When I got it home, I noticed it didn’t work right. Made a racket and the planetary mixing arm wouldn’t turn all the time. Thanks to google and amazon, I had the $12 nylon gear in my hand 2 days later and now we have a mixer.
Soon:
BW200 will be back together and running. Maybe it goes to market, maybe not. Unsure just yet.
BW350 will be running and driving
Pinto will be rolling with a rear suspension under it again.
G4TR will be running. Off to market with it.
TW200 needs to be registered, tank needs to be painted.
KL400 needs to be ridden.
SL350 needs a motor rebuild
RT360 will go back together
DT250 needs an oil pump (have) a clutch problem diagnosed, and the exhaust re-welded.
Too many projects, but incremental progress…

June 2017
Greetings subscriber,
Some small updates from the past month.
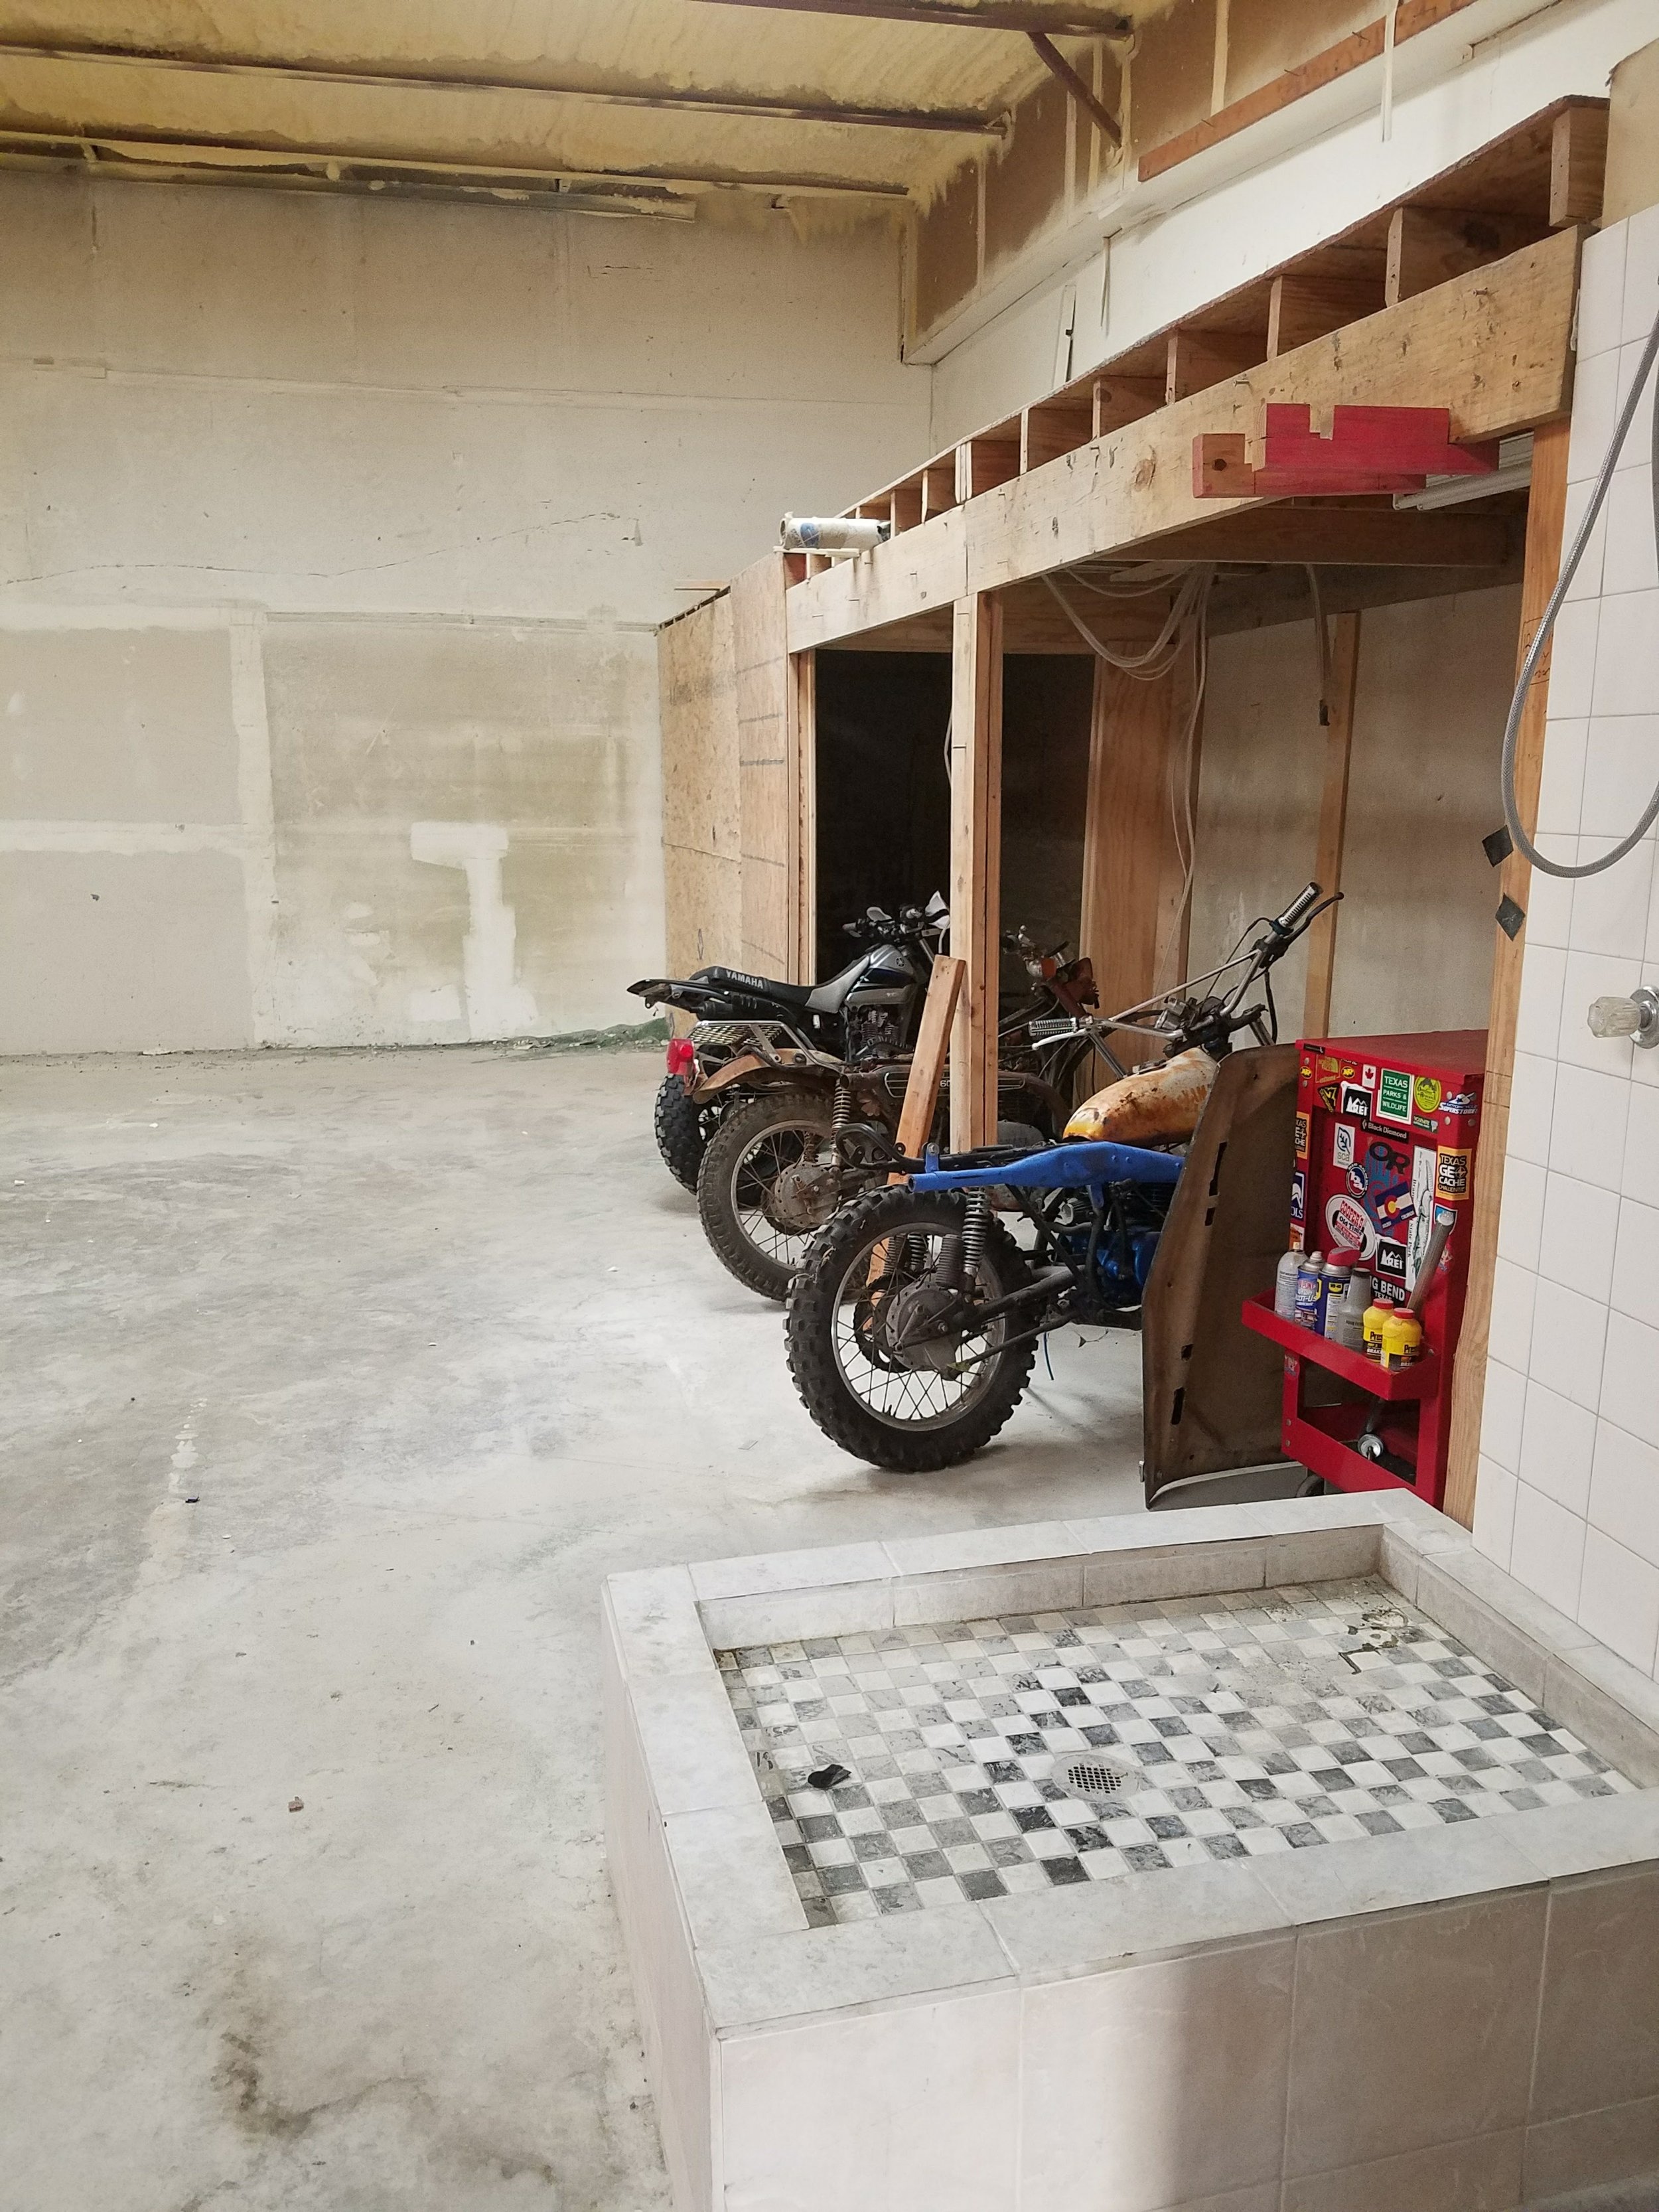
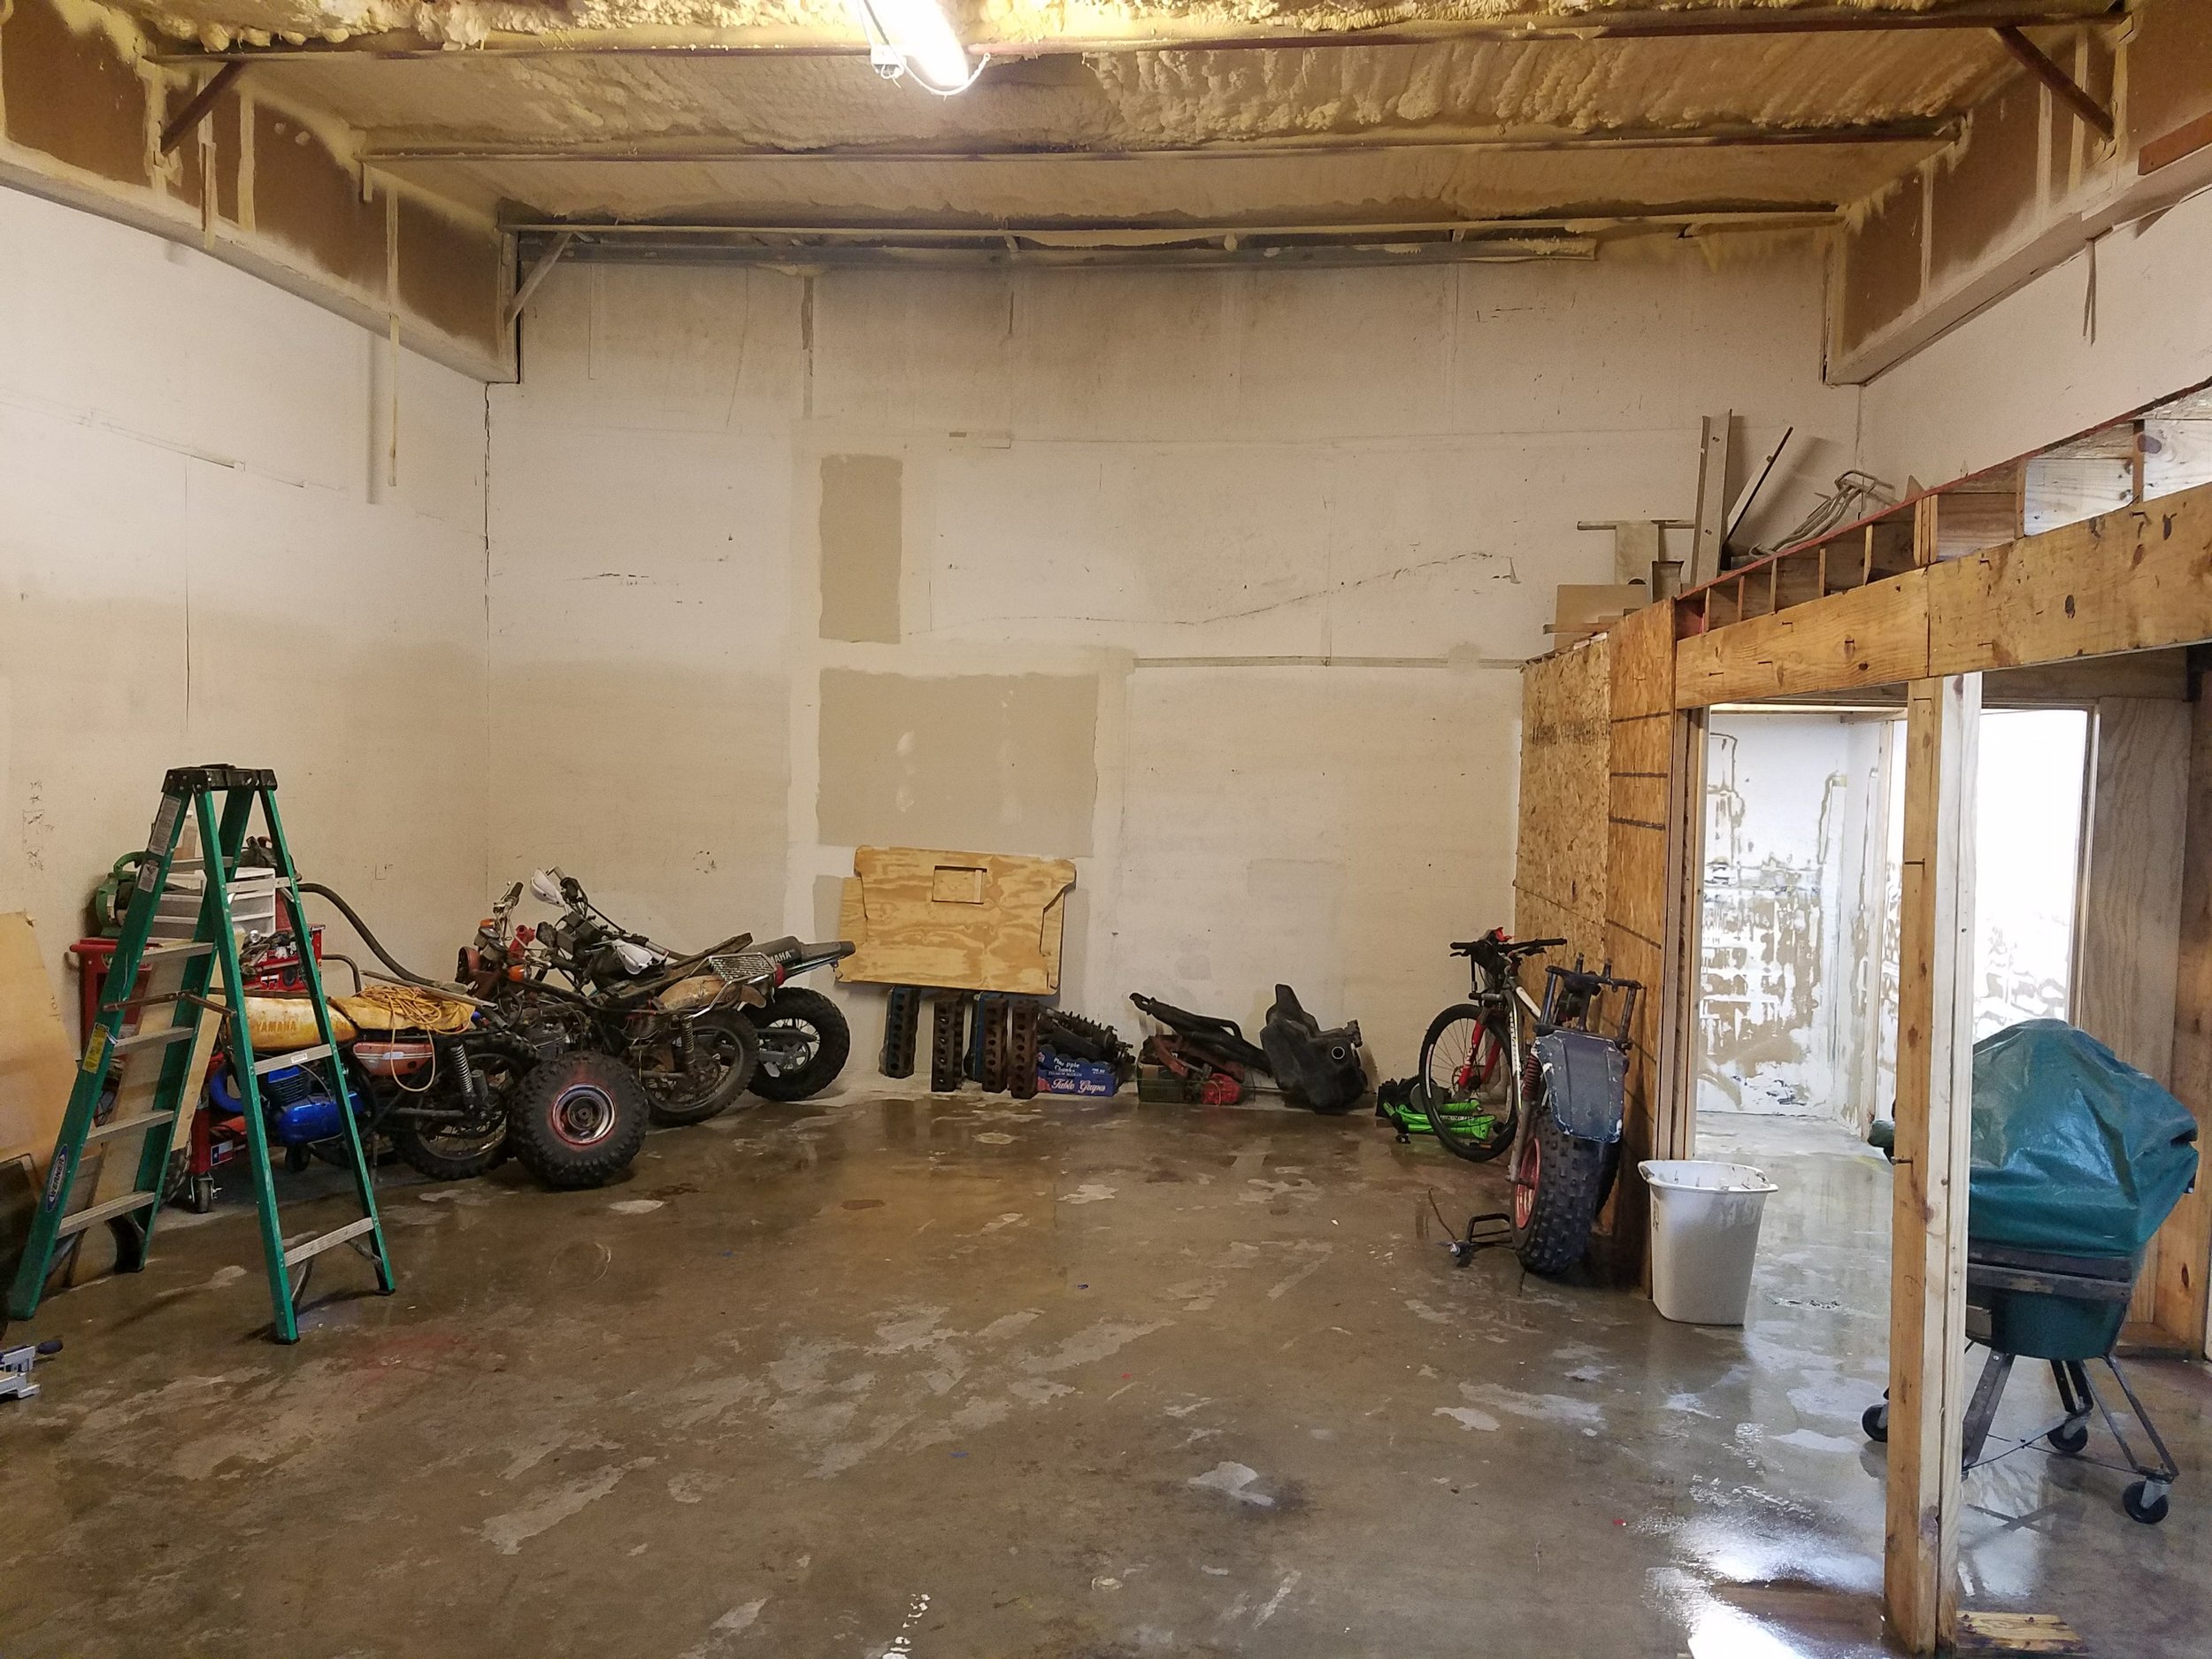
Chiefly, a new space has been procured for working in. I’ve spent the past few days cleaning it up and getting it to be workable. The previous tenant owned a custom shower glass business, and somehow sandblasting was involved. Untold amounts of sand and dust have been swept and power washed from the place. It’s now ready for move in.
Began some work on the braking systems of the Bronco. Instead of paying 300 dollars for pre-bent hard lines, I bought a roll of 3/16 tubing and some brake fittings for 20 bucks total. I have a flaring tool and made some lines in my past with varying amounts of success, so that will be the plan.
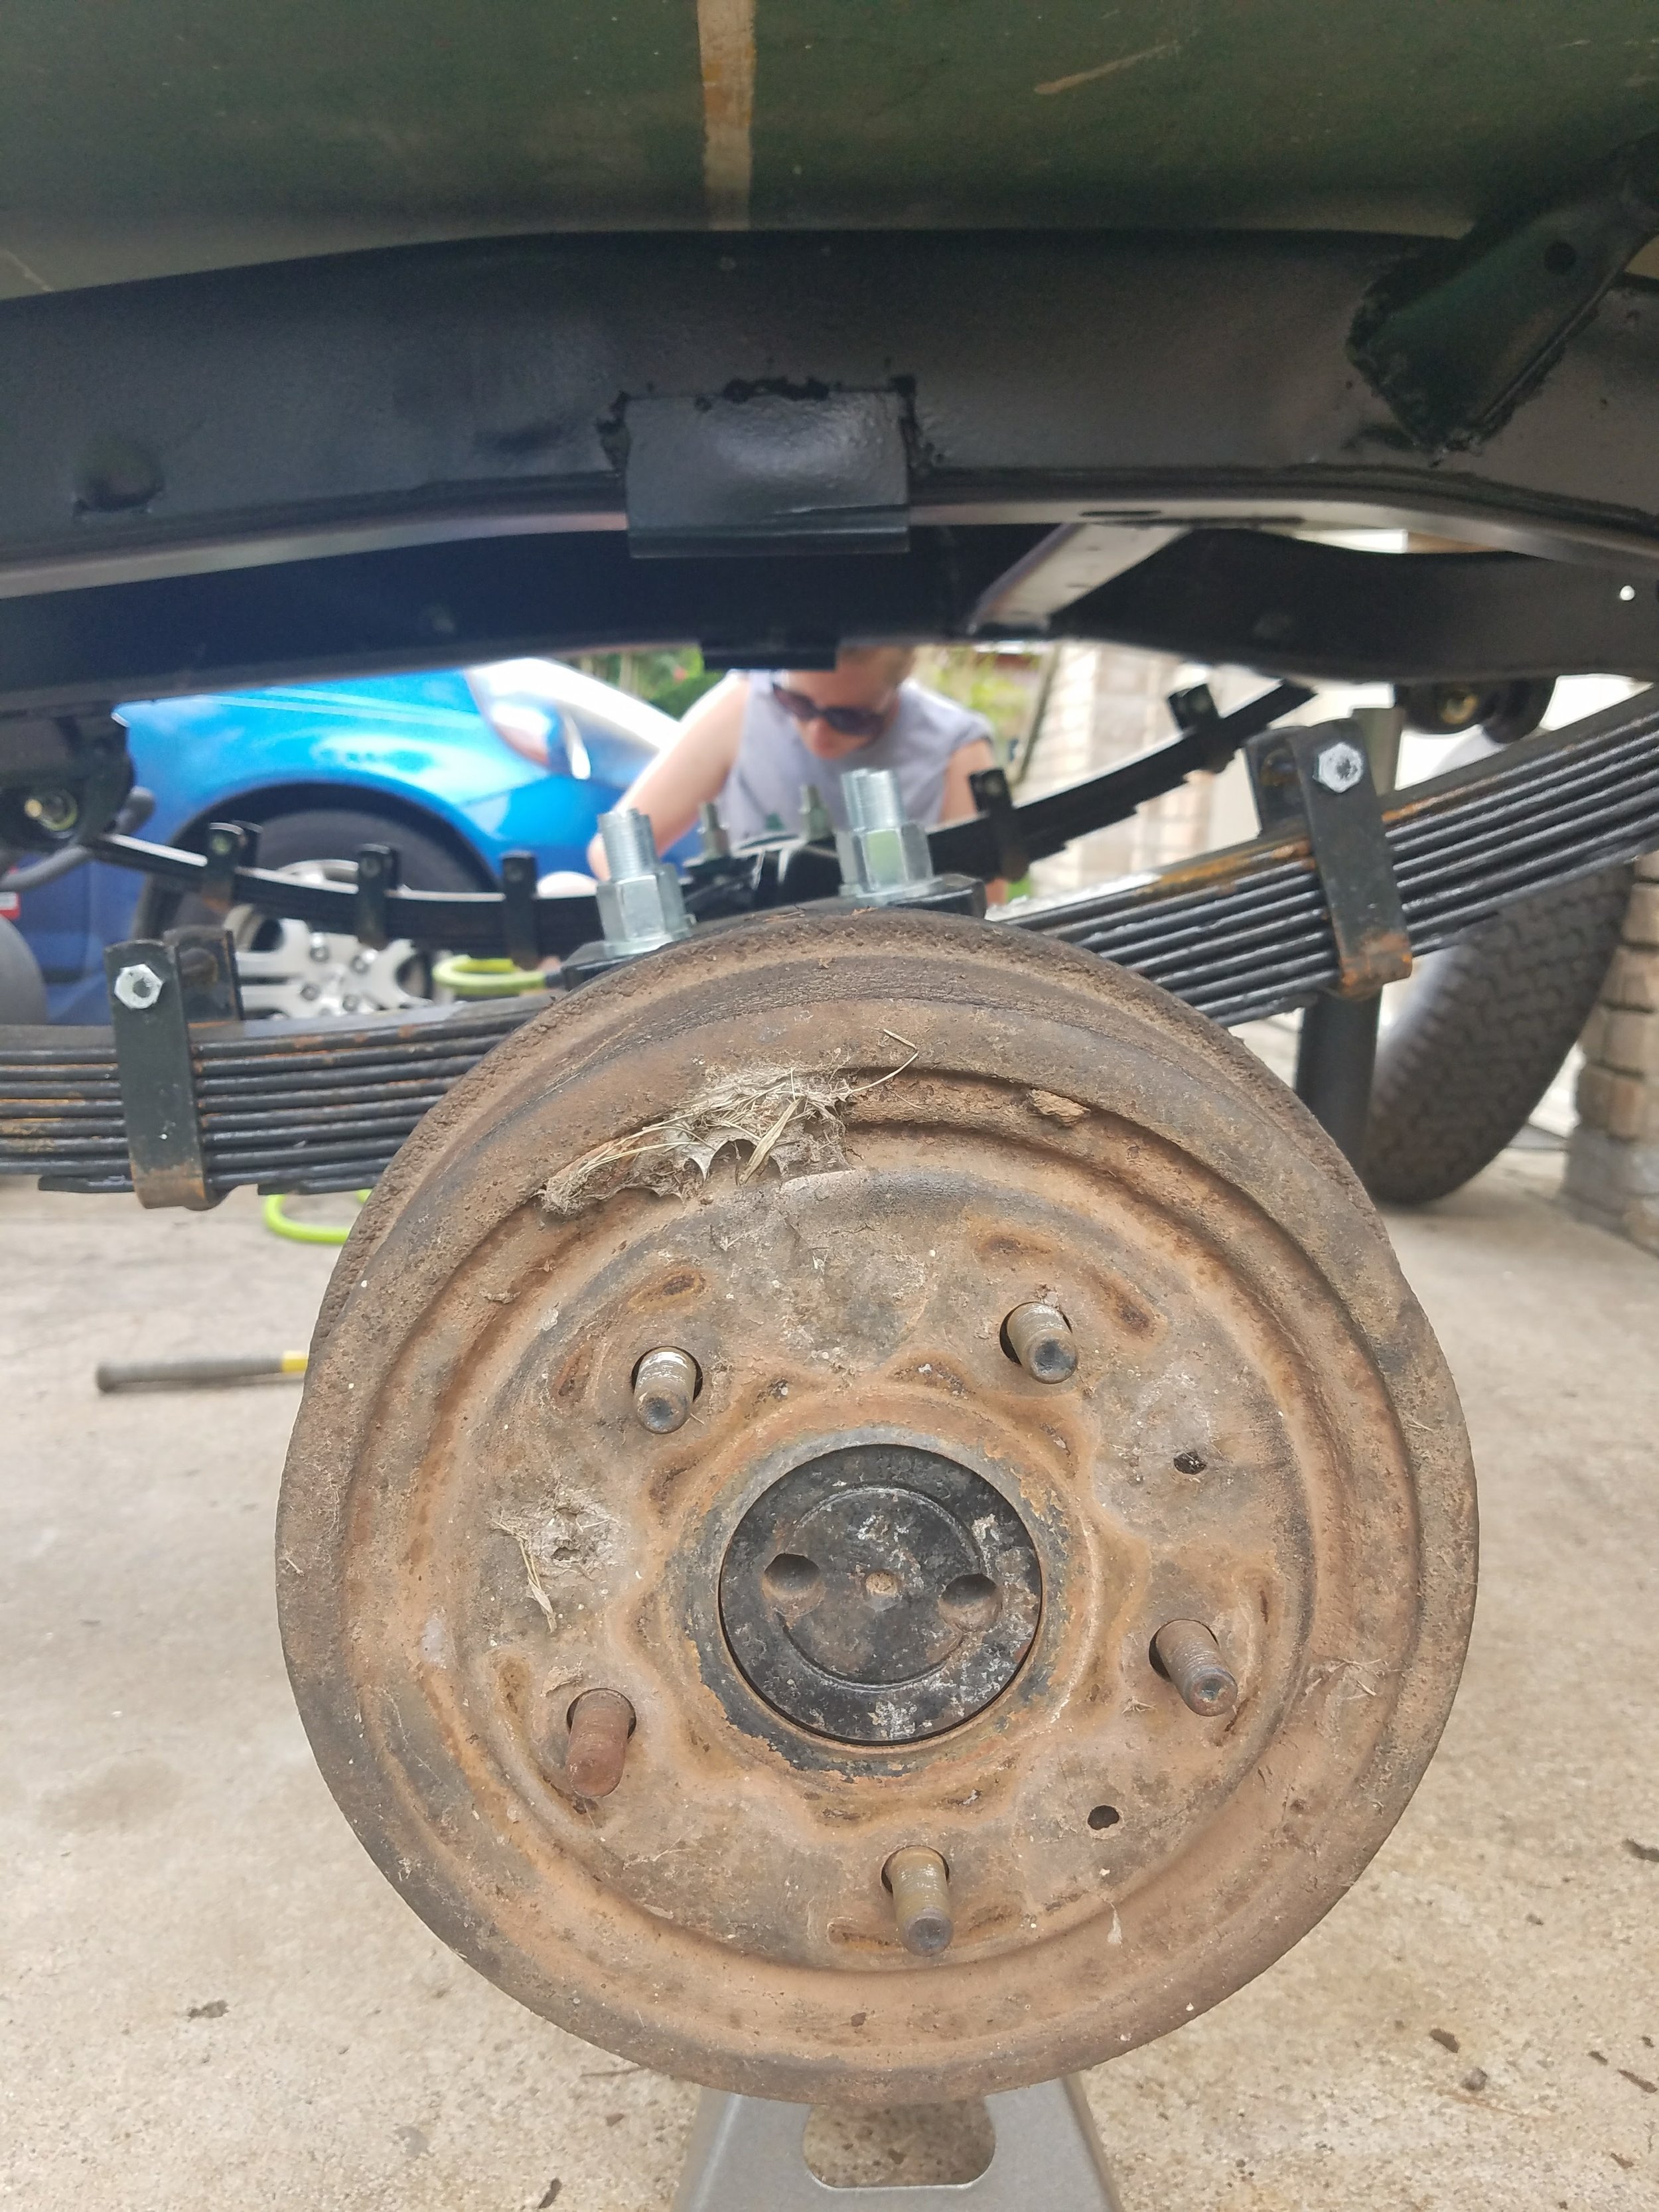
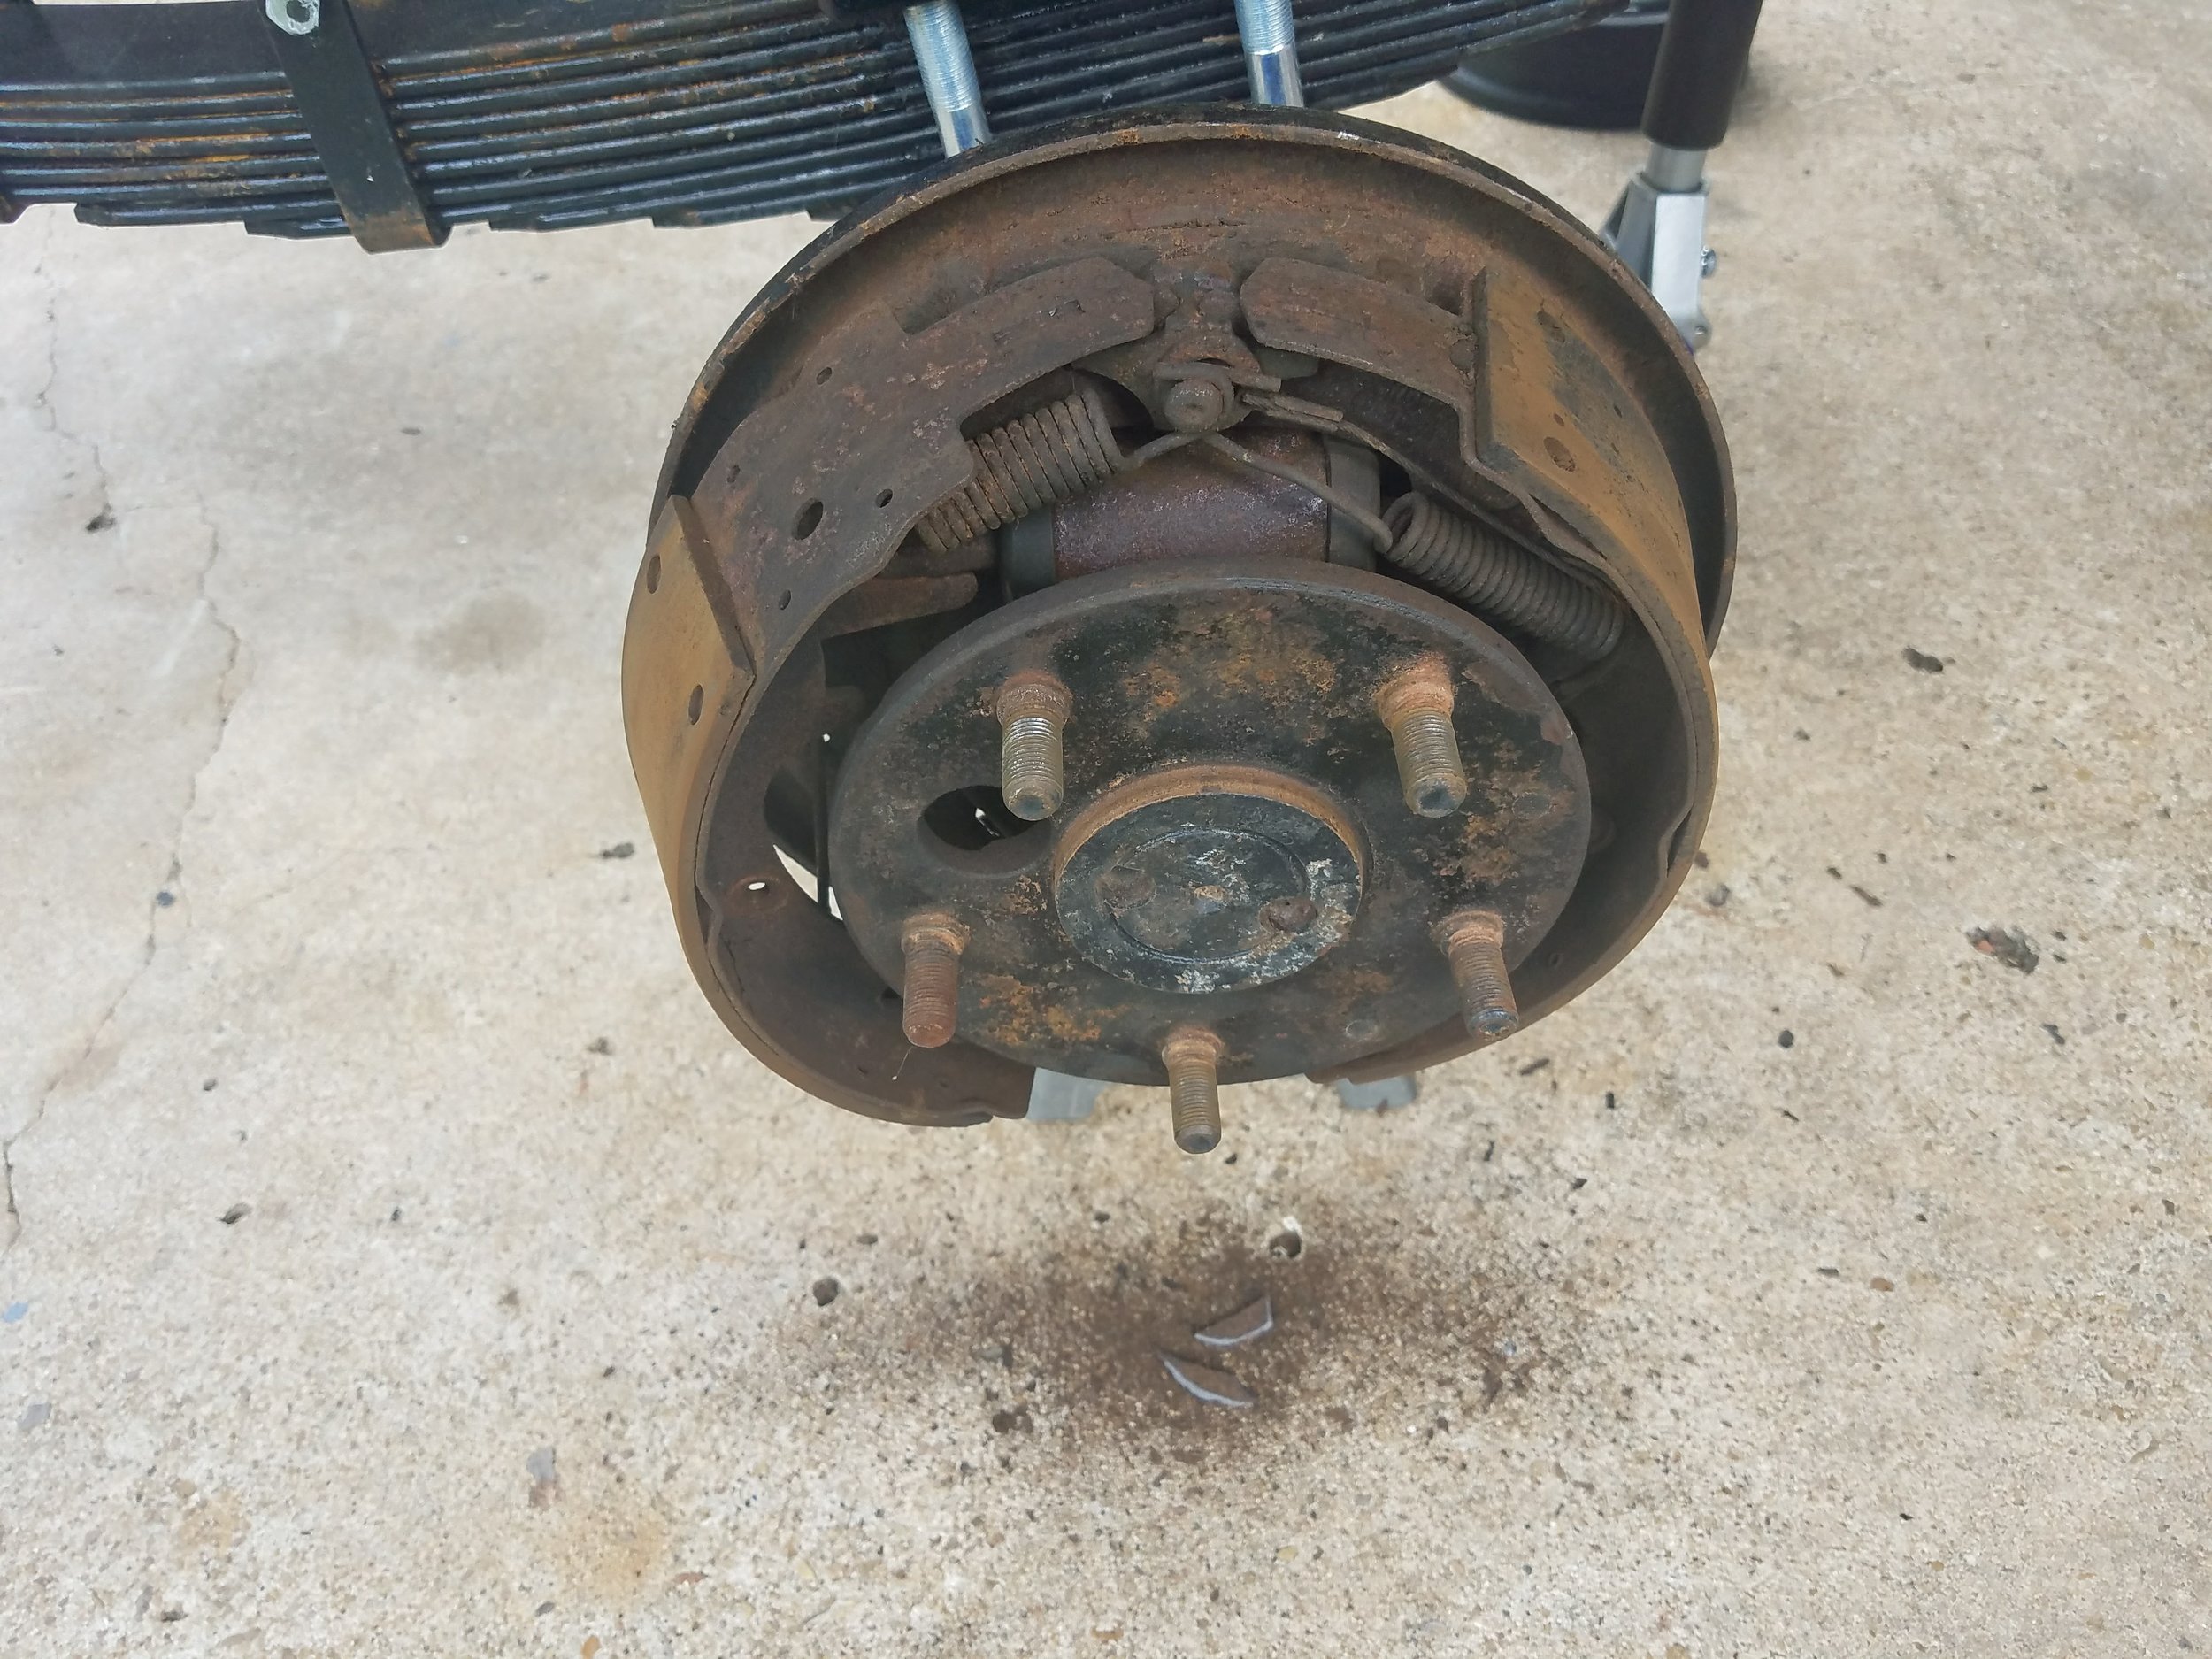
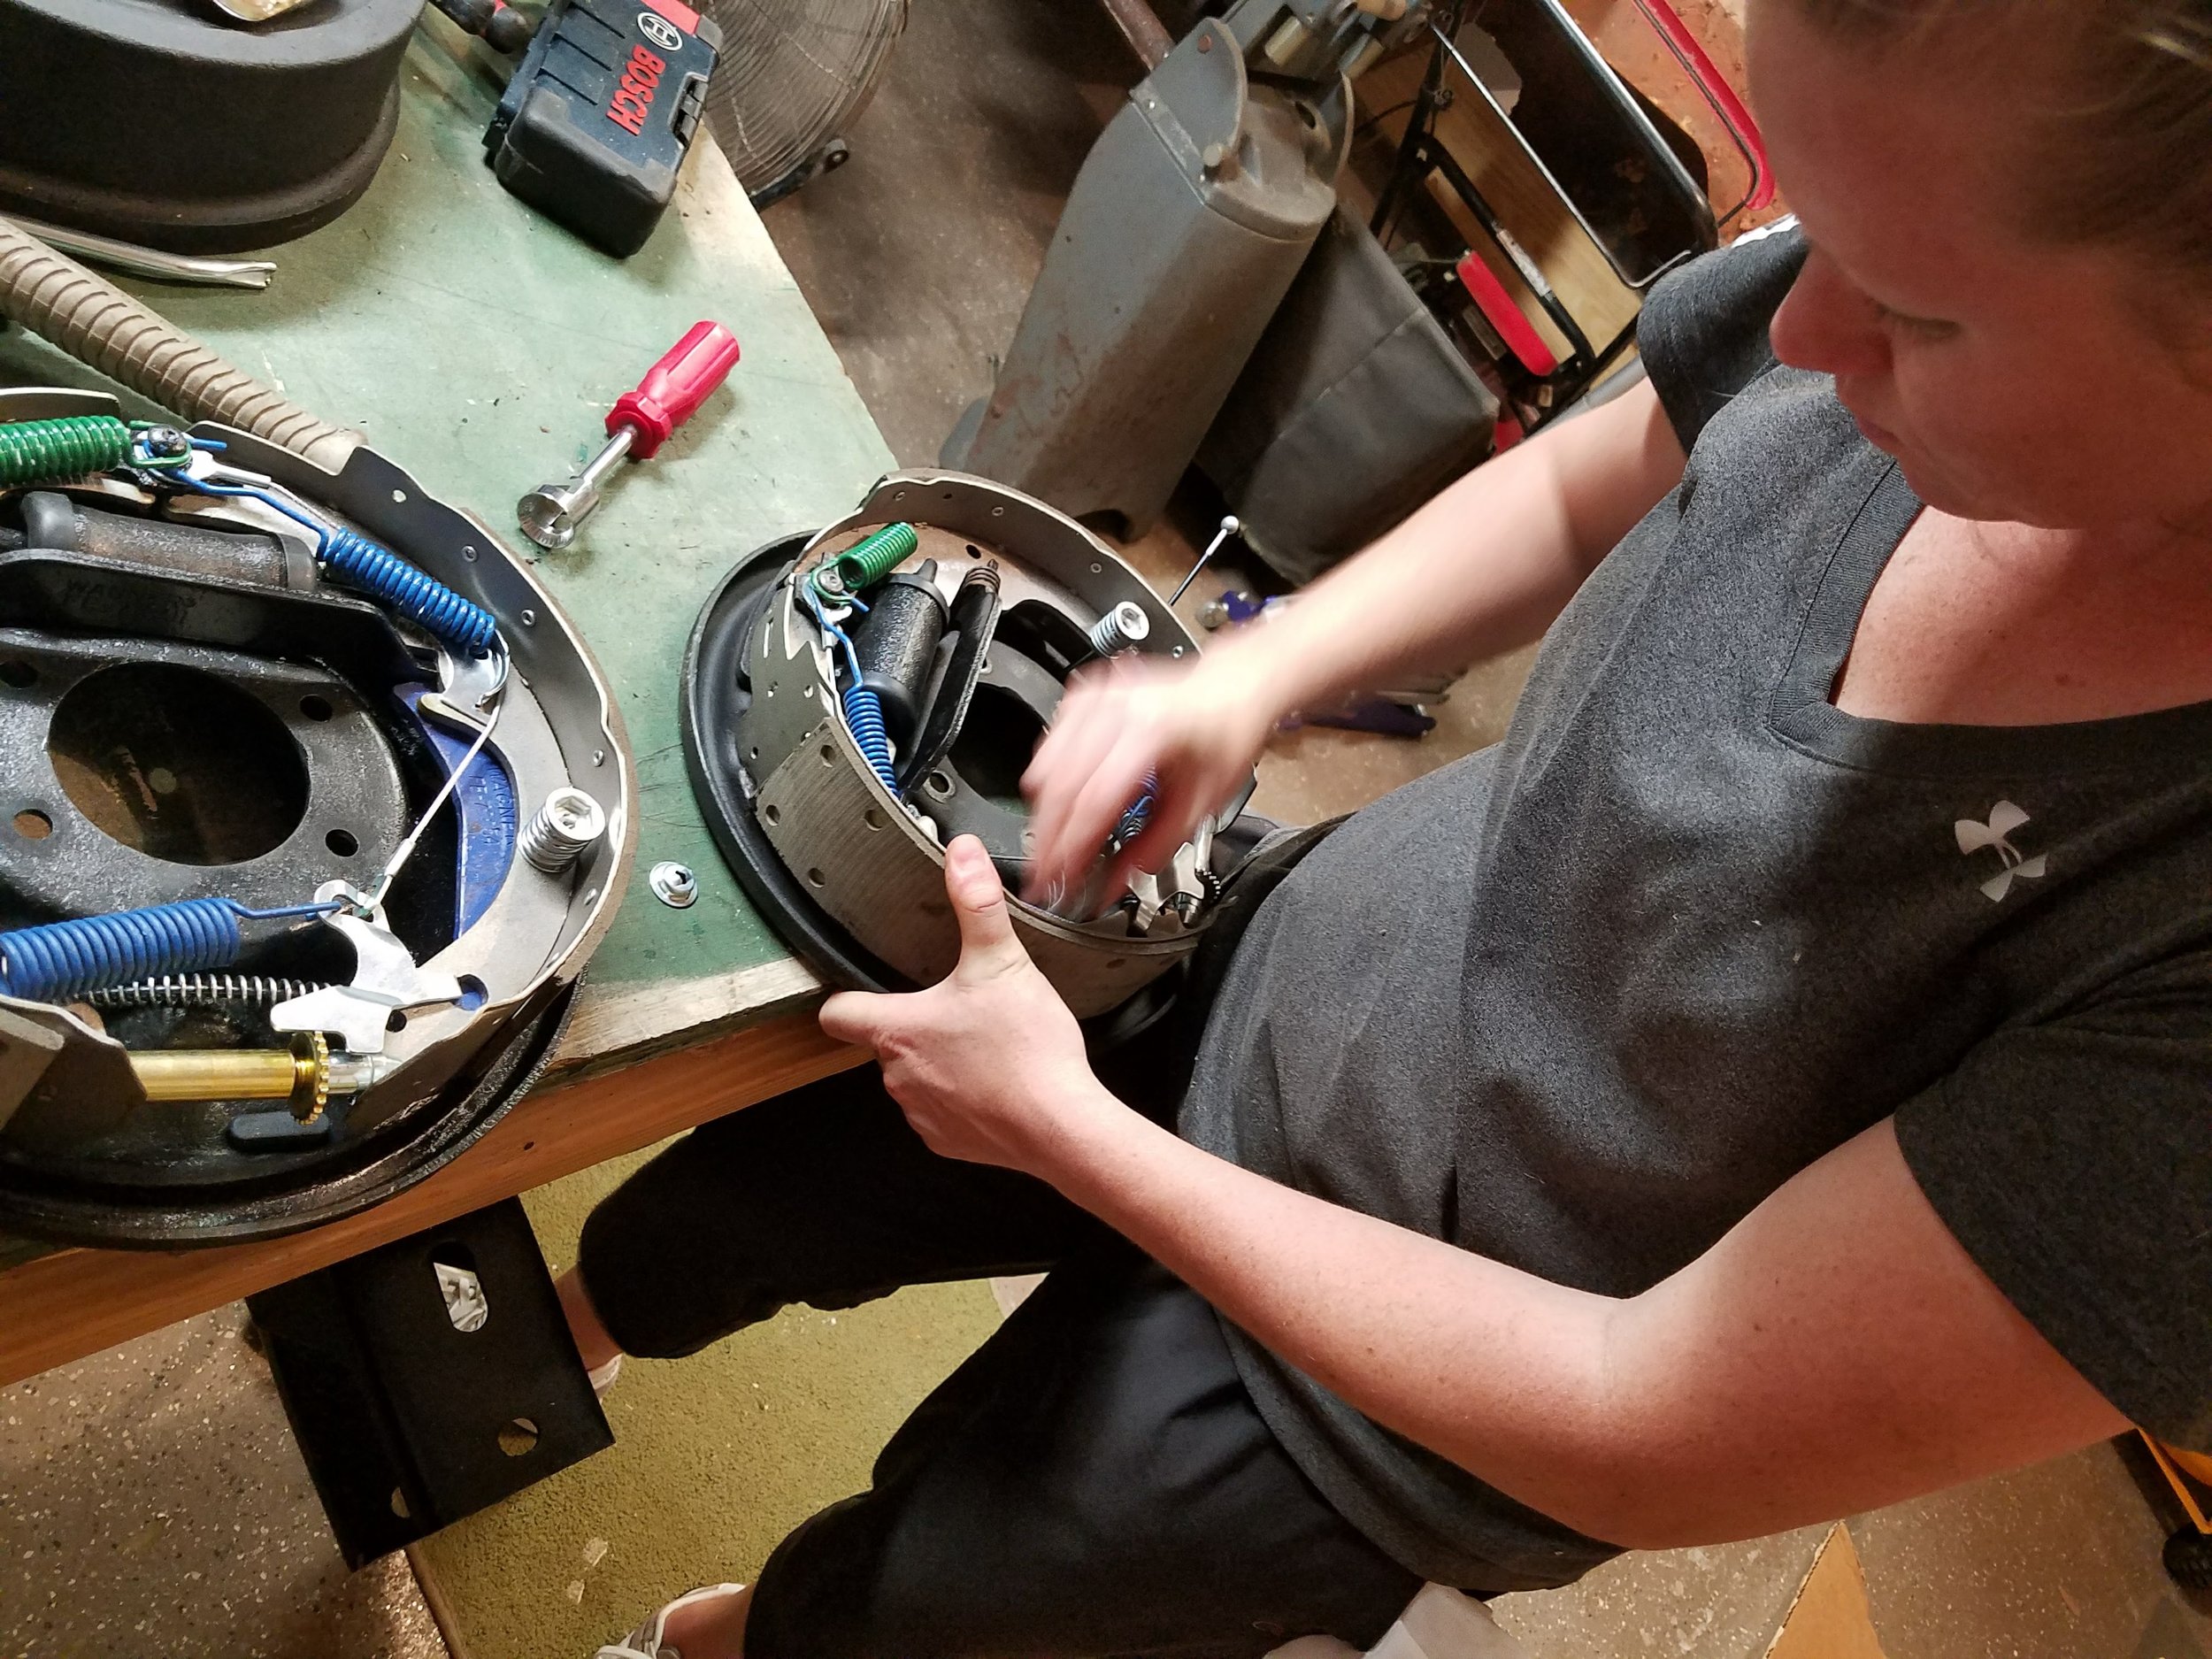
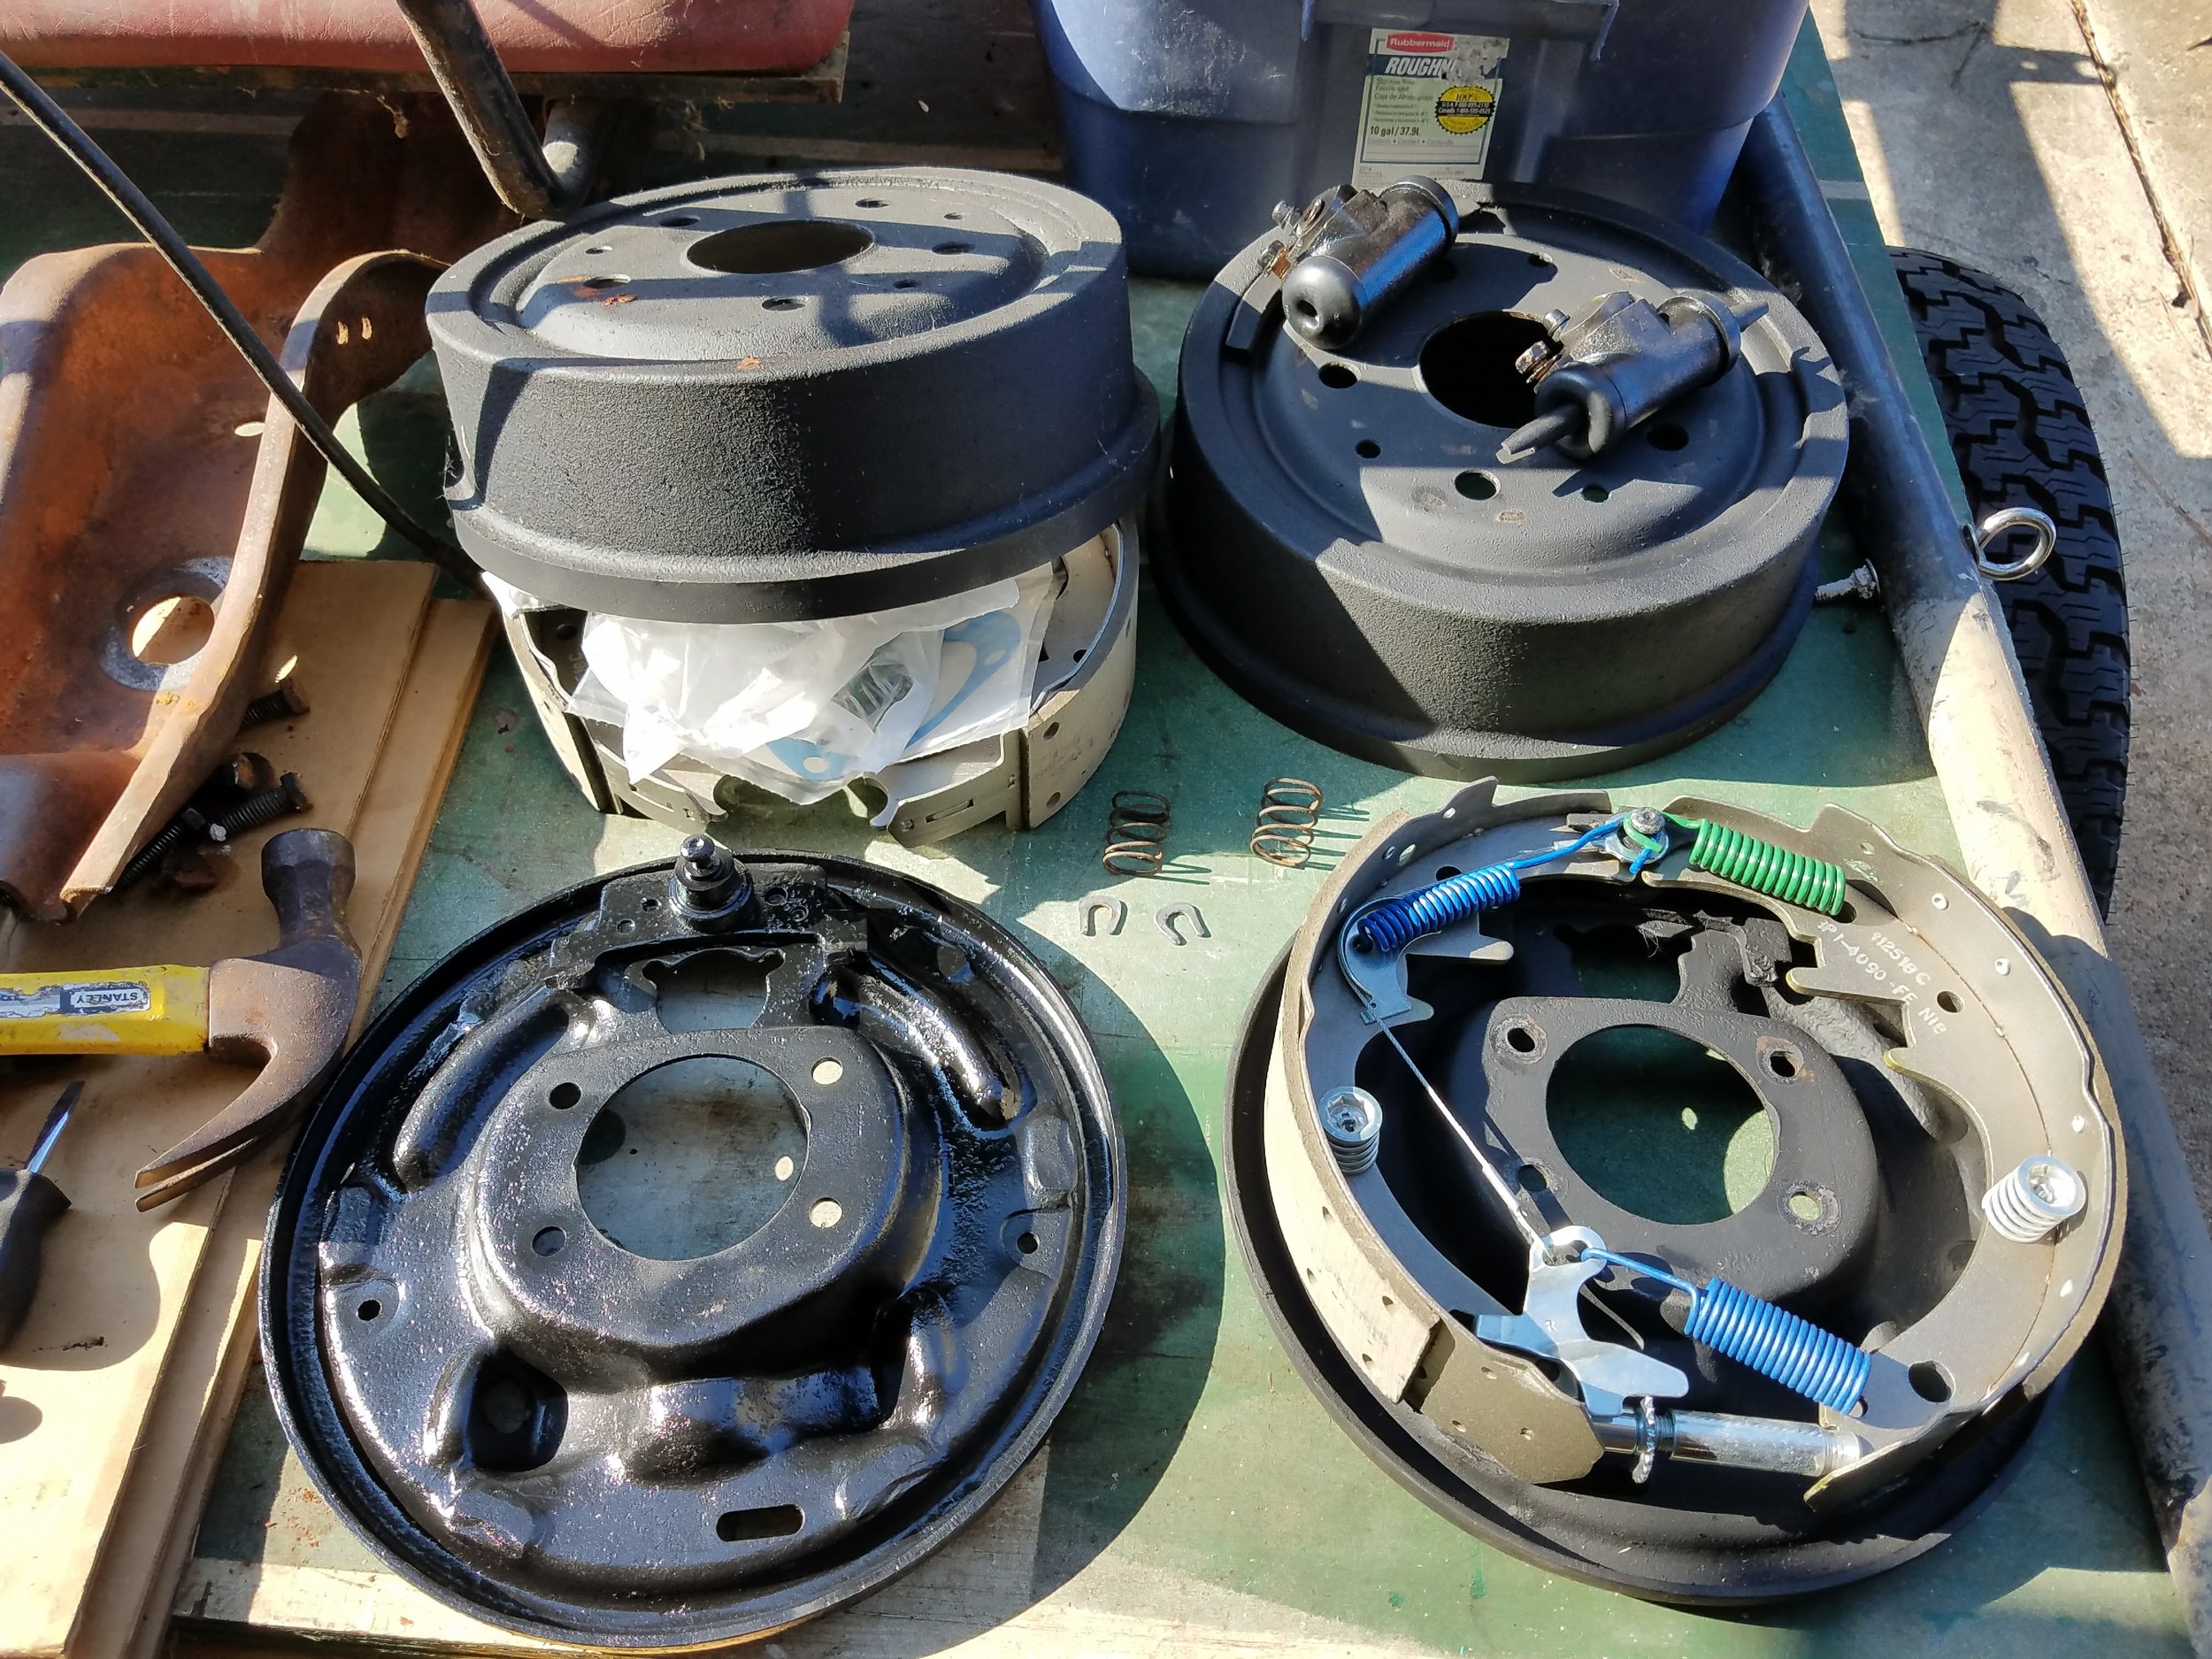
Starting with the rear, we purchased new drums, shoes, and hardware.


The previous owner somehow did without the parking brake, so none of the mechanically important components are there. Which means having to source them for ebay or, my hope, a spare 8” rear end I have lying around.
The rear is a small bearing ford 9” with 10” drums and 2.5 inch wide shoes. There were many variants to come out of the factory. Differentiators are the axle flange pattern and dimension and the brake drum dimension.
The front will get a disc brake conversion, but again, instead of buying one from the internet for 800 dollars I’m going to try and find a donor vehicle in a junk yard. The kits sold online are the same parts found in junkyards just prettied up and overpriced.
Also took off the transfer case and began to look at rebuilding it. Rebuild kits for the Dana 20 are cheap. The internals look good, but it was considerably hard to shift. I am thinking a twin stick will fix that. That output shaft feels a little sluggish in hand, which makes me think new bearings aren't a bad idea. Need to get a thin walled 1 1/4" socket to get the yokes off.
This is what a bad end link looks like
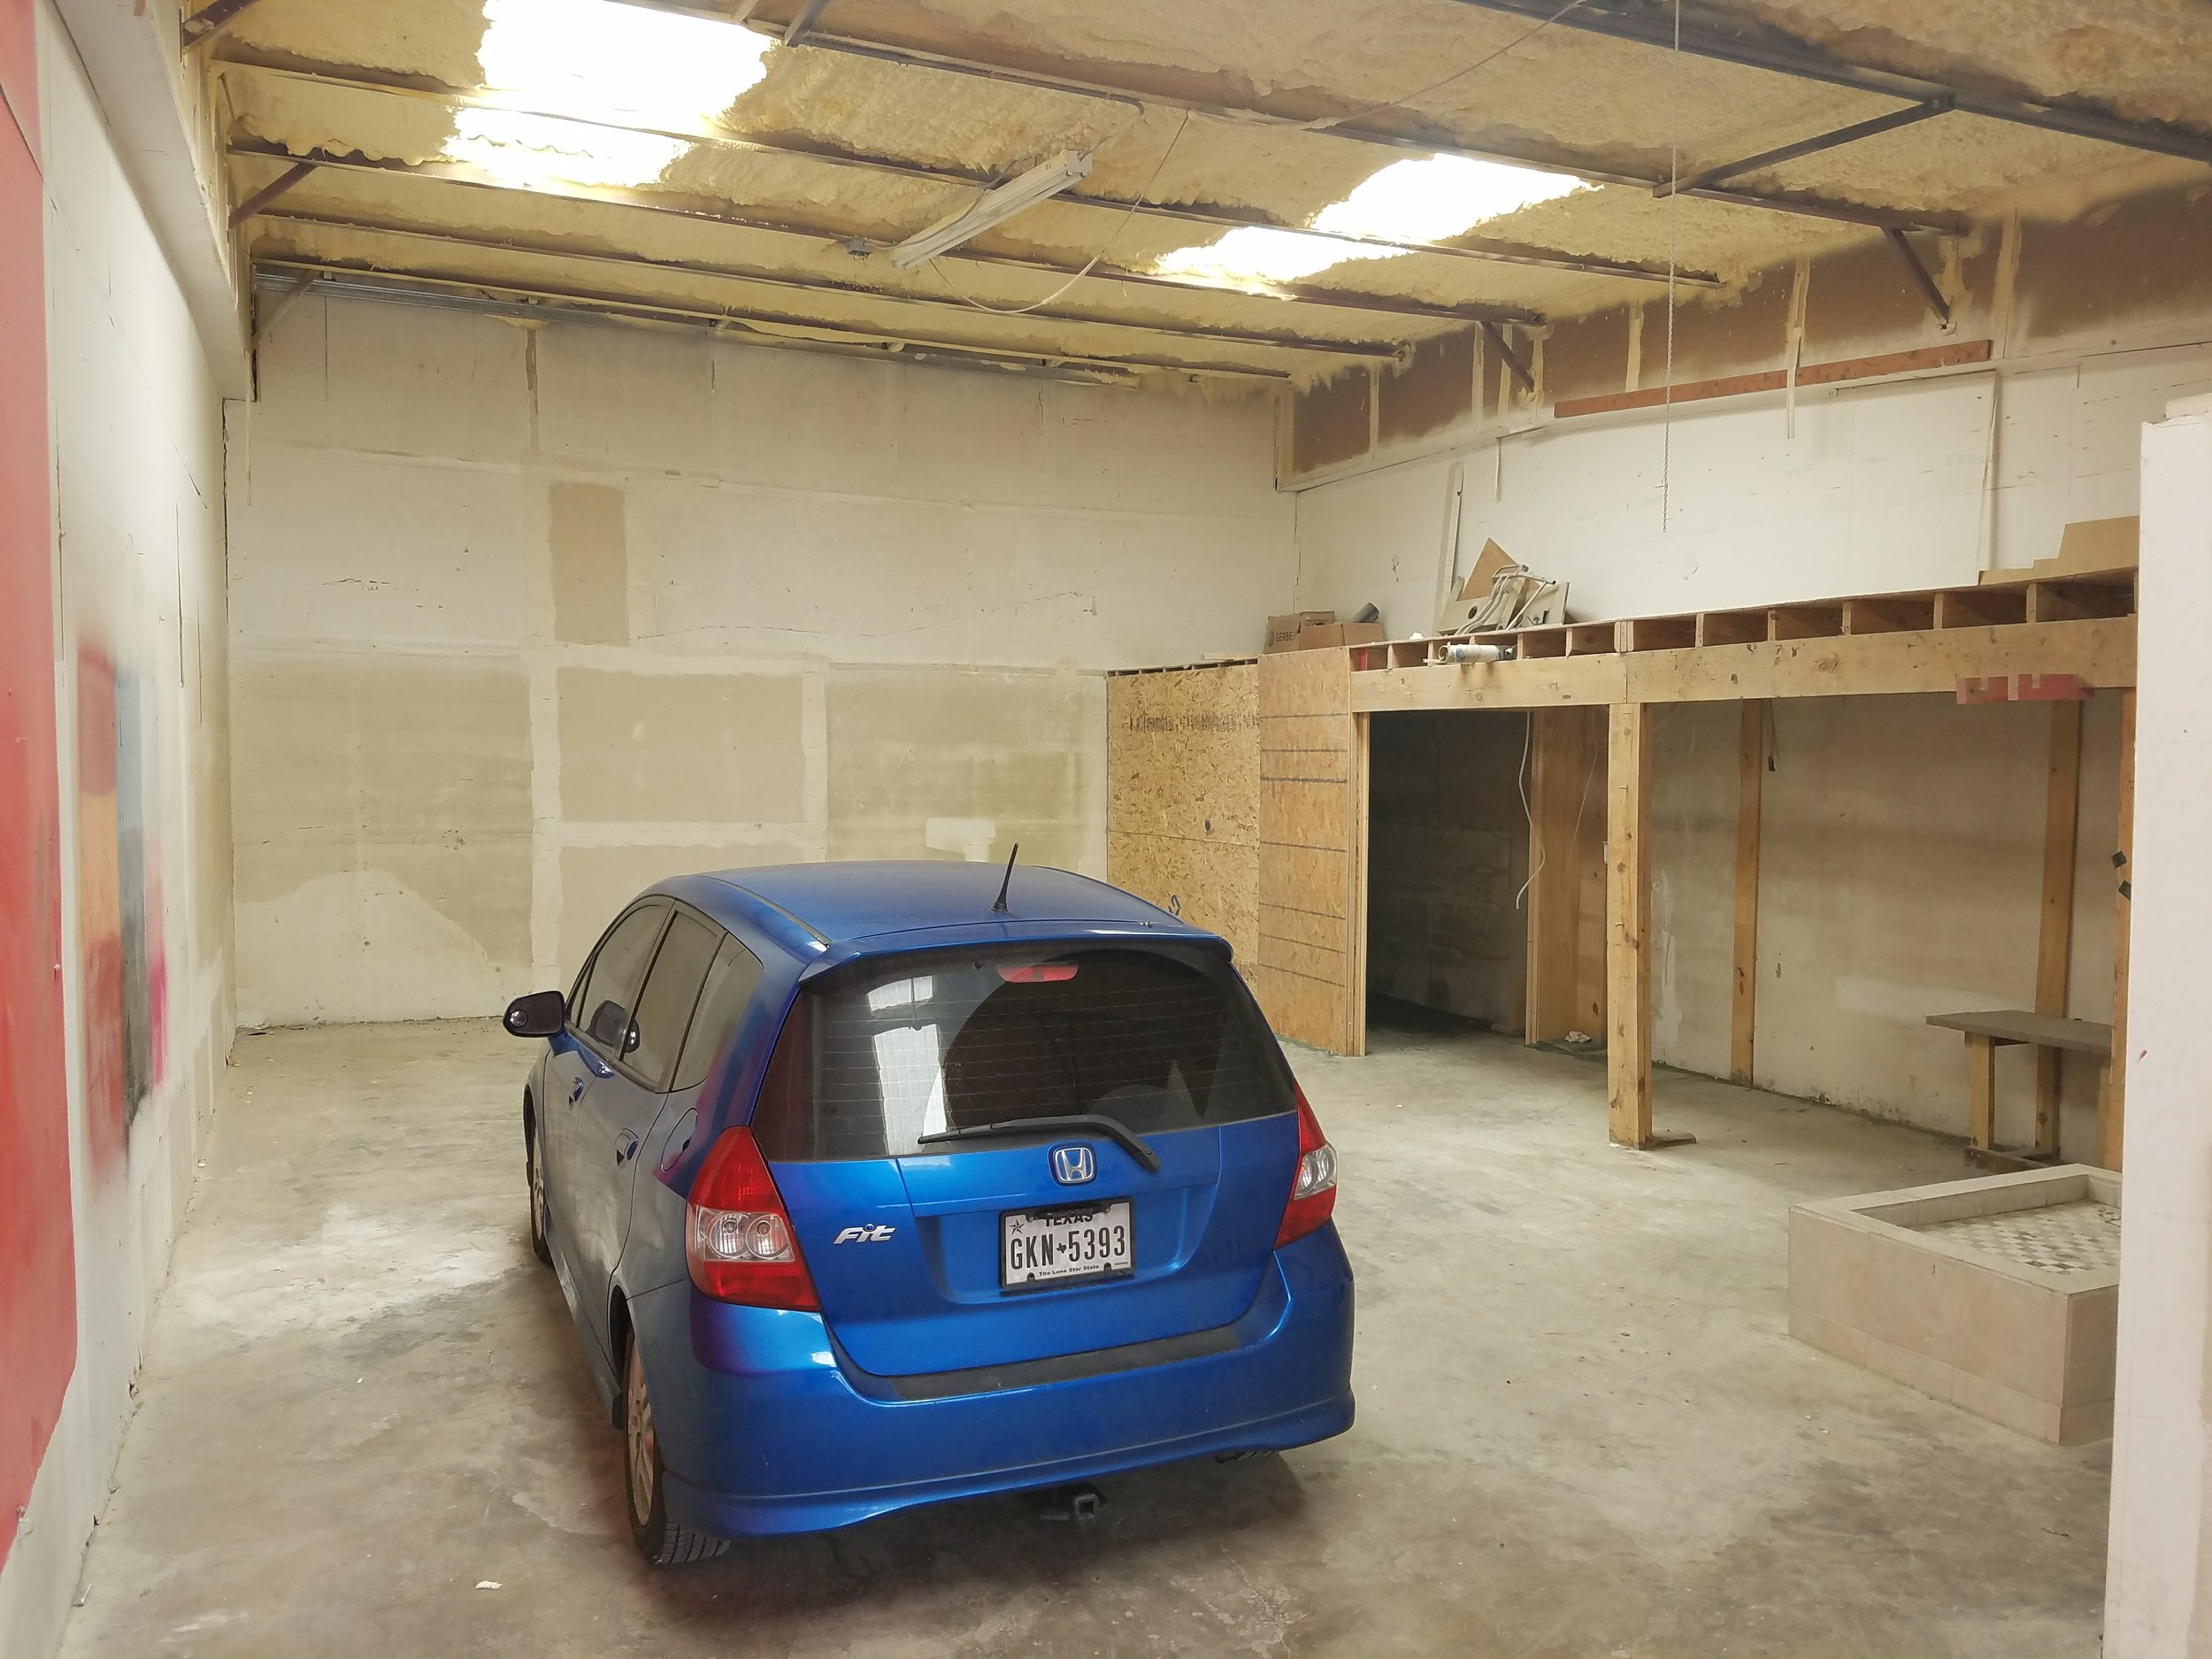
Lastly, did some work on the honda. The front end was making a clunking noise from the left front wheel area. I was paranoid that I’d never trace it down, but after a quick google search of “clunking front end honda” many results came back indicating it was the sway bar end links, and that almost all models of honda develop the problem. The links are not expensive, $14 and are a 10 minute replacement.
While I did that, I also replaced the outer tie rod ends as the boots were cracked. I was careful not to move the adjusting nut as to not alter the alignment.
Finishing work on the TW200 will begin soon, and then on to the BW350.
For your viewing enjoyment, I’ve attached the 30 minute video story of the tw200 motor rebuild.
Til next month….
May 2017
Greetings, subscriber.
I was gone for a good portion of May, so a lot of work did not get done. However, over the course of 3-5 days I was able to make some headway on the Bronco.
TW200- Drove it around. Have the LED flasher and blinkers to make it street legal. It is insured. I think that’s all I need to get it registered, but not certain.
The clutch rod is leaking oil from the top seal. Will order a new one in due course. Otherwise it runs and drives well. Still needs to be broken in. The top end makes a bit of noise but the cylinder, piston, and rings are all brand new.
Pinto- Looking at machine shops to get the 351c looked at. Planning on doing a low cost build and then getting the engine/transaxle bolted together for test fitting in to the car.
DT360- Have not touched, but the plan is to get the motor running, looking good, and sell it.
BW350- Have not touched it, but it’s not far from being back in one piece. Just waiting on a good work area.
KLX400- Have taken photos. Will post for sale and see how that goes.
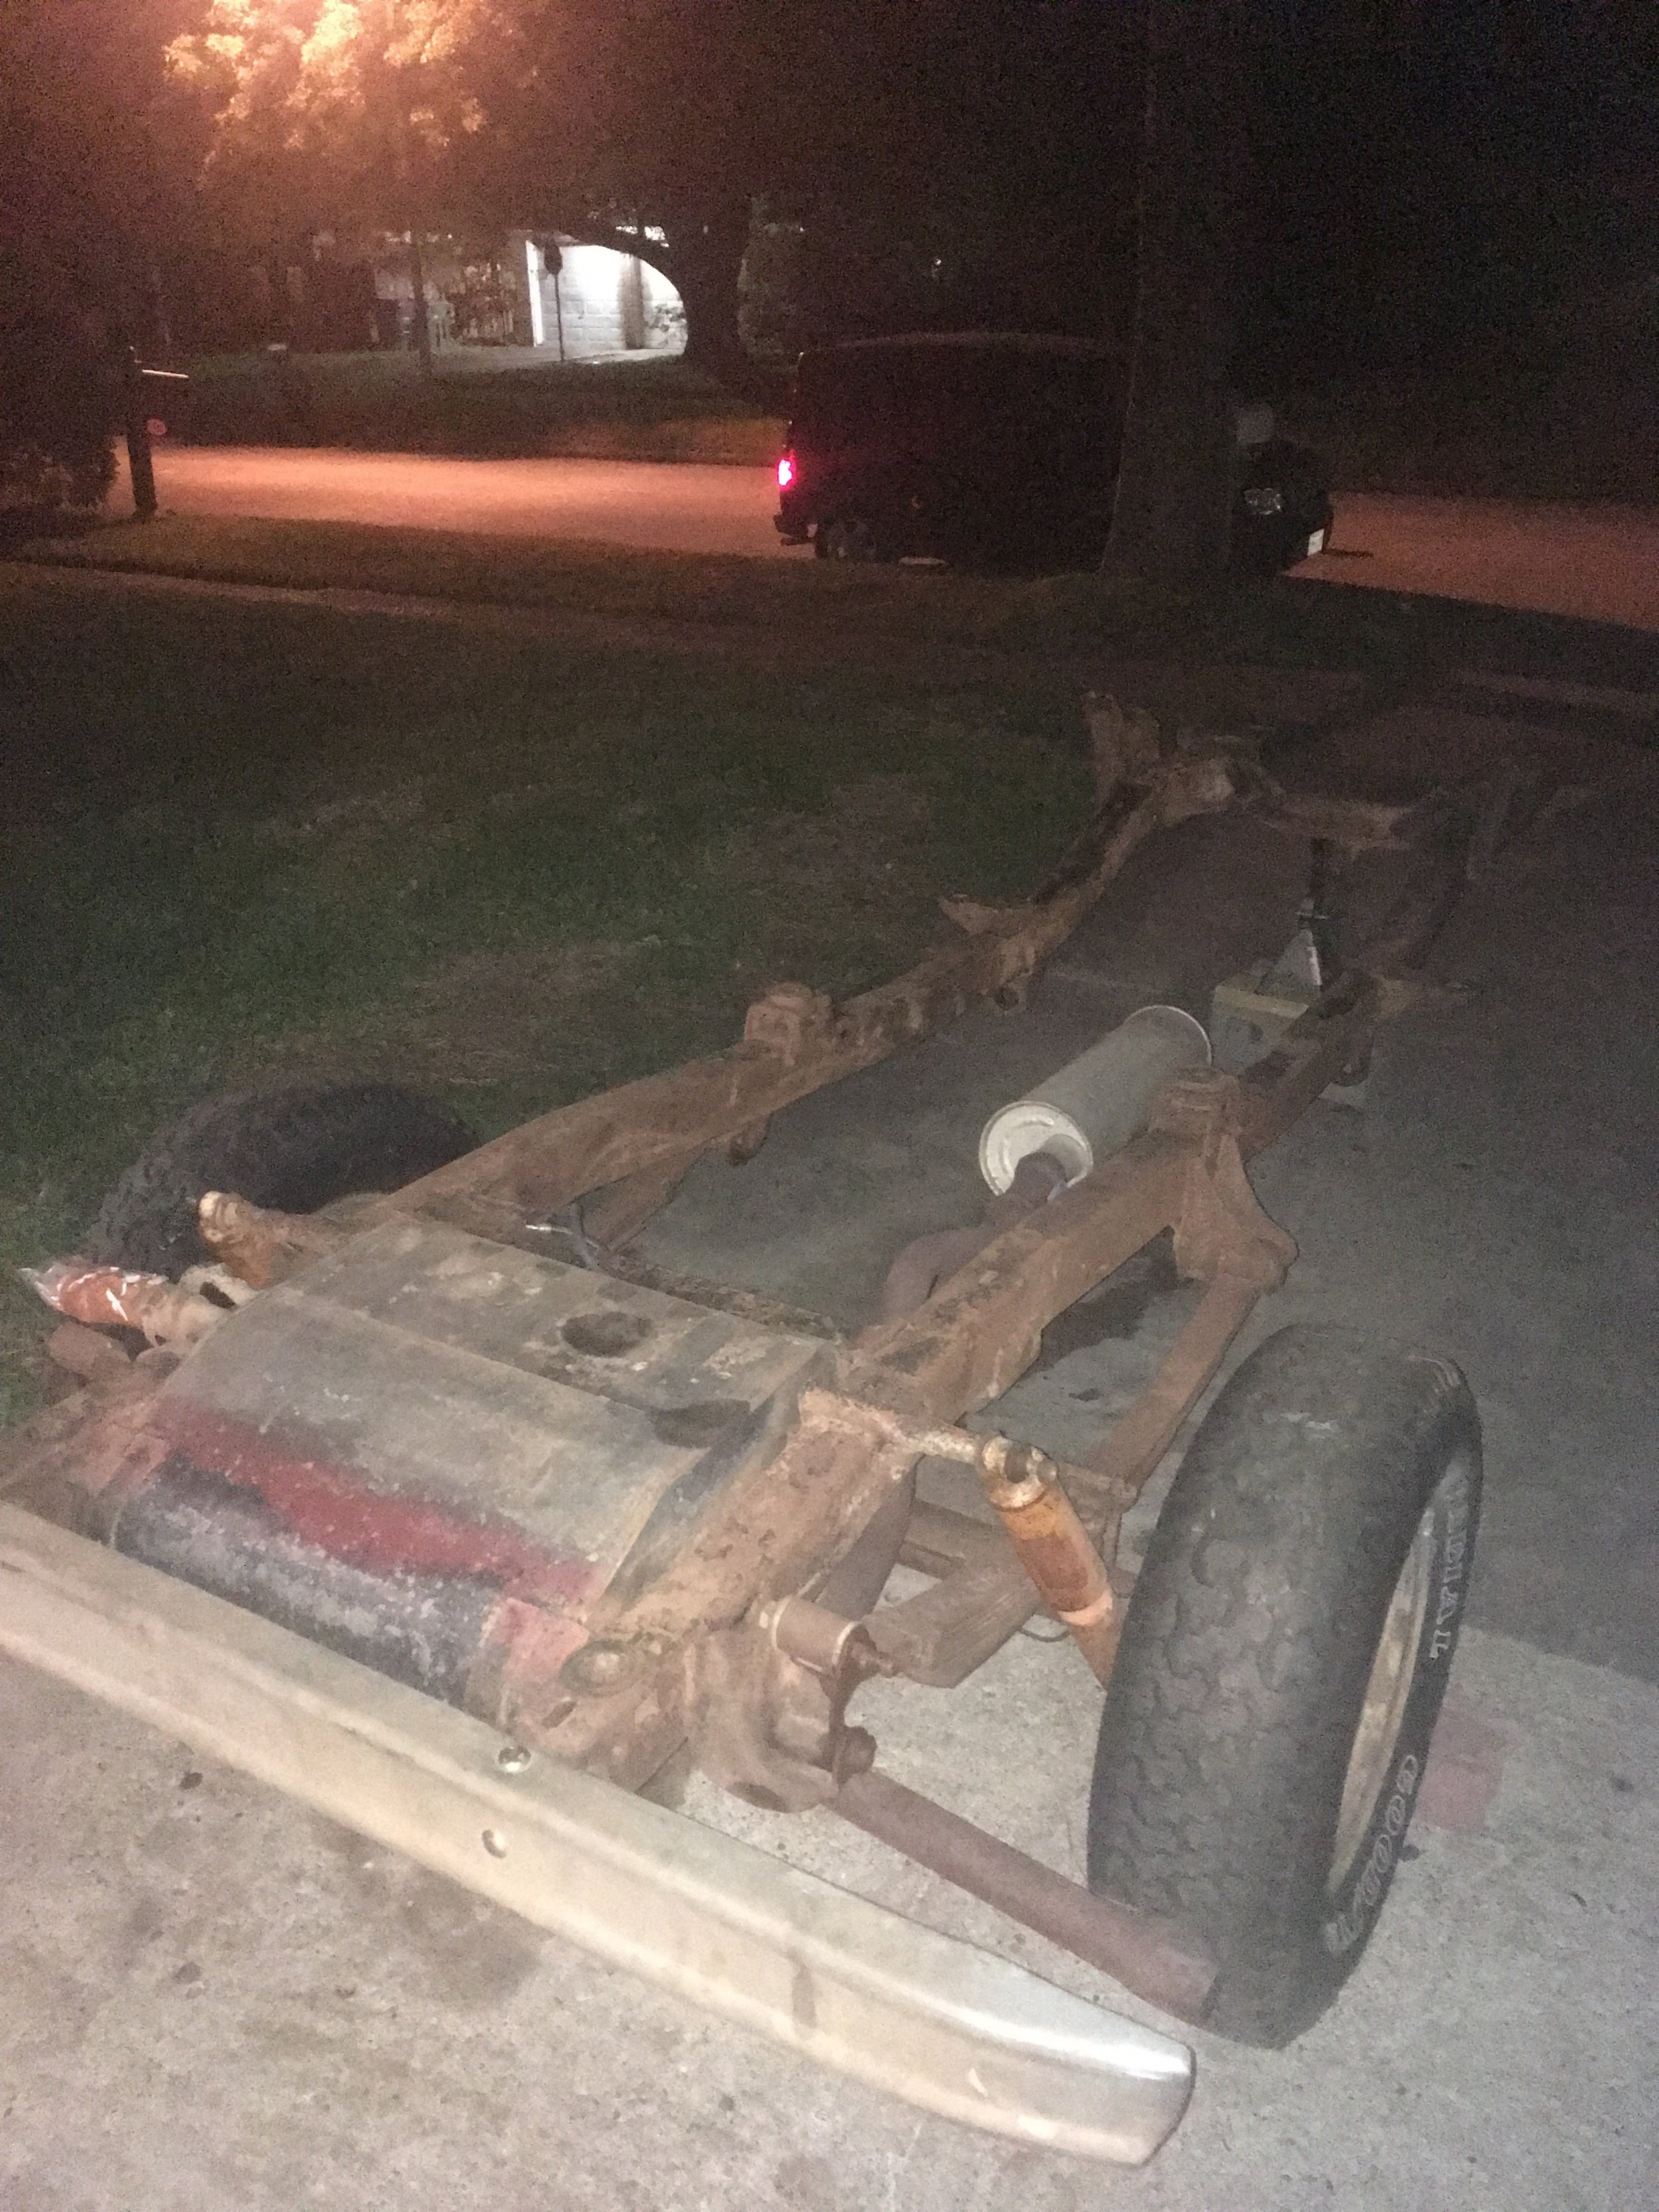
Bronco- The frame was stripped of all parts, cleaned up, and was originally going to be painted with Rust Bullet (a POR-15 like product) however, when I went to open to can to spray the frame, I found that it was solidified. The frame was cleaned but not bare metal, so the logic was to use a rust converting paint.
Since the can was trash and I was ready to spray that instant, I grabbed the 2 part epoxy primer that I’d bought for the body and mixed that up. It went on the frame well and then I left the state for a month.
Expoy primer can be re-coated with a top coat or more primer within 1-2 weeks, I’ve read. After that it needs to be roughed up with 120 grit. I wanted to frame to be black, so another coat of paint was in order when I returned home.
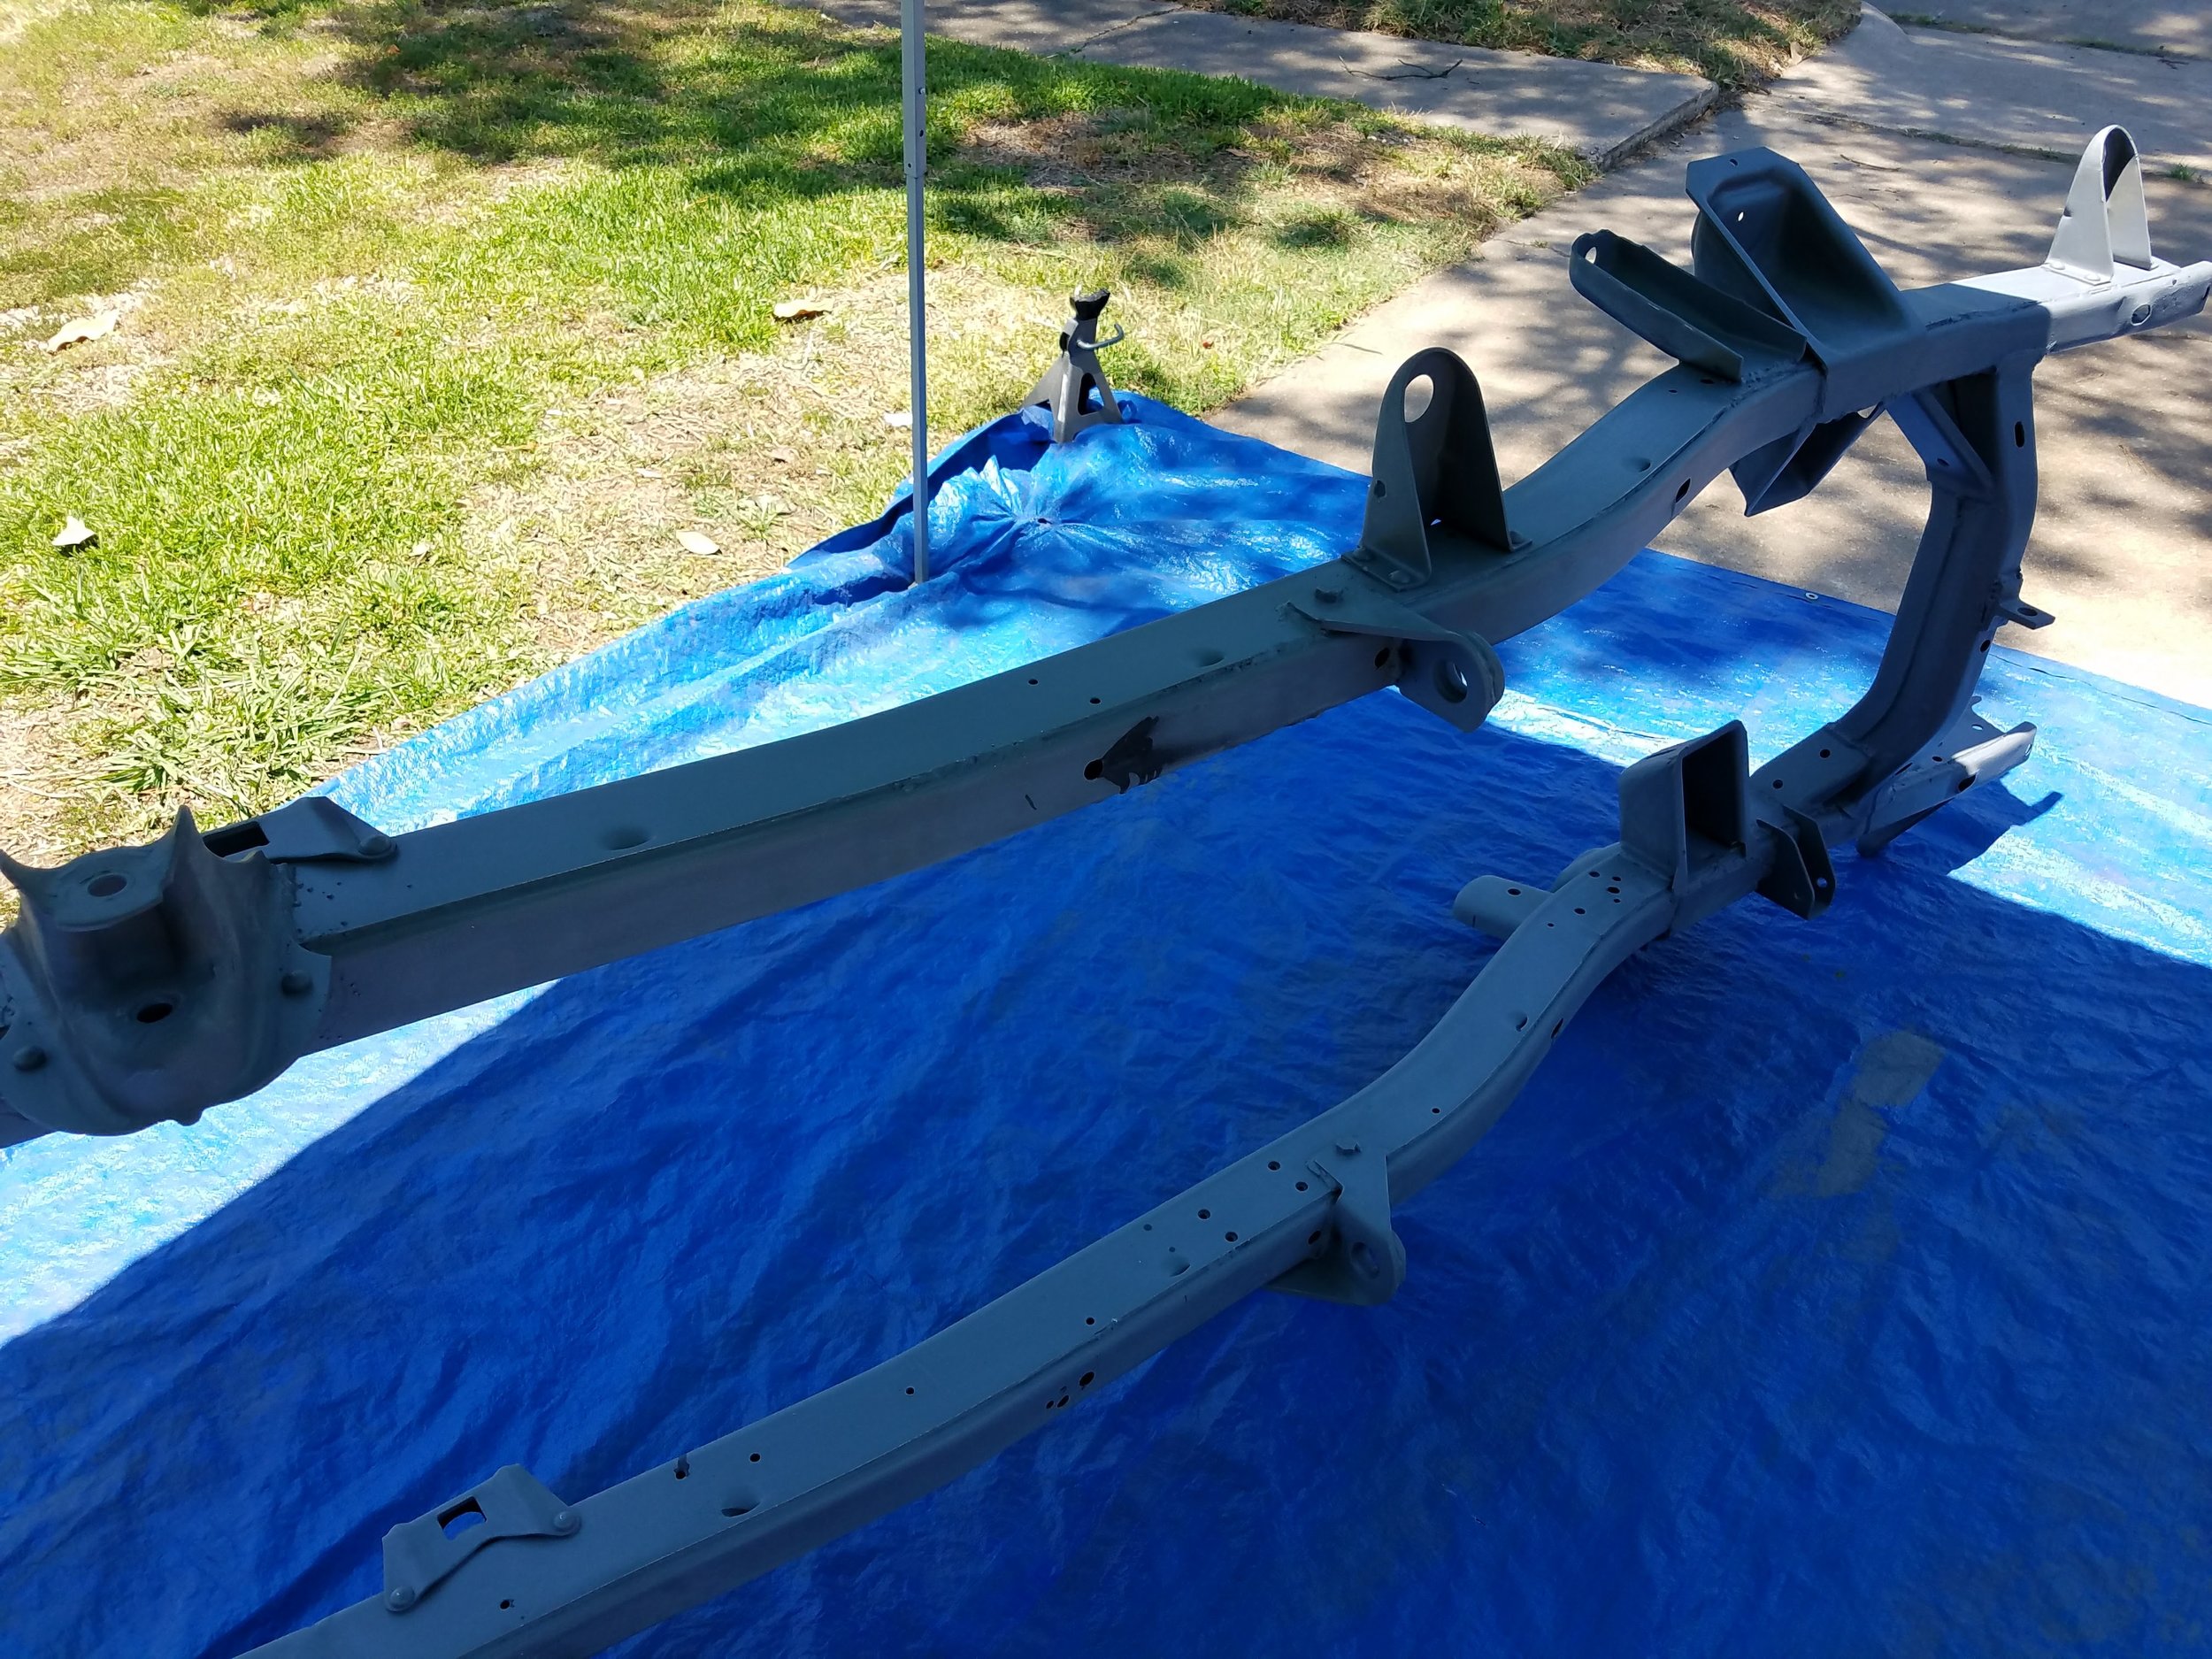
The black rust encapsulator can be seen as overspray on the gray frame.
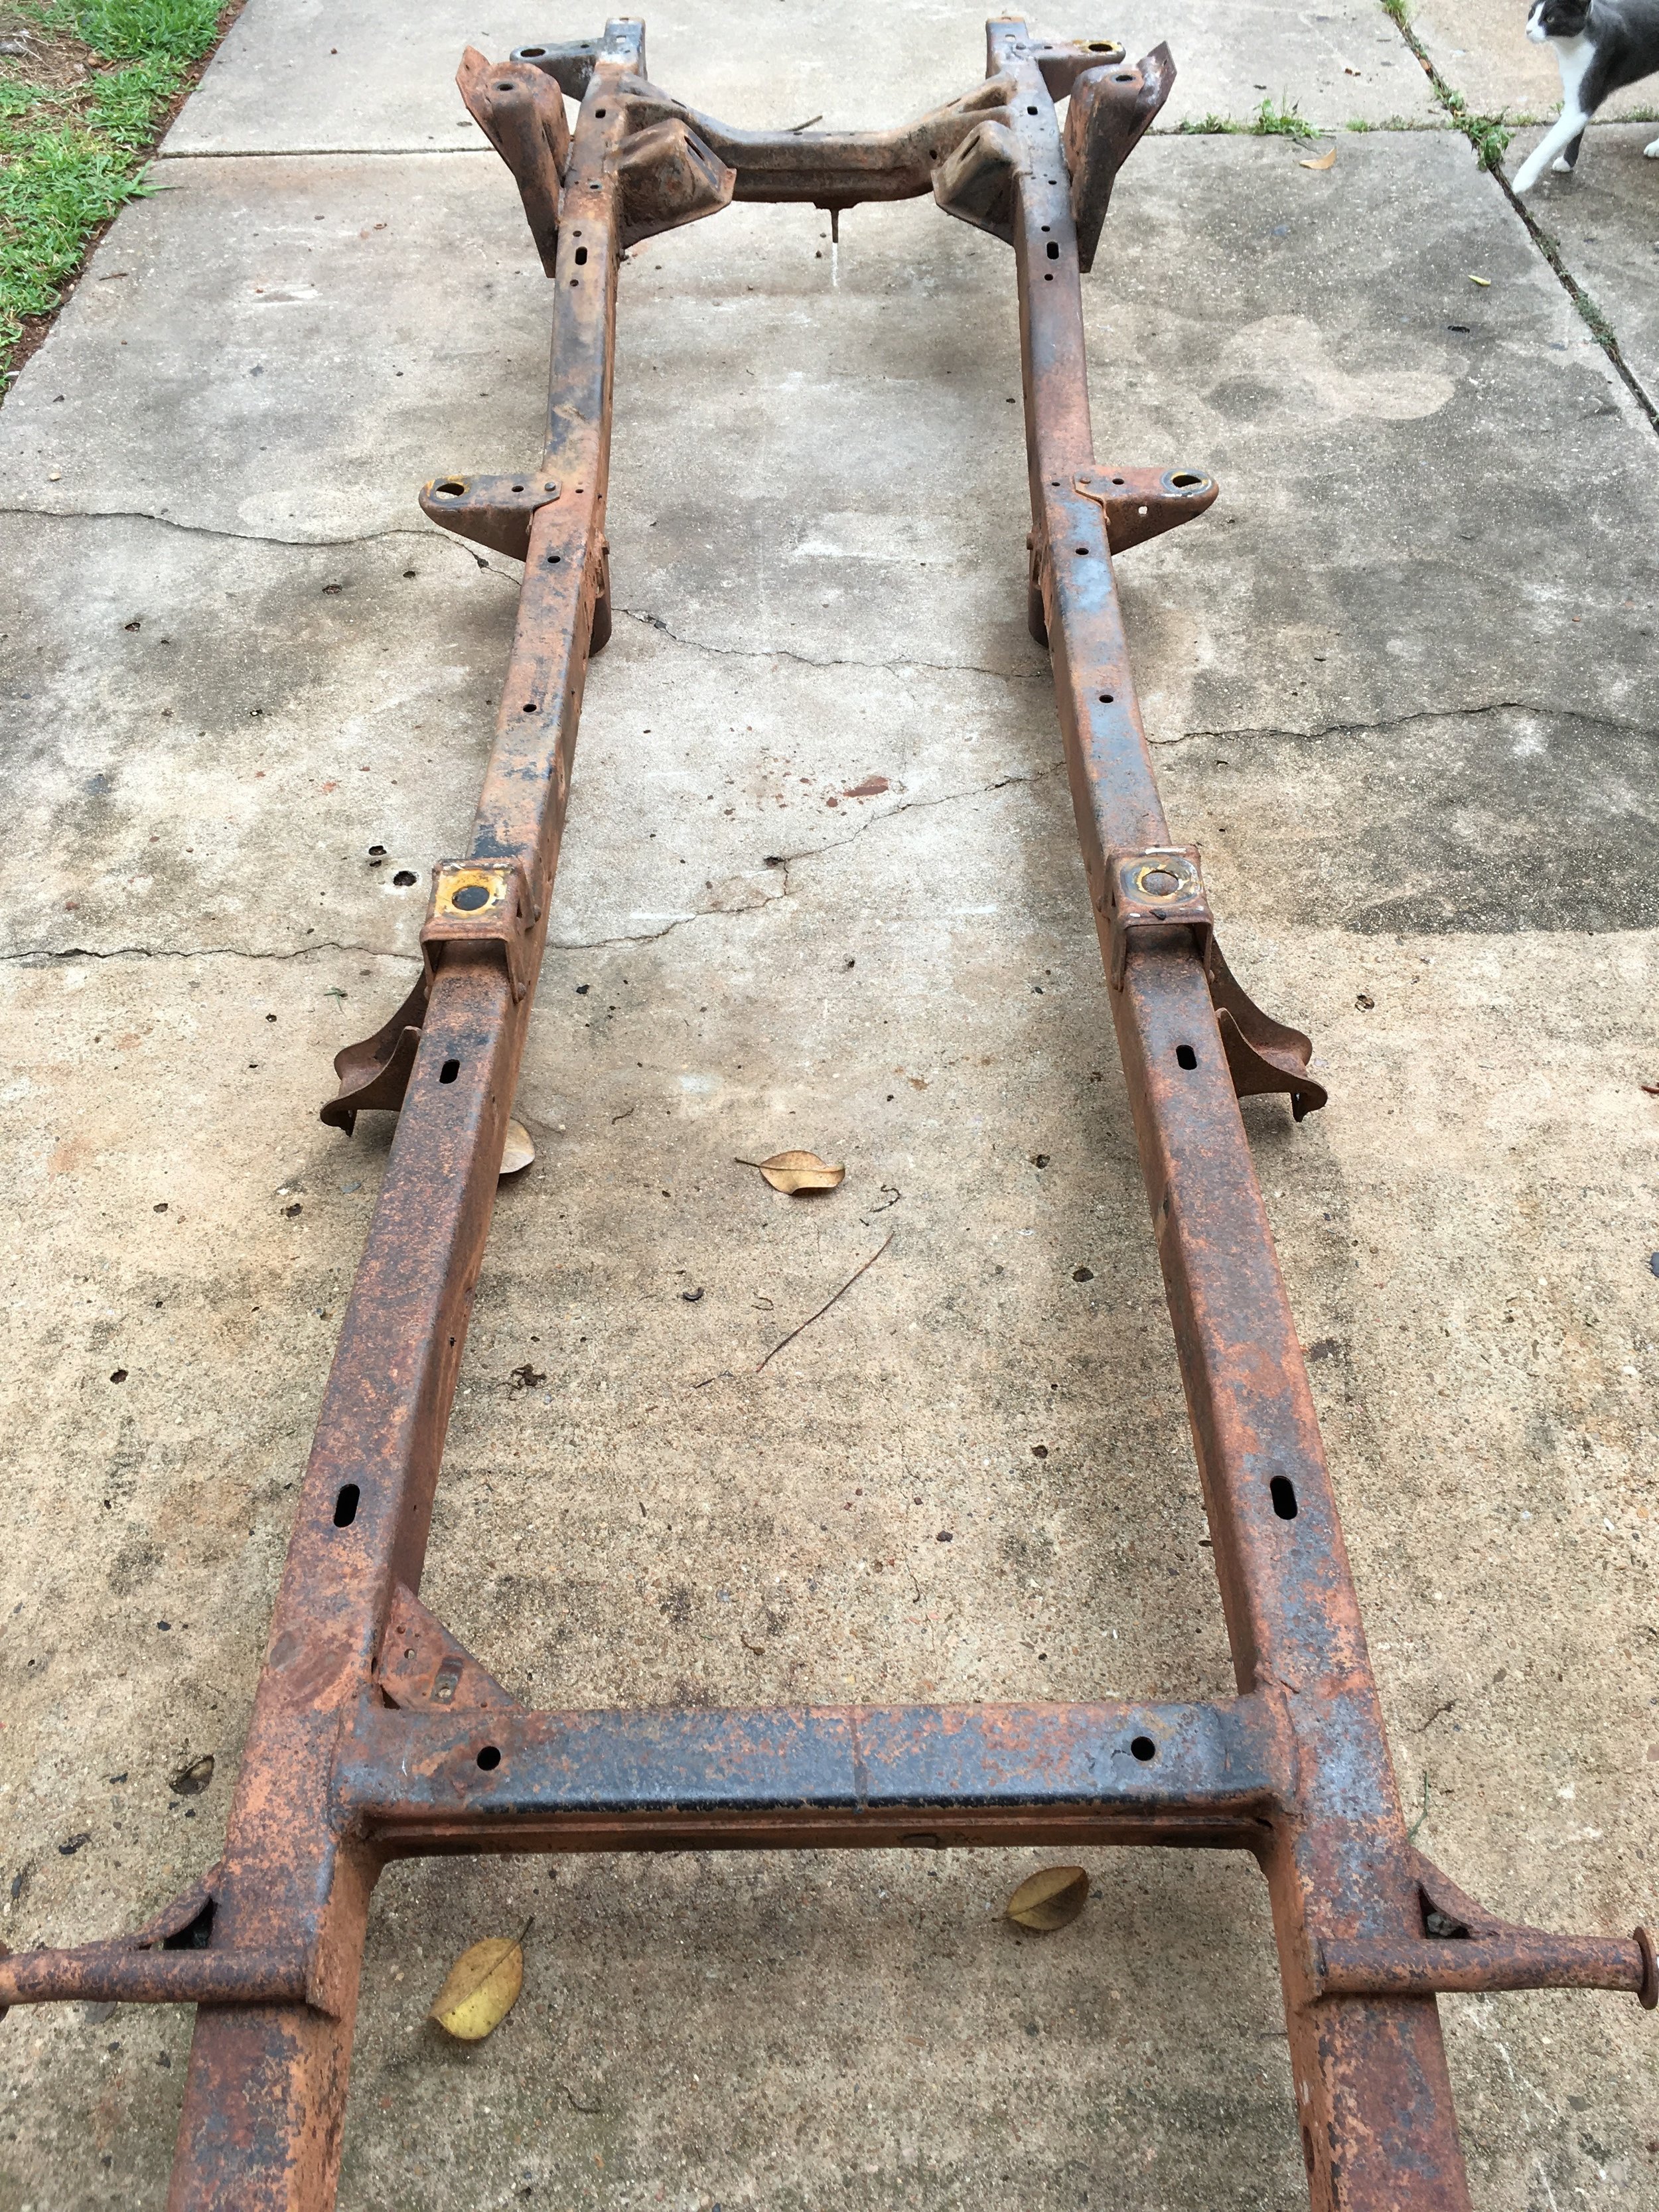
Frame was cleaned up (again) and sanded and wiped down. Rust encapsulator was sprayed in the channels all throughout the frame and Eastwood Chassis Black was applied on top of the grey epoxy primer. 1 pint almost did the whole frame, but I still have a couple of spots to touch up.
The frame was left to dry and I went to work on the axles. Amazon was good about shipping a free replacement can of Rust Bullet. I planned to use it on the axles and other small parts.
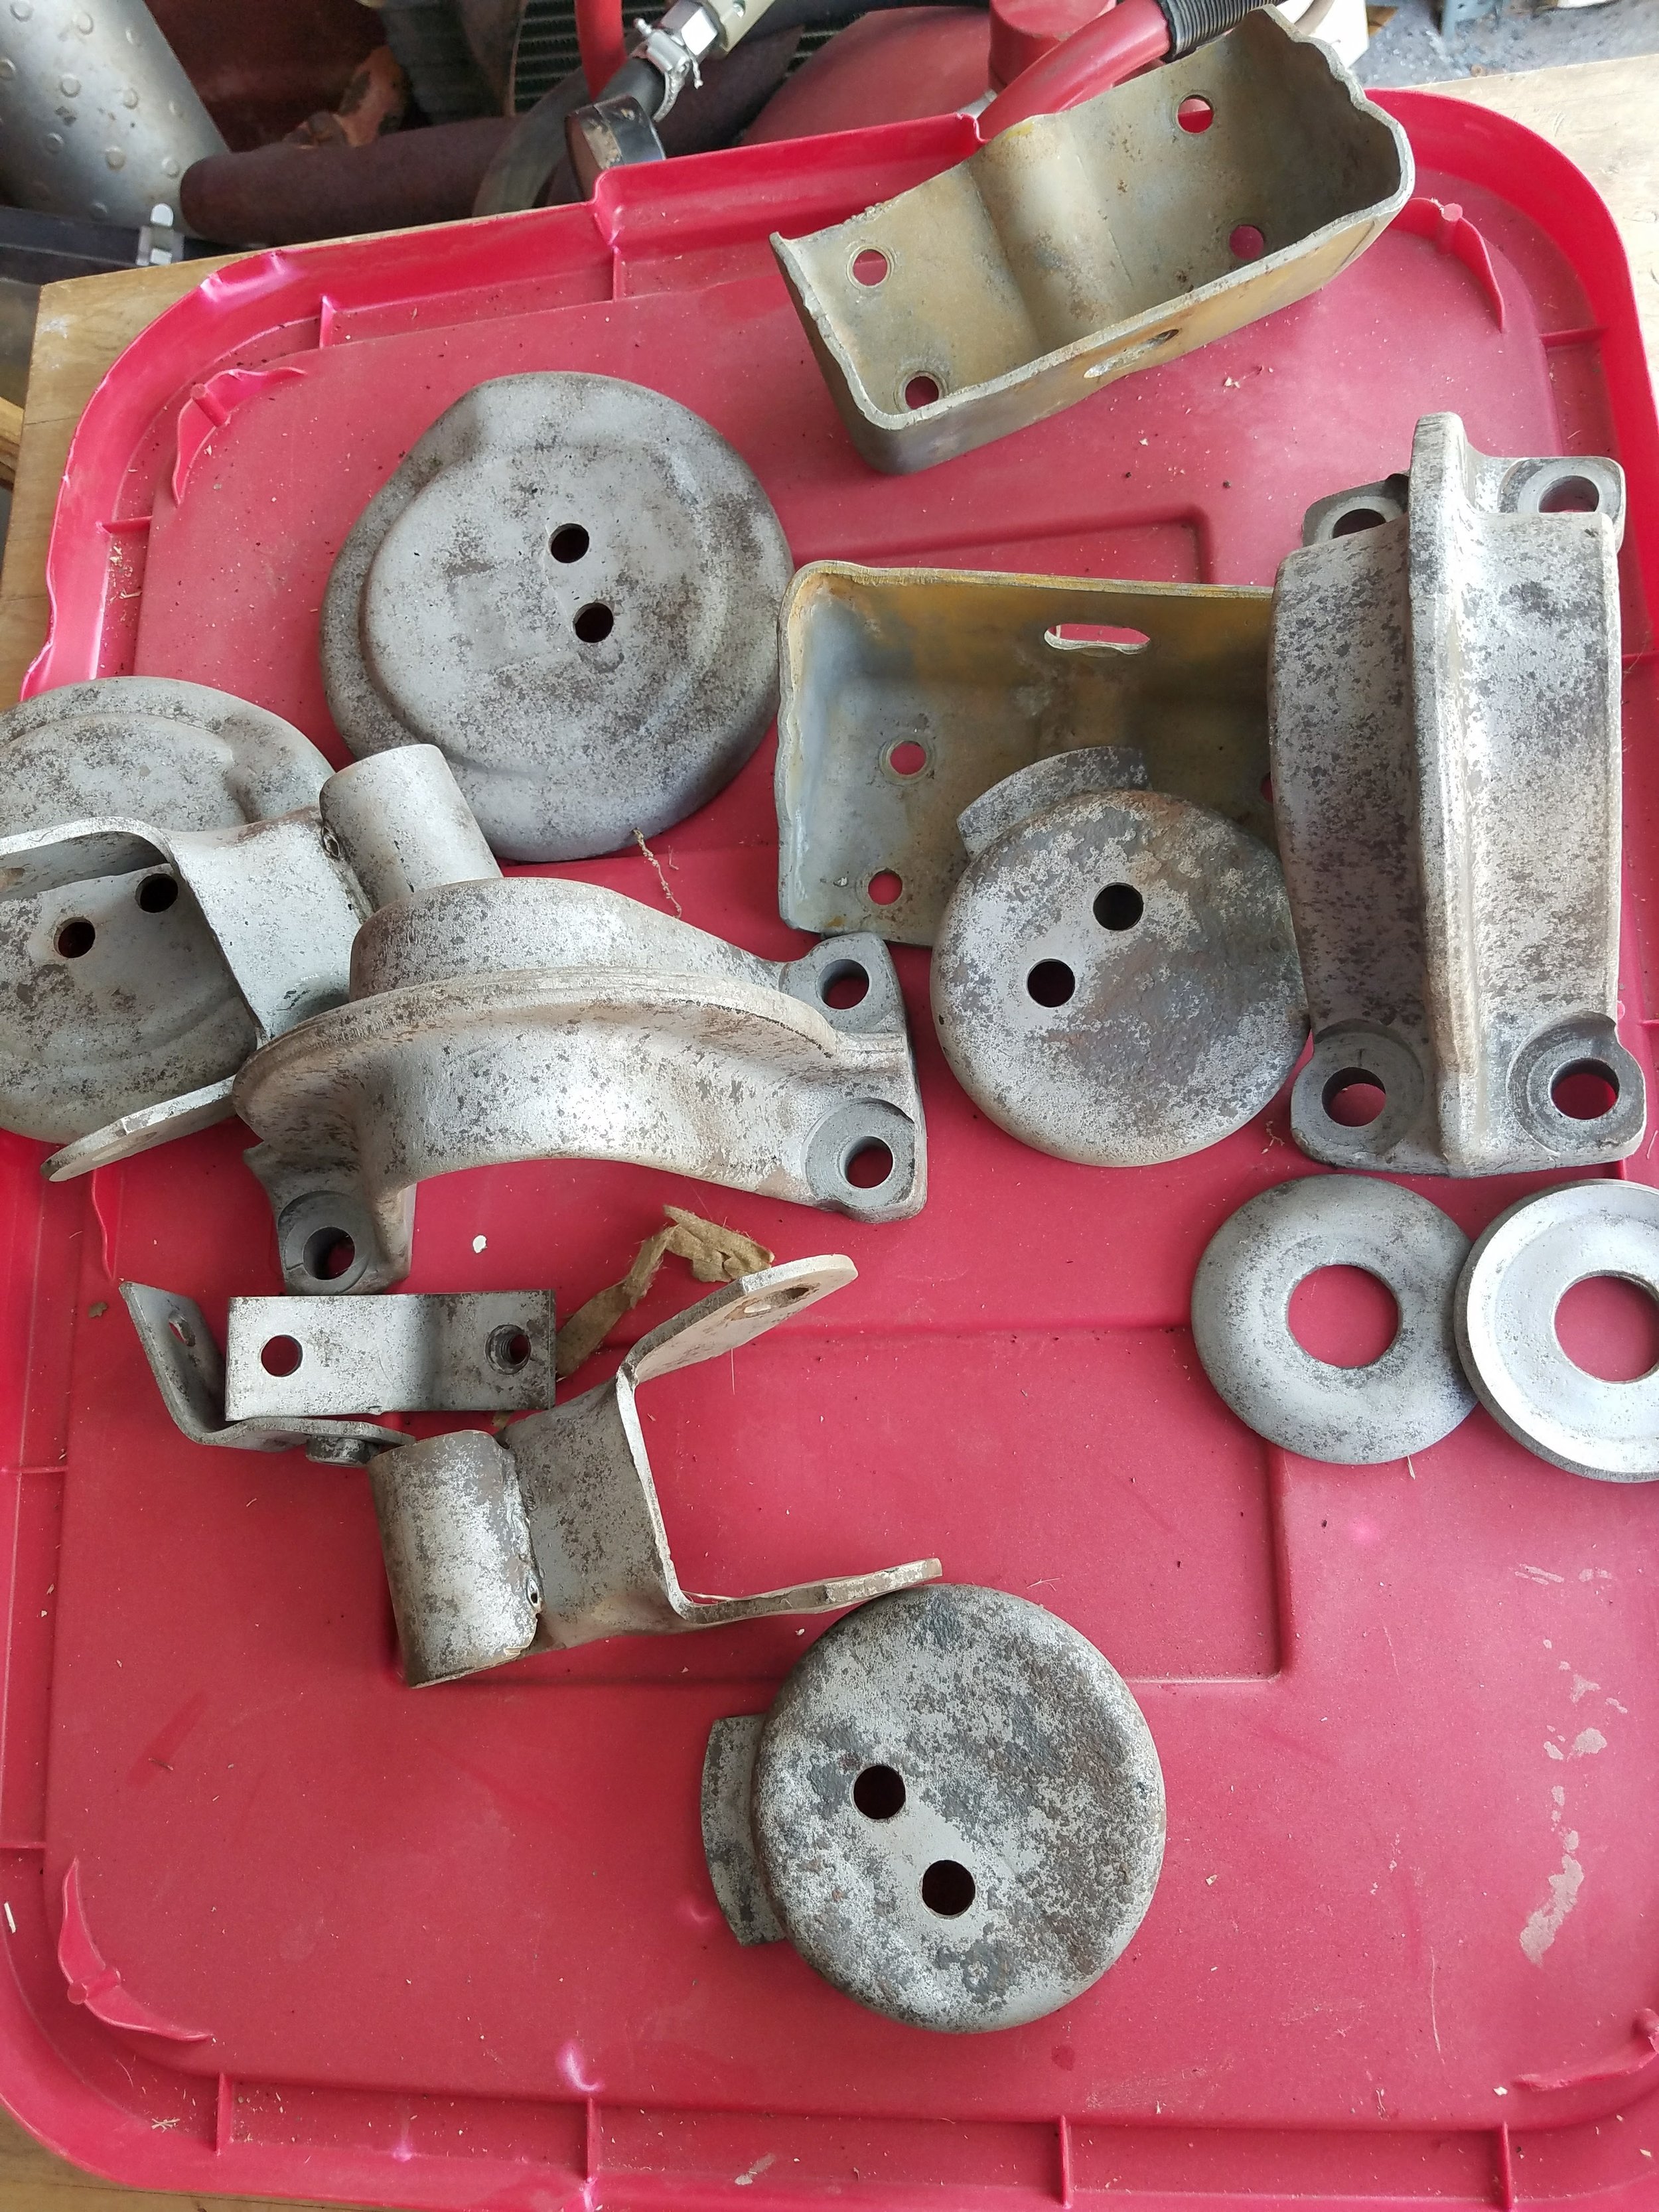
Anything that could fit in the bench top sand blaster got cleaned up- spring cups, shackles, radius arm brackets and washers, etc. Once those parts were mostly bare metal, they were hung up to be painted.
Axles were power washed. A lot. Scrubbed, washed, and scrubbed some more. Once happy with their level of cleanliness I rolled them out to dry.
Everything was painted with Rust Bullet sprayed from a modified harbor freight paint gun. The tip was drilled out to 3mm since the spec sheets for rust bullet call for such a tip. It sprayed on fine, but I don’t love the texture and feel of it. It’s a thick, rubbery, messy coating. I walked around barefoot and picked it up overspray on my feet. The soles of my feet were solid black for a week.
But with all the old parts cleaned up, assembly could take place.
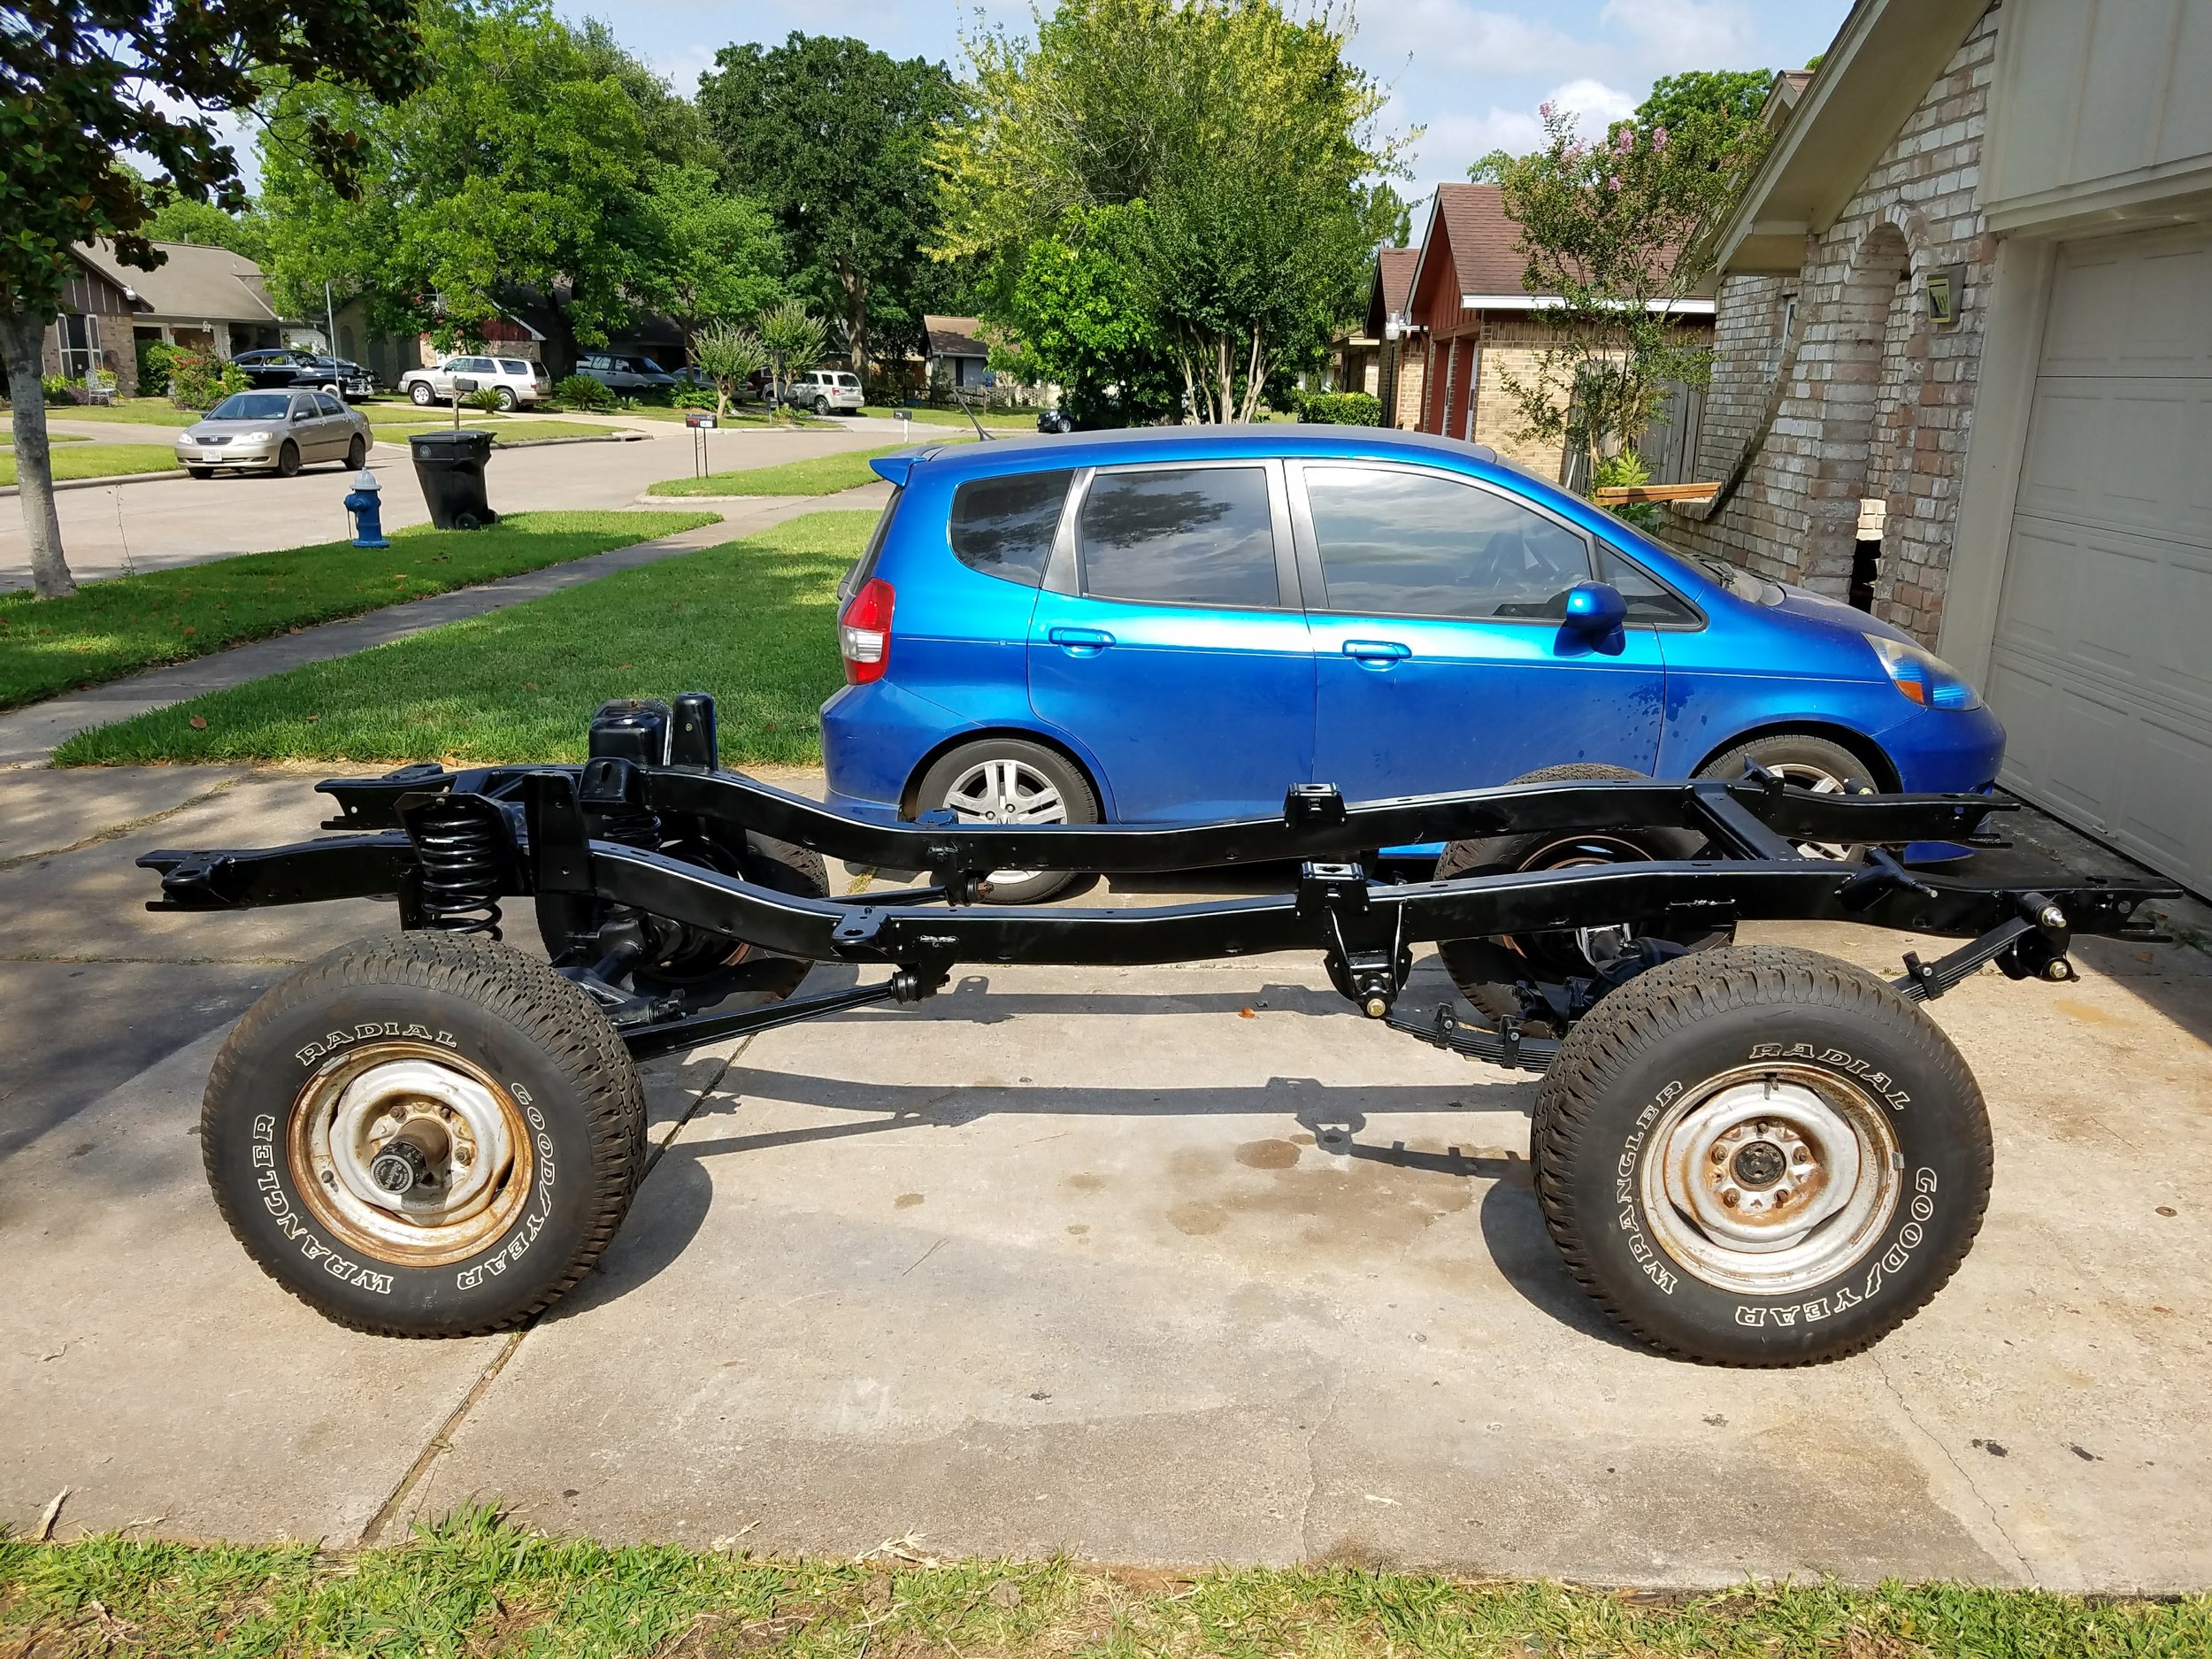
New rear leaf springs, front coil springs, and suspension bushings were ordered from Wild Horses. The suspension is a 2.5" lift over stock. They left out a few small parts but were quick to ship them to me. Black polyurethane bushings all around with new mounting bolts for the springs and new heavy duty u-bolts for the rear axle.


The frame is in a rolling state again. Next up-
Rear brake rebuild and rear axle check up
Buy and install new gas tank
Rebuild front knuckles, convert to disc
Find a 5.0 coyote engine
Find a 1998-2000 Ford ZF5 speed transmission
Order rocker panels and sheet metal for the body.
If I can find someone to sand blast the body for a reasonable price, I would do that. It’s a time consuming, messy, noisy process.
In the next week I’m hoping to have a nice warehouse to base operations out of. That should see other projects start to make progress as well.
April 2017
Greetings subscriber,
March was a short month. Or it passed quickly. Or I was too busy with actual paying work.
Whatever the case is, there was limited progress throughout the month with a flurry of major activity at the end.
TW200- The bike was reassembled, plastics were painted, and the motor was fired for the first time. I cut the side stand switch out of the wiring harness because I think such a switch is stupid. Other than that, the wiring was very simple. I like the idea of working on a complete bike and not having to piece together 50 year old relics….
Upon first firing I noticed two major oil leaks both due to me not putting in a proper seal. These were quick and easy fixes. The motor still leaks a little from the side cover which I assume is a gasket sealing issue. I’ve not checked it.
It does run and drive though. I need to get a proper riding area to seat the new piston rings and cylinder. I’ll also need to put a proper dinosaur based oil in (has a synthetic now, as that was what I had on hand. All accounts say don’t break a motor in with synthetic. Who knows what the scientific truth is to this though as oil is as much witchcraft as it is science. )
The motor starts easily and runs well. The porting job is noticeable at higher RPMs, leading me to think that the intake port was widened too much. Low end throttle response is reliable but sluggish. At 5-6k RPMs, the motor seems very happy.
All lights are LEDs. The taillight was built from flexible LED strips and wired with a variable resistor so that the brake light function works as it would for an incandescent bulb.
Pinto- I still have it.
DT360- No progress
BW350- No Progress
KLX400- Heading off to Market
Bronco- This is where the flurry of work comes in. The work has been cut out- the body needs a lot of attention and the frame needs the usual repairs: bushings and a good de-rusting.
I’ve debated whether or not to use the current drive train (289/302 and a C4) that was swapped in to the bronco at some point. It is all there and runs and drives, but a 2013 Modular 5.0 v8 with fuel injection sure sounds nice for reliability and drivability. I’m strongly in favor of the latter, but costs add up-
Engine and Auto trans from a 2013 F150 – 4g
Transfer case adapter- 1g
Engine control pack- 1g
Trans controller- 1g
So that’s $7,000 American pesos. I’ve not yet sold the 302 and C4 (it’s on the market) but it would need a rebuild at the least, and some go fast parts while we’re in there.
Drive train aside, the frame is the foundation and has been the focus in the last week. It should be under a coat or two of nice epoxy paint by the end of today.

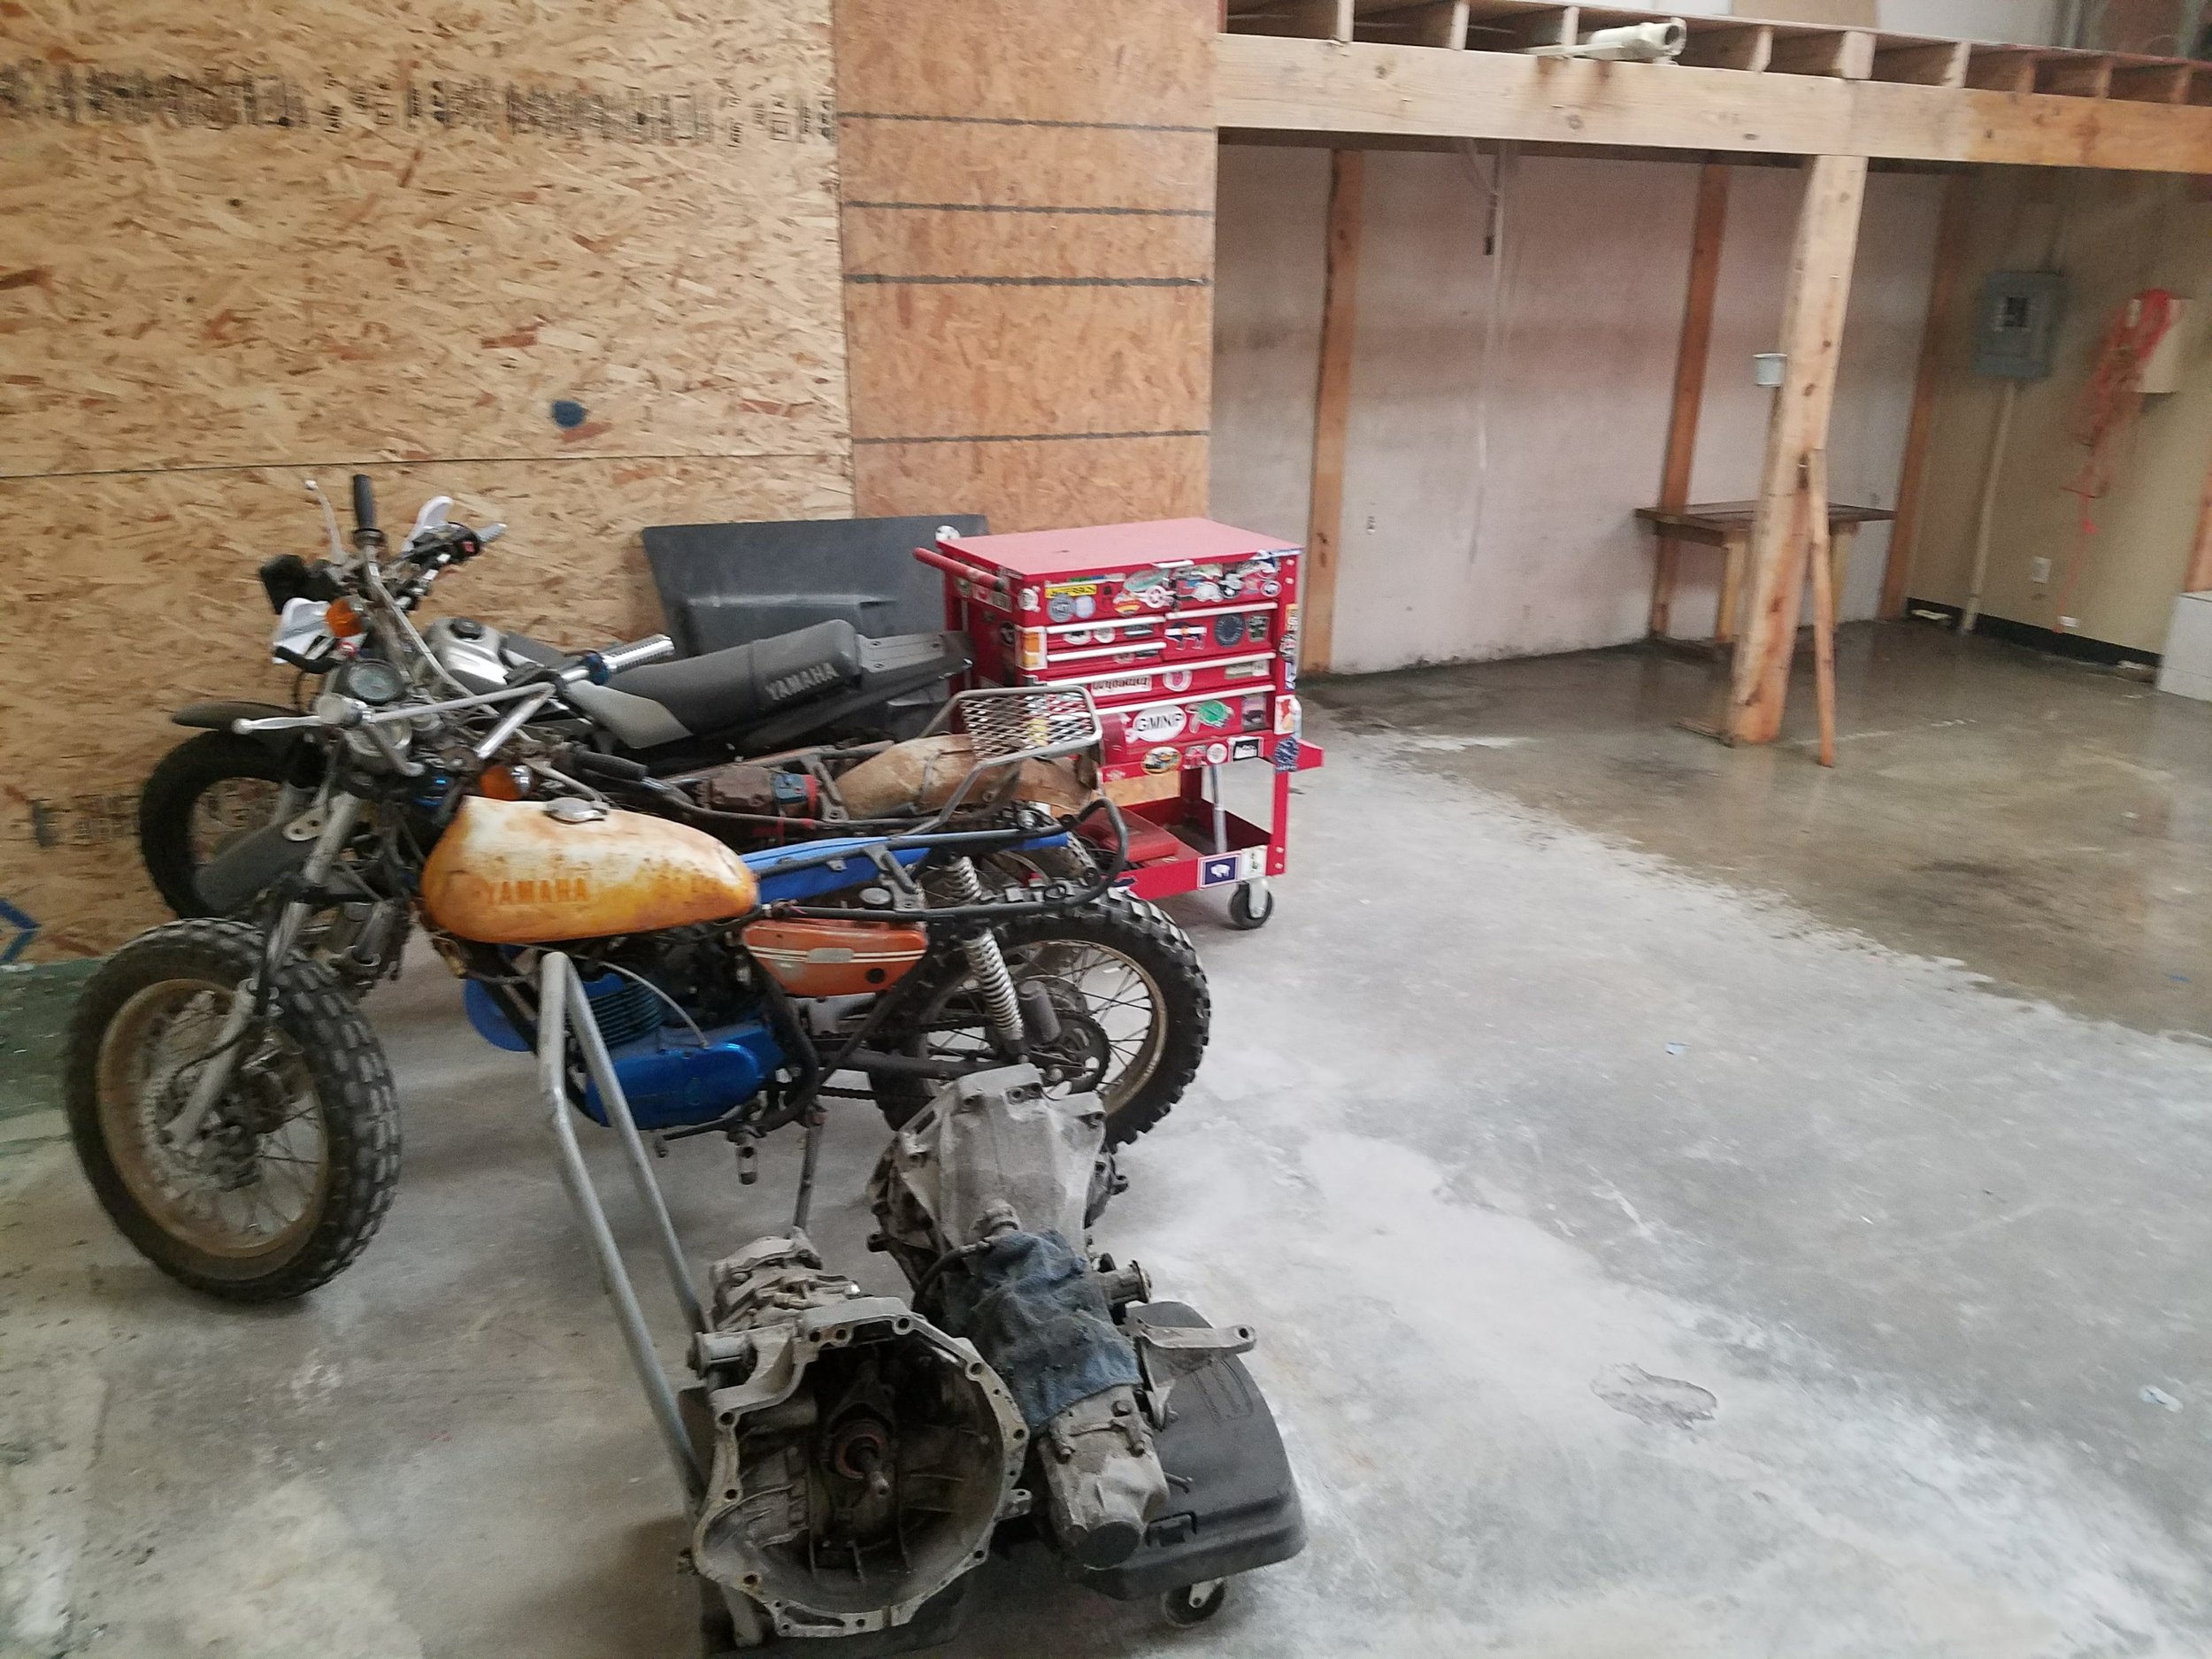
KLX, 302, Dana 30 Axle, Big Dog.
It’s clear the rubber parts (body mounts, bushings) have not been off of this car since 1968, and the vehicle lived a very hard life somewhere in a land of red dirt because it keeps mysteriously pouring out of the frame rails. An impact gun was able to get most of the job done, though the cutting wheel was taken to3 body mounts (A reciprocating saw to all the other body mounts because the bolt rusts to the collar. Terrible design) and 3 leaf spring hanger bolts.
The frame saw a lot of attention from an assortment of wire wheels, flap discs, grinding wheels, and about 120lbs of abrasive blasting media. It received a phosphoric acid bath last night and will get a light sanding today followed by a thorough sponge bath of acetone. You’ll see the results next month.
That's a 60 grit flap disc...
Next steps are the media blast the body and replace the worst of the panels. I did spend a good but of time trying to de-bondo the body work. If there's anything that's slightly encouraging, it's the clear realization that the body work was done by an idiot and that the 1/2" slabs of bondo are sheer incompetence and not a cheap cover up for rust. There's solid metal under there...
Chassis components are to be ordered today and include suspension components that will raise the vehicle 2.5 inches as well as appropriate bushings, all graphite-impregnated polyurethane.

The axles and radius arms need a good shining up as well. Once that’s complete, they’ll get a shot of Rust Bullet as well. Realistically the frame will be a rolling chassis again near the end of May.
I’ll be traveling for work from April 14-May21st , so the April and may updates will be a bit lean.
There is some conjecture in my own head about moving motor operations in to a warehouse in Houston and living there. It sounds possibly illegal, ill advised, and very abnormal, so there’s a high likelihood of this happening.
Til next time...

March 2017
Greetings subscriber.
It’s been a short month so a proportional amount of work was accomplished.
KLX400- Was driven around and exercised a bit here and there. The battery has grown weak from sitting, but other than that, there have been no failures of any sort. It runs quite well and looks very green.

Falcon 8". Swapped out for a Maverick 8" later on.

Rear subframe without spacers
Pinto- The rear sub frame from the Porsche Carrera is complete and I’m hopeful it can be made to work with the transaxle and motor. The hubs are a strange proprietary Porsche bolt pattern. 5x130mm. Since this limits wheel choices, some aluminum adapters were ordered. They’re 1 inch thick and convert the Porsche lug pattern to 5x4.5” which is standard for all old Fords and many other models. The hubs are threaded to accept bolts, rather than to have protruding studs. Some lug bolts were purchased on eBay. They are en route.
Measurements were taken of the Pinto’s body to determine theoretical fitment of this rear end. The current Ford 8” rear end measures roughly 60” wide. The Porsche unit, disc to disc, is 69” wide.
Currently, the Maverick rear end has 5” spacers on each side to allow the wheels to clear. this is only because the cheapest wheel/tire combo I could find on craigslist was from a late model mustang. The top of the 18” wheel tucks inside the wheel well.
So, figure that the maverick rear end with spacers is 10” wider, and the two units are near identical in width, which seems compatible from a body width standpoint.
Once the spacers are secured to the hubs, efforts will be made to mount to engine/transaxle together and mock up fitment in the rear cradle. Fabrication will begin.
A huge part of the project, the transaxle to engine adapter, was ordered and received. Clutch parts still needed, but the kit came with the adapter, bolts, and a custom flywheel.
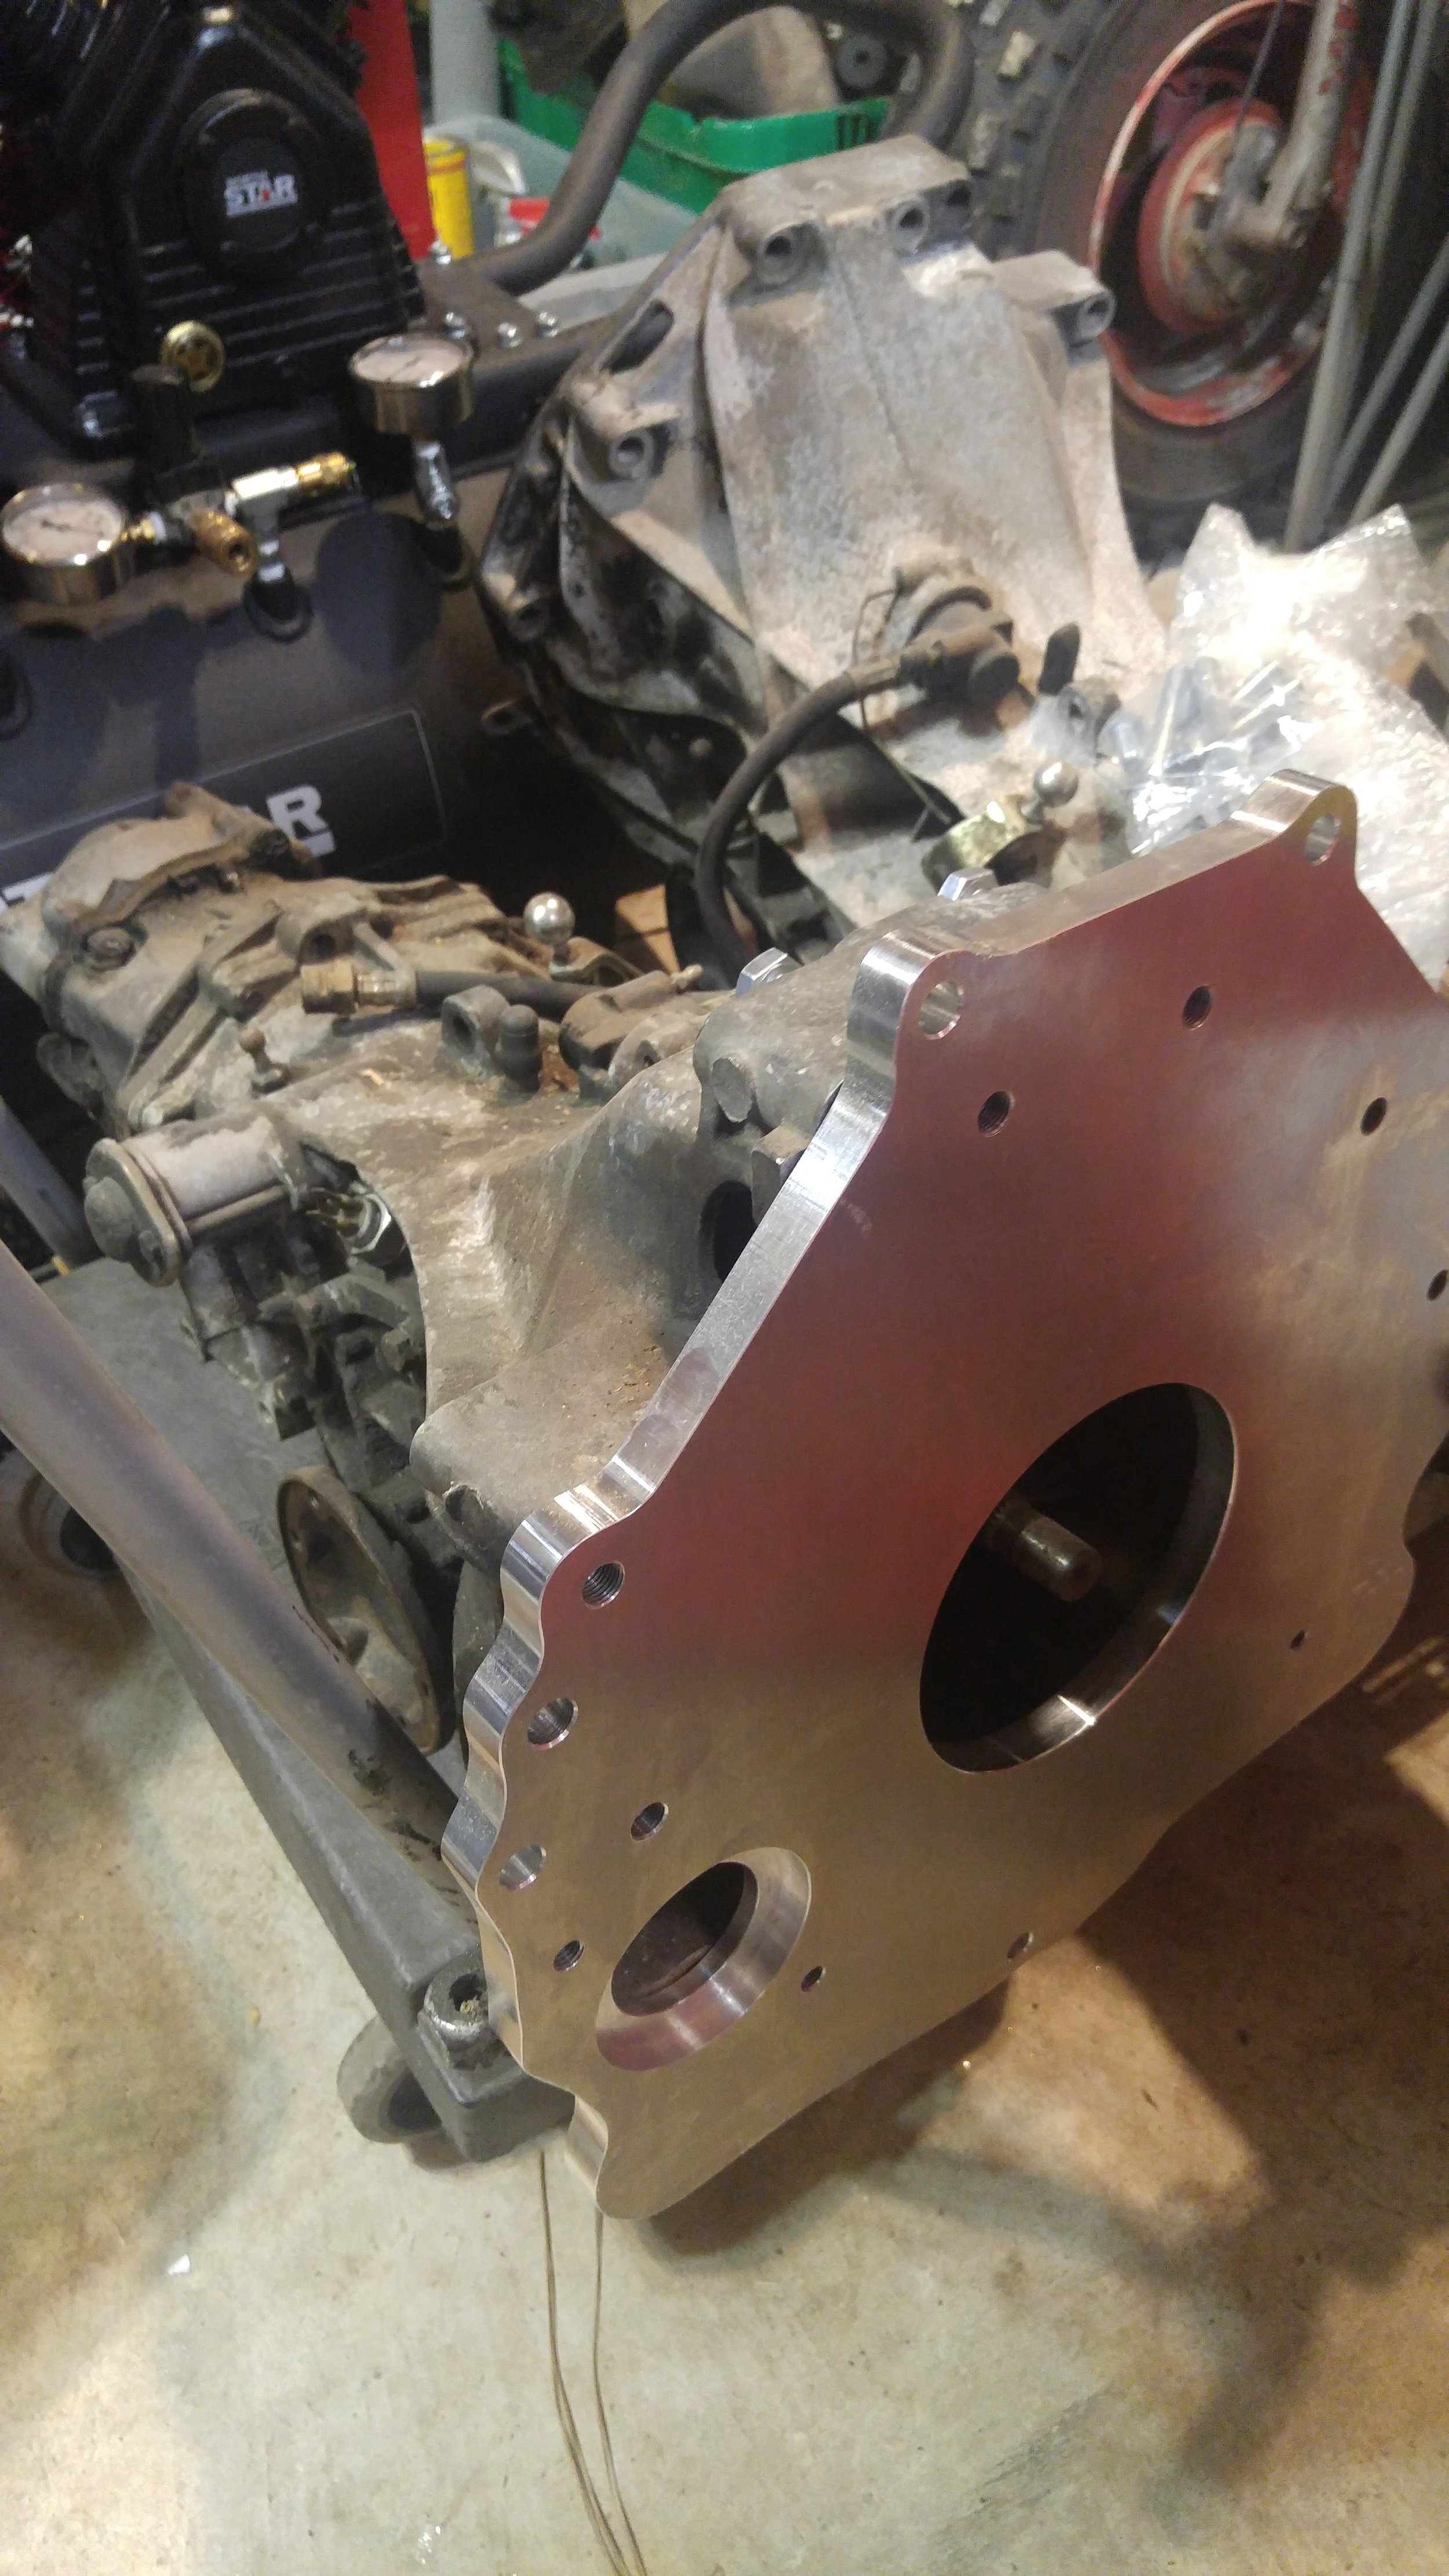
Got the transaxles as a pair. Hard to find these, so when they both showed up in Houston a few miles from work, I had to get both. Originally from an Audi 5000 front wheel drive car.
RT360- The bike was very hard to roll at first. Upon further inspection, the end of the brake cable was tied to the front brake hub lever. Tied. So I unbolted that and it rolls well now. That’s all I’ve done. It has barely moved. It’s the next motorcycle on the chopping block, however. Engine will be quickly gone through, main seals replaced, bit polished, carburetor cleaned. Going to try to not get too involved with this one. Though I say that every time…
BW350- found a long travel shock on eBay. Bike has mostly cosmetic issues. Not sure if it runs, but if not the culprit is likely the CDI box.

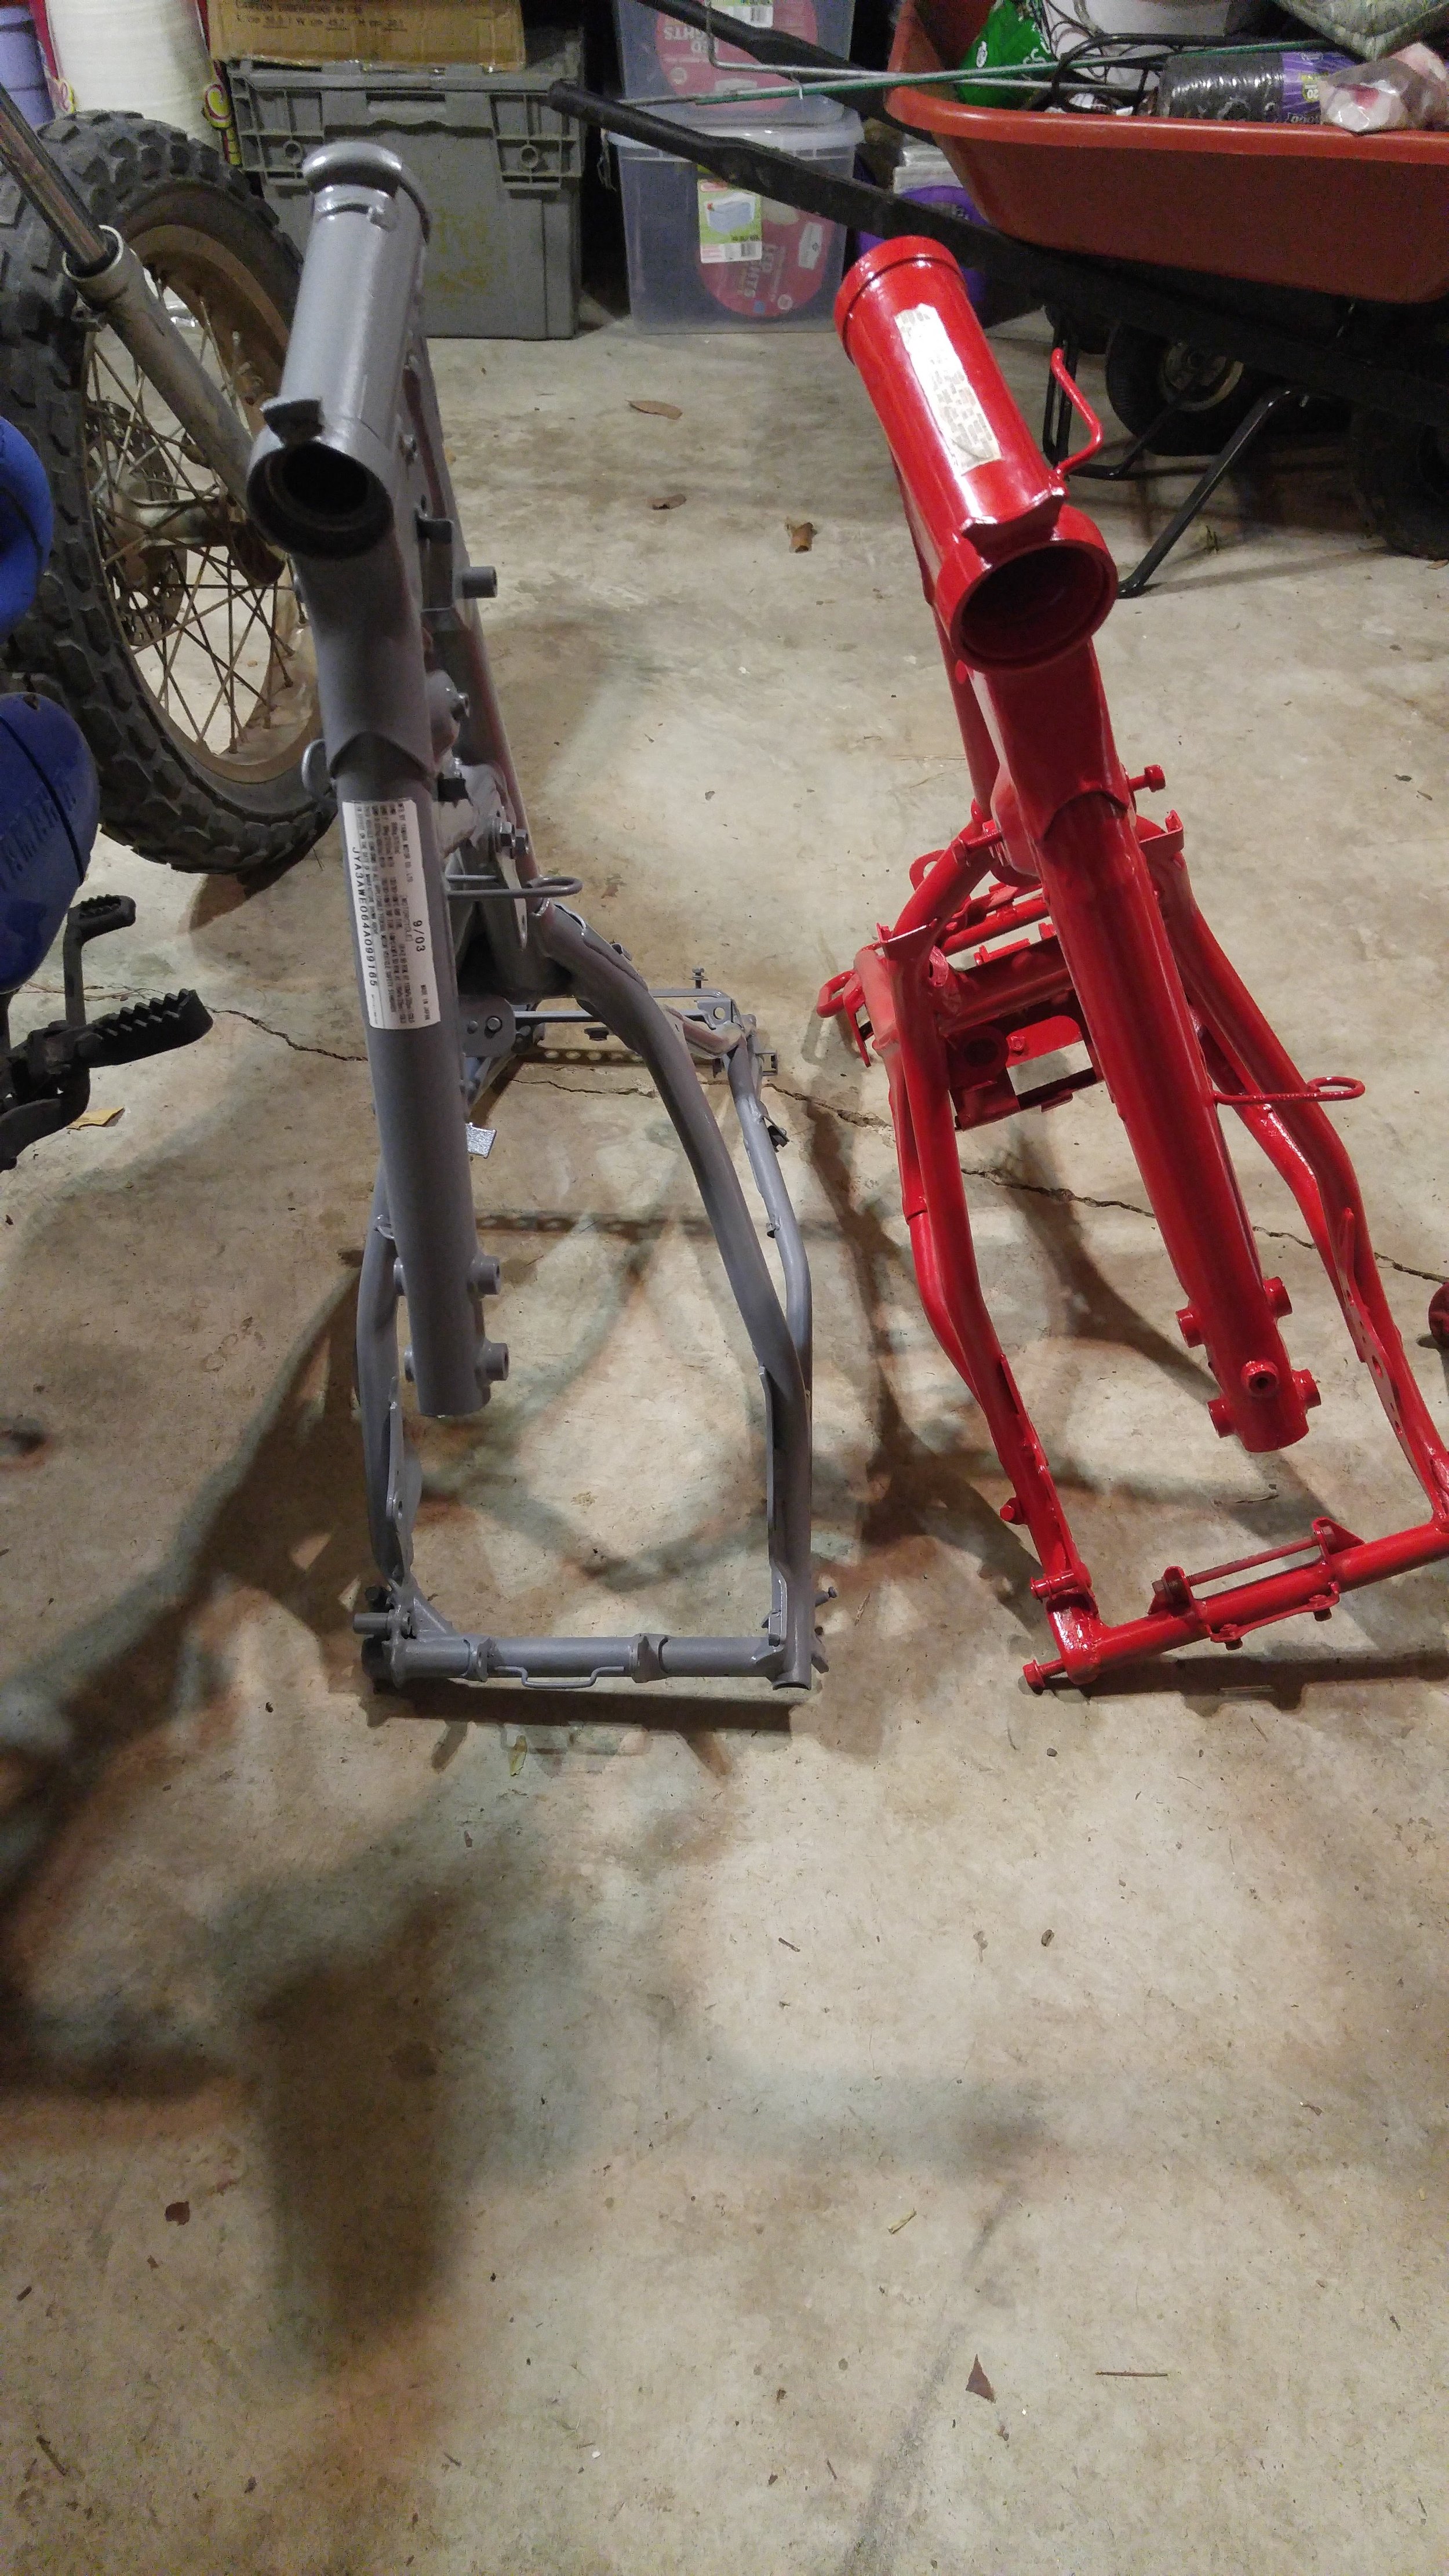
BW350 coming apart

BW Frame in red, TW in grey
TW200- most of the months’ work was spent on this bike. The engine was put back together mostly with no hiccups. I had to grind out the ID of an output shaft spacer. Normally, there’s a kick starter idler gear in that spot. Since the TW doesn’t have a kick starter, a spacer goes in its place. The only function I can see it serving is to keep the oil galley in the shaft plugged up and keep oil pressure up. The spacer definitely fit on with a bit of wiggle room after I was done, so if there’s any issue with the motor it will be oil pressure and it will be because of that spacer.

Luckily, there is a bolt at the head specifically designed to provide access to the oil galley. If oil flows from that bolt hole, I will call that sufficient pressure.
The cam chain got stuck between the flywheel and crank gear, meaning it would slip. I had to remove the flywheel, loosen a cam chain tensioner, and reset the chain.
On the magneto side, one of the bolts that held the crank position sensor broke when removing (red Loctite will do that) so I tapped it out and placed a new bolt in.

Valve lapping
Engine is together, sealed up, sitting in the frame. With some fuel and electricity it should roar back to life. Was hoping to have that done before the month, but no such luck. By Friday we should have a running and driving machine. Catastrophes and victories will be reported next month.
Parts on hand that need to go on- Cycra hand guards, a slew of LED lights.


Bronco- Little was done in February but the first weekend in march will see the beginnings of body work. Front fenders are to be sanded and primed in a 2k epoxy primer. Frame will be cleaned up and painted with a rust-reactive paint (Rust Bullet brand). Sand Blasting will follow, after procuring a blaster. The air compressor I have should provide sufficient power, but I’ve fabricobbled a 3/8” valve and air fitting system that needs to be installed in the side of the tank. Currently cannot find a wrench big enough to get the inspection plug off. The only other air outlet on the tank is a high-flow ¼ fitting.
Honda Fit- needs an oil change.
March- Finish TW, Fix RT, Sell KLX, Sell TW, Bronco Body Work.
Til next time…
Feb 2017
Feb 1st 2017
Motoworks News
It’s been a busy month in the shop/shanty in the back yard. February 1st will see Houston operations take up residence in a new building. It will be some time before any level or organization is attained so delays in project progress are expected.
However, bullet points on projects from the past few months-
TW200
It smoked, made a ton of racket in the top end, and showed signs of general neglect over 14 years.
Figured it was the piston/rings. Quick swap of those, quick post on craigslist, proft.
Piston, rings, and cylinder were found to be bad to be fair. I replaced those and the bike ran better (no smoke) but still knocked. Which mean it was the rod.
So back to ebay to scrutinized crankshafts. I found one that looked good to me, and all the pieces were in place.
Knowing that I was moving at the end of the month, I wanted to get started on the motor ASAP since I have no problem powder coating in my food oven (can’t be that bad for you, right?).
There's your problem.....
Tear down was nothing spectacular aside from the fact that this grey, thick, shiny goo was hiding in all of the cavities and bends inside of the cases. It was a ferrous sludge of bearing and connecting rod material. It was encouraging, really, because it meant the rod was bad. A smoking gun, if you will.
As with any job that requires replacing the crankshaft or rod, my thought is that you might as well powder coat the cases while you’ve got them stripped down.
Every bearing and bit was washed in gasoline (nature’s soapy water) to clean them. Bearings were checked for rough spots, 2 were found to be bad.
While washing the parts in my bucket of gas, I put a bunch of magnets in the bottom to keep the metal particles from winding back up in the bearings or parts.
A fine color scheme
Cases were powder coated a wrinkle white with maroon accents.
When it came to the cylinder and head, I wasn’t sure if the bad rod had damaged the bore. It looked okay, but at $70 for a rebore and $60 for an oversized piston and rings, I figured it was cheap insurance. So those got sent off to the machine shop and I focused on the cylinder head.
People put different cranks and larger pistons in these engines, but its bore and stroke is already maxed out pretty much. It’s a 125cc engine that’s been made a 200. And I like Japanese engineering and think that those guys know more than me about how to build an engine. So I wanted to keep all that stuff stock.
+50 HP
Where I did take some creative freedom was the ports. They were thoroughly widened, contoured, and smoothed. It cost nothing to do. File under- Why not?
Current status- going back together. Trans and crank are back in and working. Waiting on a .99 pin and the rest of the motor can go back together completely. The frame needs a bit of touching up. I’ll paint it and make it look new which should be a 20-30 dollar affair, and then it all goes back together.
Planning to keep this for a bit, take it to the beach, find treasure, and then sell it.
.99 cent part stands between this and a complete engine.
NEW FAMILY MEMBER!!!
Craigslist has been good to me. Stumbled across this beauty and for $300 American pesos, I couldn’t pass it up. Less than $1 per cubic centimeter is a no brainer in my mind.
Original. First year. 1971 Yamaha RT360. edit: 1973 per the VIN checking this eve.
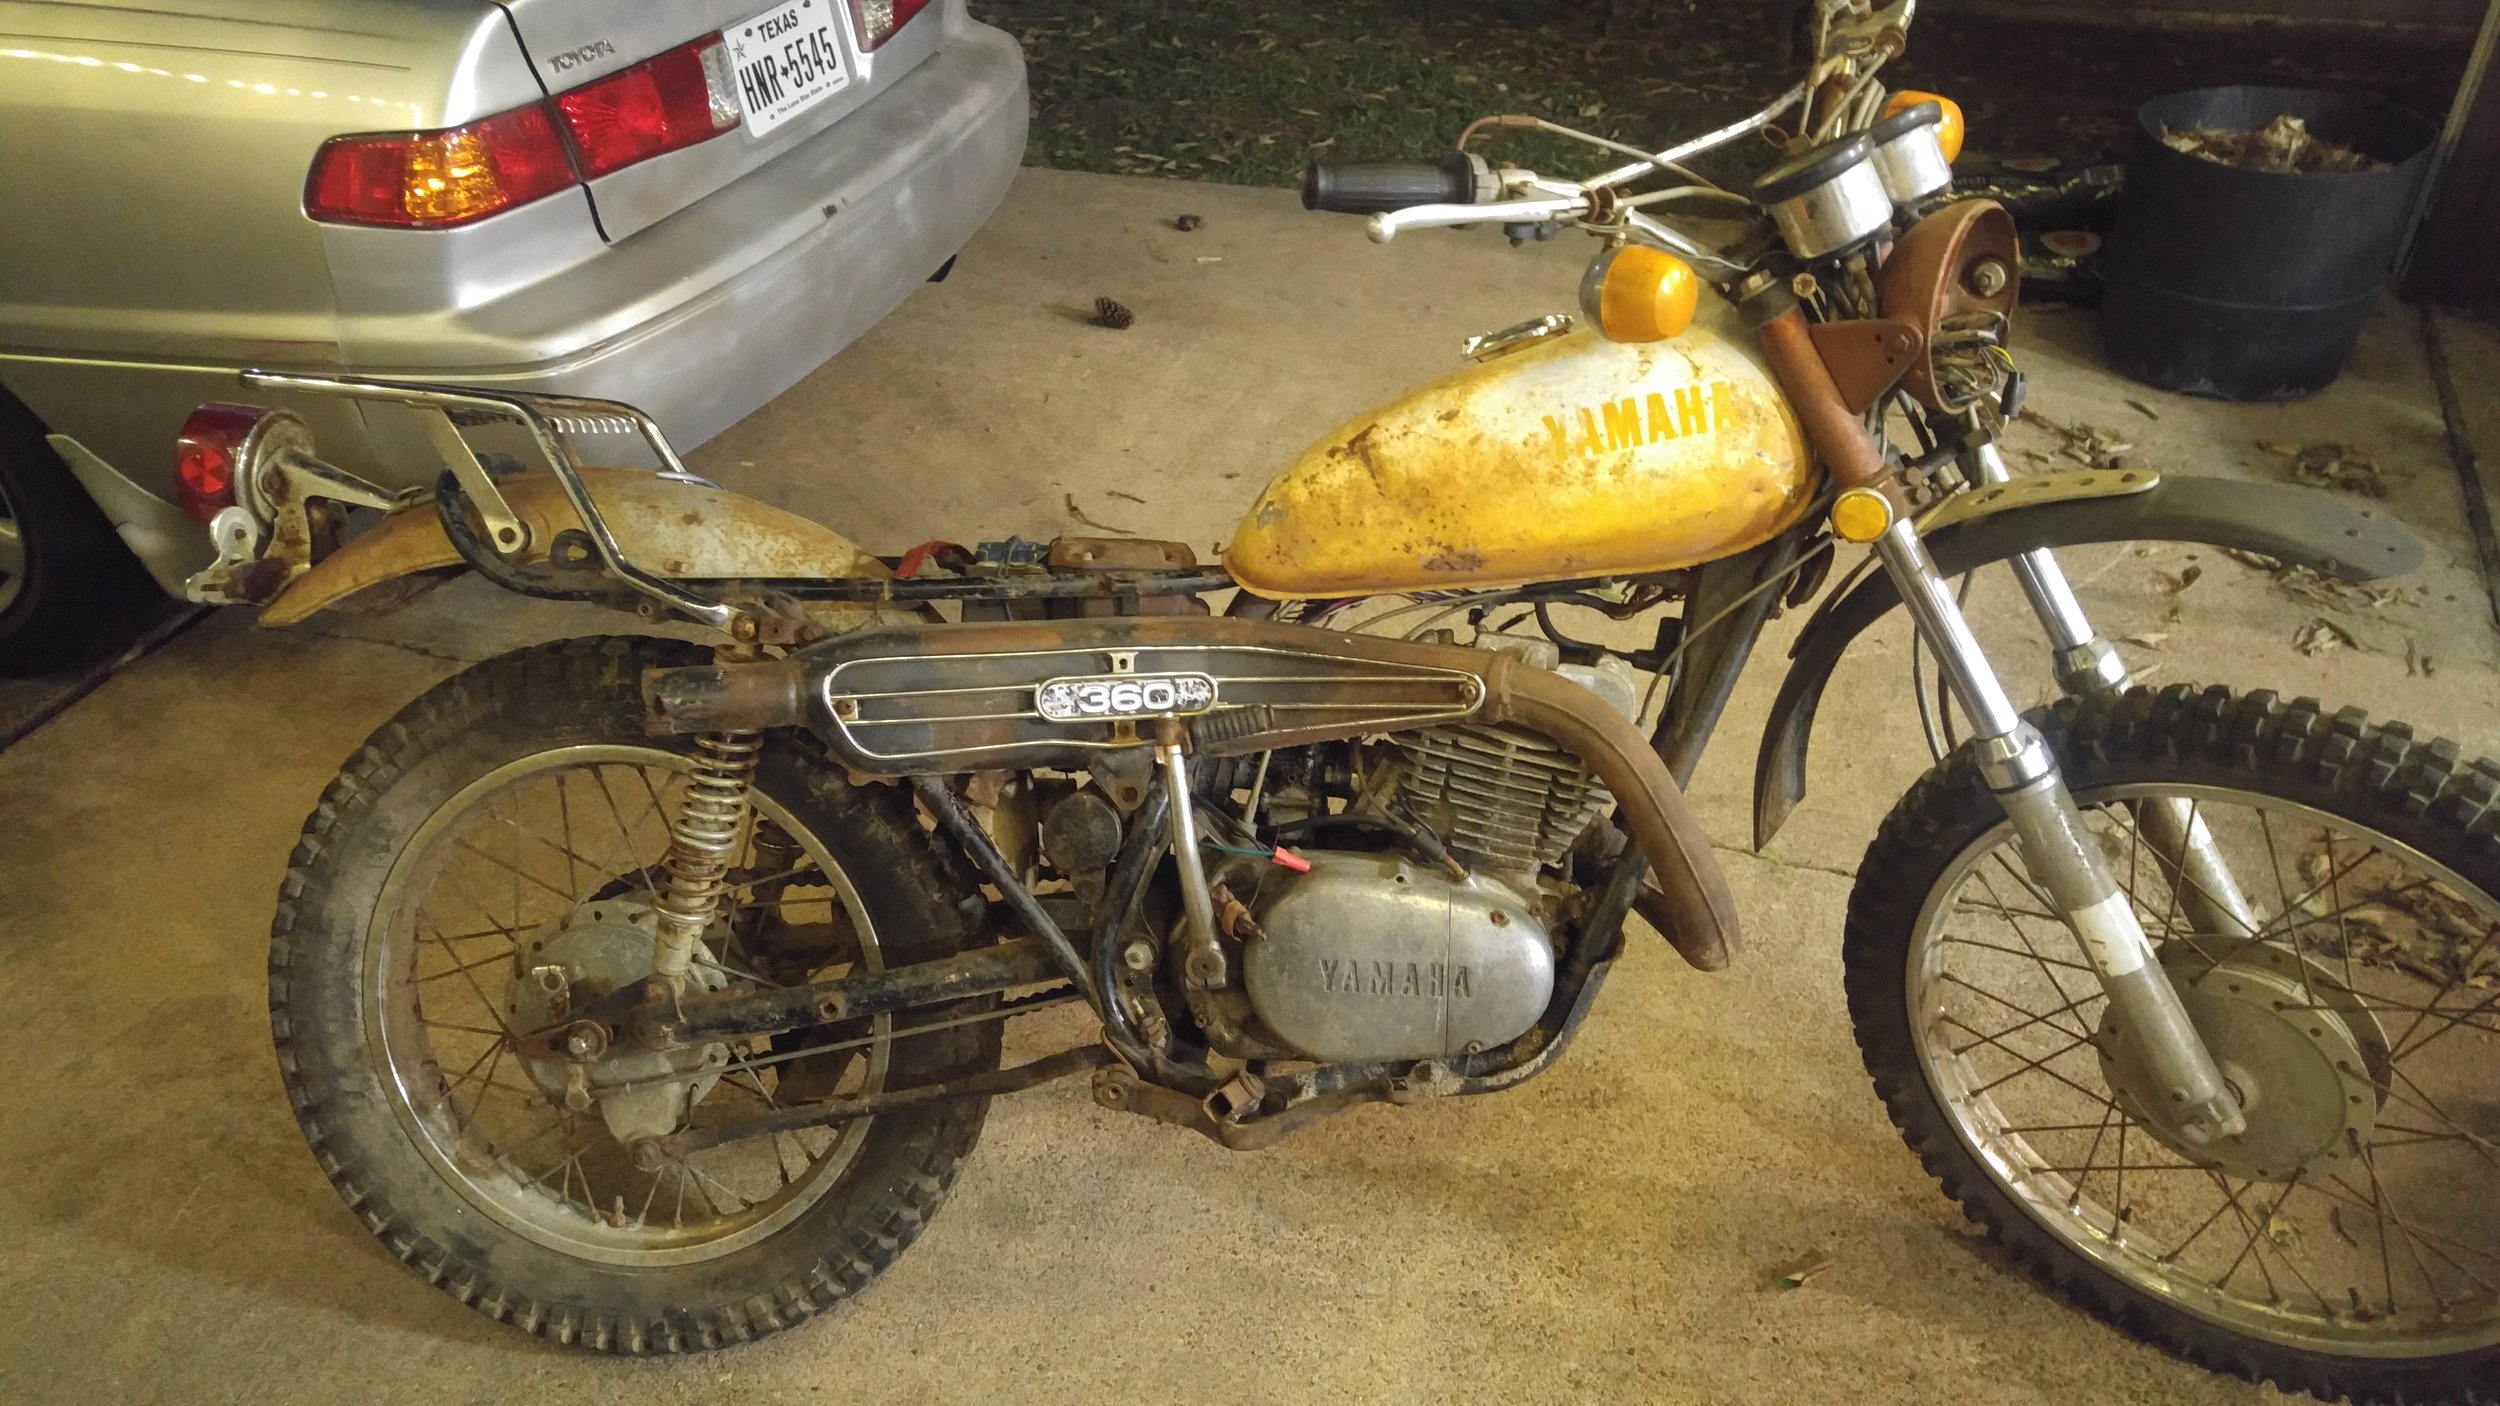
It looks a bit rough, I’ll grant you, but a lot of it is there. Needs a seat and rear blinkers. Have a bill of sale. The guy said it was sparking but he didn’t know how to adjust the points. I think it needs a new condenser. It’ll get polished and cleaned up. I’ll rebuild the carb and replace the crankshaft seals. Then this one is off to market.
Other projects on standby
1984 BW350 - Frame is painted. Needs wheel and steering bearings. Most of bike is complete. It will get cleaned up and put back together one day.
1971 DT250 - New oil pump (from ebay) is on hand. Exhaust needs to be rewelded. Seat needs to be made.
1968 Bronco - Frame and body have been separated after a weekend with a reciprocating saw. Ready for rand blast and body work.


1971 Pinto - Much needed parts procured, mostly interior bits. Found a mint 71 in Sealy to borrow parts from. It's probably a better candidate than the one in San Marcos.
Kennedy Performance Engine adapter is on order to mate 351c to Audi 016 Transaxle. Porsche 911 rear suspension is on hand. Rear subframe and frame connectors to be built.